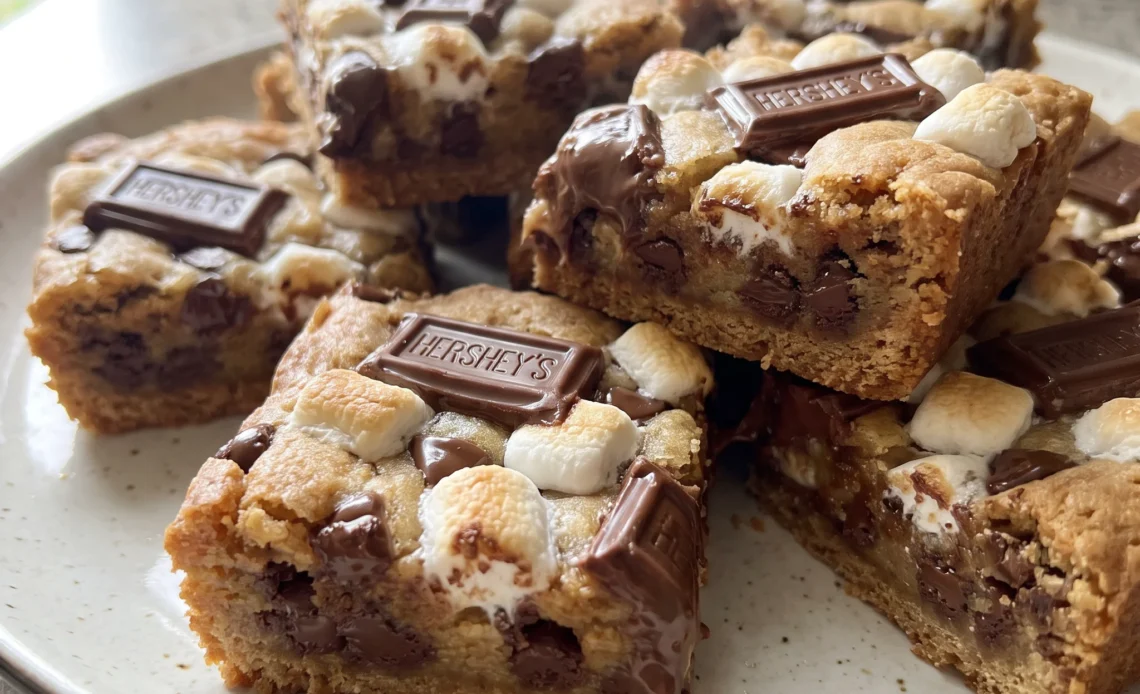
Getting the graham base level and continuous is the fussiest part of these bars, and it decides whether a square lifts out clean or shatters at the cut. Press the dough over whole sheets and thin corners finish first, darkening hard while the middle stays wet. Everything else in a s’mores cookie bars recipe is forgiving: the dough is loose and tacky, the marshmallows get folded through and scattered on top, and the chocolate goes on once the pan leaves the oven.
That last move is what keeps the topping smooth instead of scorched, and it’s why the surface stays soft enough to smear a little under the knife. What you get is campfire flavor in a slab you can carry to a table and cut into squares, no fire and no skewers.
The chew is the thing to watch, and it tightens as the pan cools.
The graham cracker sheets are left intact to form a continuous, rigid foundation, and during baking the base absorbs moisture from the dough, bonding the layers while staying distinct. Without this structural layer, the heavy, butter-rich dough would have no support and the bars could break apart when cut.
A Rigid Foundation Under Soft Dough
Whole graham sheets laid edge to edge give the bars something solid to sit on, and that changes how they cut. The dough alone is heavy and loose, and a thick slab of it with nothing beneath tends to slump and crumble when the knife goes through. The crackers take the pressure instead, so a bar lifts out in one piece with a clean bottom.
During the bake, the grahams pull moisture from the dough pressed against them. They soften just enough to bond with the cookie above, yet they stay recognizably cracker, with a faint snap left at the corners.
That contrast keeps each bite from reading as one uniform sweetness. You feel it most at the edge pieces, where the cracker and the browned cookie meet. Leave the sheets intact and the layer stays continuous; break them into rubble and you get a loose, uneven floor that shifts under the dough.
The finished bar should hold together on the plate while the crumb above gives easily.
Pockets and a Toasted Surface
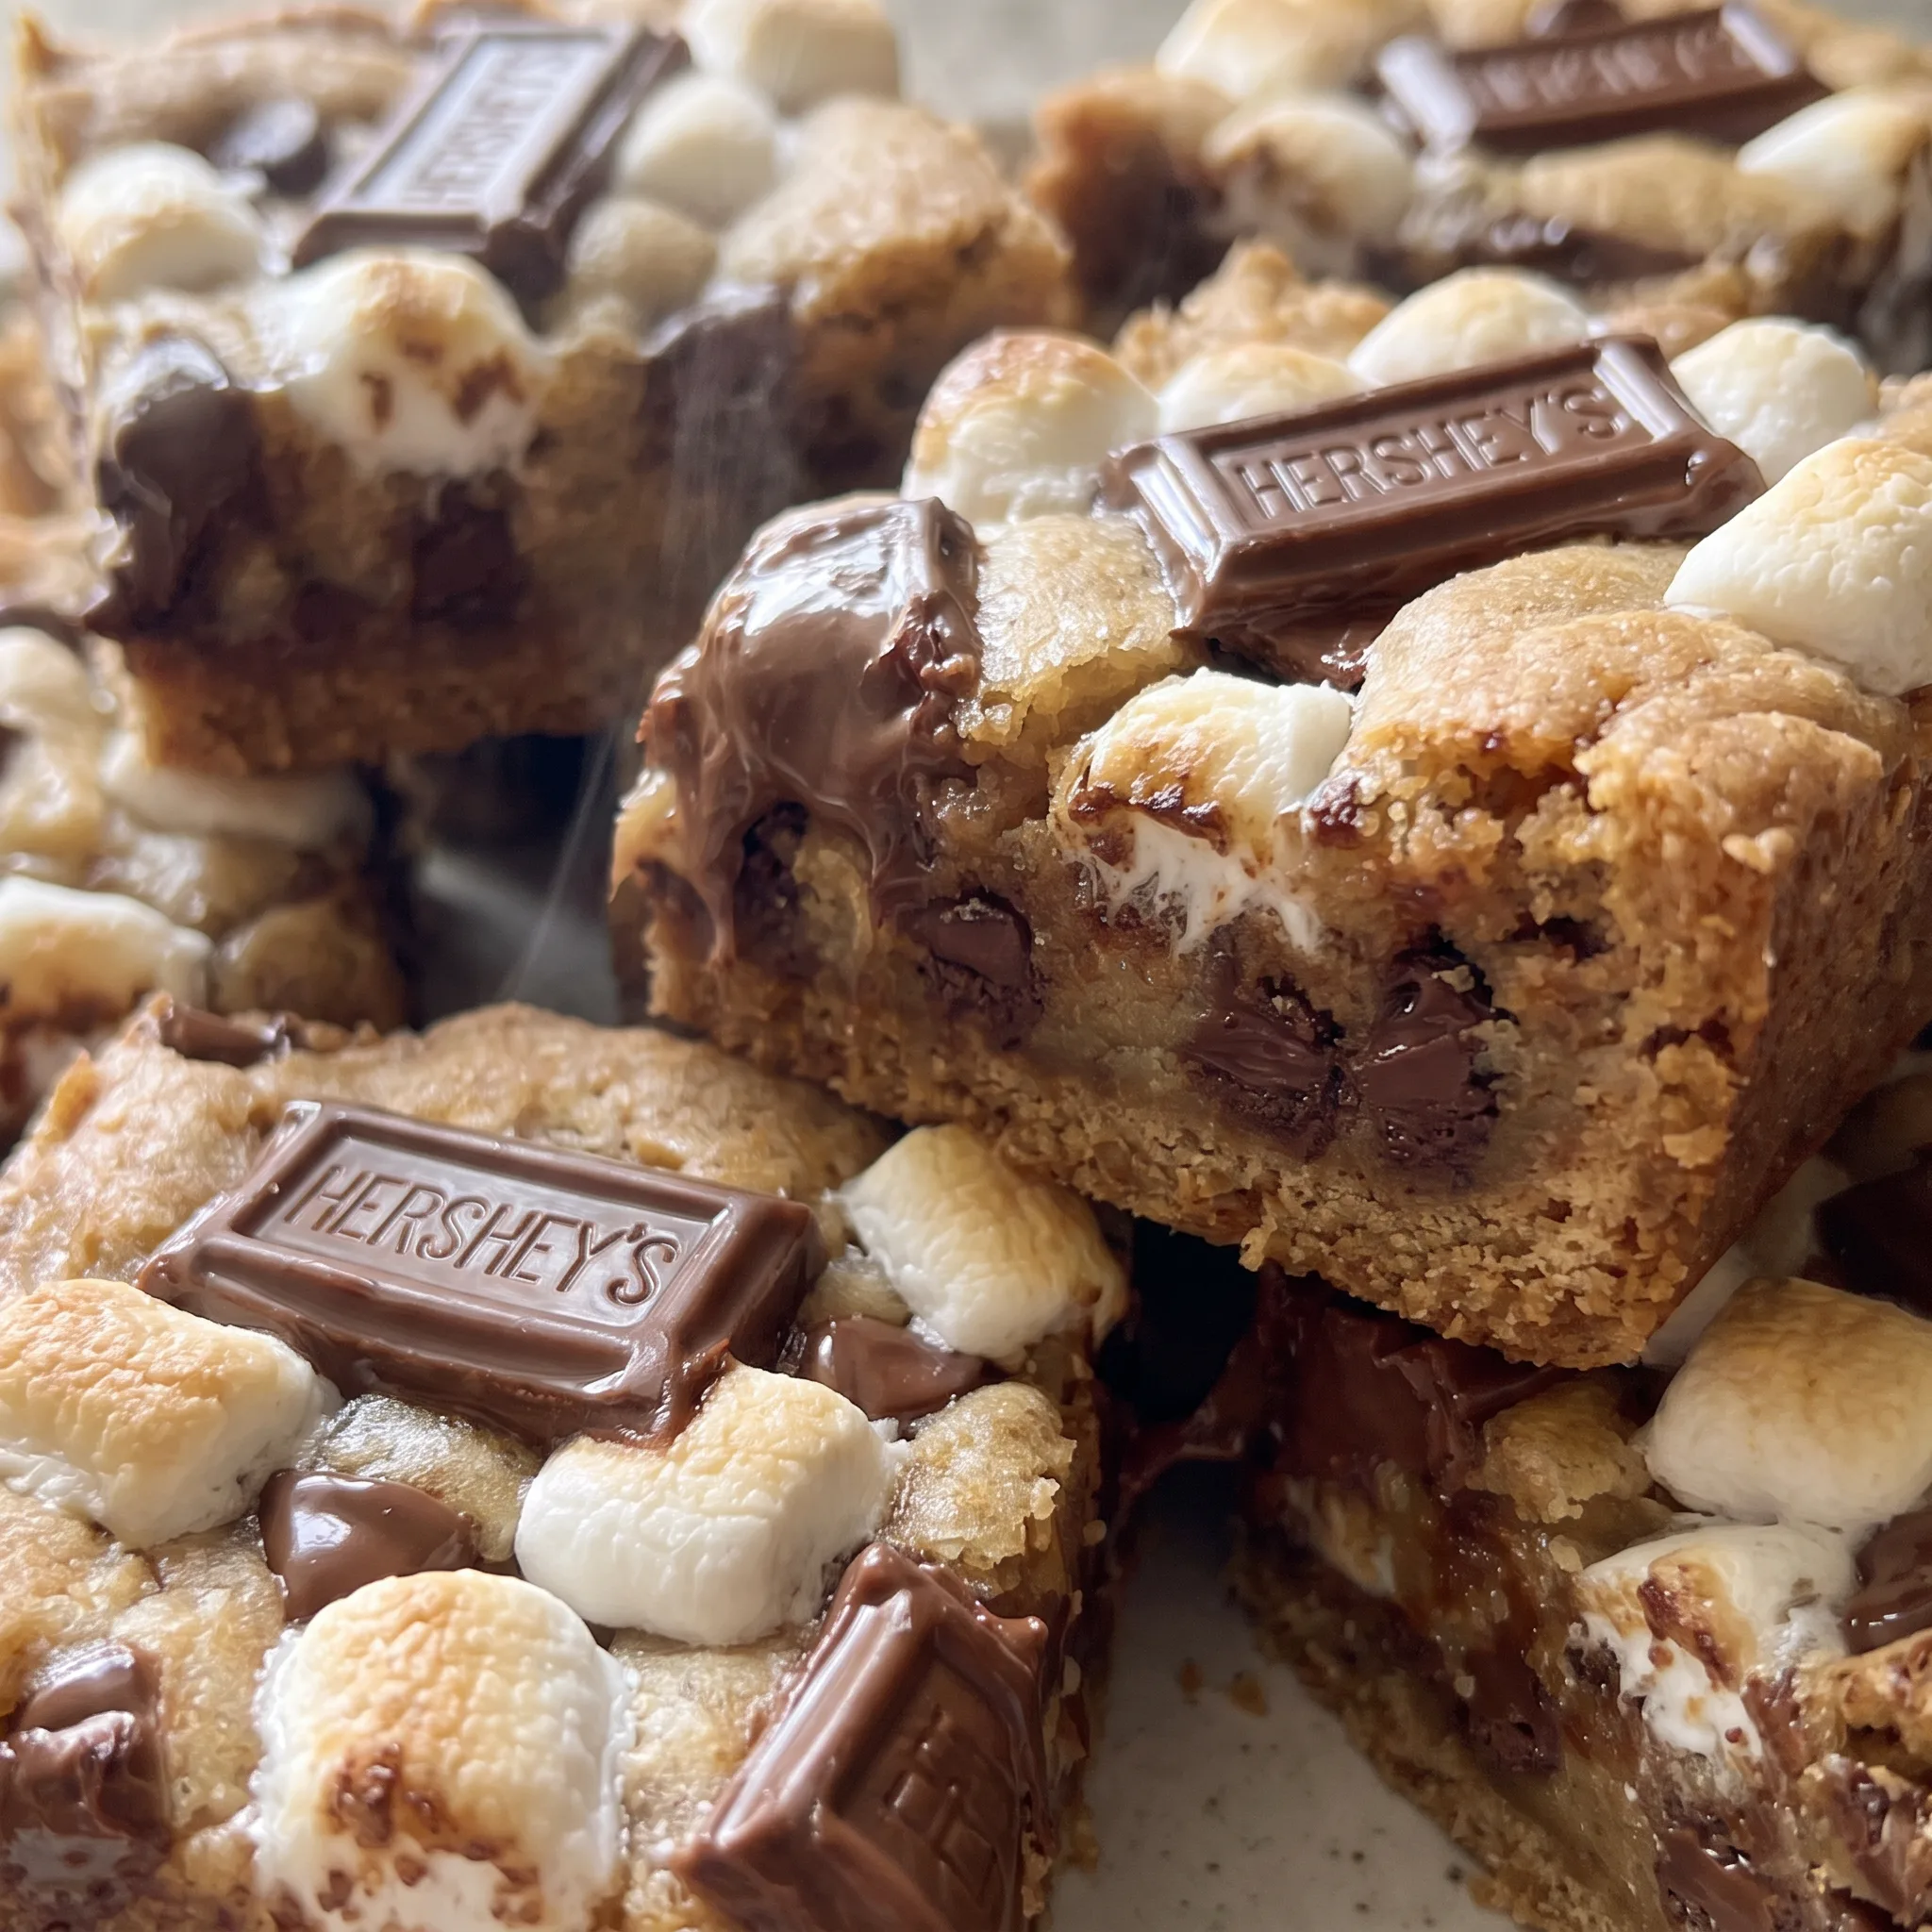
Marshmallows go in two places, and each does a different job. Folded through the dough, the minis collapse into small sticky pockets, so a slice pulled apart shows those soft hollows against the crumb. They don’t disappear; they leave gaps that read as gooey when the bar is still faintly warm.
Scattered across the top, they take the oven’s direct heat and brown. Those little caps blister and darken before the cookie underneath is done, and that toast is where the campfire flavor comes from.
A pale, unbrowned marshmallow on top would taste flat and sweet with nothing to cut it. The two placements mean the marshmallow isn’t just a garnish sitting on the surface; it’s woven through the whole thickness.
When you press a finger into a cooled bar, the top gives slightly where a toasted marshmallow sits, then springs back. That small sink is the cue that the pockets inside are still soft.
Chocolate Added After the Oven
Chocolate bars go on once the pan comes out, and the heat still in the cookie does the melting. Squares soften within a minute or two, then spread with the back of a spoon into a glossy coat that sits on top rather than sinking in. The bars keep their shape underneath, so you get a clean line between the soft chocolate and the chewy cookie.
In the oven, that same chocolate would take on too much heat. Milk chocolate scorches fast, and the sugars in it can turn grainy and dull before the cookie is anywhere near done.
Adding it late keeps the flavor clean and the texture smooth. Expect the topping to stay soft even after the bars cool; at room temperature it smears a little when you cut.
Chill them briefly if you want sharper squares, though the chocolate firms rather than sets hard. A finger pressed into the top leaves a print that slowly fills back in.
A Dough Built for Chew
Two sticks of butter and a generous measure of both white and brown sugar against three cups of flour is a rich, loose dough. That balance is what makes the bars tender. Too much flour and the crumb turns dry and cakey, and the whole thing fights you when you bite.
Here the dough stays moist through the bake, and the brown sugar pulls in moisture that keeps it that way for a day or two.
The texture lands closer to a blondie than a crisp cookie. Chewy at the edges, softer toward the middle, dense enough to support the graham base and the marshmallow pockets without falling apart.
Cut a square and it should bend slightly before it breaks. That give is the sign the butter and sugar are doing their work.
Warm, the bar is almost too soft to lift cleanly; cooled, it firms into something you can pick up and eat without a plate. Either way the chew is the point of the crumb, and the heaviness of the layers above never overwhelms it.
The Ingredients That Decide Whether These Bars Hold
Graham cracker sheets: Buy whole rectangles, not crumbs or broken pieces, because intact sheets are what keep the base from shifting when you cut.
Unsalted butter: It needs to be truly soft at room temperature, since cold butter leaves lumps that won’t cream smooth with the sugars.
Light brown sugar: Pack it lightly, not hard, so the measure stays honest and the dough doesn’t turn heavier and sweeter than it should.
Mini marshmallows: Use the minis, not torn regular ones, because the small size lets them fold through the dough without dragging it apart.
Hershey’s Milk Chocolate Bars: Regular 1.55 oz bars snap into neat squares that cover the top evenly, so skip bars that are already soft or bloomed.
Reading the Pan Before, During, and After the Bake
Judging the dough by how it presses, not by the clock
The dough is stiff and tacky, and it should be. Spread it over the grahams and press until the surface is level and the corners are filled. Any thin patch browns early and hardens while the middle is still soft.
If it drags and tears instead of spreading, it is fine to press with damp fingers. An uneven top means an uneven bake, and the thin spots tell you where the edges will catch.
When the golden top is lying about the center
At 375°F the surface browns before the middle sets, so color alone won’t tell you it is done. The toothpick is the honest check: it should come out with a few moist crumbs, not wet batter, and not clean and dry. Wet batter means another few minutes, tented with foil if the top is already dark.
A dry pick means the crumb has gone past chewy toward crumbly.
The tent decision at the first sign of dark edges
Edges will darken before the center finishes, and that is the moment to act rather than wait. Loosely tent foil over the pan, shiny side up, so heat still reaches the middle without scorching the rim. Left alone, the corners turn bitter and hard while the center is underdone.
The foil comes off for the last few minutes so the surface can finish browning.
Judging the rest before the knife
Straight from the oven the dough is still soft and the chocolate is liquid, so cutting now smears the layers and tears the graham base. Wait until the pan is warm rather than hot to the touch, 20 to 30 minutes, and the crumb firms enough to hold a cut.
Lift the slab by the parchment overhang, then slice. Expect the chocolate to stay soft and smear a little; that is the texture, not a fault.
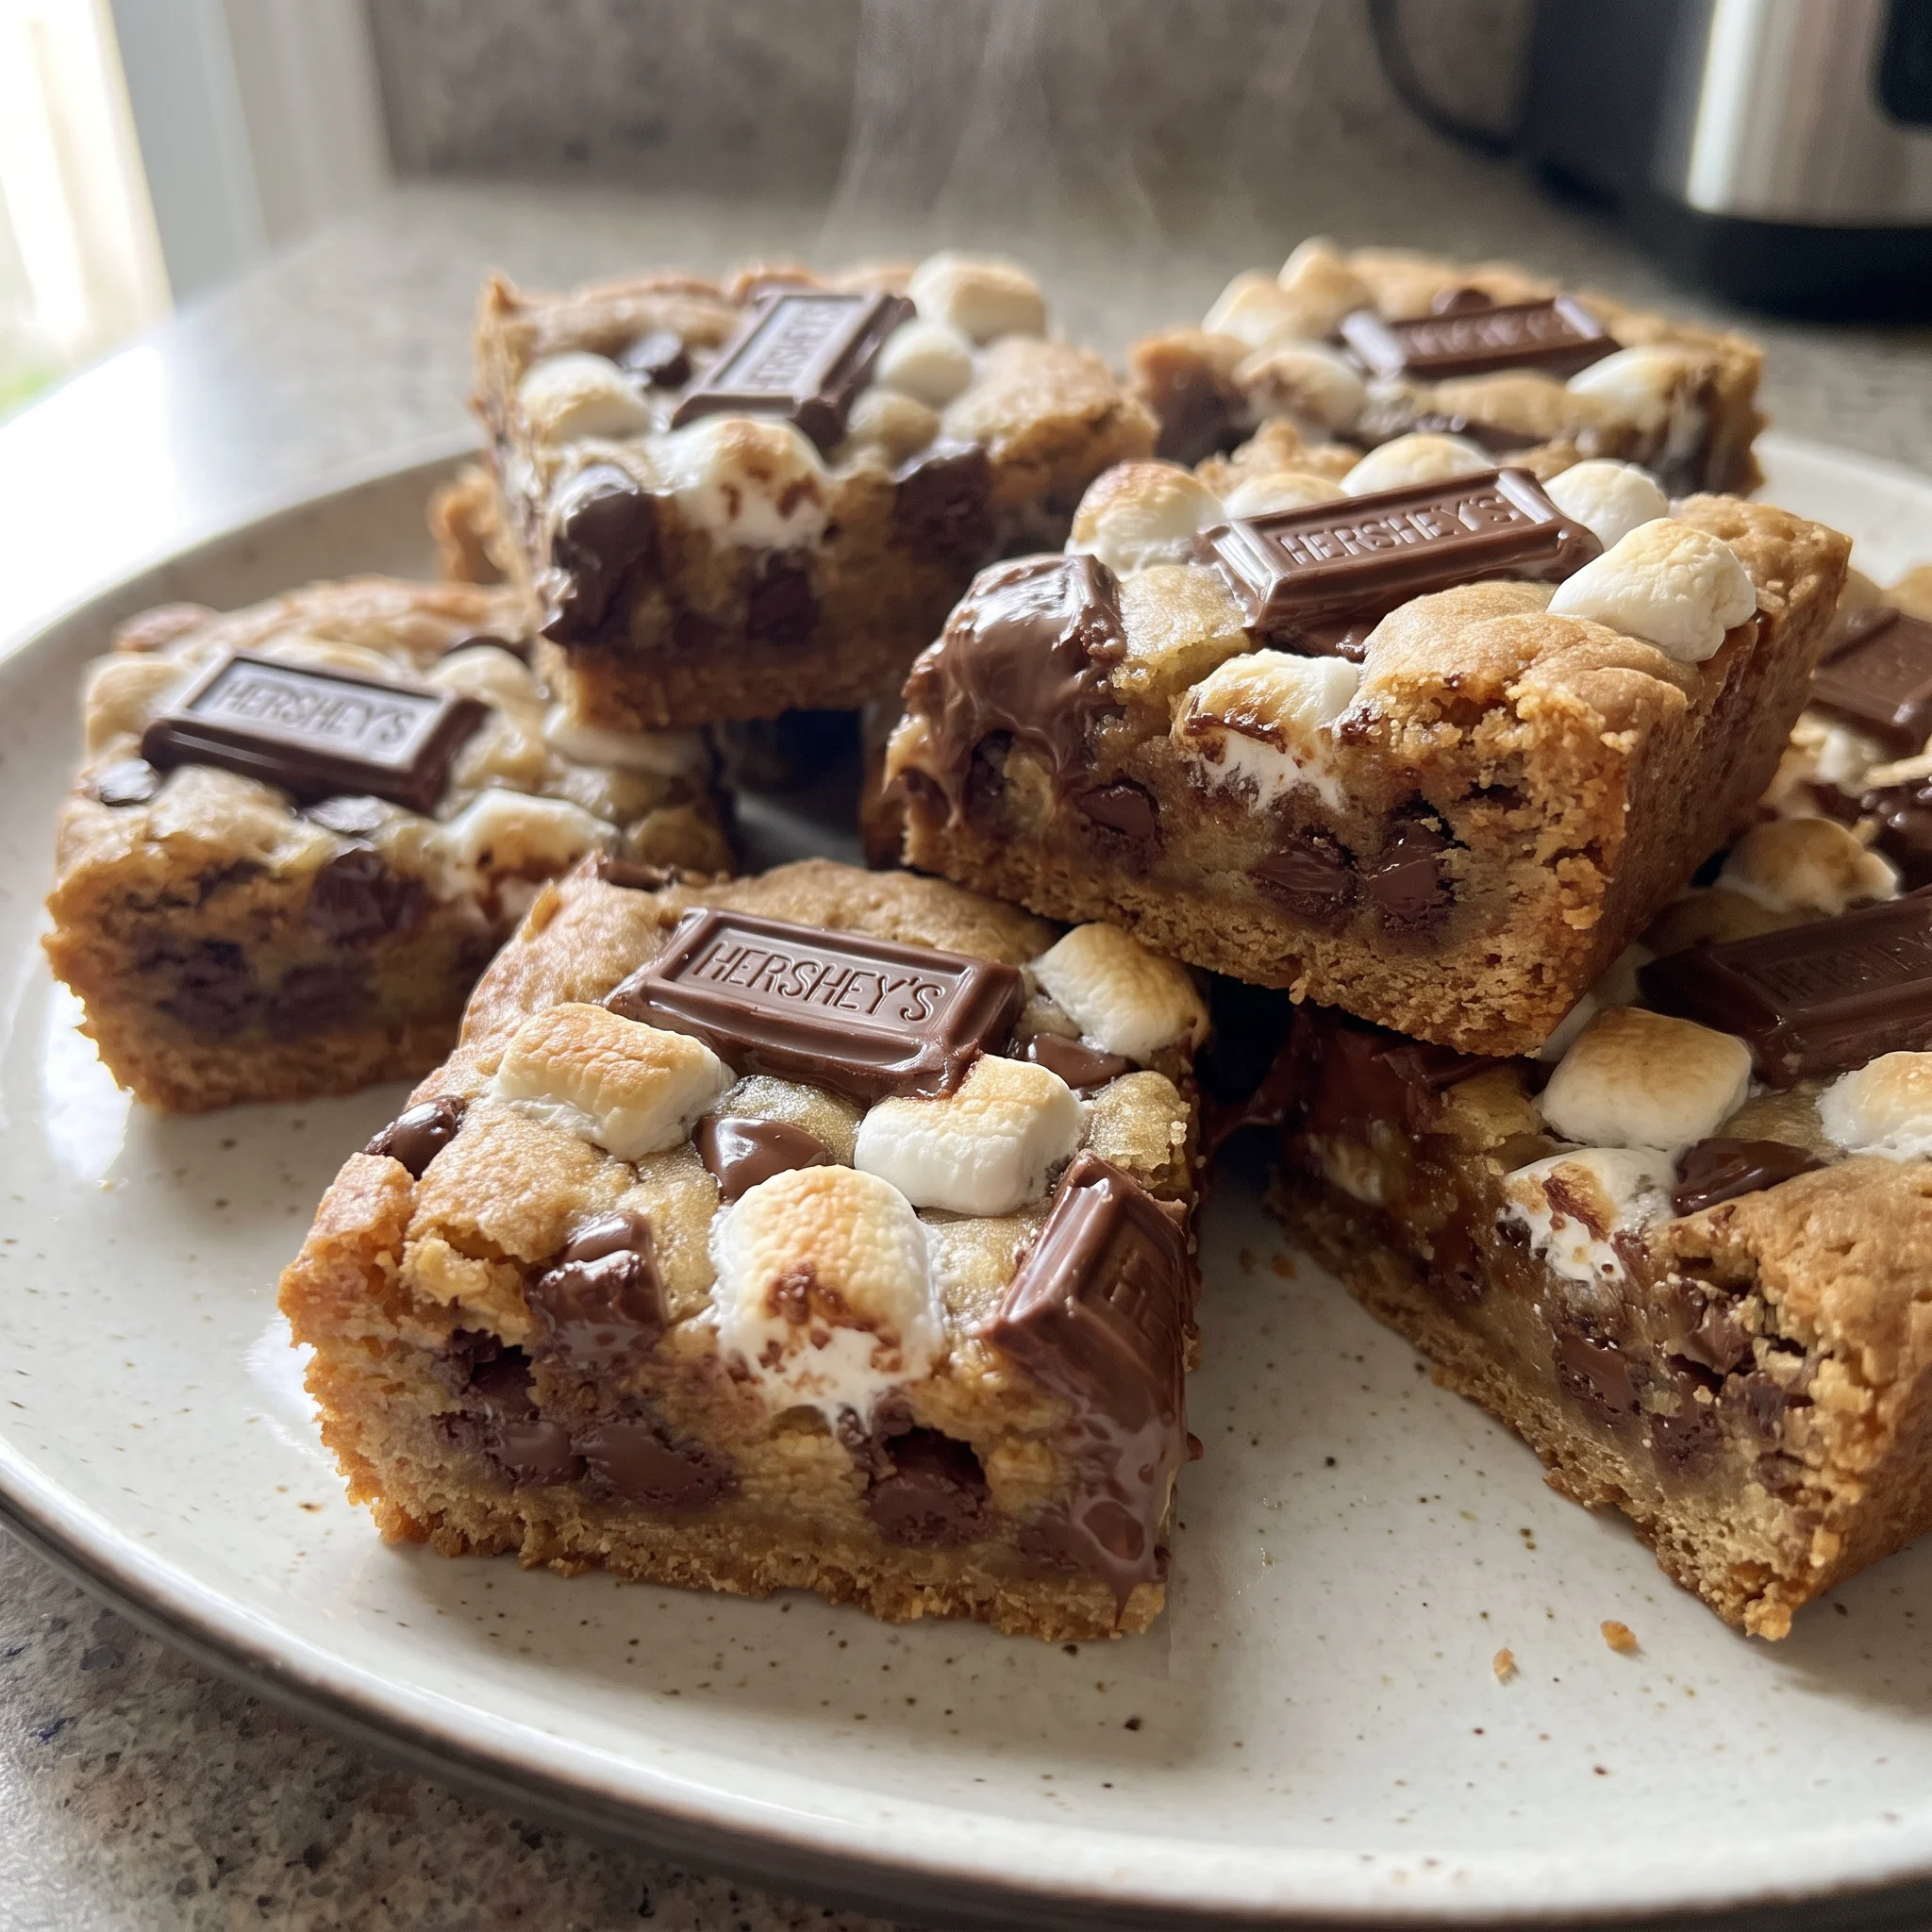
S’mores Cookie Bars on a Graham Cracker Crust
Ingredients
Method
- Heat the oven to 375°F (190°C). Prepare a 13×9-inch pan by lining it with parchment paper, allowing a 2-inch overhang along the sides.
- Arrange graham crackers across the entire pan in a single layer, snapping them into sections where necessary for a proper fit.
- Using an electric mixer fitted with the paddle attachment, beat the butter with both sugars until creamy. Incorporate the eggs and vanilla. Mix, then scrape down the bowl.
- In a separate large bowl, whisk the flour, salt, and baking soda together. Fold the flour mixture, chocolate chips, and mini marshmallows into the butter mixture. Stir only until everything is just combined.
- Spread the dough evenly over the graham crackers and press it flat. Scatter additional mini marshmallows on top if desired.
- Bake at 375°F (190°C) for 25-30 minutes, until the top is golden brown and a toothpick inserted in the center emerges clean. If the cookie dough browns before the center finishes baking, tent it with foil.
- Take the pan from the oven and lay chocolate bar pieces over the top while it is still warm. Let it cool for 20-30 minutes, then lift the bars from the pan to cut and serve. NOTE: At room temperature the chocolate bars may remain quite soft and melty.
Notes
Swaps That Work Here, and the One That Quietly Ruins the Chew
Unsalted butter: Margarine works in the same 2 sticks, but only the stick kind sold in blocks, not the soft tub spread. Browned butter is the better move if you want flavor: melt the 2 sticks, cook until the milk solids smell nutty, then chill it back to a soft solid before creaming. Tub margarine carries too much water, and the dough goes slack and greasy, spreading thin over the grahams and baking up tough at the edges.
Stick margarine gets you a passable bar with a flatter flavor. Browned butter deepens the taste but drops the water content, so the crumb comes out a shade drier and crisper than the chewy version.
If you brown it, pull the bars a minute or two early.
Light brown sugar: Dark brown sugar in the same ¾ cup (165 g), packed the same light way. The molasses pushes forward in the baked bar, a darker, more caramel edge that reads closer to a campfire marshmallow than the milder light brown does.
The dough stays soft and moist the same way and the chew doesn’t change. Expect the bars to look deeper in color, and the sweetness to land a little heavier against the graham.
Hershey’s Milk Chocolate Bars: Any thin eating chocolate snaps into squares, but check the cacao on the label first. A 60% or darker bar, or a semisweet baking bar, firms up far more once it cools. Milk chocolate stays soft and smears at room temperature, and that’s the texture the bars are built around.
Swap to dark and the topping sets to a stiff shell that cracks instead of spreading under the knife, and the sharpness fights the sweet crumb. If you want the deeper flavor anyway, cut the squares smaller and press them on while the pan is hot so they melt into a thinner coat that stays softer.
All-purpose flour: A one-to-one gluten-free flour blend in the same 3 cups (360 g), and nothing else about the method changes. The dough won’t stretch the same way, so it presses out a little stickier and the baked crumb turns more tender and sandy, breaking rather than bending.
Expect it to dry out faster after a day. Skip the swap if you’re after the chewy blondie texture the recipe is aiming for, because the blend can’t get you there.
Storage, Serving, and the Soft Topping
Cut and serve these bars within a few hours of cooling. The chocolate topping stays soft at room temperature, so the texture is at its best the same day, while the marshmallow pockets are still gooey and the graham base has a little snap left. After that, the topping smears more and the crackers soften further.
Keep leftovers in the pan, covered with foil or a lid, at room temperature for up to two days. Don’t stack them or they’ll fuse into one slab; if you need to move them, separate with parchment. For longer storage, refrigerate for up to five days.
The cold firms the chocolate and tightens the crumb, so let a portion sit out for fifteen minutes before eating. The chocolate softens again but won’t return to its just-made gloss.
Freezing works for the bars, not the topping. Wrap individual squares and freeze for up to two months.
Thaw at room temperature; the chocolate will weep slightly and the marshmallow pockets collapse, so the texture is softer. Reheat in a 300°F oven for five minutes if you want the top runny again, but the graham base won’t crisp back up.
Tips
- Press the dough with a flat-bottomed measuring cup or the back of a spatula rather than your palms. Fingertips leave shallow dents and ridges, and those highs brown first while the dips stay pale and underdone at the 25-minute mark. A flat tool gives you one continuous height across the 13×9 pan, so the toothpick reads the same wherever you test it.
- Check the dough depth at the corners before the pan goes in. If the corners are noticeably thicker than the middle, push some dough toward the center with the flat tool until the whole surface sits level. Thick corners finish last and stay wet while the center has already set, and those are the pieces that tear away from the graham when you cut.
Frequently Asked Questions
Can I make these s’mores cookie bars ahead of time?
Bake them the same day you plan to serve them if you can. The chocolate topping stays soft at room temperature, and the graham base keeps a little snap only for the first few hours after cooling.
What you can do ahead is the dough: cream the butter and sugars, fold in the dry ingredients, then press it over the grahams, cover the pan, and refrigerate. The crackers will draw moisture from the dough overnight and soften more than they would in a same-day bake, so expect a tender base rather than a crisp one. If you go that route, give the cold pan a few extra minutes in the oven and tent with foil if the top darkens early.
Why are my s’mores cookie bars dry and crumbly?
Check how you measured the flour first, since three cups scooped straight from the bag packs in far more than 360 grams and that alone turns the crumb sandy. Stir the flour, spoon it into the cup, and level it with a straight edge. Second, make sure the butter was genuinely soft, not just bendable: cold butter leaves lumps that never cream smooth with the sugars, and the dough bakes up tight and dry.
Overbaking is the other common culprit, so pull the pan when the toothpick comes out with a few moist crumbs rather than clean. If the bars still crumble, the dough was likely pressed too thin in spots, and those thin patches harden while the rest is fine.
How do I cut s’mores cookie bars cleanly without the marshmallow sticking?
Chill the pan briefly before you cut, long enough for the chocolate to firm but not so long that the crumb goes hard. Use a long, thin knife and wipe it clean between passes, because a blade loaded with sticky marshmallow drags and tears the top instead of slicing it. Press straight down through the crust rather than sawing, since back-and-forth motion pulls the soft topping and smears the graham line.
The chocolate will still leave a faint trail on the cut face; that softness is the texture of the bar, not a flaw in your technique.
What’s the difference between s’mores cookie bars and a s’mores dessert bar?
Here the cookie dough is the whole structure, a rich butter-and-brown-sugar dough pressed over intact graham sheets, so each square is essentially a thick cookie with a cracker floor. A s’mores dessert bar usually means a separate crust, a filling set with something like cream or condensed milk, and a topping, which gives you distinct strata that hold their shape when sliced.
The texture lands differently too: this one bends slightly before it breaks, closer to a blondie than a layered bar, and the marshmallow shows up as pockets folded through the dough rather than a single set layer. If you want clean, tall squares with sharp edges, that layered style is the one to look at.
