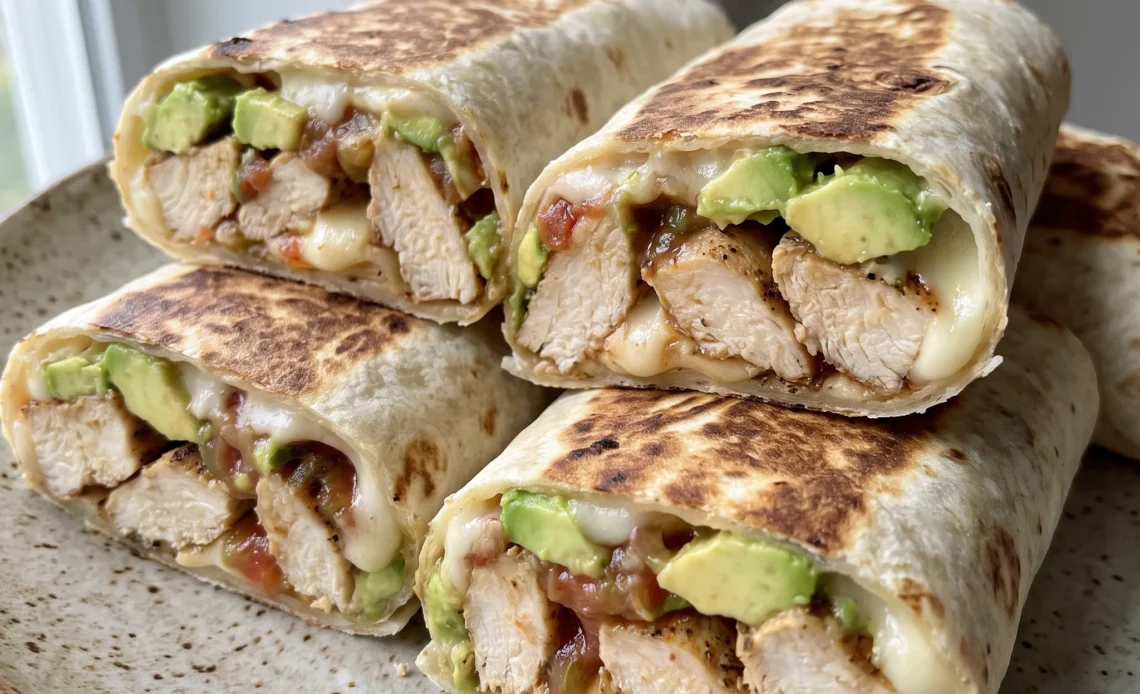
Wraps that eat like a grilled sandwich usually fall apart at the seam once the pan heat hits them, and the fix isn’t a better fold. It’s what you put down first and how much bare tortilla you leave showing.
Avocado chicken wraps live or die on that border, and on an avocado that’s firm enough to hold its shape under the chicken’s weight instead of sliding out the sides. Get those two things right and the skillet does the rest, browning the tortilla against the drippings the chicken left behind.
Get them wrong and you’re eating salsa off a plate. There’s a short window where these are at their best, which the storage section gets into. What makes the whole thing worth doing on a weeknight is how little the pan asks of you compared to the payoff.
Hot Pan Contact and a Sealed Wrap
That skillet already has a slick of oil and the browned spots the chicken left behind. Reusing it means the tortilla picks up those drippings as it browns, which reads as grilled even though nothing touched a grate.
Set the wrap in seam side down first. The seam is the weakest point, and hitting the heat face down lets the tortilla toast and lock that edge shut before the filling has a chance to push it open.
Pressing the wrap flat against the pan matters more than it sounds. Contact is what browns. A wrap that domes up only scorches at the high points and stays pale and soft everywhere else, so weight it down and let the whole surface sit against the metal.
The cheese belongs inside before any of this, laid down under the avocado and chicken. It melts into the filling and forms a tacky layer that keeps the salsa from soaking straight through the tortilla. Once the outside turns golden and you can feel the give of melted cheese through the crust, get it onto a plate while the crunch is still there.
Seasoning the Chicken First
Every bit of seasoning in this recipe lands on the chicken, not scattered through the assembled wrap. That’s deliberate. Spices sprinkled over salsa and avocado sit on the surface and taste raw and gritty.
Rubbed onto the meat before it hits the pan, they toast in the oil and cling to the slices, so each bite of chicken carries the garlic and chili rather than the wrap as a whole carrying a vague dusting.
Browning does the rest of the work. The cut sides of the breasts pick up a dark, savory crust that plays against the cool, buttery avocado and the sharp, acidic salsa.
Without that contrast the filling tastes flat, like a salad folded into bread. Slicing the cooked chicken into strips rather than shredding keeps that crust intact and gives you defined pieces you can taste separately from the avocado.
Let the chicken cool before you cut it. Warm meat releases steam, and that steam has nowhere to go inside a closed wrap except into the tortilla. Cool strips keep the bread crisp and the filling firm enough to hold.
Why the Avocado Sits Under the Chicken
Avocado goes in raw, and its position in the stack is what keeps it that way. Tucked beneath the chicken, it’s shielded from the direct heat of the pan by the meat above it. Put it on top and the skillet would soften it past the point of holding shape, and soft avocado smears into everything around it.
There’s a balance at work here too. The chicken is lean and the salsa is sharp and acidic, so the avocado’s fat rounds both off and keeps the bite from tasting thin. That creaminess against the mozzarella is the whole reason the wrap doesn’t read as dry chicken and bread.
The risk is ripeness. An avocado past its prime turns slippery and wet, and the wrap starts to slide apart in your hand before you’ve taken two bites. It’ll also soak the tortilla from the inside.
Firm-ripe slices hold their shape under the chicken’s weight and stay distinct in the finished wrap. When you bite in, you want to feel pieces of avocado, not a paste.
Building the Stack in Order
Salsa goes straight onto the bare tortilla first. It soaks into the surface and seasons the bread itself, and its moisture gives the cheese something to grab onto so it doesn’t slide off when the wrap is folded. Skipping that step leaves you with dry tortilla under a loose filling.
Cheese comes next, laid between the salsa and the avocado. From there it melts into a stretchy sheet that binds the wet salsa to everything above it, and it keeps that moisture from reaching the tortilla all at once. The avocado rests on the cheese, and the chicken goes on last, on top of the avocado.
Weight matters here. Chicken piled underneath would press the avocado flat and squeeze it out the sides as you fold.
This order is what keeps the wrap tight through the pan. Wet layers stay low and contained, the cheese sets around them, and the wrap comes out of the skillet intact instead of leaking salsa onto the surface.
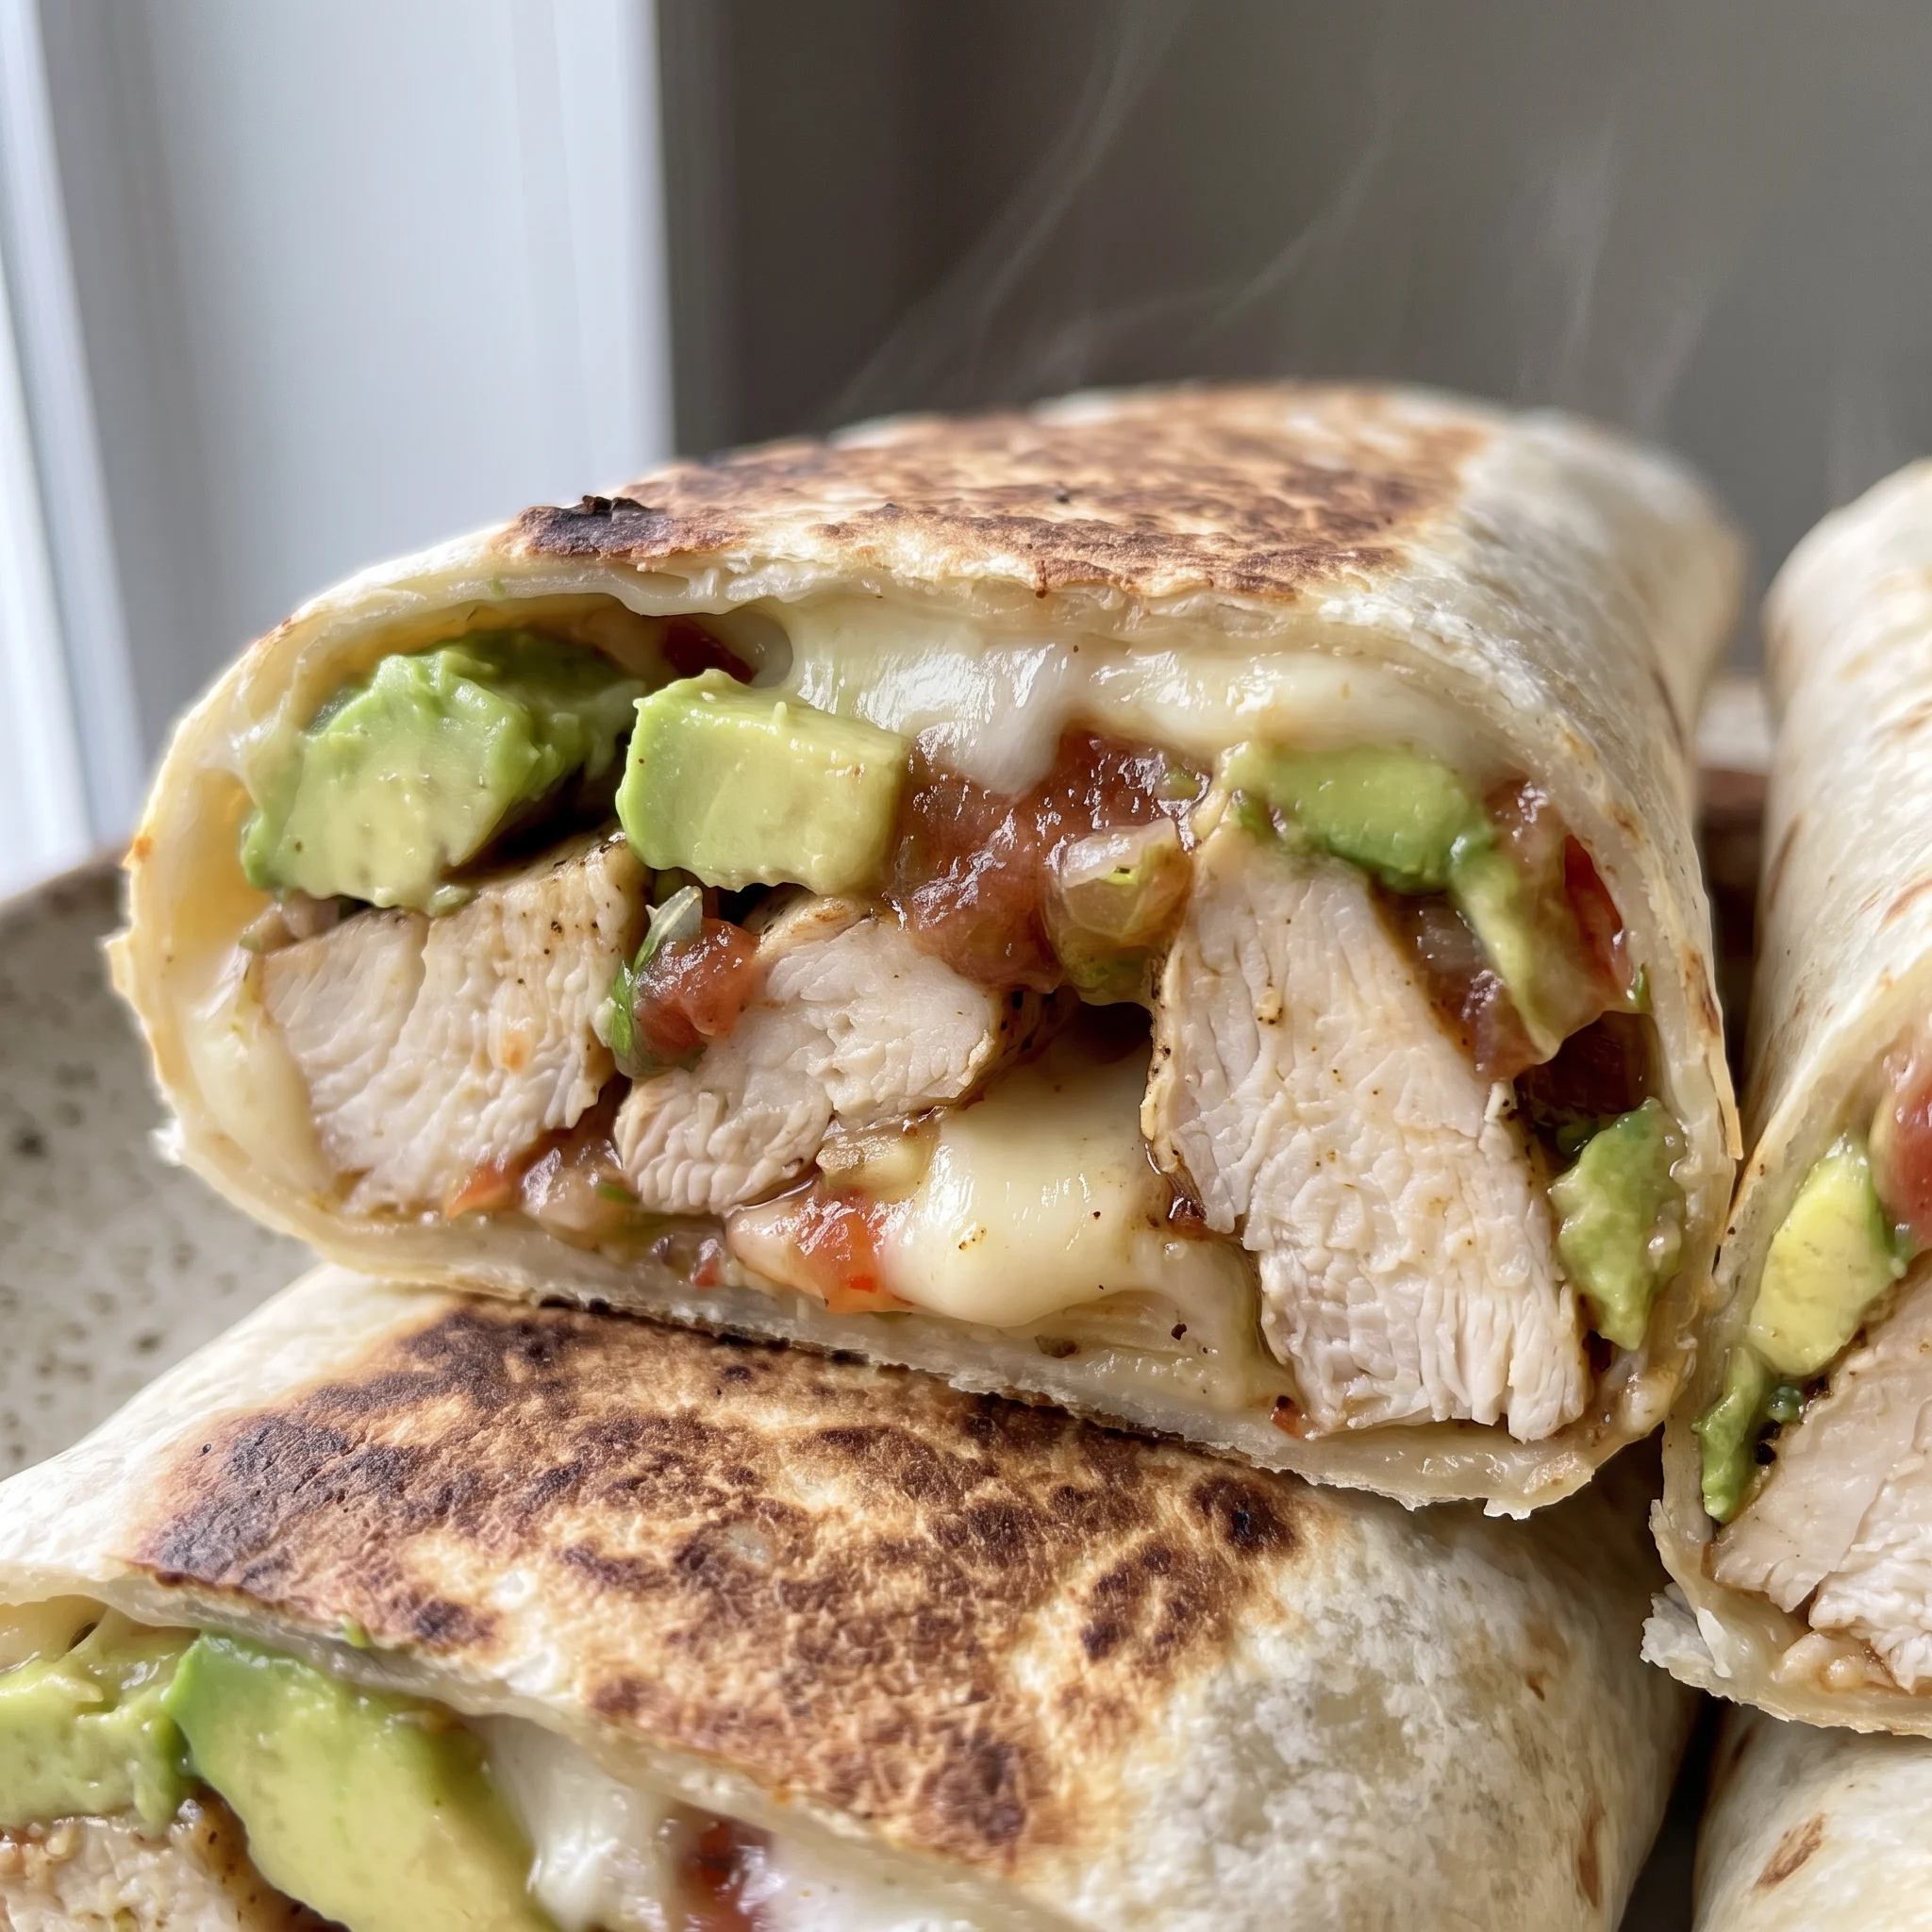
What to Buy and How to Prep It Before the Wrap Goes In
Avocados: Press near the stem: firm-ripe with a little give slices clean at a quarter inch and holds its shape under the chicken.
Flour tortillas: The 8 inch size leaves a clear border once the filling goes down, and a fresh, pliable one folds without cracking at the seam.
Chicken breasts: Two 8 ounce breasts of even thickness brown at the same rate, so one side doesn’t dry out waiting on the other.
Shredded mozzarella: Bagged shreds are fine here since the cheese is there to melt into a sheet and bind the salsa, not to stretch.
Chili powder: A fresh jar smells warm and earthy when you open it; old chili powder smells like dust and disappears against the avocado.
The seam-side-down grilling step is where a loose wrap fails: as the tortilla hits the hot pan, the outside firms and browns while the inside filling releases steam and pushes outward. If the seam was not pressed flat and fully contacted the pan, that pressure finds the gap and the wrap unrolls or leaks. The visual cue is the seam lifting or filling seeping out within the first minute, once the tortilla has browned and set, it is too late to reseal without tearing.
Reading the Chicken, the Avocado, and the Pan Before the Wrap Closes
When the chicken has browned enough to stop
Sizzle at the start is the oil telling you it’s hot enough. What matters is what happens after.
Watch the edges of each breast: the color climbs from the bottom up, and the side against the pan goes from pink to a deep gold with darker spots. Flip too early and the crust never sets, so the slices taste of spice powder instead of toasted spice.
Juices running clear at the thickest part is the doneness check. A breast that’s still giving up pink liquid needs more time, not more heat.
Cooling the chicken far enough to slice clean
Cutting a hot breast shreds it. The fibers pull apart under the knife and the crust tears away from the meat. Feel the outside of the chicken with the back of a hand: when it’s no longer radiating heat, the slices hold a clean edge.
Warm meat also steams inside the closed wrap, and that moisture is what turns the tortilla soft and limp before it ever reaches the pan. Waiting is the cheapest insurance here.
Choosing avocado that will still be there at the bite
Press the avocado near the stem end. It should give slightly and spring back, not stay hard and not dent and hold the dent.
The second kind is the problem: it slicks the tortilla and slides out the sides as you fold. Slices a quarter inch thick hold up under the chicken better than thin ones, which collapse under the weight. If the only avocados on hand are soft, cut them thicker and lay them on the cheese, where the melted layer gives them something to sit in.
Filling the tortilla without overloading it
The instinct is to use all the filling on each wrap. Look at the bare border around the edge of the tortilla as you build. It needs a clear inch on all sides, or the fold has nothing to grab and the salsa escapes into the pan.
If the center looks mounded rather than level, take some back out. A wrap that bulges in the middle domes in the skillet and browns in patches instead of across the whole face.
Judging the press and the flip
The spatula should meet resistance from the tortilla, not from the filling. Press down firmly; you’re chasing full contact, and the wrap will feel stiff and unyielding at first. When the underside is golden, the edge firms up and the wrap slides when nudged.
Flip before that and the seam opens. Flip too late and the tortilla goes from gold to dark brown in under a minute. Melted cheese announces itself as a soft give when you press the center.
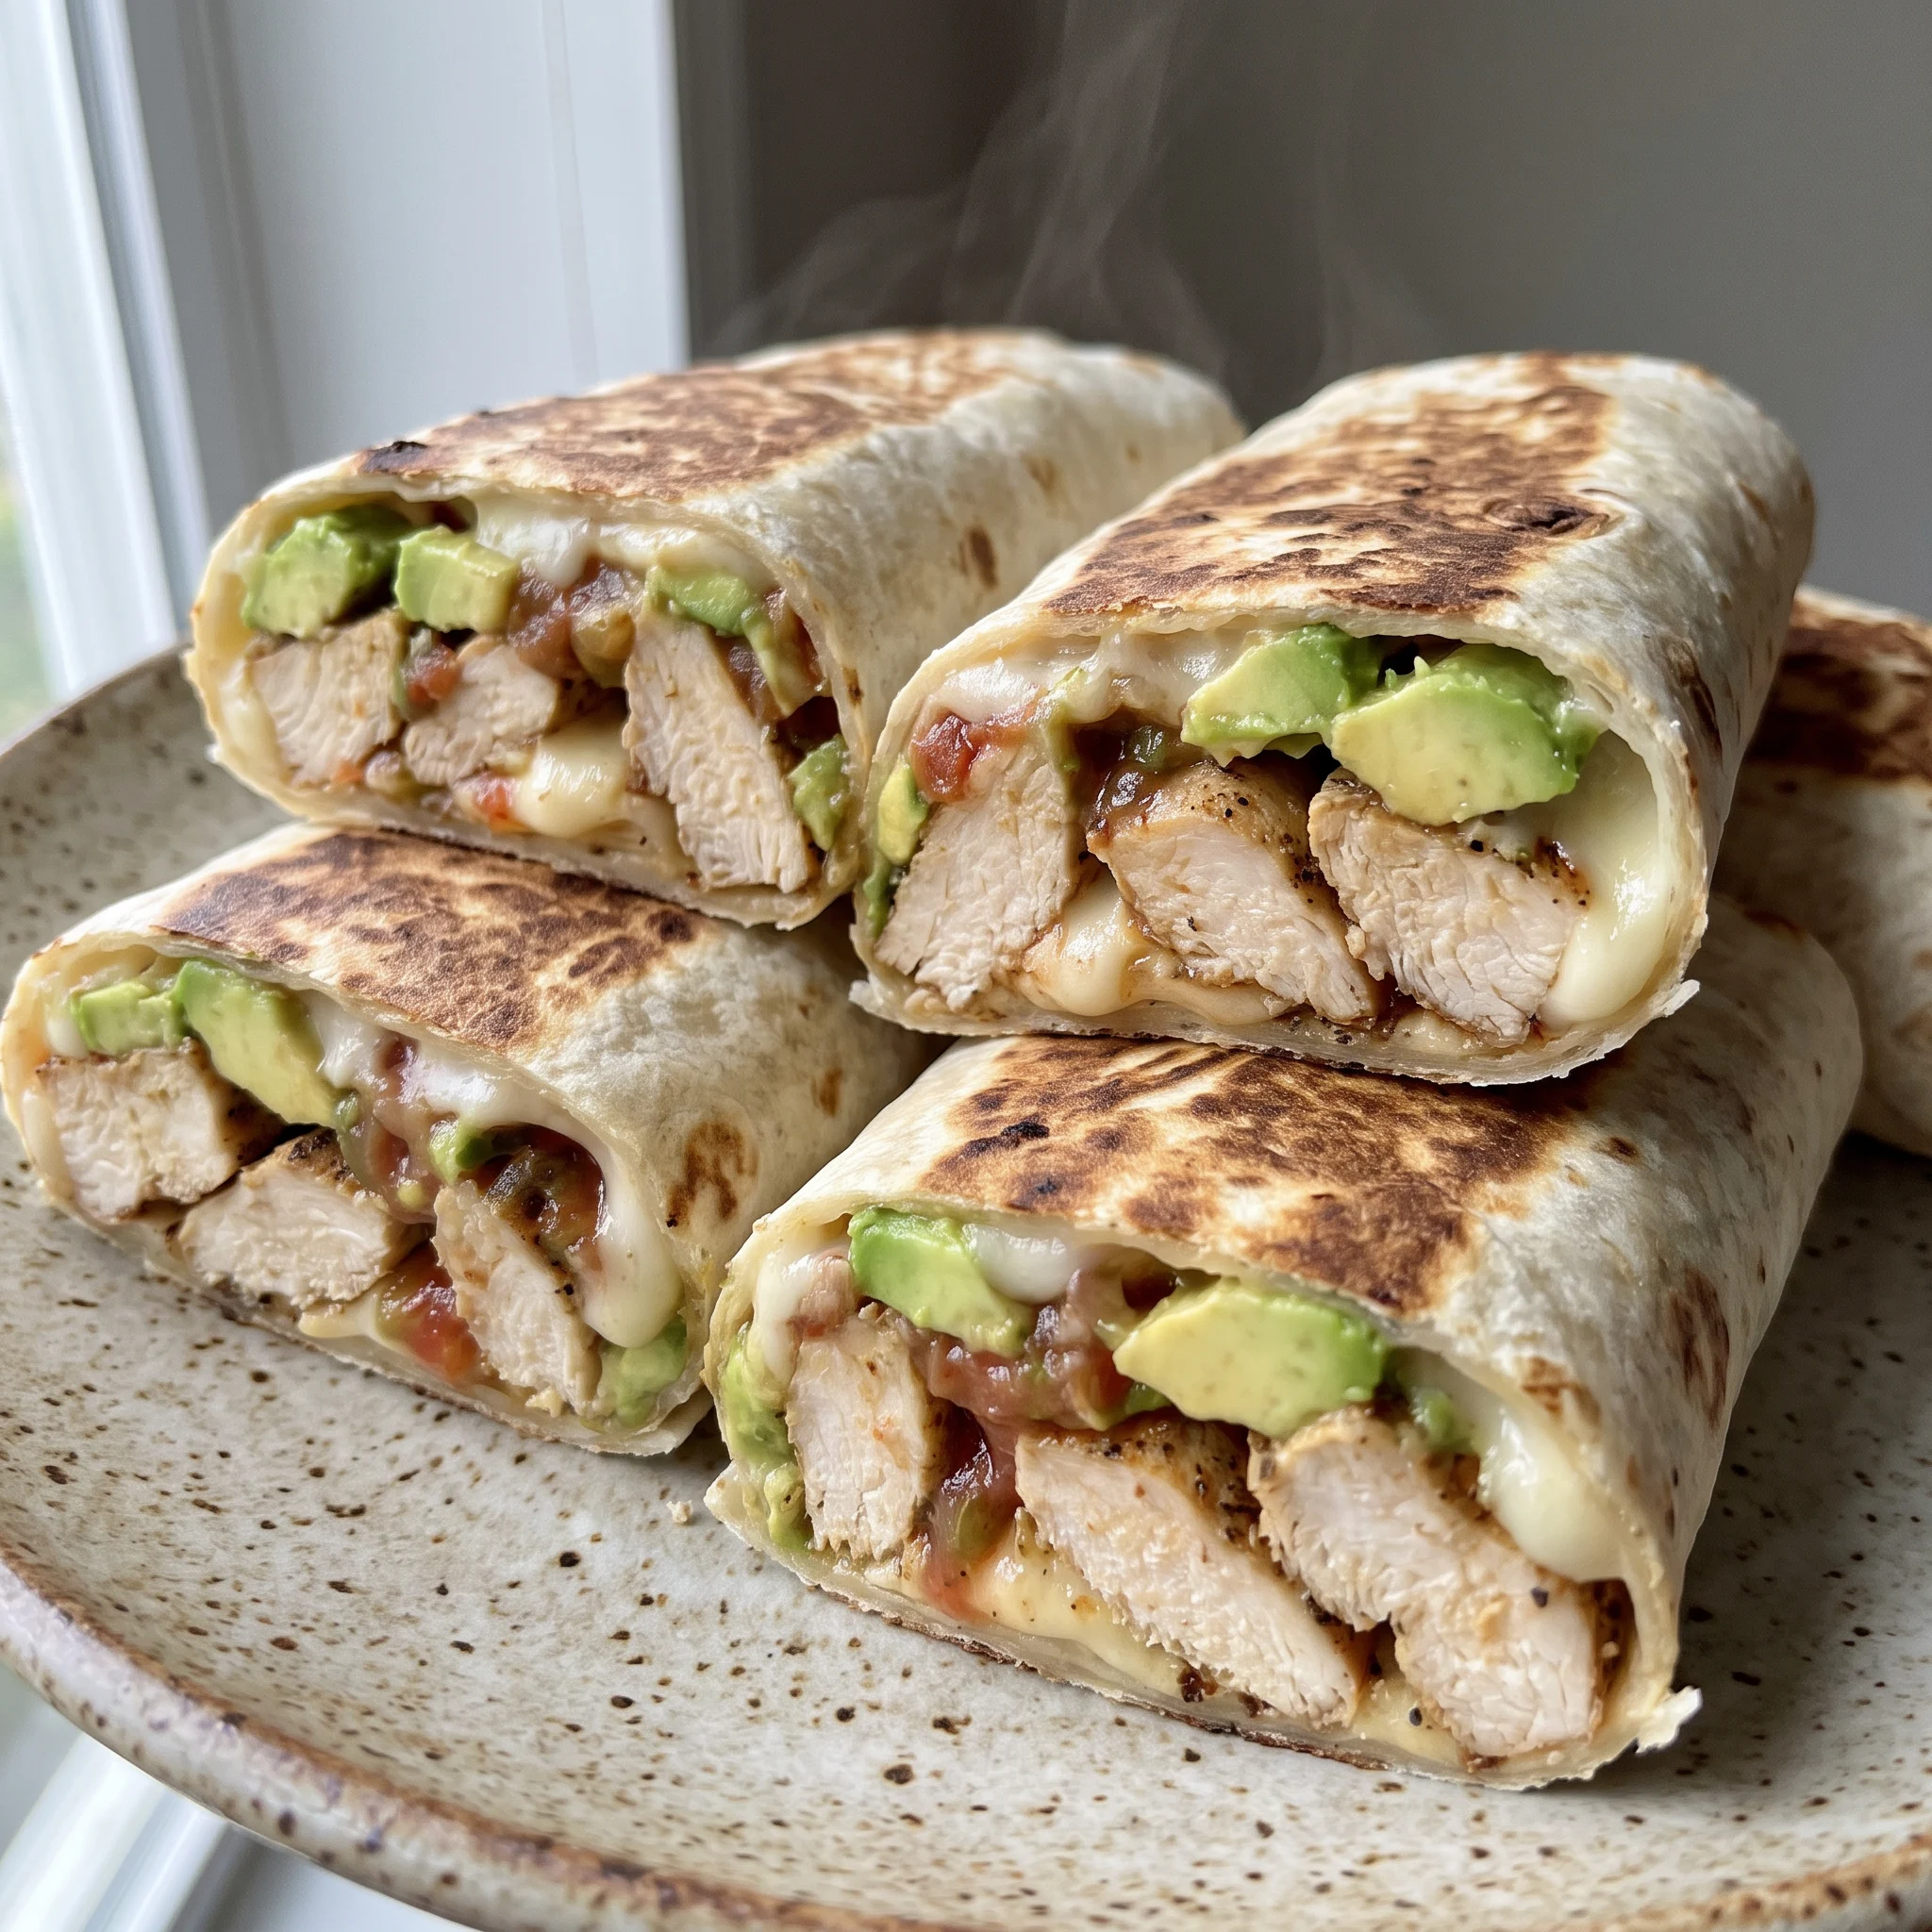
Grilled Avocado Chicken Wraps
Ingredients
Method
- In a large skillet, warm oil over medium-high heat. Sprinkle garlic powder, salt, pepper, and chili powder over the top of the chicken breasts. When the oil is hot, place the seasoned chicken in the skillet; it should sizzle. Sauté until each side develops some browning and the chicken is cooked through (juices should run clear), about 3 to 5 minutes per side, depending on the thickness of the chicken.
- Take off heat and let the chicken cool. Then cut each breast into strips.
- Lay the flour tortillas on a cutting board or baking sheet. Spread the salsa divided down the center of each tortilla. Sprinkle the shredded mozzarella divided down the center of each tortilla. Slice the avocado and place the slices in the center of each tortilla. Top the avocado with the cooked sliced chicken.
- To wrap the tortillas: Carefully fold the bottom of the wrap up. Then fold in the sides over the filling.
- To grill the tortillas: You should have some oil remaining in the skillet. If not, add more or use cooking spray on the outside of the wraps so they brown beautifully. Add the wraps seam side down to the same skillet used to cook the chicken. Press down on them as they cook. Cook on medium heat for about 3 to 4 minutes, flipping once, until the wrap is golden brown and the cheese is melted. Serve immediately with a side of salsa or sour cream.
Storage, Reheating, and the Short Window These Wraps Are Best
Grilled wraps have a narrow peak. Eat them within 15 minutes of the skillet, while the tortilla still crackles at the seam and the avocado holds its shape.
Past that, the salsa and the avocado’s moisture move into the bread and the crust goes soft. The avocado itself darkens where it met heat, and while it tastes fine, it looks tired.
Leftovers keep in the fridge, wrapped tight or in a lidded container, for up to 2 days. The tortilla will be limp by then.
Reheat in a dry skillet over medium heat, 2 to 3 minutes per side, pressing flat; the microwave softens the tortilla further and warms the avocado unevenly. Add fresh avocado slices after reheating, not before.
Don’t freeze assembled wraps. The avocado breaks down and the tortilla weeps.
The cooked chicken alone freezes well for up to 2 months; thaw overnight, then build fresh wraps. Serve leftover portions with a spoonful of cold salsa at the table.
Tips
- Give the pan a full minute at medium heat before the first wrap goes in, and start with only one wrap to check the temperature. The skillet is still holding heat from cooking the chicken, so a second wrap added right away browns faster than the first and can go from gold to dark before the cheese in the center has melted. Cooking one first tells you whether to nudge the heat down.
- Spread the salsa with the back of a spoon and leave the bare tortilla border ungreased, then wipe any salsa that reaches within an inch of the edge before folding. Salsa at the border keeps the seam from sealing and burns in the skillet, leaving a bitter dark stripe exactly where the wrap needs to hold. The border is what folds over and closes.
Where a Swap Costs You the Wrap, and Where It Doesn’t
Flour tortillas (8 inch): Corn tortillas, or cassava and almond-flour gluten-free wraps. Size is the whole game. An 8-inch round leaves roughly an inch of bare border after the filling goes down, and that border is what folds over and seals.
Drop to a 6-inch corn tortilla and there’s no margin: the salsa pushes out the seam in the pan and the wrap splits. Corn also cracks when you fold it cold, so warm it first until it bends without breaking. Gluten-free wraps vary wildly, some tear at the crease and some hold; buy the larger size and warm them before folding.
If you can only find 10-inch tortillas, use a little less filling per wrap rather than stuffing them fuller.
Shredded mozzarella: Shredded Monterey Jack, mild cheddar, or a dairy-free melting shred. Mozzarella’s job here is to melt into a sheet that traps the salsa against the tortilla, not to stretch for show. Jack melts the same way with a bit more tang.
Cheddar melts but releases oil, so the inside of the wrap turns greasy and the tortilla softens faster. Skip fresh mozzarella entirely: it’s wet, it won’t melt into a binding layer, and it waters down the salsa underneath. Dairy-free shreds melt unevenly, so press the wrap a little longer and expect a looser bind.
Olive or avocado oil: Neutral oil such as canola or vegetable, or cooking spray on the outside of the wraps. The oil is there for heat transfer and browning, so a neutral oil does the same job without the olive flavor pushing against the chili and salsa. Use the same 2 tablespoons for cooking the chicken.
For the grilling step, judge by what’s left in the pan: if it looks dry, add a thin film or spray the outside of each wrap so it browns instead of sticking and tearing.
Chicken breasts: Boneless thighs, or firm tofu for a meatless version. Thighs stay juicier and take a little longer per side, so watch for clear juices rather than the clock. Tofu needs to be pressed dry first, or it steams and the wrap goes soggy, and it won’t give you the browned crust that plays against the avocado, so season it a touch more heavily.
Either way, cool the protein before slicing so it doesn’t steam the tortilla from inside.
Frequently Asked Questions
Can I make these grilled avocado chicken wraps ahead of time?
Only up to a point, and the ceiling is low. The cooked chicken can be done ahead and chilled, but once the avocado is sliced and sitting against the tortilla, the clock is running: eat within 15 minutes of the skillet for the crackle at the seam and avocado that still holds its shape.
Assembled wraps keep in the fridge up to 2 days, though the tortilla goes limp and the avocado darkens where it met heat. Better plan is to cook and slice the chicken, keep it cold, and build the wraps fresh when you’re ready to grill.
Why did my wrap fall apart when I grilled it?
Most likely the filling was mounded instead of level, so the fold had nothing solid to close over and the salsa pushed out the seam. Look at the bare border as you build; it needs a clear inch on all sides, and if the center domes, take some back out.
Second check is the tortilla itself: an 8-inch round gives you that margin, and a stale or cold one cracks at the crease rather than bending. Firm-ripe avocado matters too, since soft slices slick the inside and slide as you press.
How is this different from a regular chicken wrap or burrito?
It finishes in the same skillet the chicken cooked in, seam side down and pressed flat, so the tortilla picks up the browned drippings and turns golden with a crackle at the edge. A regular wrap or burrito is rolled and eaten soft; here the pan contact is the whole point, and it only takes a few minutes once the filling is in.
Mozzarella goes in under the avocado and chicken to melt into a sheet that holds the salsa back from the bread. And the avocado stays raw, tucked beneath the meat so the pan heat never softens it.
