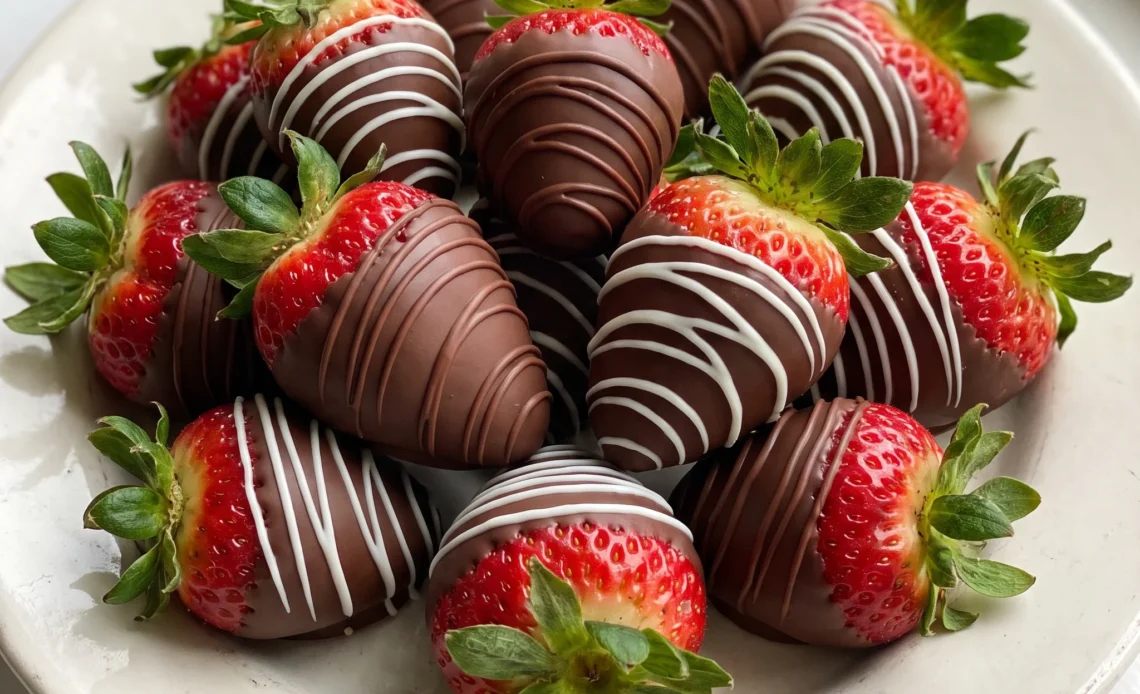
Bite through the shell and it cracks, thin and dark, before your teeth hit cold fruit. That snap is what separates a good batch from a waxy one, and it comes down to a handful of small things going right. Chocolate covered strawberries are forgiving enough for a weeknight and fussy enough to punish a wet berry or a bowl of chocolate that’s running too hot.
No tempering, no double boiler gymnastics if you’d rather use the microwave, nothing you need to buy. What you do need is patience with the drying and a feel for when the melt is ready. Get those, and the coating clings tight and glossy while the fruit stays crisp underneath.
Get them wrong and you’ll be scraping chocolate off parchment. The difference shows up in the first bite.
The most tempting shortcut is to rinse the strawberries and start dipping while they are still damp. Any water on the berry surface prevents the melted chocolate from bonding, so it slides off or sets with a dull, streaky finish; worse, a single drop of water in the chocolate bowl can cause the whole batch to seize and turn thick and grainy.
Dry the berries like the chocolate’s life depends on it
Water is the one thing chocolate can’t forgive. A berry pulled wet from the colander looks fine, but the chocolate hits that film of moisture and refuses to grip.
It slides, sets uneven, and peels away in a sheet when you bite. Worse, one stray drop falling into the bowl turns the whole batch thick and dull.
You’ll see it go grainy and matte within seconds.
So surface moisture matters more than any other variable in this recipe. Paper towels get most of it, then a few minutes of sitting does the rest while the chocolate melts.
Feel a berry after a couple of minutes: cool, dry, no tack. That’s what you want under the coating.
Berries that still feel slick will show it later as bare patches where the shell lifted. Sixteen ounces of strawberries, air-dried properly, gives you a coat that clings tight and shines.
Skip the wait and you’ll watch half the chocolate end up on the parchment instead of the fruit. Dry berries, glossy finish.
Coconut oil thins the melt and firms the shell
Straight melted chocolate is thicker than most cooks expect. It clings in a heavy coat, drips slowly, and sets with a dull surface. A tablespoon of coconut oil per 8 ounces loosens it just enough to flow around the fruit and drain off cleanly.
That one-to-eight ratio isn’t arbitrary. More oil and the shell turns greasy and soft at room temperature. Less and you’re fighting a stubborn melt that pulls the leaves off as you dip.
The set matters as much as the flow. Chocolate alone often cools to a streaky, grayish finish once it comes out of the fridge, and the surface can look cloudy instead of dark and even.
Coconut oil helps the coating firm up clean, so the finished berries have a shell that cracks when you bite rather than smearing across your teeth. The texture is crisp and thin, closer to a chocolate bar’s snap than a soft ganache.
Watch the bowl as you stir: the melted mixture should look glossy and loose enough to run off a spoon in a steady ribbon.
Leave a handle and scrape off the surplus
Berries dipped all the way to the stem lose their grip. Keeping the green leaves clear of chocolate gives you something to hold, both now and when someone lifts one off the plate. It also makes the fruit look like fruit rather than a chocolate lump.
Dipping nearly to the leaf line, though, means almost every bite carries coating and fruit together. The fruit stays the star and the chocolate does its job as a thin jacket.
Excess is the other half of the equation. A berry lifted straight from the bowl carries far more chocolate than it needs, and that surplus pools on the parchment into a flat skirt that hardens into a chewy puddle. Running the berry along the inside rim of the bowl shaves the coating back to a practical layer.
What’s left sets evenly, with no thick heavy bottom. You want to see the fruit’s shoulders clearly through the coat, dark and smooth.
The parchment underneath should stay almost clean.
A short chill turns the coating into a shell
Fifteen minutes in the refrigerator is enough to take the chocolate from soft and tacky to firm. Touch one at the ten-minute mark and it’s still giving; at the fifteen it resists your finger and has that matte snap-ready look. The shell cracks cleanly against your teeth instead of bending.
Strawberries themselves firm up in the cold too, so the bite reads as crisp fruit under crisp chocolate.
Temperature at the table changes the whole experience. Served straight from the fridge, the coating stays rigid and the fruit stays tight and cool. Left out on a counter for twenty minutes, the chocolate softens at the edges and starts to feel tacky, and the berries weep a little into the coat.
They’re still edible, just smeary and awkward to pick up. Keep them cold until the moment they go out, and a plate of these disappears fast. That first crack when someone bites in tells you the chill did its work.
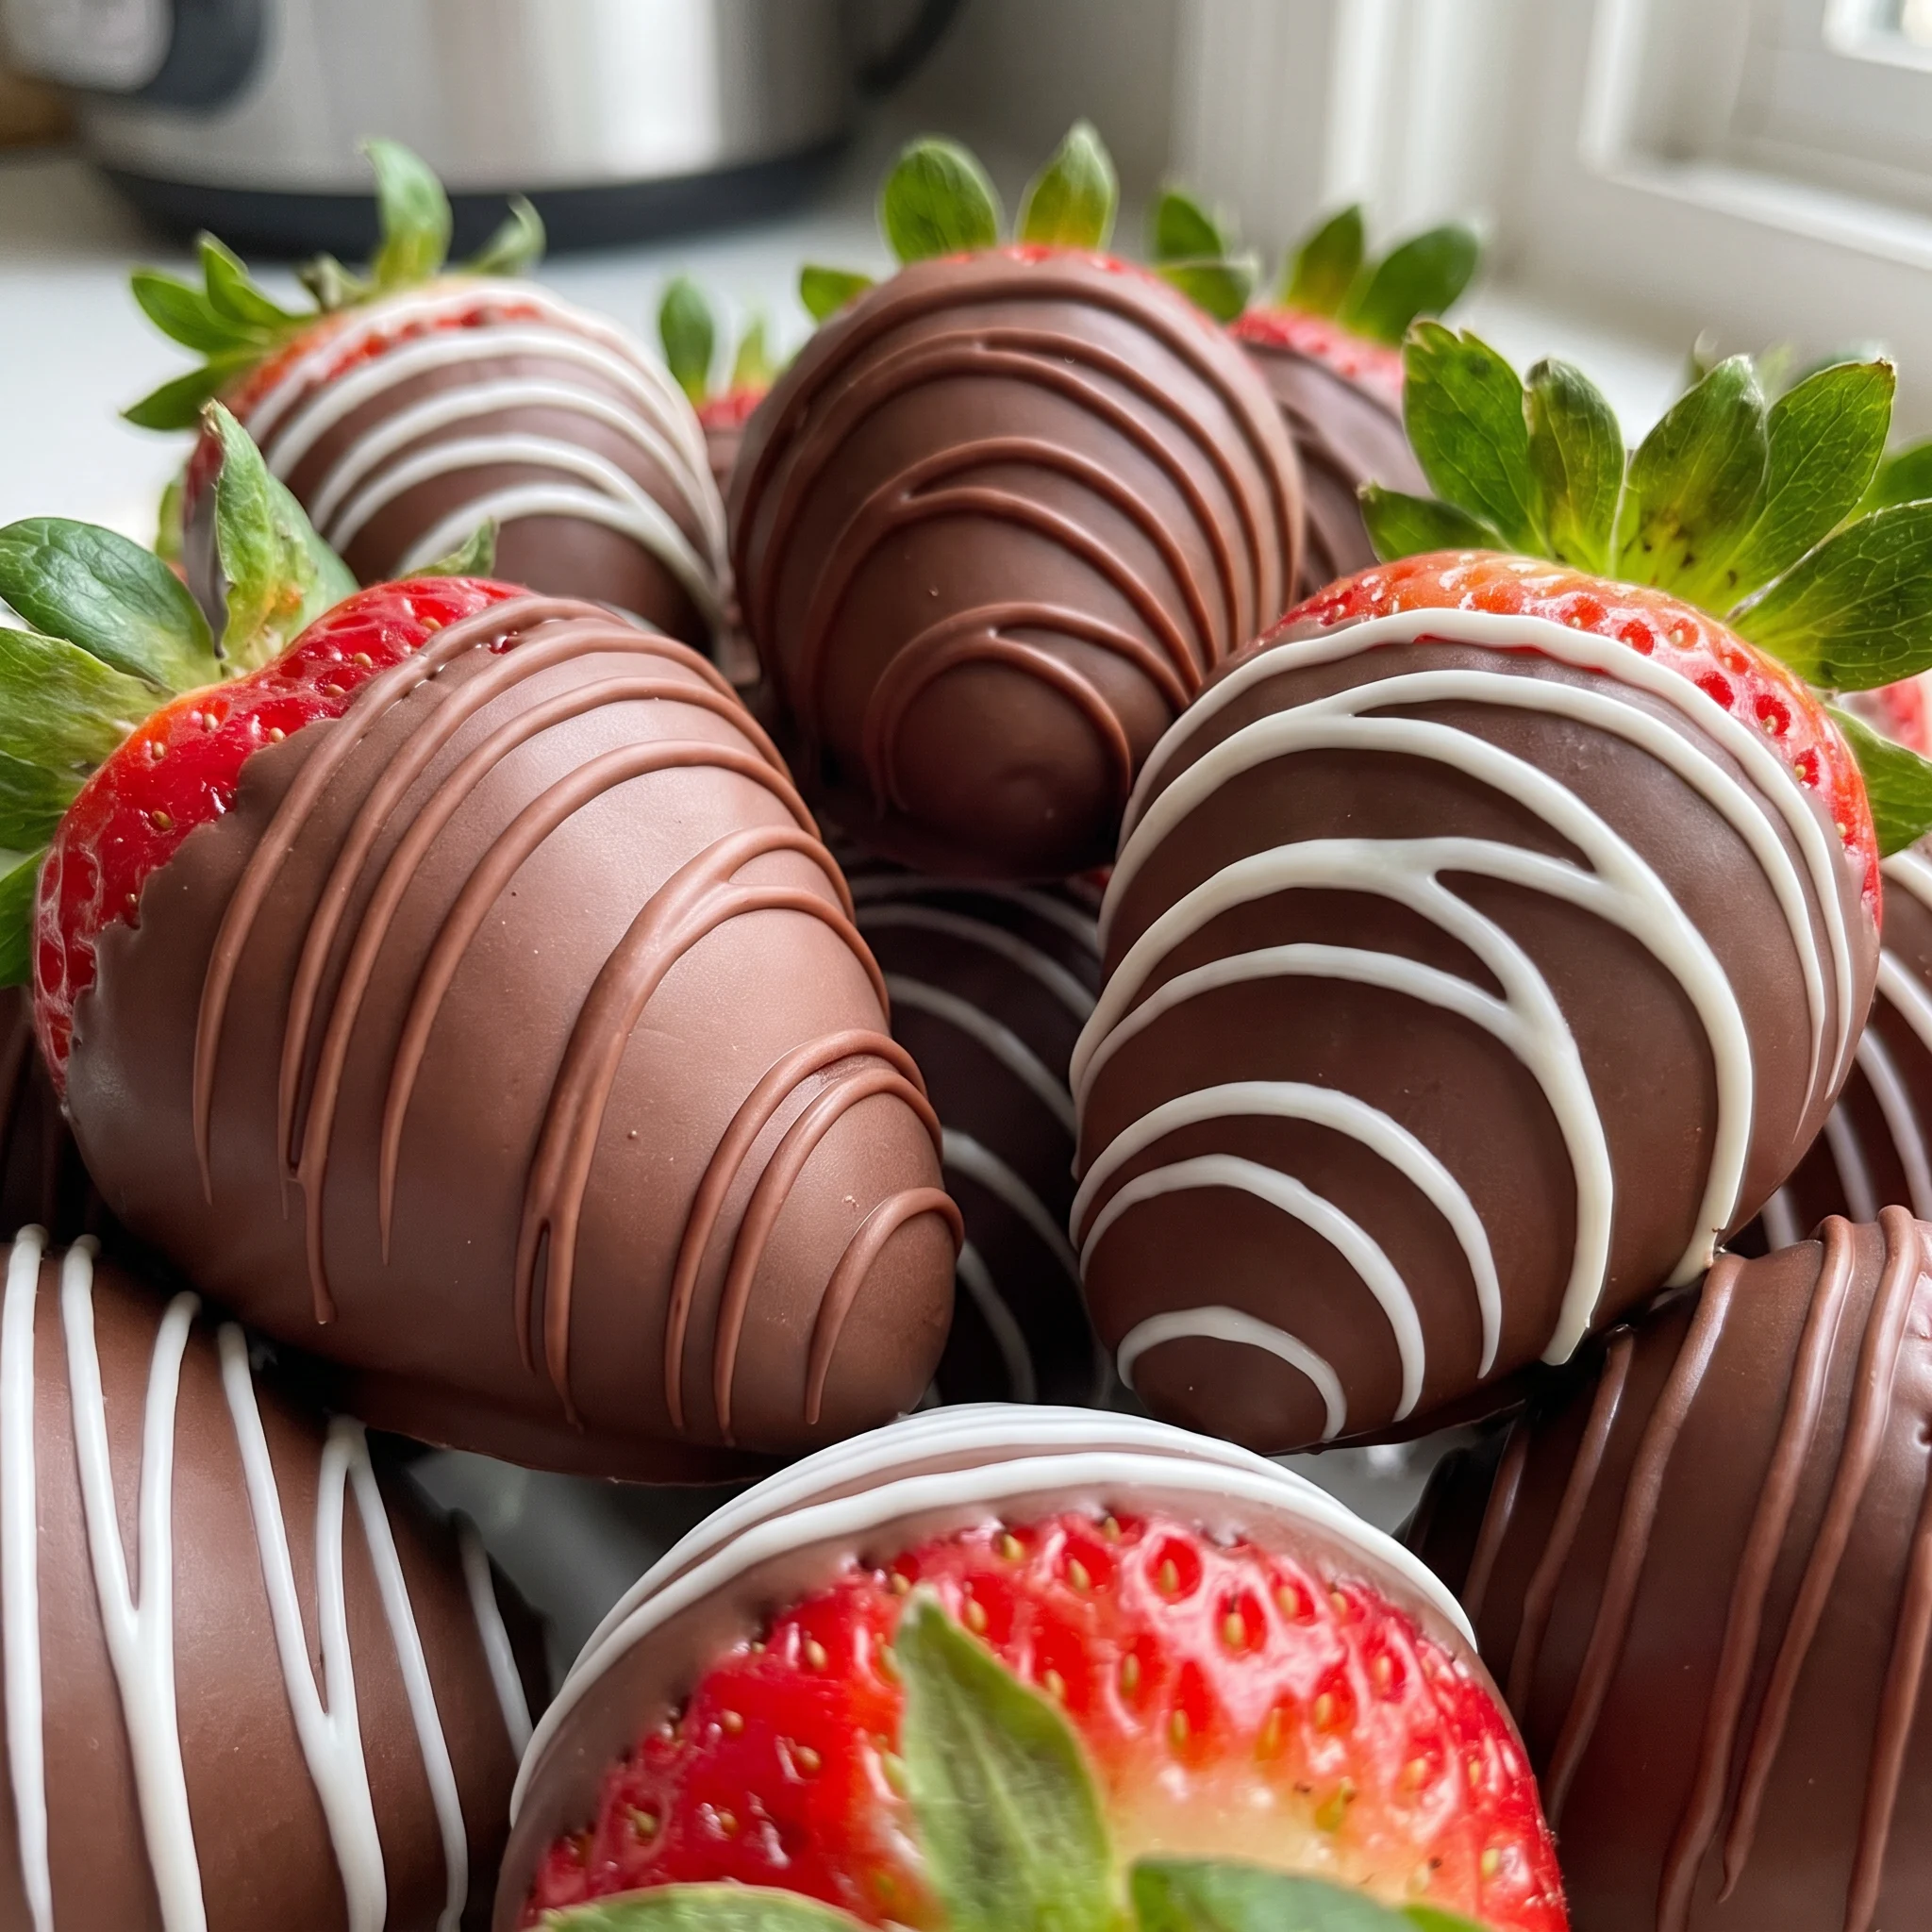
What to put in the bowl, and what each one does to the shell
Strawberries: Sixteen ounces makes fourteen servings, and the berries need to be dry and at room temperature before they meet the chocolate.
Semi-sweet chocolate chips: Buy a good quality brand, since cheap chips carry more stabilizers and set dull and waxy instead of snapping clean.
Coconut oil: One tablespoon per eight ounces of chips is the ratio that lets the chocolate flow thin and firm up glossy.
Drizzle chocolate: Two ounces is enough for a thin squiggle over the whole batch, and white or milk makes the line visible against the dark.
Reading the chocolate, the berries, and the set as you go
Telling a melt that’s ready to dip from one that’s too hot
Chocolate straight from a microwave burst can feel loose and hot in the bowl, and hot chocolate slides off the fruit in a thin sheet, leaving a pale see-through coat. Give the bowl a stir and watch the ribbon fall from the spatula. If it runs fast and thin, wait.
It thickens as it cools at the edge. Dip a test berry and look at the side: a coat that clings and holds is right, one that beads and drips away is still too warm.
Spotting seized chocolate before it’s past saving
One drop of water or an overheated burst and the bowl goes from glossy to a stiff, grainy paste that won’t flow off a spoon. That texture is the tell.
Stop stirring and don’t add more liquid to loosen it, since that pushes it further. A tablespoon of coconut oil stirred in can bring back a workable melt if the seize is mild. If it stays matte and clumped, start a fresh bowl.
Coating a berry with seized chocolate gives a lumpy, dull shell.
Judging the coat by what drips back into the bowl
Pull a berry up and hold it a second over the bowl. A heavy coat sheds slow, fat drips and leaves a thick skirt on the parchment that sets chewy. Dragging the berry once along the inner rim takes off the surplus.
What’s left should let the berry’s shape read through, dark and even. If the parchment under a finished berry shows a wide pool spreading out, the coat was too heavy and the next dip needs more scraping.
Reading the set by touch, not by the clock
Chocolate goes from tacky to firm on its own schedule, and the fridge temperature, how thick the coat is, and how cold the berries went in all shift it. Press a coated berry lightly at the twelve-minute mark.
If your finger leaves a print that stays, give it more time. When it resists and looks matte rather than shiny, the shell is set. Pulling them early leaves smeared fingerprints and a coat that slides.
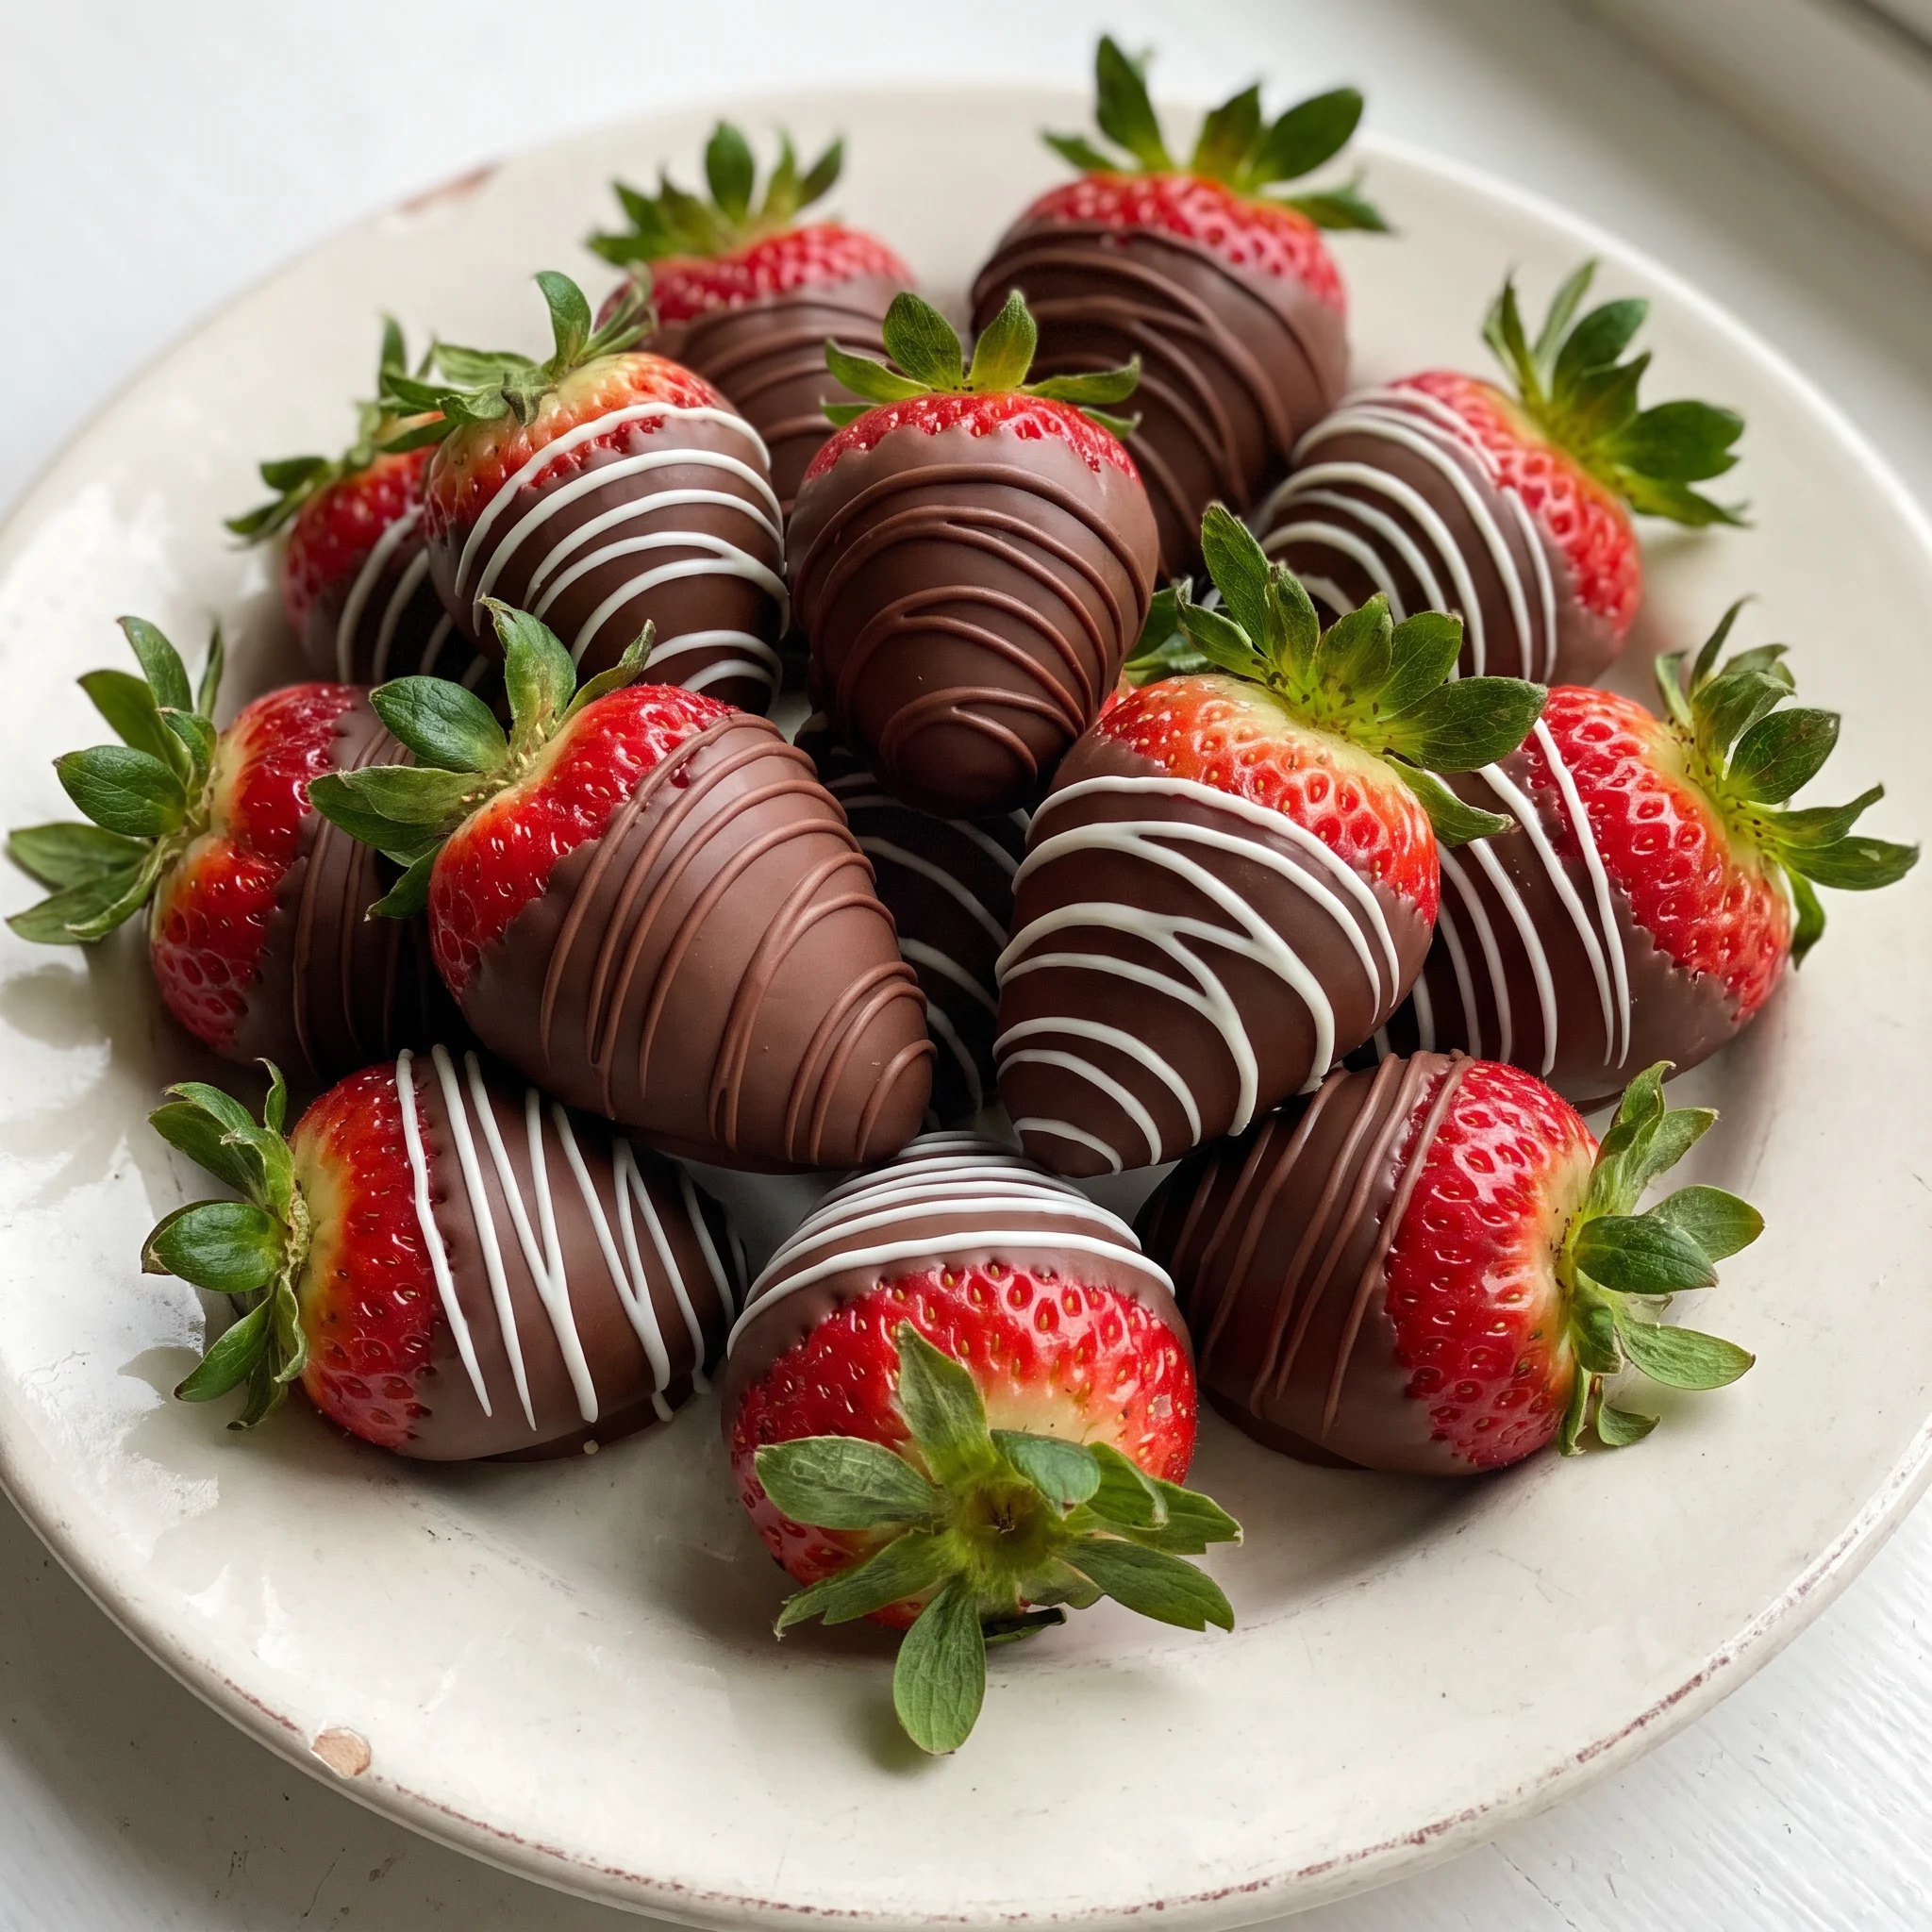
Chocolate Covered Strawberries
Ingredients
Method
- Cleaning the strawberries: if yours are organically grown, put them in a colander and rinse thoroughly beneath cold running water, turning them now and then, then drain completely. If yours are conventionally grown, submerge them for 5 minutes in a mix of 4 parts water to 1 part vinegar. Rinse and drain completely in a colander.
- Drying the strawberries: pat every berry thoroughly with paper towels, then leave them to keep drying as you melt the chocolate. Chocolate will not adhere to wet berries, and no water should get into the chocolate mixture.
- Melting chocolate, microwave method: put the chocolate chips and coconut oil into a small microwave-safe mixing bowl. Warm in the microwave in 20 second bursts, stirring thoroughly after each burst, until smooth and melted.
- Should the chocolate be runny, cool it just briefly so it thickens a little before you start dipping the berries.
- Melting chocolate, stovetop method: put the chocolate chips and coconut oil into a heat-proof bowl (glass or stainless steel, for example) that rests securely over a saucepan.
- Simmer about 1-inch of water in the saucepan, lower the heat to low, and set the chocolate bowl over the pan. Stir continuously while heating until the chocolate melts. Take it off the heat.
- Dipping the strawberries: lay a sheet of parchment paper on a baking sheet. One berry at a time, grasp it by the leaves and dip it into the melted chocolate, covering nearly up to the top. Tilt the bowl as needed so the chocolate pools to one side, and turn the berry to coat every side as needed.
- Lift the berry and allow the excess chocolate to drip off, drag it along the bowl’s inner edge to remove only part of the chocolate, then place it coated side down on the parchment paper (if using toppings, dip before moving it to the baking sheet).
- Repeat with the rest of the strawberries. Move the dipped strawberries to the refrigerator and let the chocolate set, about 15 minutes.
- Storing the strawberries: keep them in a single layer inside an airtight container in the refrigerator; for best results, eat them within about 12 hours.
Keep them cold in a single layer and eat within 12 hours
Stack these and you’ll get a mess: the chocolate presses into the berry below and the whole lot sticks together. So store them in a single layer in an airtight container in the fridge. The cold keeps the chocolate firm and the fruit tight.
But the clock is running. Within about 12 hours the berries start to weep, and that moisture softens the coating and turns the fruit limp. You’ll see it first as a slight sheen on the chocolate and a tacky feel.
After that, the texture goes downhill fast. So plan to eat them the same day you make them. If you’re adding the optional drizzle, do it after the initial 15-minute chill, then give the berries another few minutes in the fridge to set the drizzle before serving.
Serve them straight from the fridge; that’s when the coating snaps and the fruit is crisp. Leave them out and the chocolate softens and the berries sweat.
Tips
- Check the chocolate chips’ ingredient list before buying: if the first ingredient is sugar rather than cocoa butter or chocolate liquor, or if the list runs long with stabilizers, the melt will set soft and streaky no matter how carefully you temper it. Chip labels vary widely at the same price point, and the cocoa percentage on the front tells you less than the order of ingredients on the back.
Which swaps survive the dip, and which leave you with a puddle on the parchment
Semi-sweet chocolate chips: Bittersweet or dark chips (60 to 70 percent) work, and so does chopped bar chocolate, which melts more evenly than chips because it carries fewer stabilizers. Milk chocolate is the sweeter route, and white chocolate the fussiest. Darker chocolate gives a sharper bite against the sweet fruit, and the shell sets hard and snaps.
Milk chocolate stays softer at room temperature, so keep those cold until serving. White chocolate scorches faster in the microwave, so pull it at the first sign of gloss and stir the rest of the way.
Chopped bar chocolate flows looser than chips, so scrape the berry harder on the rim or you’ll get thick skirts.
Coconut oil: Unsalted butter or vegetable shortening, measured the same as the recipe’s tablespoon, though neither matches it exactly. Skip the swap and melt the chips alone if you’d rather.
Butter brings a dairy flavor that reads against dark chocolate, and it firms less firmly than coconut oil, so the shell stays slightly soft and picks up fingerprints longer out of the fridge. Shortening sets harder and cleaner but leaves a faint waxy film on the tongue.
Chocolate melted without any fat is thicker and coats heavier, so expect more scraping and a duller surface.
Fresh strawberries: Frozen berries don’t work here, and there’s no way around that. If fresh ones look tired, use them anyway once they’re dry, or pick a different fruit that’s dry on the surface and firm enough to hold a coat. Thawed frozen berries release water into the chocolate and the shell slides off in patches.
Fresh fruit that’s slightly underripe actually dips better than a soft, juicy berry, because it holds its shape under the weight of the coating and doesn’t weep into it overnight.
Drizzle chocolate: Any chocolate you have left from the dipping bowl, thinned with a touch more coconut oil if it’s stiff. The 2 ounces is a guideline, not a rule.
Reusing the dipping chocolate gives you a drizzle the same shade as the shell, so it reads as texture rather than contrast. White or milk chocolate over the dark coat shows the squiggle clearly and adds a second sweetness.
Melted chocolate that’s been sitting a while may need a few more seconds of heat to flow through the snipped corner without clumping.

Frequently Asked Questions
Can I make chocolate covered strawberries ahead of time?
Yes, but only by hours, not days. The storage window is the real limit: within about 12 hours the berries start to weep and the coating softens, so a batch made the night before is already past its best. If you’re planning ahead, dip them the same morning you plan to serve and keep them cold in a single layer.
The optional drizzle should go on after the first chill and then get a few more minutes to set, so factor that into your timeline.
Why did my chocolate turn white or streaky after chilling?
Most often the chocolate was too warm when it went into the fridge, so it set slowly and the surface dried unevenly. Let the melted chocolate cool just until it thickens a little and a test berry comes out with a coat that clings rather than beads. A second check is the berries themselves: any moisture left on the fruit can cause the coating to cloud or lift in patches.
If your bowl looks glossy and the berries feel dry, the set should come out dark and even.
How long do chocolate covered strawberries last in the fridge?
About 12 hours is the realistic window. The cold keeps the shell firm and the fruit tight, but past that the berries release moisture and the coating turns tacky and dull. You’ll notice a slight sheen on the chocolate first, then the fruit goes limp.
Plan to eat them the same day you make them, straight from the fridge.
What’s the difference between these and store-bought chocolate covered strawberries?
The big difference is the shell: store-bought ones often use a compound coating that sets hard and waxy, while these use real chocolate thinned with coconut oil, so the coat snaps clean and tastes like chocolate rather than sugar wax. You also control the thickness by scraping the berry on the bowl’s rim, which keeps the fruit visible instead of burying it. And the fruit itself is fresher, since you’re dipping dry, room-temperature berries and eating them within hours.
The trade-off is that homemade ones don’t hold up as long, so they’re a same-day affair.
