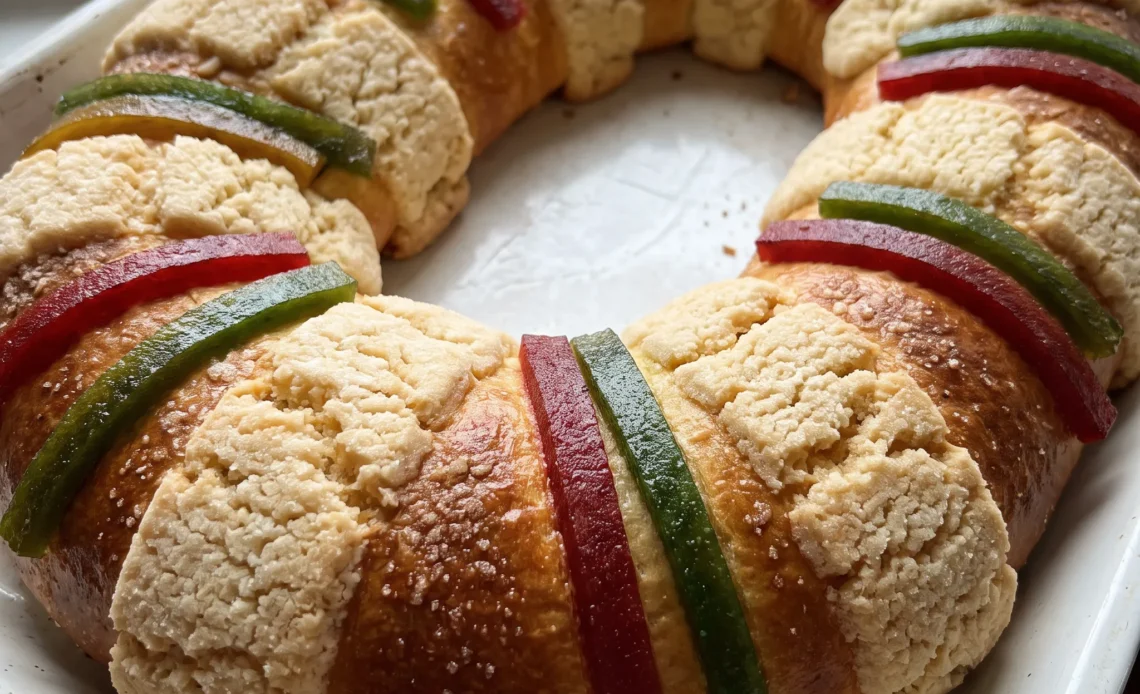
A rosca de reyes is a party trick you can eat. Somewhere under that ring of candied fruit and quince paste sits a small figurine, and whoever finds it in their slice gets handed the next obligation, usually tamales.
That single hidden piece changes how people come at the bread. They cut small, watchful slices.
They lean over the table. The hardest part for the baker isn’t the dough itself; it’s getting the figurines buried deep enough that no edge pokes through and burns, while the decorated ring still rises around them.
Push one in shallow and you’ll smell it before anyone finds it. The other quiet risk is the toppings. They pull moisture from the crumb, so a rosca is at its best the day it’s baked and noticeably duller after.
Plan to eat it while the sugar paste still cracks.
Why shape the dough into a ring?
A ring has no corners and no ends, so the whole thing rises and bakes at the same rate. In a loaf, the middle can still be doughy while the ends dry out; in a braid, the thin parts darken first. With a ring, heat moves through the open center and around the outside, so the crumb sets evenly and the crust browns all over without any pale, underdone spots.
Joining the ends into a continuous circle also gives the bread a built-in support structure. That heavy crown of candied fruit, quince paste, and sugar strips needs a base that won’t sag or split.
A continuous ring holds its shape and keeps the toppings from sliding off during the final rise and bake. Tucking the figurines beneath the dough hides them from view, but it also protects them from the direct heat that would crack or discolor them. The ring is both a symbol of a crown and a clever way to get even baking and a sturdy platform for the decorations.
The dough is barely sweet, and that’s deliberate
Only a third of a cup of sugar goes into the dough, which sounds low for a celebration bread. The restraint is intentional. A sweeter dough would compete with the candied fruit and quince paste, turning every bite into a sugar bomb.
Instead, the dough stays in the background, lightly sweet and rich from butter, eggs, and milk. Those ingredients also make the crumb soft and tender, so it yields easily under the toppings without turning gummy. The orange zest and orange blossom water add a gentle floral note that ties the dough to the fruit.
Without them, the bread would taste plain next to the bright toppings. With them, each slice has a subtle perfume that echoes the citrus and candied flavors.
You’ll notice the difference most in the finish: a clean, buttery taste that lets the fruit speak, rather than a heavy sweetness that flattens everything.
Toppings do more than decorate
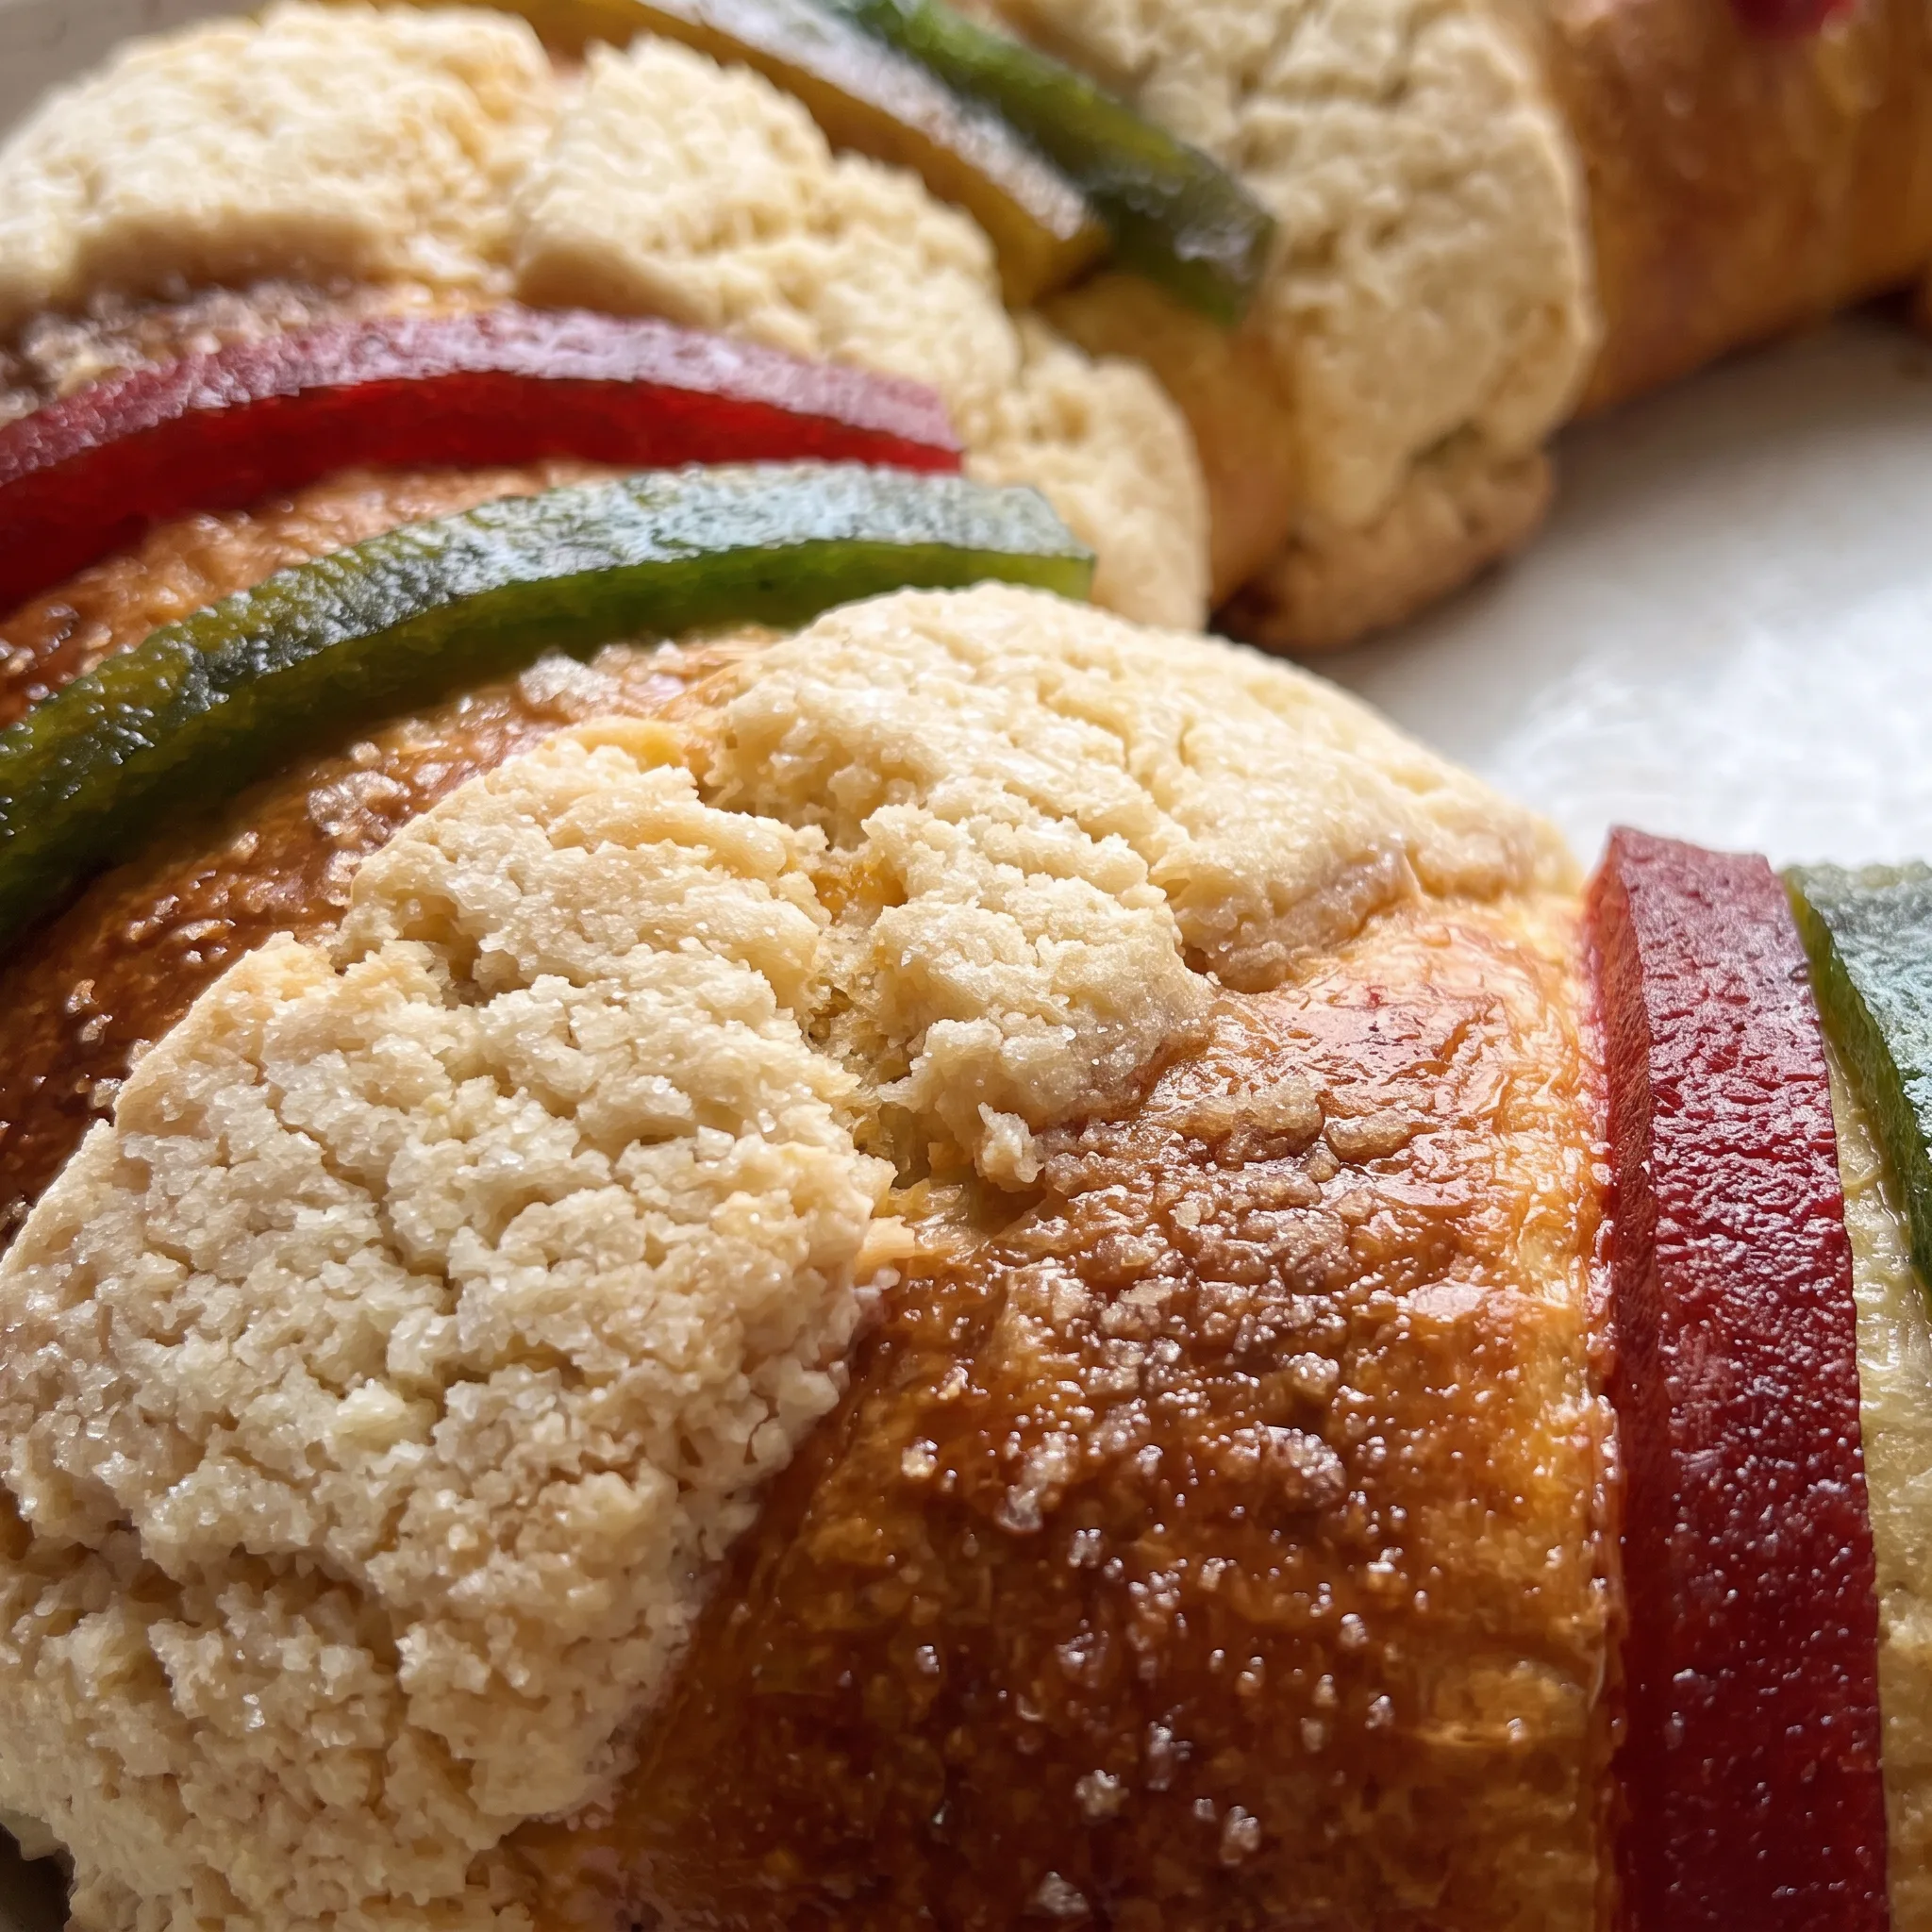
The strips of sugar paste, quince paste, figs, and candied fruit are not just for looks. Each brings a different texture and moisture level.
Quince paste is dense and chewy, almost like a firm jam, while figs are softer and seedy. Candied fruit offers a candied chew and bright color.
Together they create a mix of soft, sticky, and slightly crunchy that keeps each bite interesting. The strips of sugar paste, piped in lines across the ring, bake into a crisp, crackly border that contrasts with the tender dough.
That crunch is a textural counterpoint you’d miss if you skipped them. The fruits also balance sweet and tart: quince paste is sweet-tart, candied fruit can be honeyed, and figs bring a mellow sweetness. The orange zest in the dough echoes the citrus notes in the candied fruit, so the whole thing tastes cohesive.
When you bite into a slice, you get soft bread, chewy fruit, and a shatter of sugar paste, all at once.
The long rise builds flavor and keeps the bread moist
The hours the dough spends rising are not idle time. During that slow fermentation, the yeast produces alcohol and acids that deepen the flavor, giving the bread a subtle tang and complexity you won’t get from a quick rise.
The gluten also relaxes, so the crumb ends up tender rather than tough. After you’ve decorated the ring, the second rise lets the toppings settle into the dough. The sugar paste strips and fruit press slightly into the surface, so they adhere and don’t slide off in the oven.
That final proof also gives the dough one last chance to puff around the decorations, creating a snug fit. All that time also improves how the bread keeps. A long-fermented dough retains moisture better, so the rosca stays soft for days instead of drying out by the next morning.
The wait is worth it for the flavor and texture you can’t rush.
The ingredients that make or break a rosca
Active dry yeast: One 11 g packet is enough for 4 cups of flour, but old yeast never foams properly and leaves the dough flat.
Orange blossom water: A single tablespoon is potent, so use the clear, fragrant kind from a Middle Eastern or Latin market, not an artificial extract.
Quince paste (ate): Look for a firm block you can slice into strips, not a soft spreadable paste that will run during the bake.
Candied fruit and figs: Choose pieces that are plump and glossy, not dry or crystallized, so they stay chewy instead of turning hard.
Small figurines: Use food-safe plastic or ceramic figurines small enough to tuck completely under the dough without poking through.
How to read the dough at every stage, from the yeast to the bake
Judging the yeast: foam, not just bubbles
After 10 minutes, the milk should wear a cap of foam thick enough to hold a spoonful. A few bubbles on the surface means the yeast is sluggish; the dough will rise, but slowly and with less lift.
If there’s no foam and the milk smells flat, start over with fresh yeast and warm milk, not hot. The milk should feel like a warm bath, not a hot drink.
Too hot and the yeast dies quietly; you’ll see no foam at all.
Reading the dough as it kneads: from shaggy to smooth
At 10 minutes, the dough should be elastic enough to stretch into a thin, translucent window without tearing. If it tears, keep kneading in 2-minute bursts. Under-kneaded dough fights back when you shape it and bakes up tight and crumbly.
Over-kneaded dough feels hot and springs back too fast; let it rest 5 minutes and check again. The goal is a dough that’s smooth, slightly tacky, and holds a dimple when pressed.
Knowing when the first rise is done: doubled, not just puffy
5 to 2 hours depending on your kitchen. Press two fingers into the side; the indent should stay.
If it springs back immediately, it needs more time. If it collapses or smells sharply of alcohol, it’s overproofed. Overproofed dough will bake up flat and pale.
Punch it down, reshape, and give it a shorter second rise. The dough should feel airy and soft, like a marshmallow, not tight.
Placing the figurines and toppings so they stay put
Tuck the figurines completely under the dough, not pressing through the top. If any part pokes out, it will burn or crack. The dough should cover them like a blanket.
For the sugar paste strips and fruit, press them gently into the surface so they adhere. If they sit on top, they’ll slide off during the final rise or bake. The decorated ring should look tucked, not just placed.
A light press is enough; don’t deflate the dough around them.
The final rise: when the ring is ready for the oven
After 45 minutes, the ring should look puffed and the gaps between decorations should be filled in. When you gently press the side, the indent should slowly spring back, but not completely. If it springs back fast, give it 10 more minutes.
If it looks deflated or wrinkled, it’s overproofed; bake it anyway, but expect a denser crumb. The ring should feel light and airy, like it might float. If it feels heavy, it needs more time.
Judging the bake: color and sound, not just the clock
At 25 minutes, check the color. The crust should be a deep golden brown, and the bottom should sound hollow when tapped.
If the top browns too fast, tent it with foil. If it’s pale after 30 minutes, leave it in 2 more minutes. Underbaked rosca will be doughy at the center and collapse as it cools.
Overbaked will be dry and hard. The internal temperature should read 190°F to 200°F if you have a thermometer. The decorations should look set, not burnt.
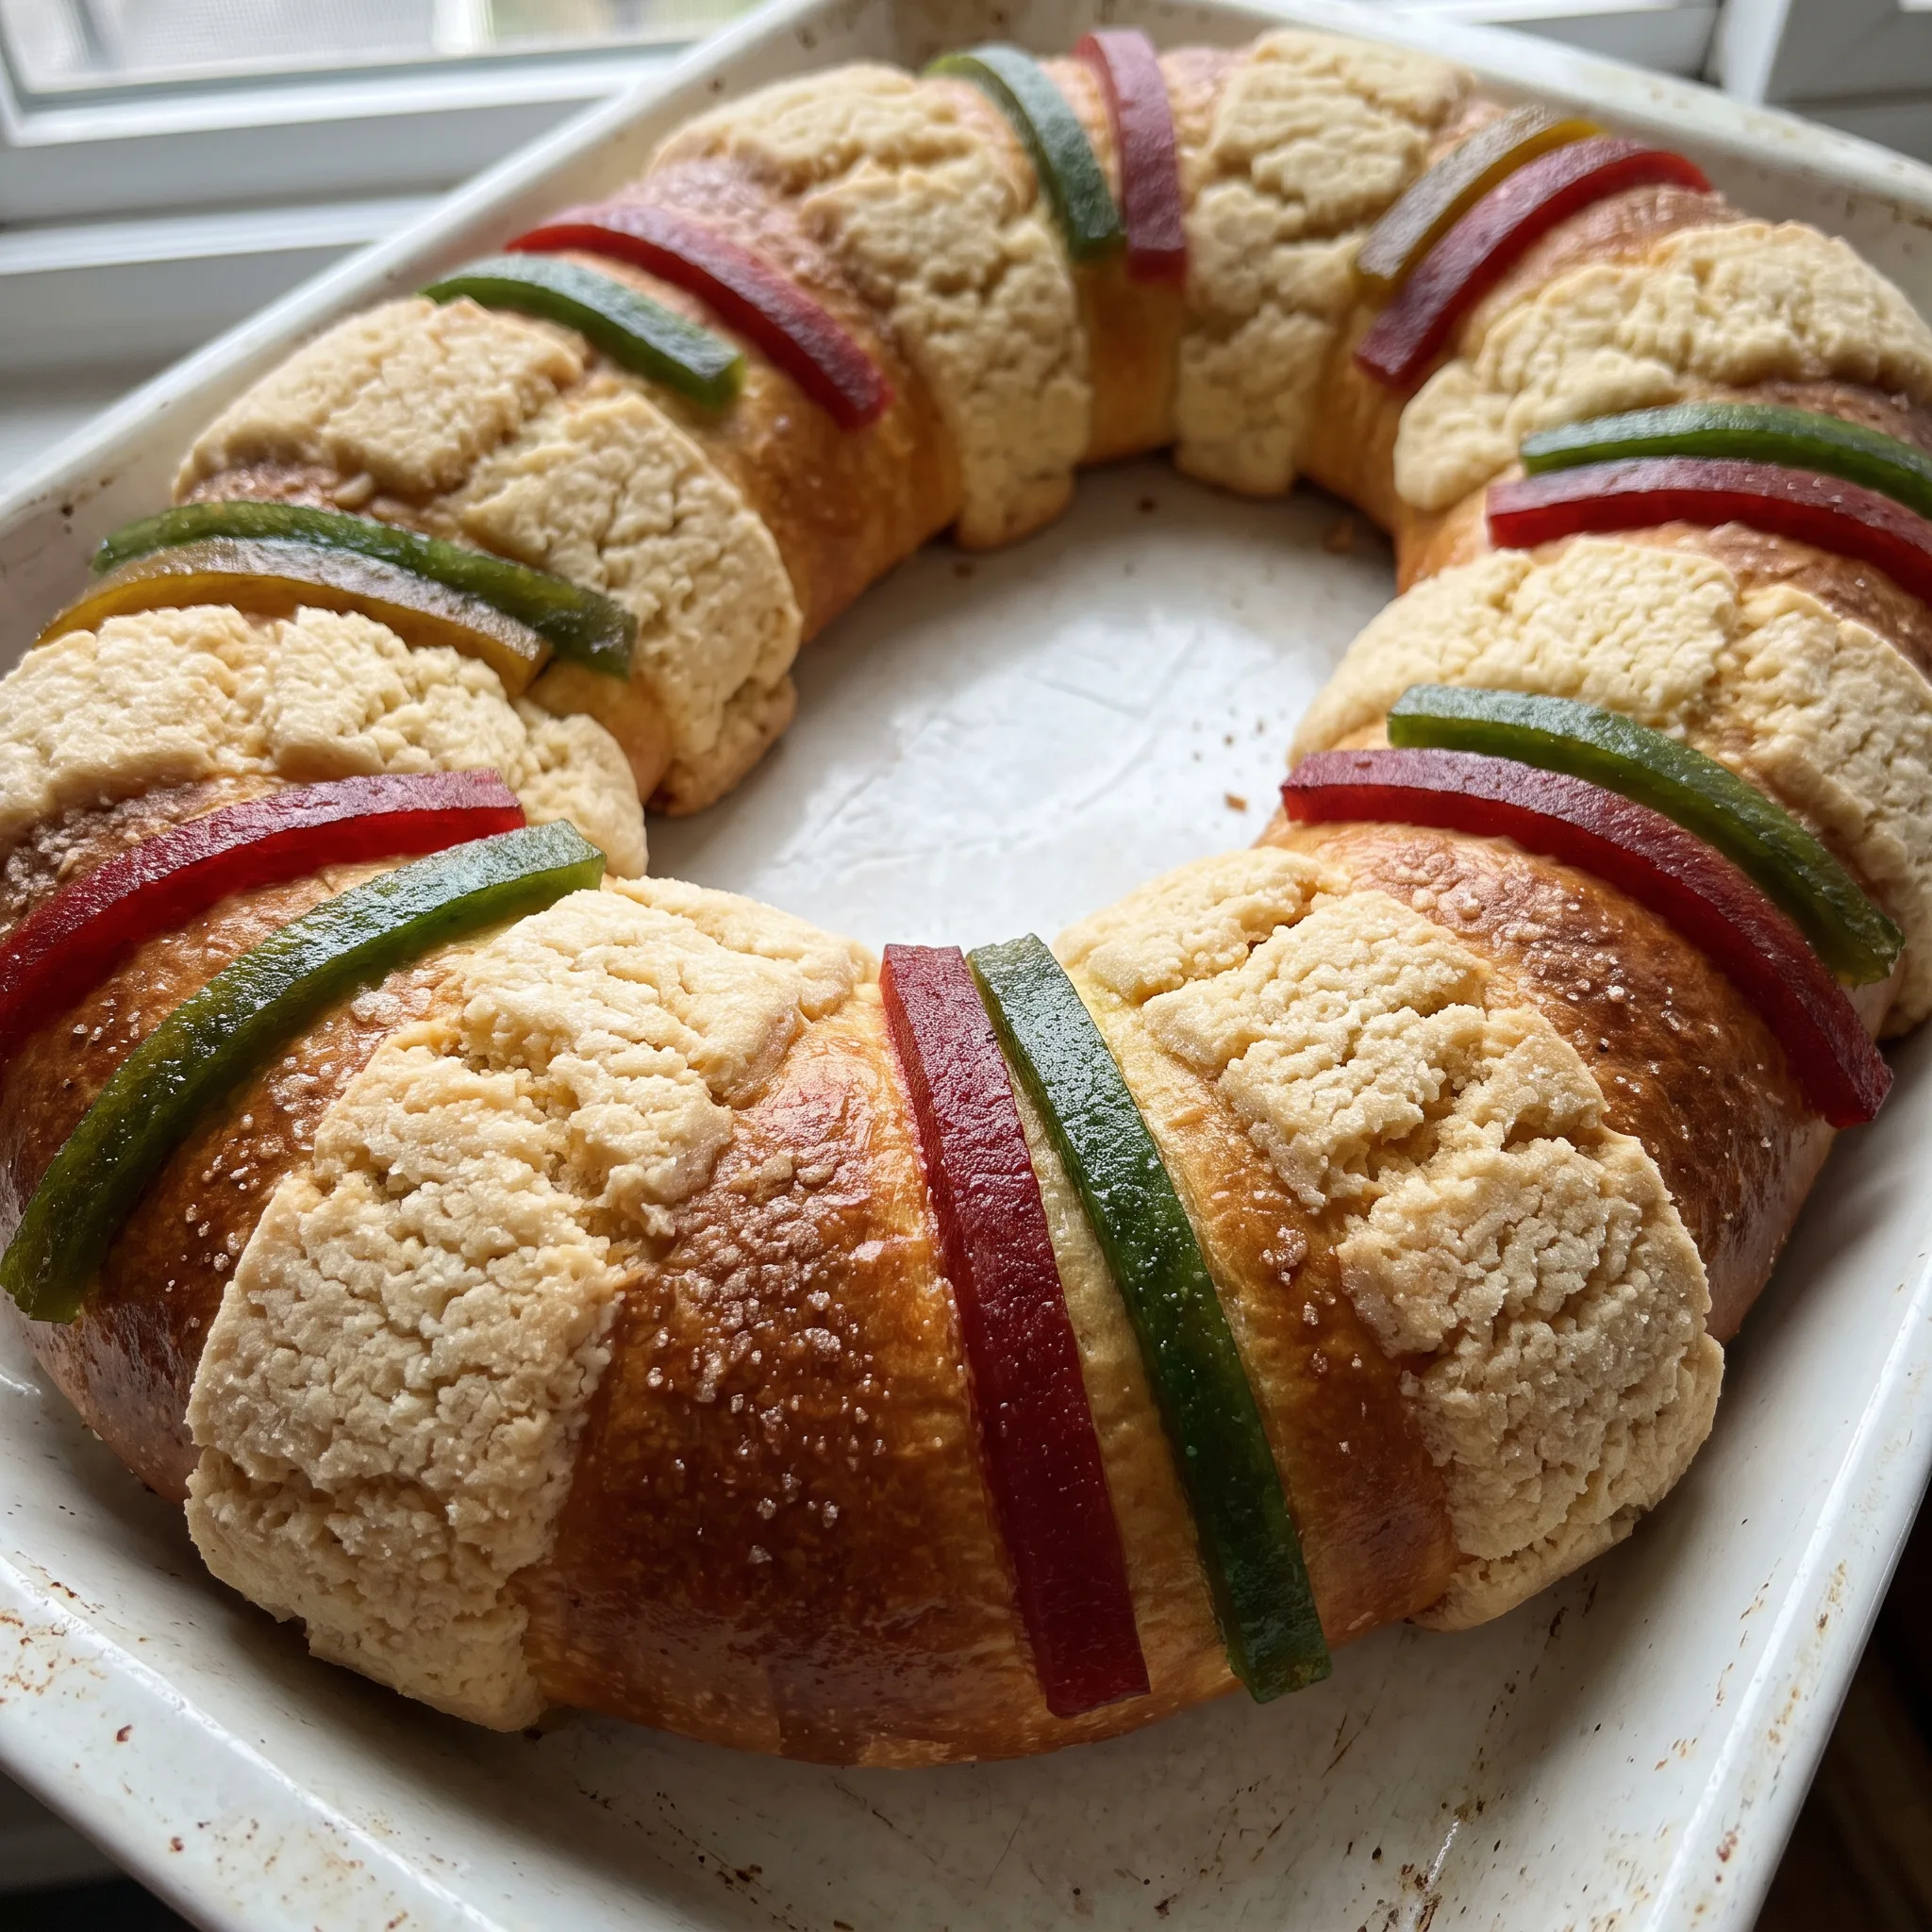
Rosca de Reyes with candied fruit and quince paste
Ingredients
Method
- Stir the yeast into the warm milk along with a pinch of the sugar; allow it to foam for 10 minutes.
- In a large bowl, mix together the dry ingredients. Incorporate the eggs, the yeast mixture, the softened butter, the orange zest, and the orange blossom water. Knead for 10 to 15 minutes until the dough is elastic and smooth.
- Cover the dough and let it rise for 1.5 to 2 hours, until doubled in volume.
- Form the dough into a long strip and bring the ends together to create a ring (rosca) on a baking sheet. Tuck the figurines beneath the dough.
- Adorn the ring with strips of sugar paste, quince paste, figs, and sugar.
- Allow the decorated ring to rise for another 45 minutes. Bake at 350°F (175°C) for 25 to 30 minutes, until golden brown.
Storing and serving rosca de reyes: eat it the day it’s baked
The sugar paste and quince paste start pulling moisture from the crumb the moment the rosca cools. By day two, the strips soften and bleed into the bread, leaving gummy patches.
Eat it the day it’s baked for the best contrast: crisp sugar paste, tender crumb, chewy fruit. For leftovers, wrap the ring tightly in plastic and keep it at room temperature for up to two days.
Don’t refrigerate; cold air makes the crumb stale faster. To revive a stored slice, warm it in a 300°F oven for 5 minutes. The sugar paste crisps again and the crumb softens.
The rosca doesn’t freeze well because the toppings turn wet and the dough gets spongy, so freeze only the plain baked bread without decorations for up to a month. Thaw at room temperature, then add fresh toppings before serving. If you’re making it ahead, bake it the same day you plan to eat it.
Tips
- Proof the yeast in a small bowl first, not in the full 1/2 cup of milk with the flour waiting nearby. A dead 11 g packet will sit there looking like wet sand, and if you’ve already stirred in 4 cups of flour, you’ve lost the whole batch to a single dud. Foam within 10 minutes means the yeast is alive; anything less and you start over with a fresh packet before the flour enters the picture.
- Watch the milk temperature with a thermometer rather than your wrist. Active dry yeast dies above about 130°F, and 1/2 cup of milk heated to 120°F feels only faintly warm, so the wrist test tells you almost nothing. Aim for 105°F to 115°F. Below 100°F the yeast wakes slowly and the 10 minute proof can stretch to 20, which throws off the 175 minutes of rise time the rest of the schedule assumes.
Swapping yeast or orange blossom water changes the crumb and perfume, but leave the butter and eggs alone
Active dry yeast: Instant yeast or fresh cake yeast. If you use instant yeast, you can skip the proofing step and add it straight to the dry ingredients.
5 hours instead of 2. Fresh yeast, if you find it, gives a slightly sweeter, more complex flavor and a more open crumb.
6 ounces (17 grams) for this amount of flour, and dissolve it in the warm milk first. The dough may take 10 to 15 minutes longer to double. Whichever you choose, the yeast must be alive and kicking.
Old yeast never foams properly, and the dough will just sit there.
Orange blossom water: Vanilla extract or additional citrus zest. Orange blossom water is potent, so a little goes a long way. If you don’t have it, replace with 1 tablespoon of vanilla extract for a warm, familiar note, or add the zest of another orange or a lemon.
Vanilla will soften the floral edge and make the bread taste more like a classic sweet roll. Extra zest keeps the citrus theme but loses the perfume.
Start with the same amount the recipe uses and adjust after tasting the dough. The flavor will be less aromatic, but the bread will still be good. If you skip the orange blossom water entirely and add nothing, the dough will taste flat next to the candied fruit.
Unsalted butter: No good substitute for the butter if you want the same texture. If you must avoid dairy, use an equal amount of a solid plant butter that lists a high fat percentage, not a tub spread or margarine.
The crumb will be a bit less tender and the flavor less rich. Do not reduce the butter or replace it with oil; the fat coats the flour and keeps the bread soft for days. Cutting it will give you a dry, tough rosca.
Eggs: There is no good swap for the eggs. They provide structure, moisture, and richness. If you leave them out or use a egg replacer, the dough will be slack and the baked bread will be crumbly and pale.
The eggs also help the dough rise and hold its shape around the figurines and toppings. If you have an egg allergy, this recipe is not for you. Look for a different celebration bread that doesn’t rely on eggs for its character.
It is tempting to decorate the ring immediately after shaping because the dough looks finished, but the dough still needs a final rise. During that rise, the dough expands and its surface becomes tacky, allowing the figurines and fruit to settle slightly into the dough. If decorations are added before this rise, they sit on top and are easily dislodged when the dough springs in the oven.
Frequently Asked Questions
Can I make Rosca de Reyes ahead of time and bake it later?
The decorated ring can wait, but not overnight. After the final 45-minute rise, the dough is at its peak, and the sugar paste and fruit have just settled into the surface.
If you slide it into the fridge now, the cold stalls the yeast and the toppings start pulling moisture from the crumb, leaving gummy patches before it ever hits the oven. You can hold it at cool room temperature for maybe 20 minutes while the oven heats, but any longer and the ring will overproof and bake up flat. Bake it the same day you plan to eat it; that’s when the contrast between crisp sugar paste and tender crumb is at its best.
Why did my Rosca de Reyes come out dry or dense?
A dry, dense rosca usually means the dough was overproofed or the bake went too long. If the first rise went past doubled and the dough smelled sharply of alcohol, the gluten structure collapses and you get a tight, heavy crumb.
Next time, press two fingers into the side; if the indent stays, it’s ready, and if it springs back fast, give it more time. During the bake, pull it when the crust is deep golden brown and the bottom sounds hollow when tapped.
Overbaked rosca loses its softness fast because the crumb sets hard. The long rise also builds moisture retention, so cutting the rise short gives you a loaf that dries out by the next morning.
What’s the difference between Rosca de Reyes and a regular sweet bread like panettone?
Rosca de Reyes is shaped into a ring and baked as a single, wide crown, while panettone rises tall in a mold and gets hung upside down after baking. The rosca’s open center lets heat move through and around the dough, so the crumb sets evenly without a doughy middle.
Panettone is much richer, with a higher butter and egg content and a long, sourdough-like fermentation, giving it a feathery, shreddable texture. The rosca is barely sweet and relies on its toppings, quince paste, candied fruit, and sugar paste strips, for flavor and texture, while panettone carries its fruit throughout the dough.
And only the rosca hides small figurines beneath the crust.
