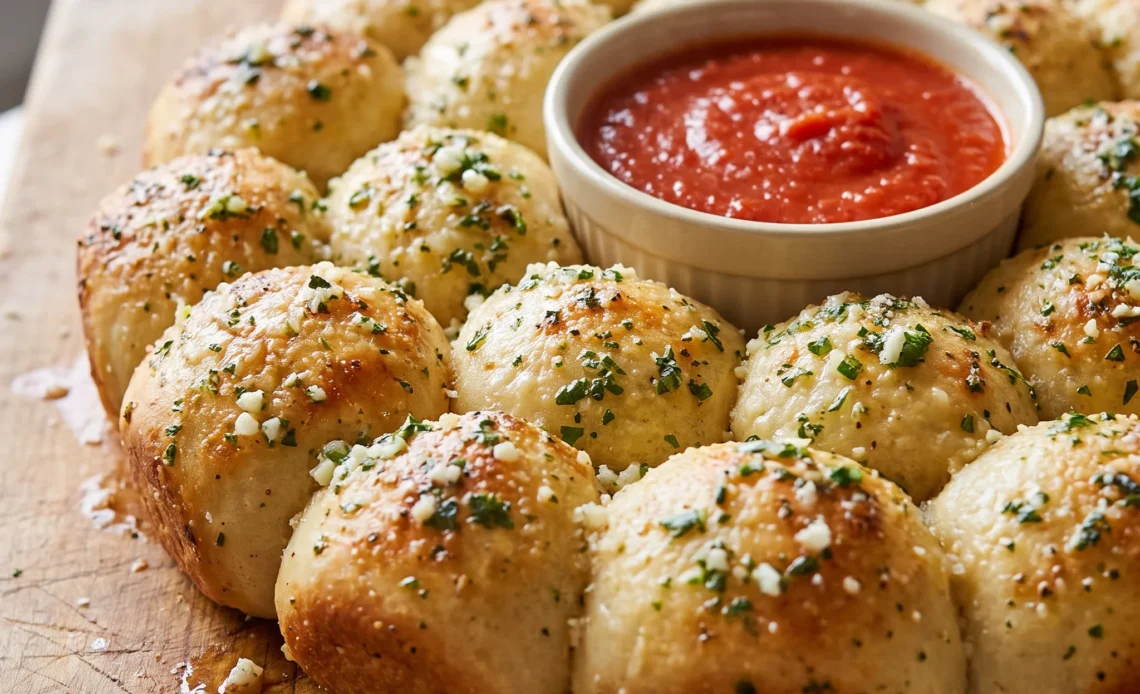
A ring of dough balls, glossy with garlic butter and freckled with Parmesan, pulls apart with a soft tear rather than a wet rip. The crust crackles faintly under your fingers; steam curls out of the split.
What separates this garlic bread wreath from a tray of knots is timing and tension: the balls need to kiss at the sides, not grip, and the window between golden and burnt is narrow enough that you’ll want to watch the last few minutes. Skip the butter and the tops bake up pale and bald, with the garlic sitting on the surface instead of soaked in.
Get it right and the ring comes to the table whole, still hot, with a dip waiting in the middle.
The recipe specifies a digital scale to portion dough into 1-ounce pieces, yielding 22, 24 balls that fit in a single ring around a 6-ounce ramekin. Without weighing, balls vary in size, so smaller ones overbake and larger ones remain doughy; too many balls crowd the ring, causing them to fuse into a solid mass as they expand. The ring arrangement and precise count ensure each ball has space to rise individually and bake at the same rate, so they pull apart cleanly after baking.
The Steaming Ramekin in the Center
That little ramekin isn’t just a placeholder. Filled with water and parked in the middle of the ring, it turns the baking sheet into a steamy chamber. As the oven heats, water evaporates and drifts over the dough balls, keeping their exposed sides from drying out and forming a hard crust.
Instead, the exteriors stay tender, almost like freshly steamed buns. Because the balls are arranged in a ring, each one touches its neighbors only lightly, so after baking they pull apart with a gentle tug, revealing soft, steamy interiors. Once the bread is done, you pour off the water, fill the ramekin with marinara, and slide it back into the center.
Now it’s a warm dip, and the same vessel that kept the dough moist becomes a built-in sauce bowl. The whole setup is clever, but you don’t need to think about it while you eat.
Just grab a ball, dip, and repeat.
When the Garlic Butter Goes On
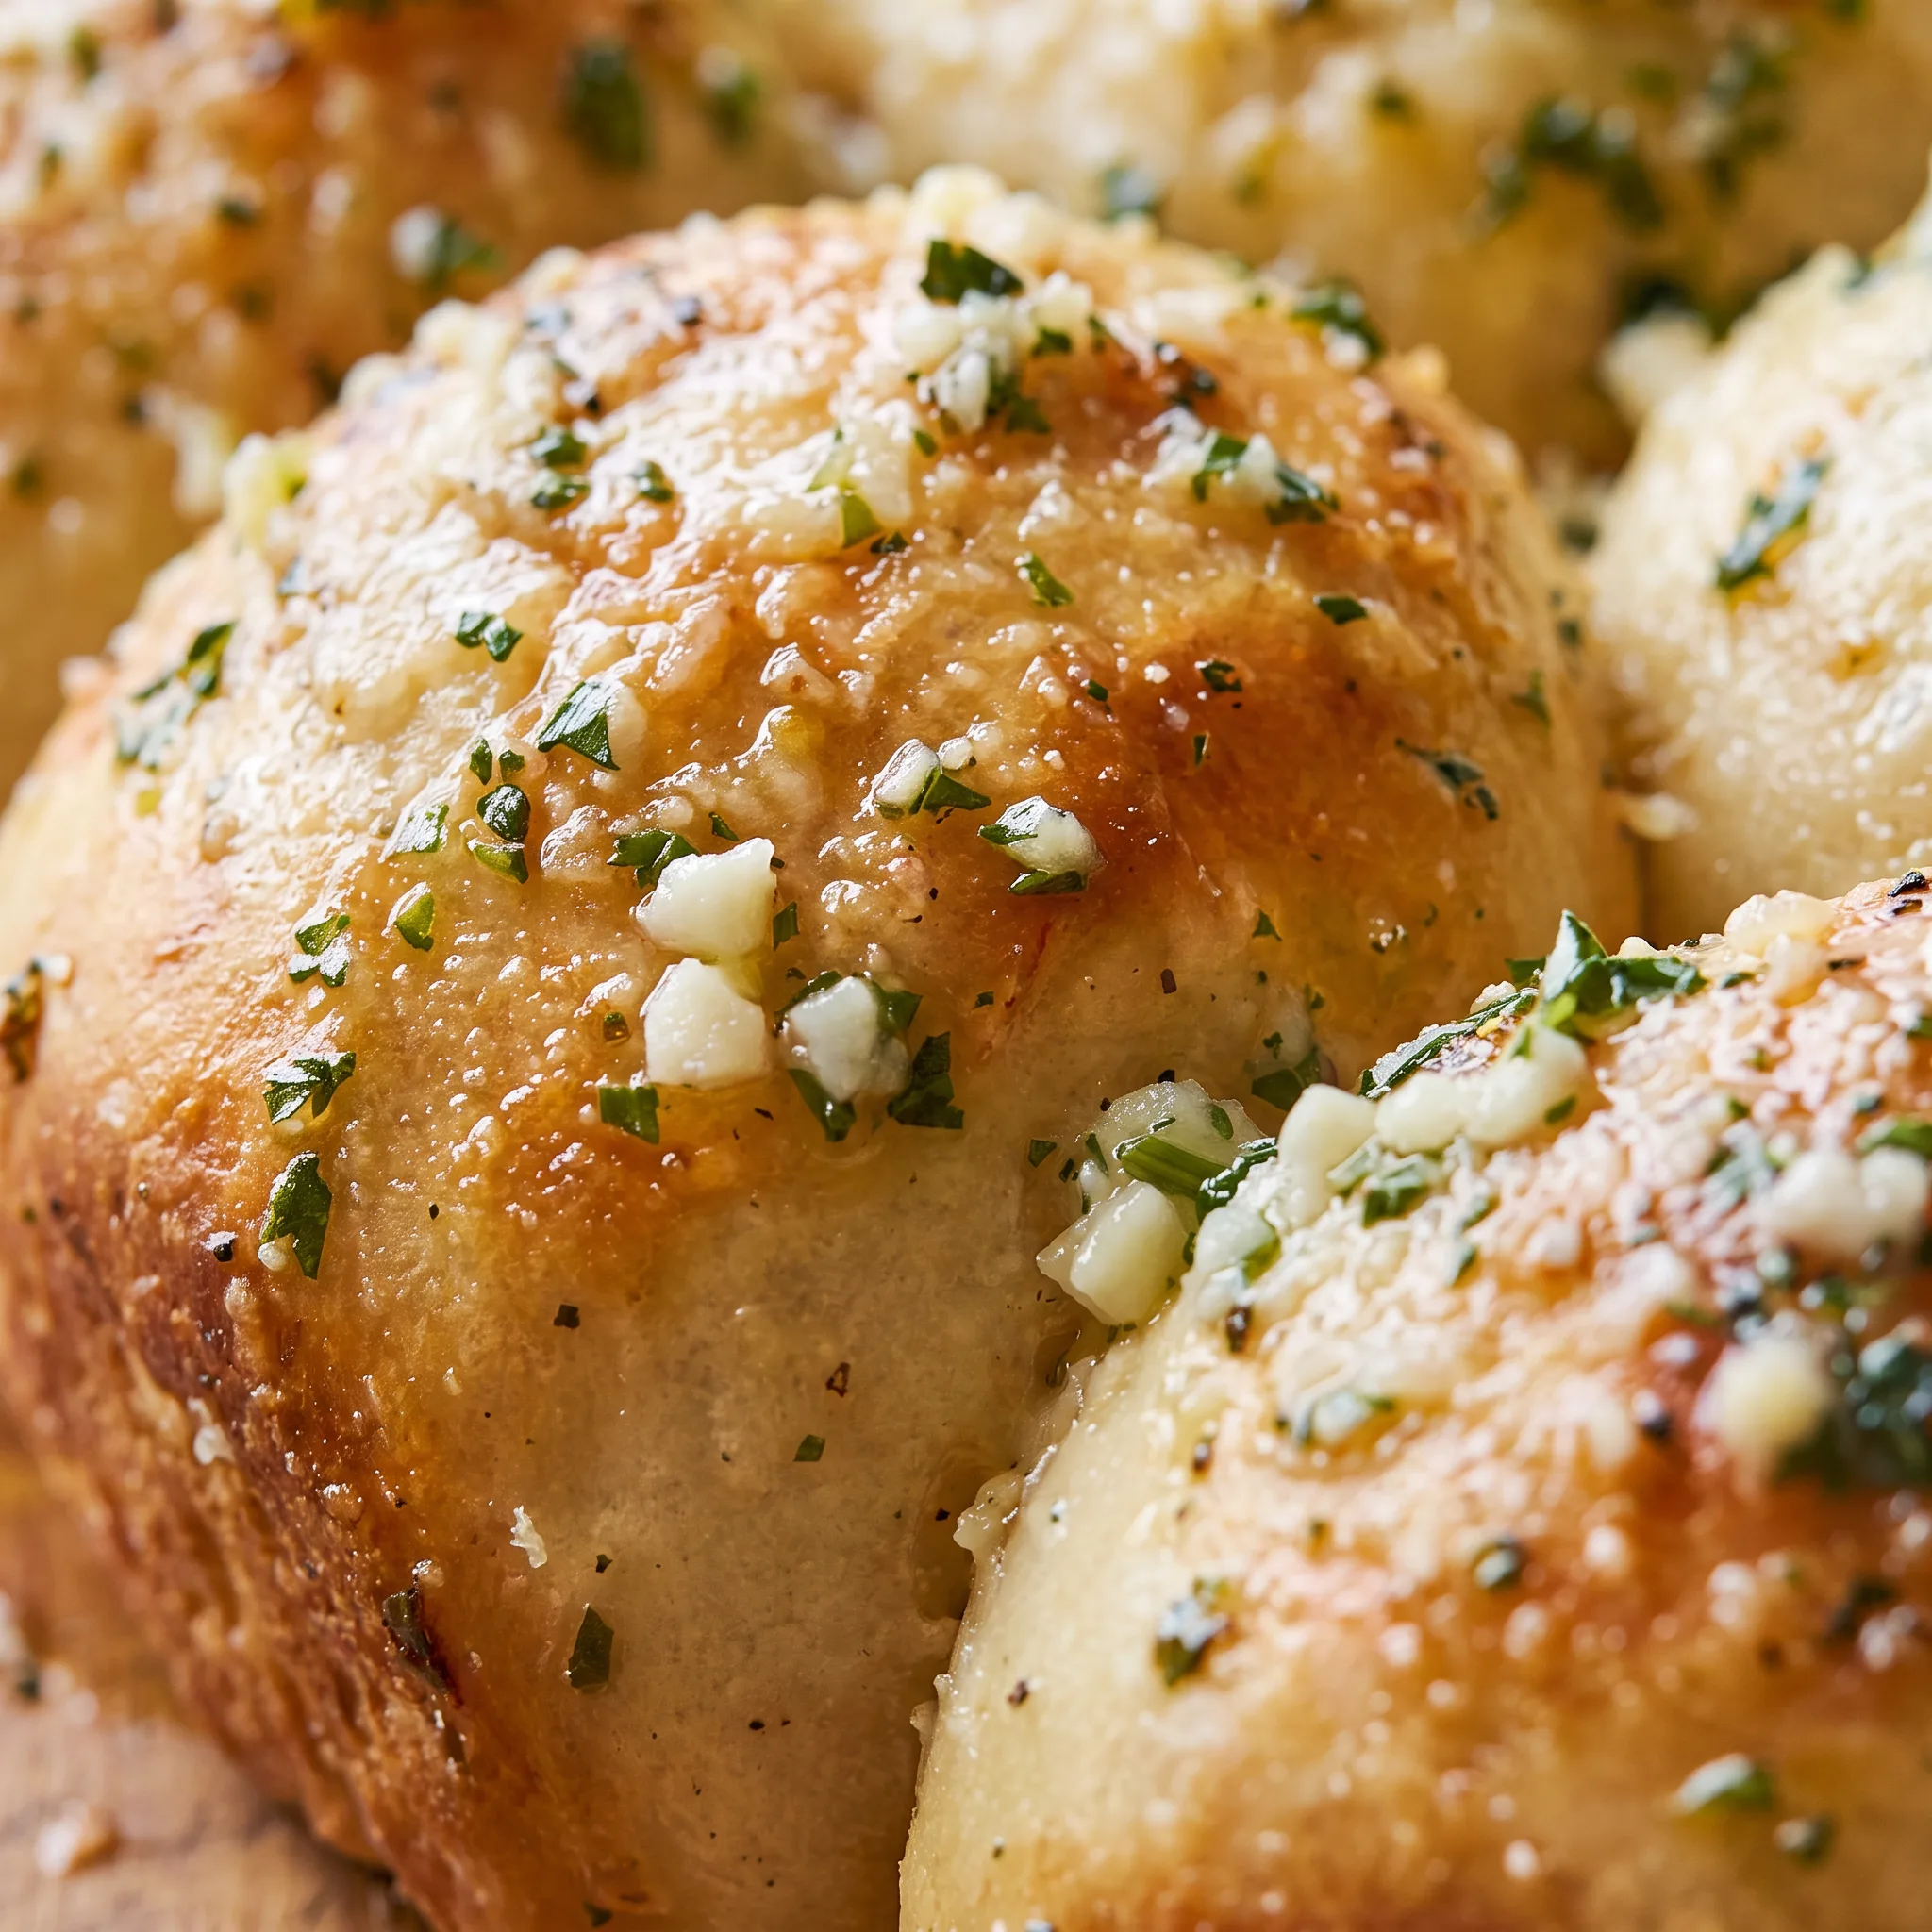
Brushing the garlic butter mixture onto the dough balls before they go into the oven does more than just add flavor. The butter soaks into the surface of the dough as it bakes, carrying the minced garlic and chopped parsley with it.
That means the garlic and parsley don’t just sit on top; they infuse the crust, so every bite has a savory, herby note. The butter also helps the Parmesan adhere.
Scatter the cheese over the buttered dough, and it sticks instead of sliding off, then melts into a golden, crisp layer. After baking, you brush on any leftover butter mixture.
That final swipe refreshes the shine and brings back the garlic punch that might have faded in the oven. The result is a glossy, flavorful exterior that contrasts with the soft interior. It’s a small step that makes a big difference in how the bread tastes and looks.
Why You Weigh the Dough
Using a digital scale to portion the dough into 1-ounce pieces isn’t fussy; it’s practical. Uniform balls bake at the same rate, so you don’t end up with some raw in the center and others burnt on the edges. The number of pieces, 22 to 24, is determined by the ring you’re forming around a 6-ounce ramekin.
Too few and you’ll have gaps that let steam escape and leave the ring looking sparse; too many and the balls crowd each other, turning the pull-apart into a solid mass. Flattening each piece into a disk before rolling it into a ball helps create a smooth, taut surface that holds its shape during baking. Evenly sized balls also pull apart neatly, giving you individual portions that are easy to dip.
When you tear one off, you want it to come away cleanly, not drag half its neighbor with it. That’s what consistent sizing gives you.
Let the Dough Sit Out
Cold dough straight from the fridge is stiff and fights back when you try to shape it. The gluten is tight, so every piece you roll springs back or tears. Letting the dough sit at room temperature for 30 minutes up to 1 hour changes that.
The gluten relaxes, and the dough becomes pliable, easy to portion and roll into smooth balls. This isn’t about rising; it’s about tempering. You’re not looking for the dough to puff up, just to lose its chill and become workable.
Room-temperature dough yields rounder, more even balls that bake consistently. If you skip this rest, you’ll struggle to get neat shapes, and the baked bread may be uneven. So give it that time on the counter.
It’s a passive step, but it makes the shaping and the final texture much better. You’ll notice the difference in how easily the dough cooperates.
What to Look For Before You Roll
Pizza dough: Buy a pound and a half of a soft, slack dough, not one that’s stiff and elastic from a long cold ferment.
Unsalted butter: Melt it gently and let it cool a touch, since hot butter will cook the garlic and wilt the parsley.
Fresh parsley: Flat-leaf parsley chopped fine disappears into the butter, while curly leaves stay coarse and cling in clumps.
Garlic: Three cloves minced by hand give a sweeter bite than jarred paste, which tastes sharp and carries extra liquid.
Parmesan: Grate it fresh from a wedge so it melts into a crisp lace instead of the sandy cellulose coating on pre-shredded bags.
Marinara sauce: Pick a thick, chunky sauce that clings to a dough ball, not a thin one that runs off and pools in the ramekin.
Judging the Pull-Apart Garlic Bread Wreath
How the ring should look before baking
After you arrange the dough balls around the ramekin, step back and check the ring. The balls should touch lightly, with no wide gaps and no squishing.
If they’re too far apart, steam will escape and the bread will bake up dry and sparse. If they’re jammed together, they’ll fuse into one lump and won’t pull apart.
You want a continuous circle that just kisses at the sides. If you see gaps, nudge the balls closer; if they’re overlapping, spread them out.
This is your last chance to fix the shape before the oven sets it.
When the butter has soaked in enough
Brushing the garlic butter on the dough balls isn’t a one-second swipe. The dough should look glossy and slightly darker where the butter has soaked in. If the surface still looks dry and matte, you need more butter or another pass.
The butter carries the garlic and parsley into the crust, so a dry spot means a bland bite. Don’t drown them, though. A thin, even sheen is what you’re after.
If you see pools of butter in the crevices, you’ve gone too far and the bottoms might fry instead of bake.
Reading the color for doneness
At 25 minutes, peek through the oven door. The tops should be a deep golden brown, and the exposed sides of the balls should look set and dry, not pale and doughy.
If they’re still blond, give them 3 to 5 more minutes. If they’re already dark, pull them now. The difference between golden and burnt is a couple of minutes.
You’re looking for a color that says the crust is crisp and the interior is cooked through. A pale wreath will taste raw in the middle; a dark one will taste bitter.
The feel of a properly baked ball
Once out of the oven, let the wreath sit for a minute, then gently tug at one ball. It should release from its neighbor with a soft tear, not a wet rip.
The exterior should feel crisp and slightly firm, while the inside steams when you pull it apart. If the ball feels heavy and dense, it’s underbaked; return the whole wreath to the oven for a few more minutes.
If it’s rock hard, you’ve overbaked it. The pull should be easy, and the interior should look fluffy and white, not gummy or translucent.
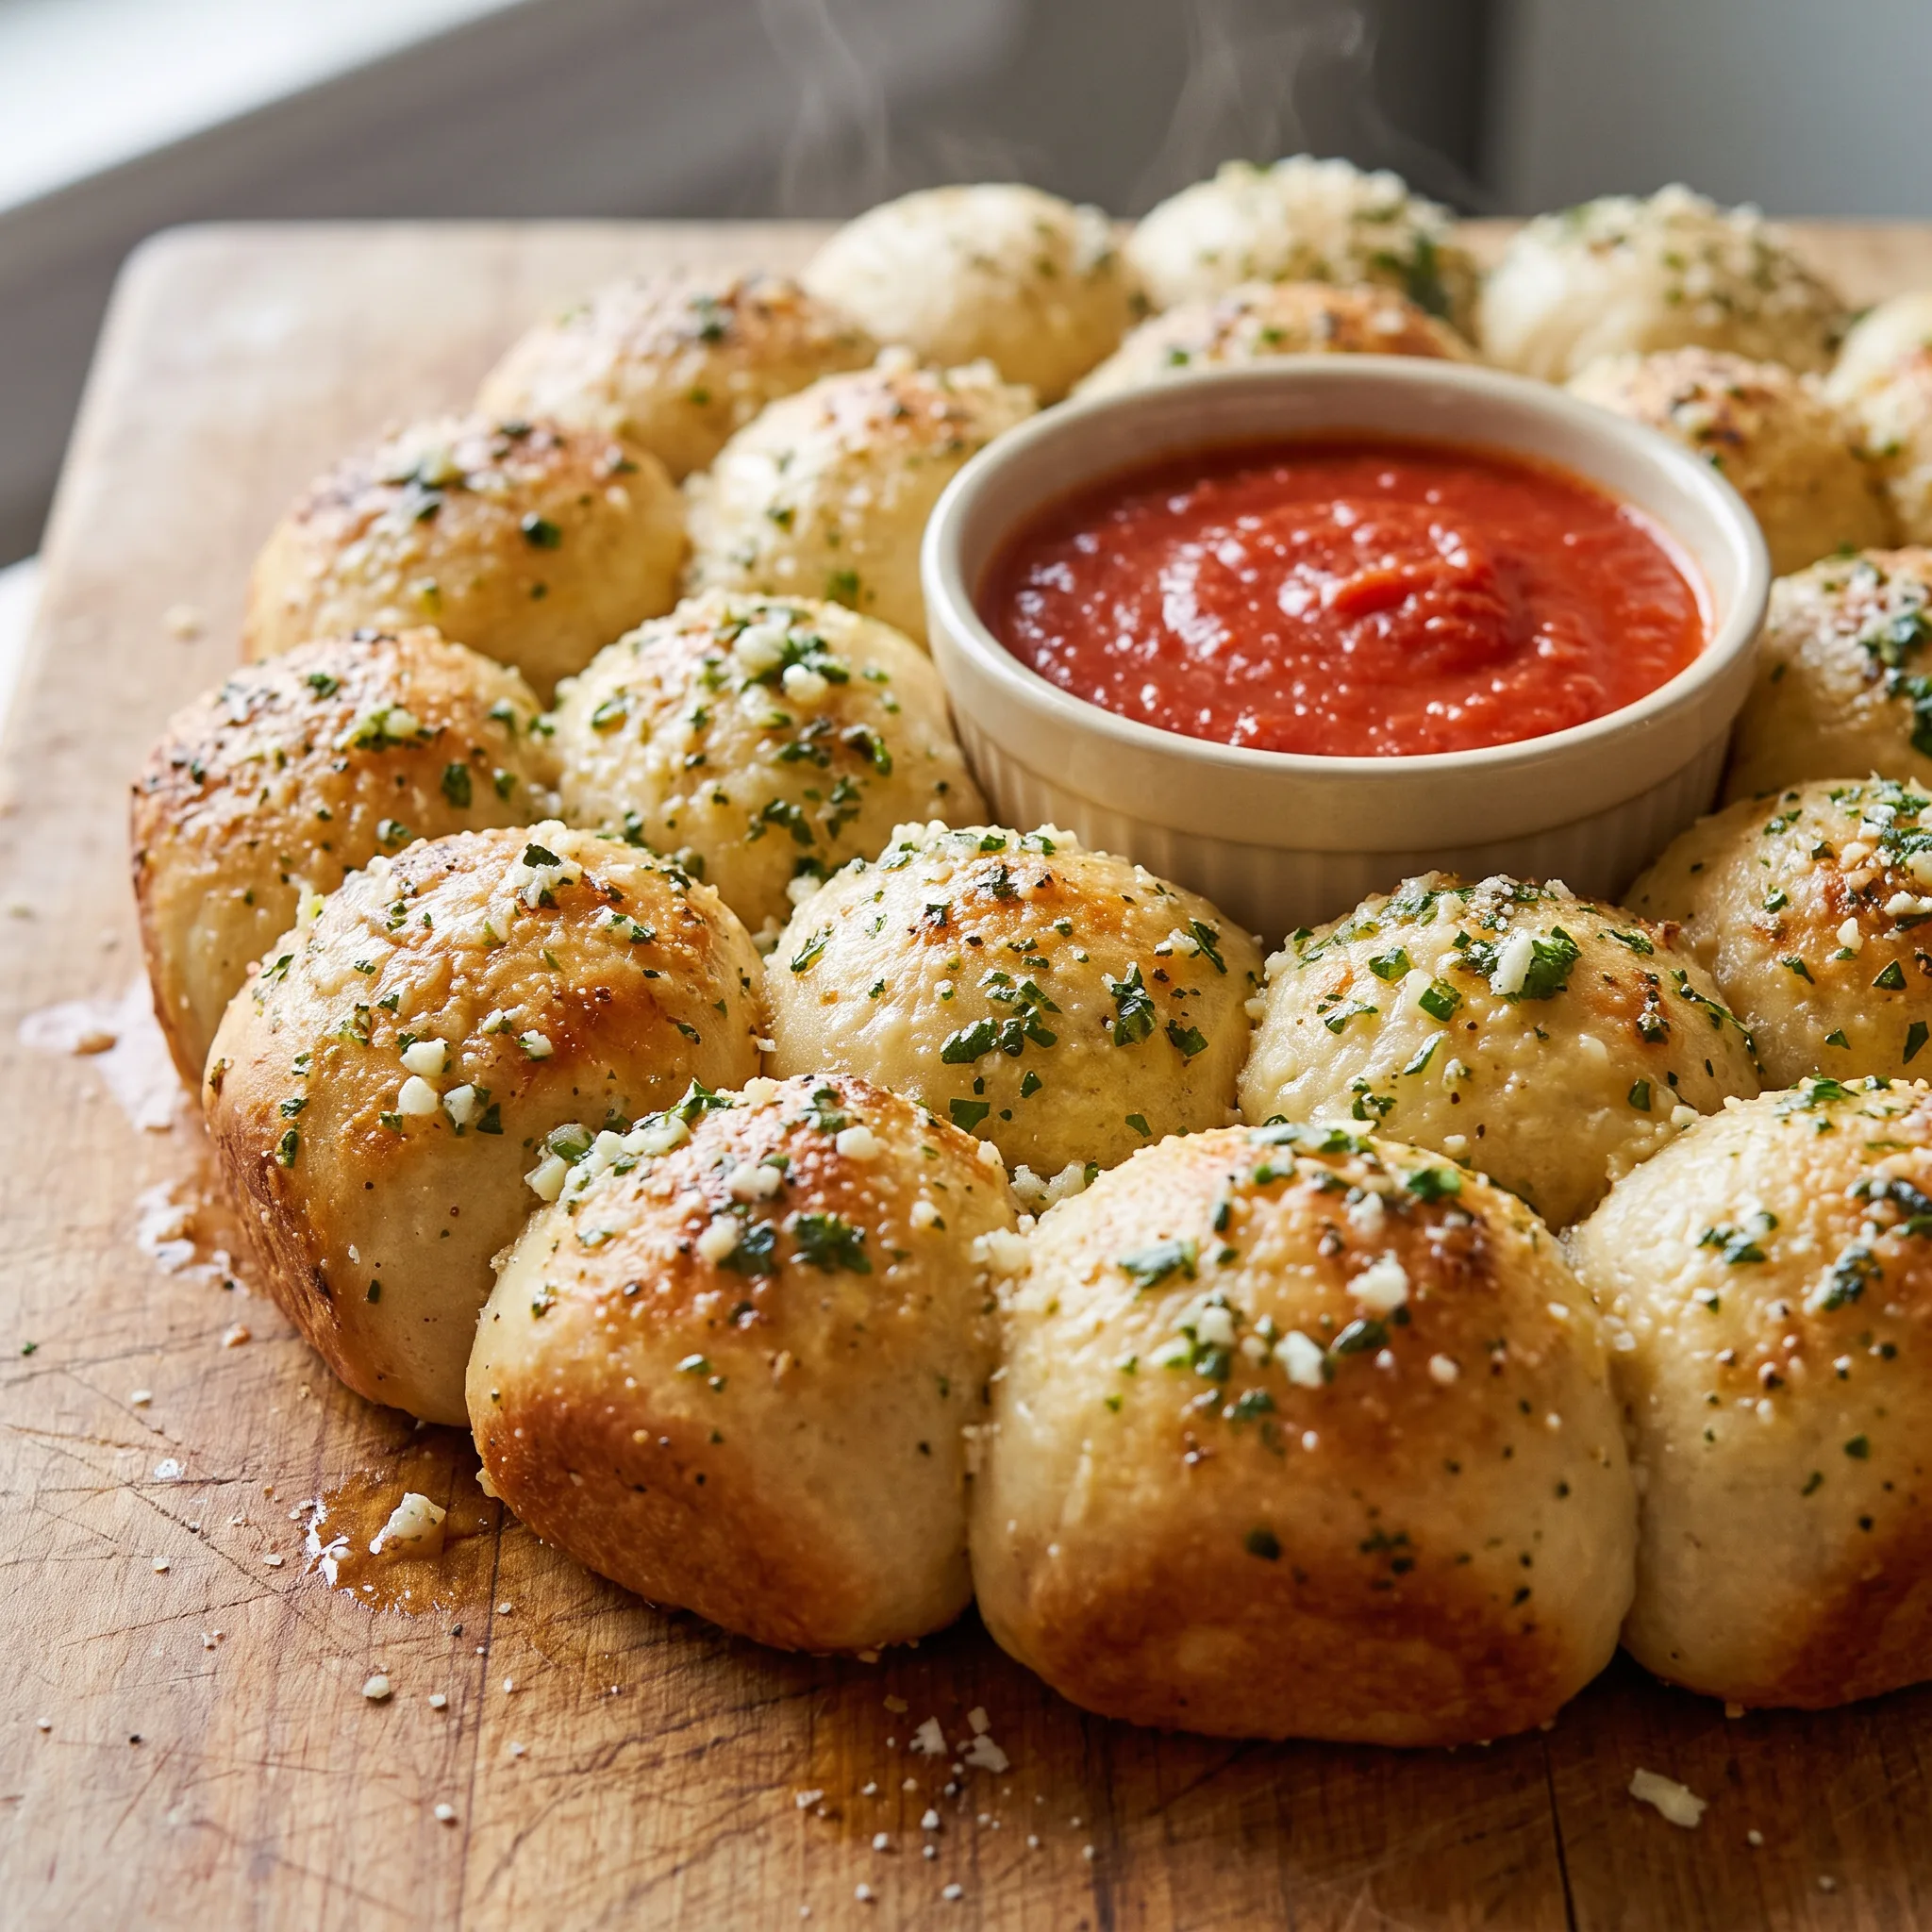
Pull Apart Garlic Bread Wreath with Parmesan
Ingredients
Method
- Allow dough to sit at room temperature for 30 minutes up to 1 hour.
- Set oven to 375°F (190°C). Prepare a baking sheet by lining with parchment paper.
- Coat the exterior of a 6-ounce ramekin with oil or nonstick spray, then position it in the middle of the lined baking sheet. Add water to fill.
- With a digital scale, portion dough into 1-ounce pieces, making 22-24 pieces total, flatten each piece into a disk, then roll into a ball.
- In a small bowl, mix together butter, parsley, garlic, and salt.
- Arrange dough balls on the baking sheet in a ring around the ramekin. Apply butter mixture to tops with a brush; scatter Parmesan over.
- Transfer to oven and bake until browned, about 25-30 minutes. Carefully take out ramekin and pour off water. Add marinara to it and put back in the center of the baking sheet; brush tops with any leftover butter mixture.
- Serve right away.
Storage and Serving the Wreath
The wreath is at its best in the first 15 minutes out of the oven, when the exteriors are still crisp and the interiors are steamy. That’s your serving window.
After that, the crust softens and the steam inside the balls turns them tender rather than crisp. Leftover dough balls keep in an airtight container at room temperature for a day or two. The marinara, once it’s been sitting in the warm ramekin, should go into the fridge and get used within a few days.
Don’t freeze the assembled wreath; the baked dough loses its texture and the sauce doesn’t survive the thaw. To bring leftovers back, spread them on a sheet pan and reheat in a low oven, around 300°F, for 5 to 8 minutes. A microwave makes them rubbery, so skip it.
If you’re adding a final brush of garlic butter, do it right after reheating, not before you store them, so the garlic stays fresh and the tops stay glossy.
Tips
- Press the dough with your finger before portioning. If it springs back right away, it needs more time on the counter. If it feels slack and oily, pat it dry with paper towels so the garlic butter grips the surface instead of sliding off during the brush.
- When you pour the water out of the ramekin after baking, set the ramekin on a folded towel, not directly on the baking sheet or counter. The 6-ounce ceramic holds heat and the water inside is near boiling, so a bare hand or a cold surface can crack it or burn you.
Swap the Dough, Not the Cheese
Pizza dough: Use a 1 1/2 lb (680 g) store-bought refrigerated dough or your own homemade batch. The dough needs to be soft and slack, not stiff and elastic. A soft dough rolls into smooth balls that bake evenly and pull apart with a gentle tug.
A stiff, cold-fermented dough fights back, springs into odd shapes, and bakes up with a chewier, tougher crust. The ring may also look lumpy.
If you use homemade, make sure it’s relaxed and at room temperature before portioning.
Unsalted butter: For a dairy-free version, replace the melted butter with the same amount (1/4 cup, 57 g) of a neutral oil like olive or avocado, or a vegan butter that melts well. Oil won’t solidify as it cools, so the garlic and parsley will still cling, but the crust won’t get that same rich, buttery sheen.
Vegan butter behaves closer to the real thing, though it may brown faster. Start with the same amount and adjust if the dough looks dry.
Parmesan: Leave it out for a dairy-free version, or use a hard aged cheese like Pecorino Romano if you want a sharper bite. The Parmesan melts into a crisp, golden lace that adds a salty crunch. Skipping it means the tops will be less savory and won’t have that textural contrast.
Pecorino works but is saltier, so cut back on the kosher salt in the butter mixture. Avoid the shelf-stable shaker kind; it won’t melt properly and leaves a sandy texture.
Marinara sauce: Replace the marinara with a warm pesto or a garlic butter dip. Both can be served in the same ramekin after baking.
Marinara is thick and clings to the dough balls. Pesto is looser and more intense, so you’ll want to spoon it over rather than dip deeply. Garlic butter is rich and slippery; it coats the bread without adding tomato acidity.
Each changes the flavor profile, so pick based on what you’re in the mood for. The method stays the same: pour off the water, add your sauce, and return the ramekin to the oven to warm.
Frequently Asked Questions
Can I assemble the wreath ahead of time and bake it later?
Don’t build the ring and park it in the fridge. Once the balls are arranged and brushed, the butter soaks down into the dough and the whole thing sits there getting slack, so you lose the light kiss between neighbors that makes the pull-apart work. If you want a head start, portion and roll the balls, keep them covered at room temperature, and do the arrangement and brushing right before the oven.
The Storage section covers what to do with anything left after baking, so keep that in mind rather than planning a long hold.
Why did my dough balls not pull apart easily after baking?
Most likely they were crowded, so the sides fused into one solid mass instead of just touching. Check the ring before it goes in: you want a continuous circle where the balls kiss at the sides, no wide gaps, no squishing.
A second cause is dough that was still cold and stiff when you rolled it, giving you uneven balls that lean into each other and bake into a lump. If the wreath is already baked and stuck, cut between the balls with a knife and serve it as wedges; the flavor is fine, the pull is just gone.
How is this pull-apart garlic bread wreath different from classic garlic knots?
Garlic knots are individual pieces of dough, tied or rolled, then baked and tossed in garlic butter after they come out. Here the garlic butter goes on before baking, so it soaks into the crust and carries the parsley and garlic with it while the Parmesan melts into a crisp lace on top. The ring shape and the water-filled ramekin in the middle are the bigger difference: the steam keeps the exposed sides tender, and the same vessel becomes the dip bowl once you pour off the water and add marinara.
You end up with one shared loaf you tear apart at the table rather than a pile of separate knots.
