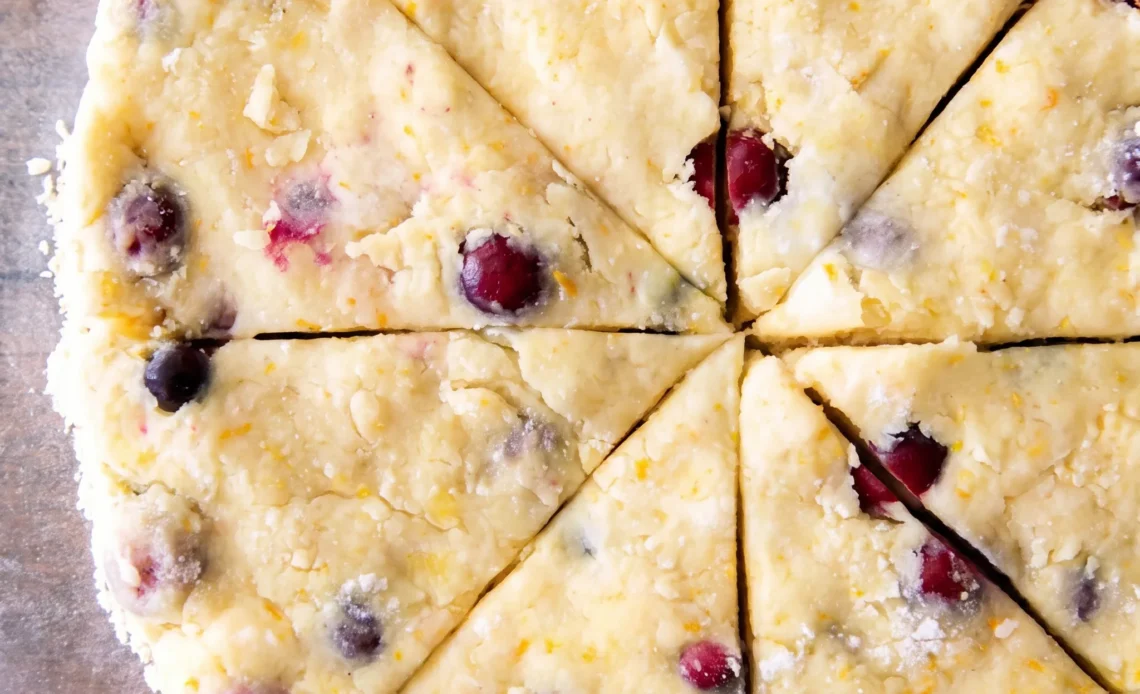
Cranberry orange scones go wrong the same way almost every time: the dough gets worked too long, and what should be tender turns bready. You can feel it happening. The shaggy mass stiffens under your hand and stops looking like something you should leave alone.
There’s a real window between a dough that holds together and one that’s been pushed past it, and it closes fast once the wet ingredients go in. What makes this pairing worth the trouble is that the fruit does some of the work for you. Fresh cranberries stay whole through folding and only burst in the heat, so each bite gets a tart pocket against the sweet orange underneath.
Get the dough right and the contrast carries it.
Zest and Sugar Make the Flavor Base
Before any flour hits the bowl, the sugar and orange zest go in together. Sugar crystals are sharp, abrasive little things.
Rub them against the zest and they tear into those tiny pockets of oil, releasing the citrus perfume that would otherwise sit locked in the peel. That oil clings to the sugar, and the sugar gets carried through the dough, so the orange shows up in every bite instead of landing in a few bright pockets.
You’ll smell the difference the moment the oils start to release. The mixture goes from dry and sandy to damp and fragrant, and the color shifts a shade deeper. That’s your cue that the zest has given up what it has to give.
From there, flour, baking powder, and salt can go in. Once the sugar is perfumed, the hard part is behind you.
Cold Butter Cubes Build Flaky Layers
Cold butter, cubed and kept in the fridge until the last minute, is what separates a scone from a biscuit-shaped cake. Softened or melted butter coats the flour evenly and disappears into the dough, which gives you a fine, uniform crumb and not much else.
Cold butter does something different. It stays in distinct bits, roughly pea-sized, that survive mixing and shaping. In the oven, the water in those butter bits turns to steam, and the steam pushes the dough apart right where the butter was sitting.
That’s where flakiness comes from. The fat leaves behind small airy pockets that a melted-butter dough never gets. If the butter has warmed up by the time you’re done working it in, the bits smear into the flour and you lose the effect.
Keep it cold, keep the pieces visible, and the oven does the rest.
Two Creams and Juice for Tenderness
Sour cream and heavy cream aren’t interchangeable here. Heavy cream brings fat, which coats flour proteins and keeps them from forming long, tough strands. Sour cream brings fat plus acidity, and that acidity does a second job.
It slows gluten development just enough to keep the crumb soft rather than chewy. Orange juice adds more acid and a little sweetness, so the liquid isn’t all heavy. Together they give you a dough that holds its shape but stays tender when you bite through.
Stir the mixture in until it’s barely combined, with dry streaks still visible in places. Every extra turn of the spoon develops more gluten, and gluten is what makes a scone tough.
A lumpy, shaggy dough that looks slightly under-mixed is exactly where you want to stop. The crumb will be soft and close, not bready.
Fresh Cranberries Burst as They Bake
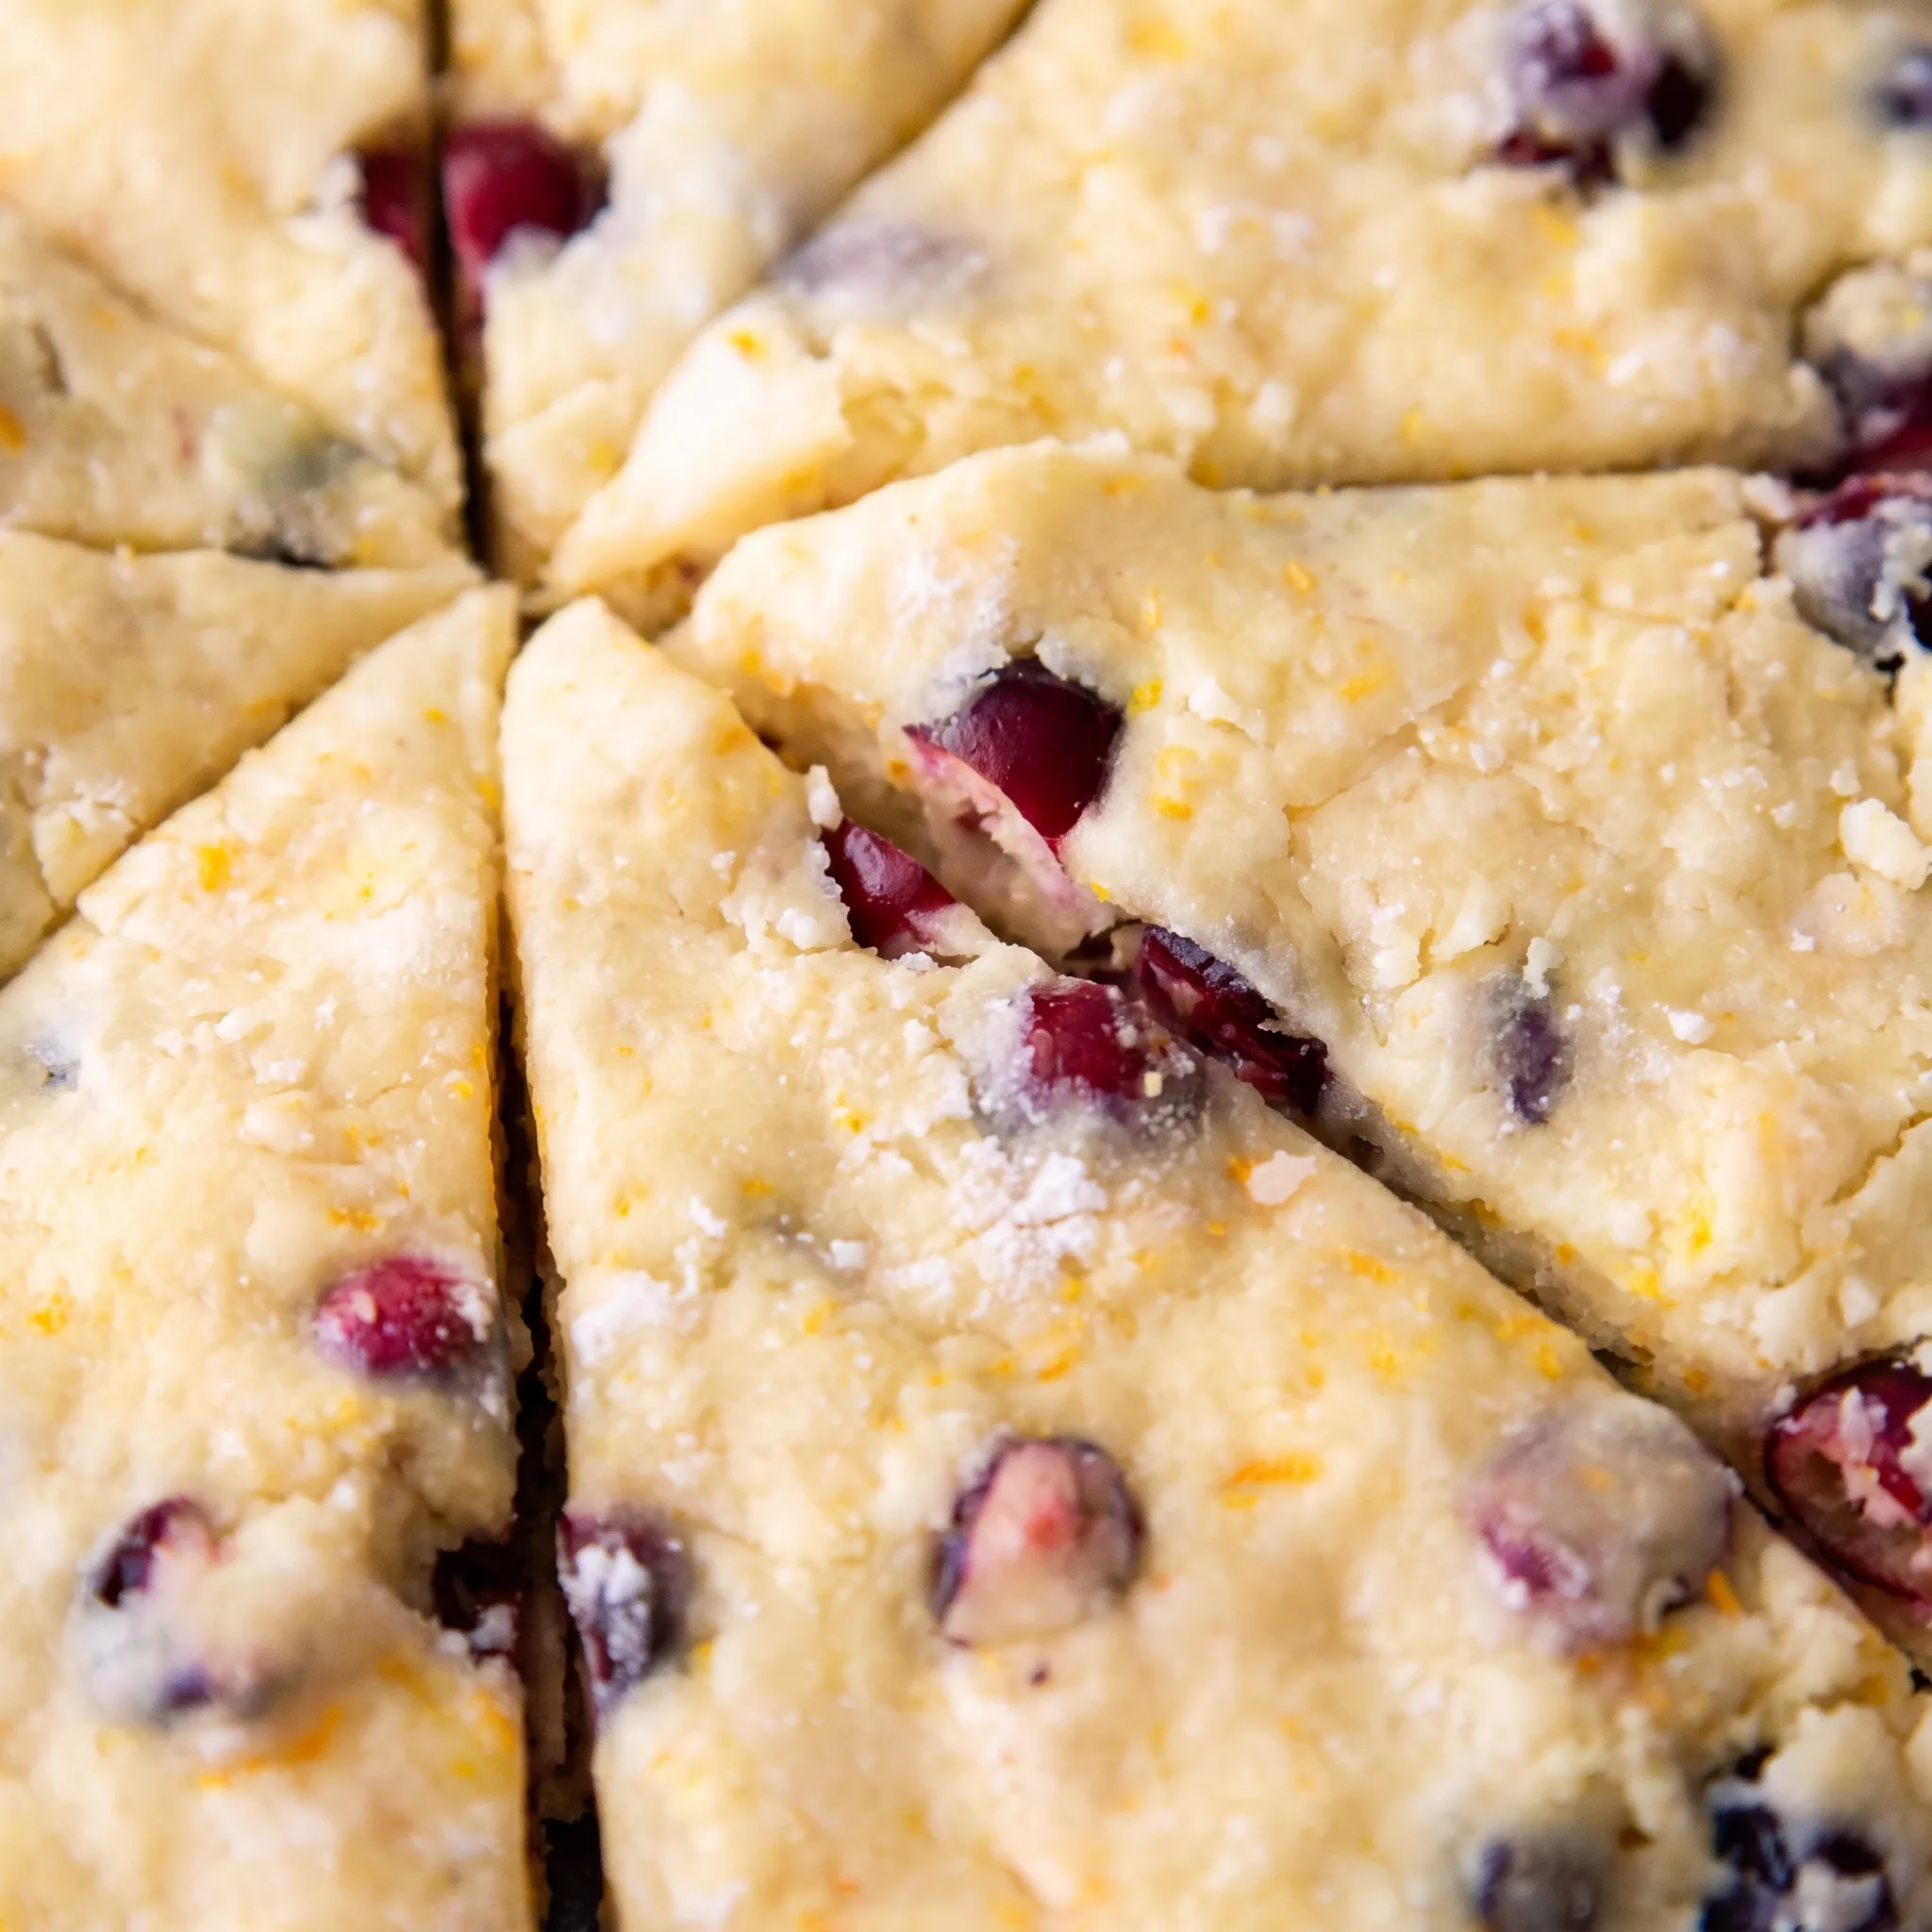
Fresh cranberries go in whole and get folded gently. Chopping them or working the dough hard would crush the skins, and crushed berries bleed juice into the dough before it ever sees heat.
Whole berries stay intact until the oven does its work. Then the skins split, the tart juice releases, and you get small pockets of bright, sour fruit surrounded by tender scone.
Dried cranberries behave differently. They’re chewy and sweet and they soak up moisture from the dough rather than releasing any, which gives you a denser, sweeter bite. Fresh ones keep the crumb around them looser and give a sharper contrast against the glaze.
That’s the balance you’re after here: sour fruit, sweet orange icing, soft crumb. The berries should taste like they just burst, not like they’ve been stewing in the dough.
Build the Glaze Wet First, Then Thicken
The glaze comes together in a specific order. Melted butter, vanilla, orange juice, and zest go into the bowl first, and they get whisked into a loose, oily liquid. If you started with powdered sugar, you’d be trying to incorporate fat and liquid into a mountain of sugar, and the result would be lumpy.
Building the wet base first means the sugar has something to dissolve into. Add the powdered sugar gradually, starting with one cup. Whisk it in, then look at what you have.
A glaze that coats the back of a spoon and drips off in a slow ribbon is right. If it’s still thin, add more sugar a spoonful at a time, up to the remaining half cup. Too thin and it soaks straight into the scone and vanishes.
Too thick and it sits on top like frosting. The middle ground is where it clings, drips down the sides, and sets into a soft shell.
What to Buy and How to Prep It
Orange zest: You need a full tablespoon, so pick fruit with thick, unblemished skin and zest it before juicing, since the squeezed fruit gives up nothing.
Fresh cranberries: Buy firm, glossy berries that bounce when dropped; soft or shriveled ones have already lost the tart snap that makes them worth folding in.
Almond extract: A half teaspoon is enough to round out the orange, but it goes bitter fast, so smell the bottle before you commit and toss it if it smells like nail polish.
Powdered sugar: Check the bag for lumps before you start, because a clumpy batch will leave specks in the glaze no amount of whisking will smooth out.
Cold butter: Cube it straight from the fridge and keep it there until the flour is ready, since butter that’s sat out softens at the edges before you notice.
Fresh cranberries hold a lot of water and acid inside their skins, and that liquid only escapes when the berry is cut, crushed, or heated. If the dough is stirred aggressively after the berries go in, the skins rupture early and their moisture bleeds into the flour, so the crumb around each berry stays wet and heavy instead of baking into a tender pocket. Folding them in gently keeps the berries whole until the oven’s heat bursts them, which limits the liquid to the fruit’s own pocket and lets the scone set around it.
Reading the Dough and the Oven at the Points That Decide the Bake
When the butter is worked in far enough
Stop when the largest butter pieces are pea-sized and the rest looks like coarse crumbs. Go further and the fat smears into the flour, which costs you the flaky pockets. Underwork it and you leave butter chunks that won’t blend.
Squeeze a handful: it should clump but still feel cool. If it’s warm, slide the bowl into the fridge for a few minutes before adding the wet mix.
Judging the dough before you shape it
The dough should look shaggy and slightly under-mixed, with dry streaks still visible. If it’s wet enough to stick to your fingers, you’ve overmixed, and the scones will bake up tough.
Add a spoonful of flour only if it won’t hold together at all. If it’s crumbly and won’t come together, a teaspoon of cream can bring it back.
Stop mixing the moment it holds.
Knowing when the glaze is the right thickness
A glaze that coats the back of a spoon and falls in a slow ribbon is right. If it runs off in a thin stream, it will soak into the scones and disappear. Whisk in powdered sugar a spoonful at a time, up to the remaining 1/2 cup, until it thickens.
If it gets too stiff, a few drops of orange juice will loosen it.
Reading the color to pull them at the right moment
At 16 to 18 minutes, the tops and edges should be golden brown, and the cranberries near the surface will have split open with juice bubbling at the cracks. Pale scones mean another minute or two. Too dark and the bottoms turn bitter.
If the tops brown before the centers set, tent with foil and give them a couple more minutes.
Cranberry Orange Scones with Orange Glaze
Ingredients
Method
- Set oven to 400°F (205°C) and prepare a large baking sheet by lining with parchment paper or applying baking spray.
- In a large mixing bowl, blend granulated sugar with orange zest.
- Incorporate flour, baking powder, and salt; stir until evenly mixed.
- Using a pastry cutter or stand mixer on low speed, work in cold butter until the mixture looks like coarse crumbs with butter bits roughly pea-sized. Set aside.
- In another bowl, beat together egg, sour cream, heavy cream, orange juice, and almond extract. Pour into the dry mixture and stir until barely combined.
- Gently fold in cranberries until they are evenly dispersed.
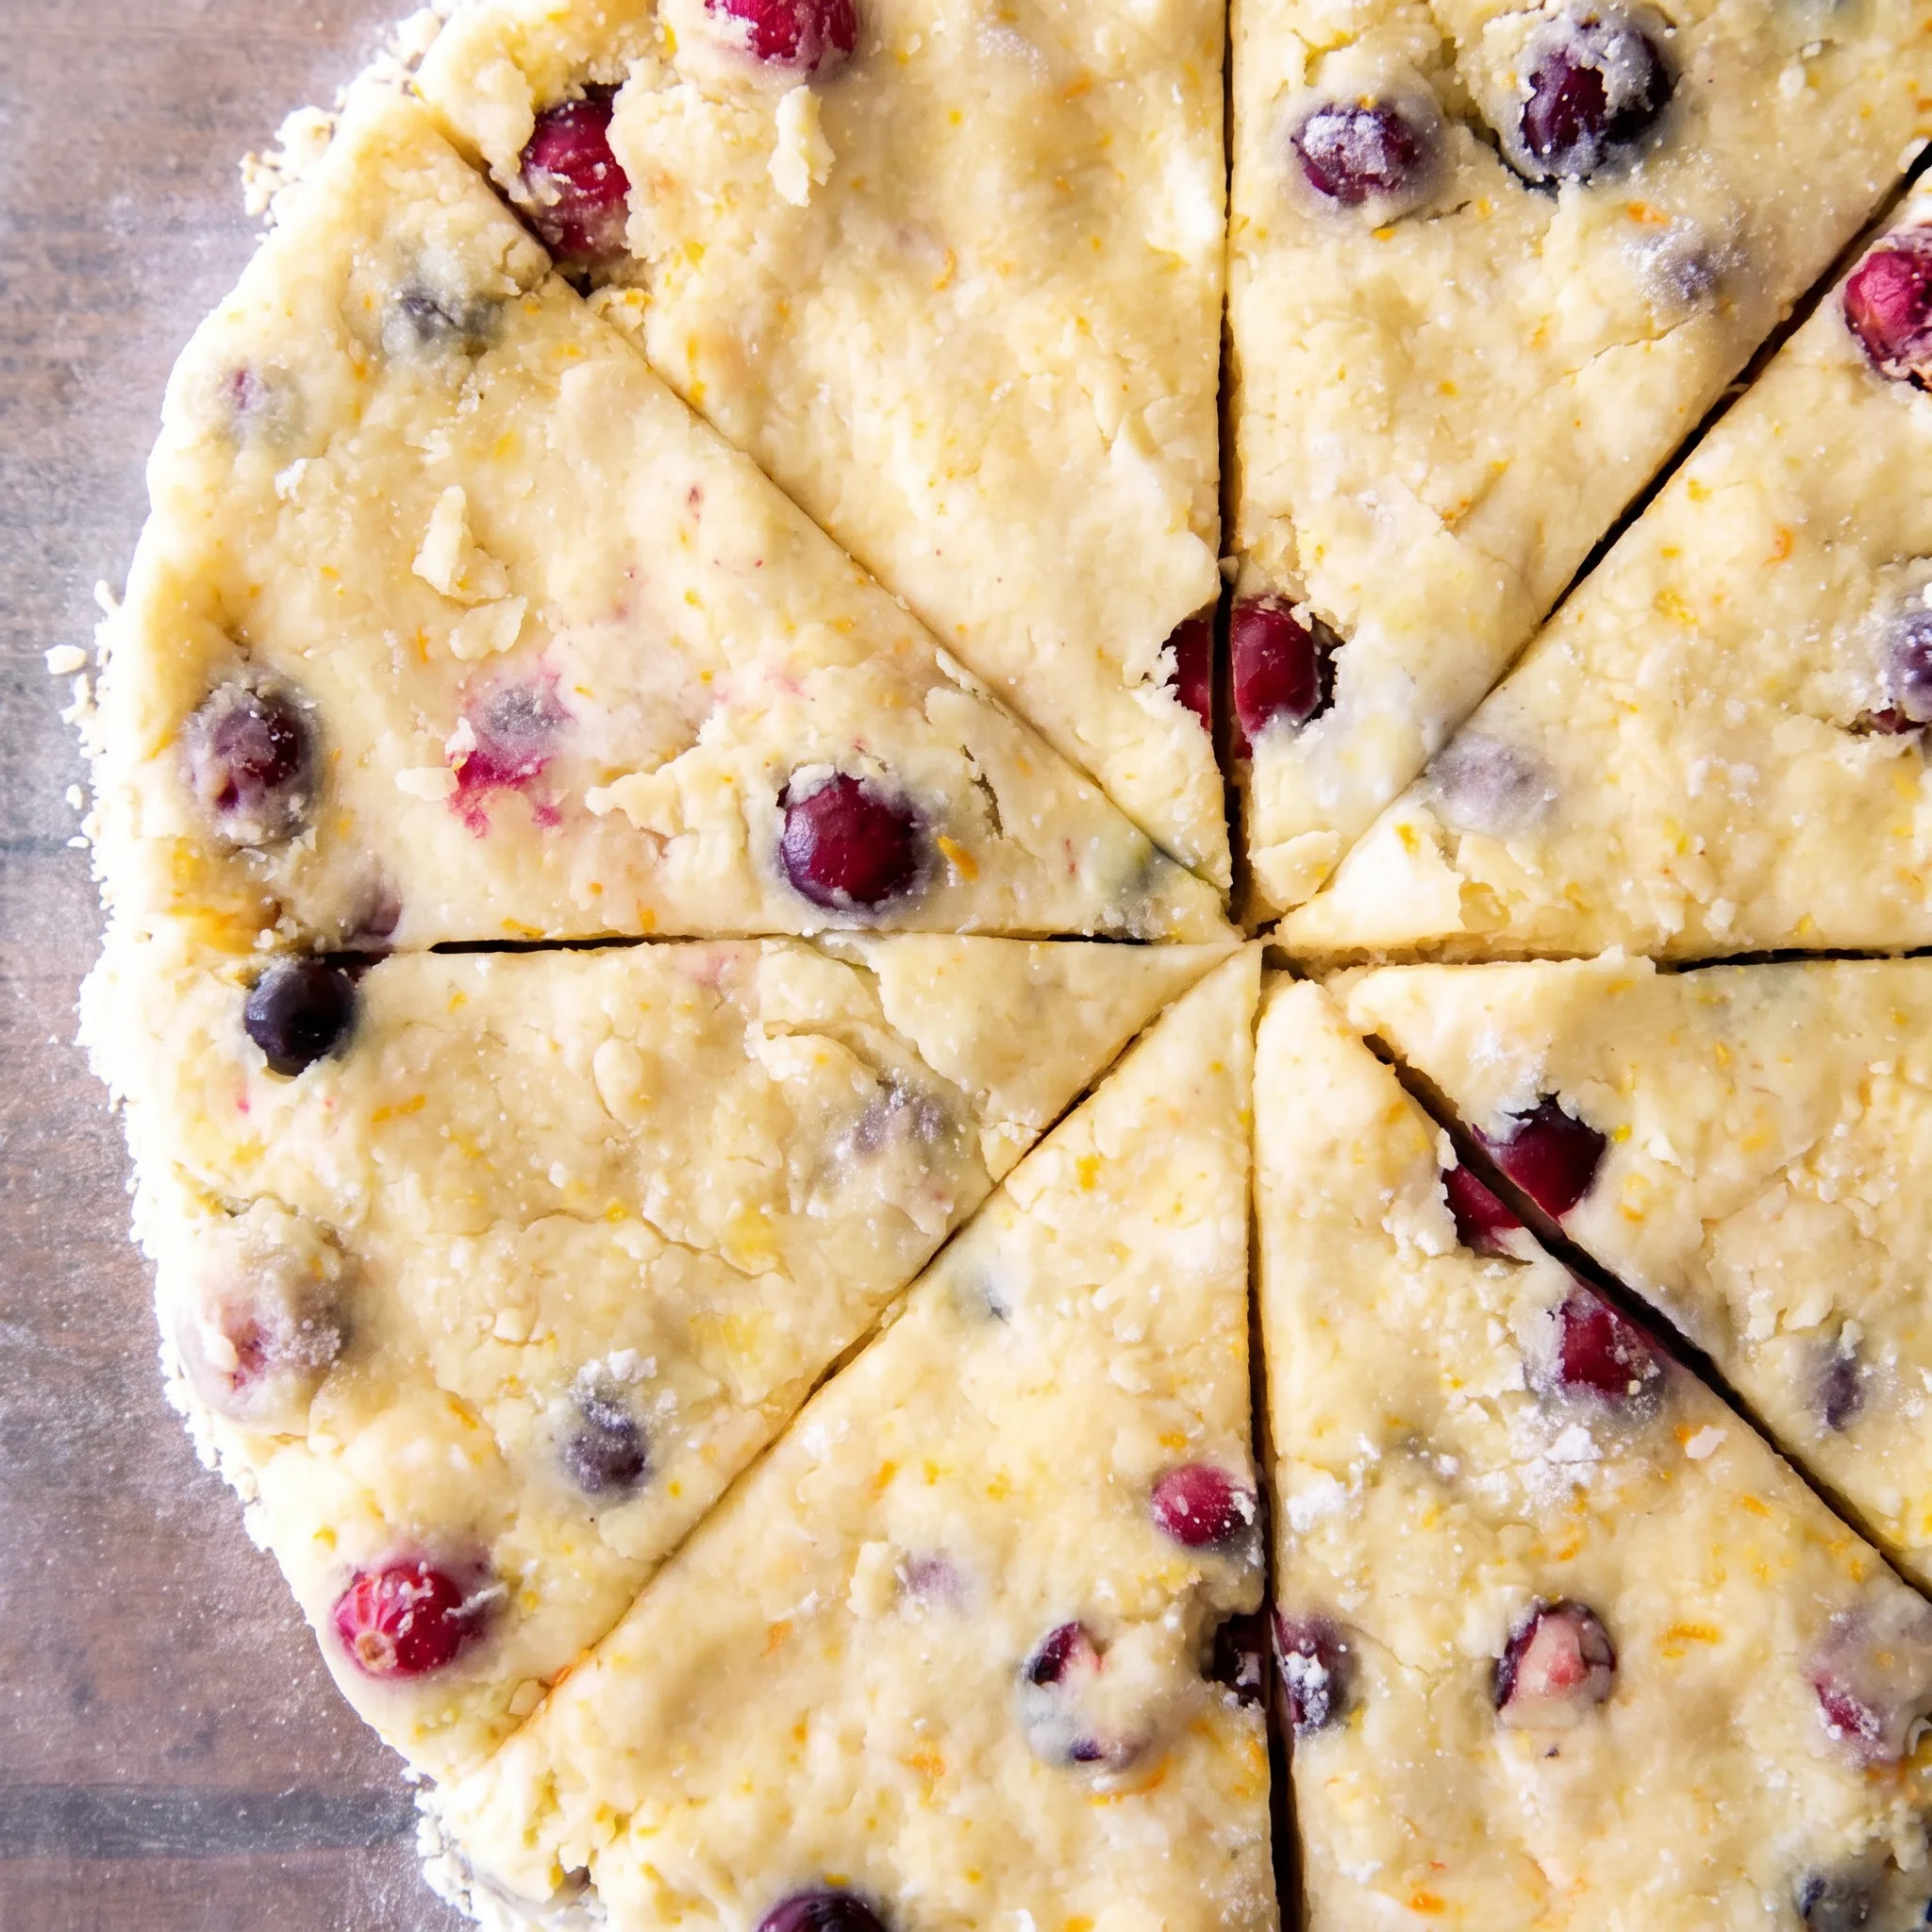
- Transfer dough to a floured work surface and shape into a circle 1-inch thick. Using a sharp knife, slice into 8 triangles.
- Place scones on the prepared baking sheet, leaving even gaps between them.
- Coat tops with heavy cream and bake for 16–18 minutes, until they turn golden brown.
- As scones cool, combine melted butter, vanilla extract, orange juice, and orange zest with a whisk. Gradually whisk in powdered sugar, beginning with 1 cup; if glaze is too runny, incorporate up to the remaining 1/2 cup.
- Drizzle glaze over the scones.
- Enjoy!
What You Can Swap, What You Can’t, and Why in These Scones
Fresh cranberries: Frozen cranberries, straight from the freezer. No need to thaw them first.
Thawed berries collapse and bleed juice into the dough, turning it pink and slack. Frozen ones hold their shape just long enough to survive folding and shaping, then burst in the oven much like fresh. The tartness comes through the same, though the pockets of fruit may be a touch softer.
Use the same 1 cup.
Sour cream: Plain yogurt thinned with a little heavy cream. Sour cream brings both fat and acidity, and plain yogurt has the acidity but less fat. Thinning it with a splash of cream restores some richness.
Start with 3 tablespoons of yogurt and stir in a teaspoon or two of cream until it looks like sour cream. The dough will feel similar, though the crumb may be slightly less tender.
Don’t use fat-free yogurt; it lacks the body to carry the dough.
Cold cubed butter: No good swap. Softened or melted butter will ruin the flakiness. Cold butter stays in distinct bits that create steam pockets in the oven, which is where flakiness comes from.
Softened or melted butter blends into the flour and gives you a dense, cakey scone with no layers. If you’re set on using a different fat, cold lard or cold coconut oil can work, but the flavor and texture will change. Stick with cold butter for the classic result.
Storage, Make-Ahead, and the Glaze Clock
Scones are best within a few hours of baking, while the crust still has a little snap and the crumb is tender rather than damp. Store them unglazed. Once the glaze goes on, it draws moisture from the air and from the scone itself, and by the next morning the top softens and the drizzle sinks in.
So glaze only what you’ll eat. Left unglazed in an airtight container at room temperature, they hold about two days; the crust softens first, then the crumb tightens. Rewarm at 300°F for 5 minutes to bring back some crispness.
Unglazed scones freeze well for up to two months, wrapped tight. Thaw at room temperature, then glaze. The glaze itself doesn’t freeze.
Make it fresh. If you’re baking ahead, bake, cool completely, freeze unglazed, and glaze after thawing, within an hour or two of serving.
Tips
- Cut the dough round into 8 triangles with a single firm push rather than a sawing motion, wiping the blade between cuts. The dough is studded with whole cranberries, and dragging the knife pulls them through the dough, smearing juice down the cut faces before the scones ever hit the oven.
- Arrange the triangles on the baking sheet with at least 2 inches between them and stagger the points so no two wide edges face each other. The butter produces a lot of steam, and scones spaced too close trap that moisture between them, which softens the outside edges that would otherwise set into a crust.

Frequently Asked Questions
Can I make the dough ahead of time and bake the scones in the morning?
You can mix and shape the dough, then refrigerate it overnight, but the scones will bake up a little flatter and less tender than ones baked right after mixing. The reason is the baking powder starts reacting the moment liquid hits it, and a long rest lets some of that lift fizzle out before the oven ever sees it. The dough also absorbs moisture from the cranberries, which softens the crumb and makes the berries taste less bright.
If you do it, keep the shaped dough wrapped tight in the fridge and bake them straight from cold, adding a minute or two to the bake time. But the better move is to bake the scones fresh, cool them completely, freeze them unglazed, then thaw and glaze within a couple of hours of serving.
Why did my scones turn out dry or crumbly?
The most likely cause is overworking the dough after the wet ingredients go in. Every extra stir develops gluten, and gluten tightens the crumb into something dry and bready rather than tender.
You want a shaggy mass with dry streaks still visible, barely holding together. A second check is your flour measurement: if you scooped straight from the bag, you packed in extra flour, and too much flour dries out the dough no matter how gently you mix. Spoon the flour into the cup and level it off, and stop mixing the moment the dough comes together.
How do I keep the glaze from soaking into the scones instead of staying on top?
Let the scones cool completely first. A warm scone is still steaming inside, and that steam pushes moisture to the surface, which thins the glaze from below and pulls it down into the crumb. Once they’re at room temperature, the surface is set and the glaze can sit.
The other half is thickness: a glaze that coats the back of a spoon and falls in a slow ribbon will cling and drip down the sides, while a thin one runs straight in. If yours looks thin, whisk in powdered sugar a spoonful at a time until it slows down. That soft shell is what you’re after, not a glossy puddle that disappears.
What makes cranberry orange scones different from a classic cream scone?
A classic cream scone is built on heavy cream alone, which gives a tight, tender crumb and a clean dairy flavor that lets the butter and flour speak. Here, sour cream and orange juice add acidity alongside the cream, and that acidity slows gluten just enough to keep the crumb soft while the orange zest perfumes the sugar.
The real departure is the fruit: whole fresh cranberries go in and burst in the oven, leaving tart pockets that cut against the sweet orange glaze. So you get a scone that’s still tender and flaky like a cream scone, but with a sour-sweet contrast running through every bite.
