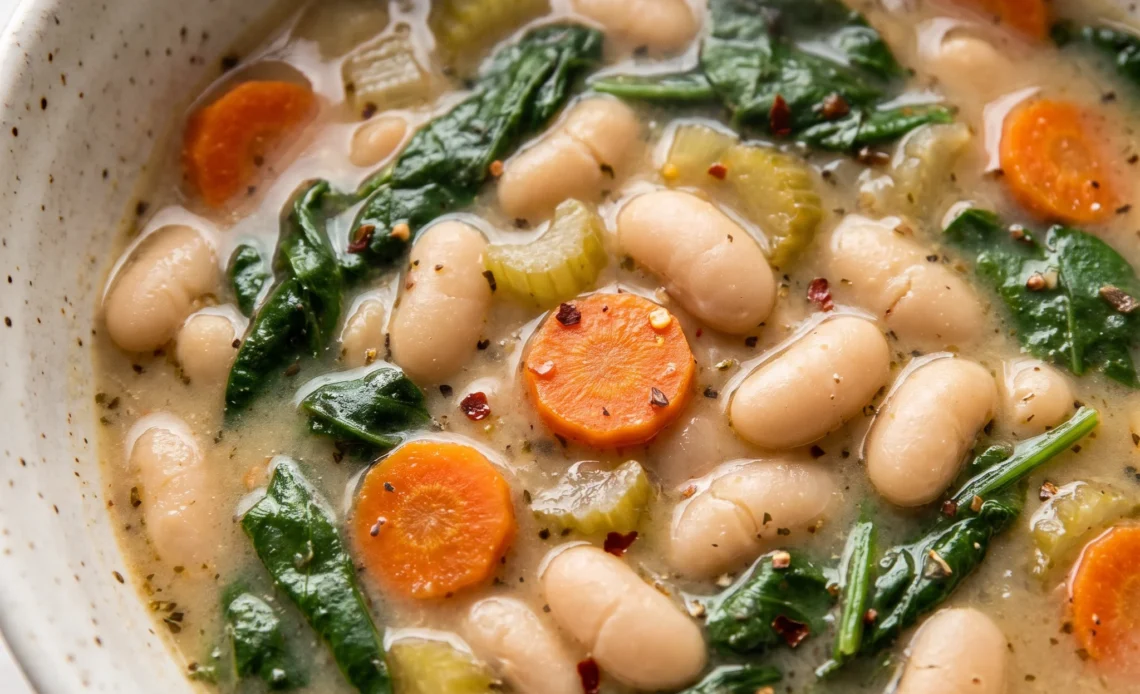
Creamy soup without a drop of cream sounds like a shortcut until you taste how the beans pull it off. Cannellini do the thickening here, and that’s where this tuscan white bean soup can slip: purée too much of the pot and you get baby food, too little and the broth stays thin.
The margin is narrow, and it’s decided after the simmer, not during it. Everything else is forgiving.
The aromatics soften on their own schedule, the dried herbs have room to open up, and the spinach goes in late enough to stay green. What you’re really managing is texture, and the pot tells you plainly whether you’ve overshot.
A spoon dragged through should leave a trail that closes slowly, with whole beans still visible in the wake. Crusty bread alongside, mostly because you’ll want it for the bottom of the bowl.
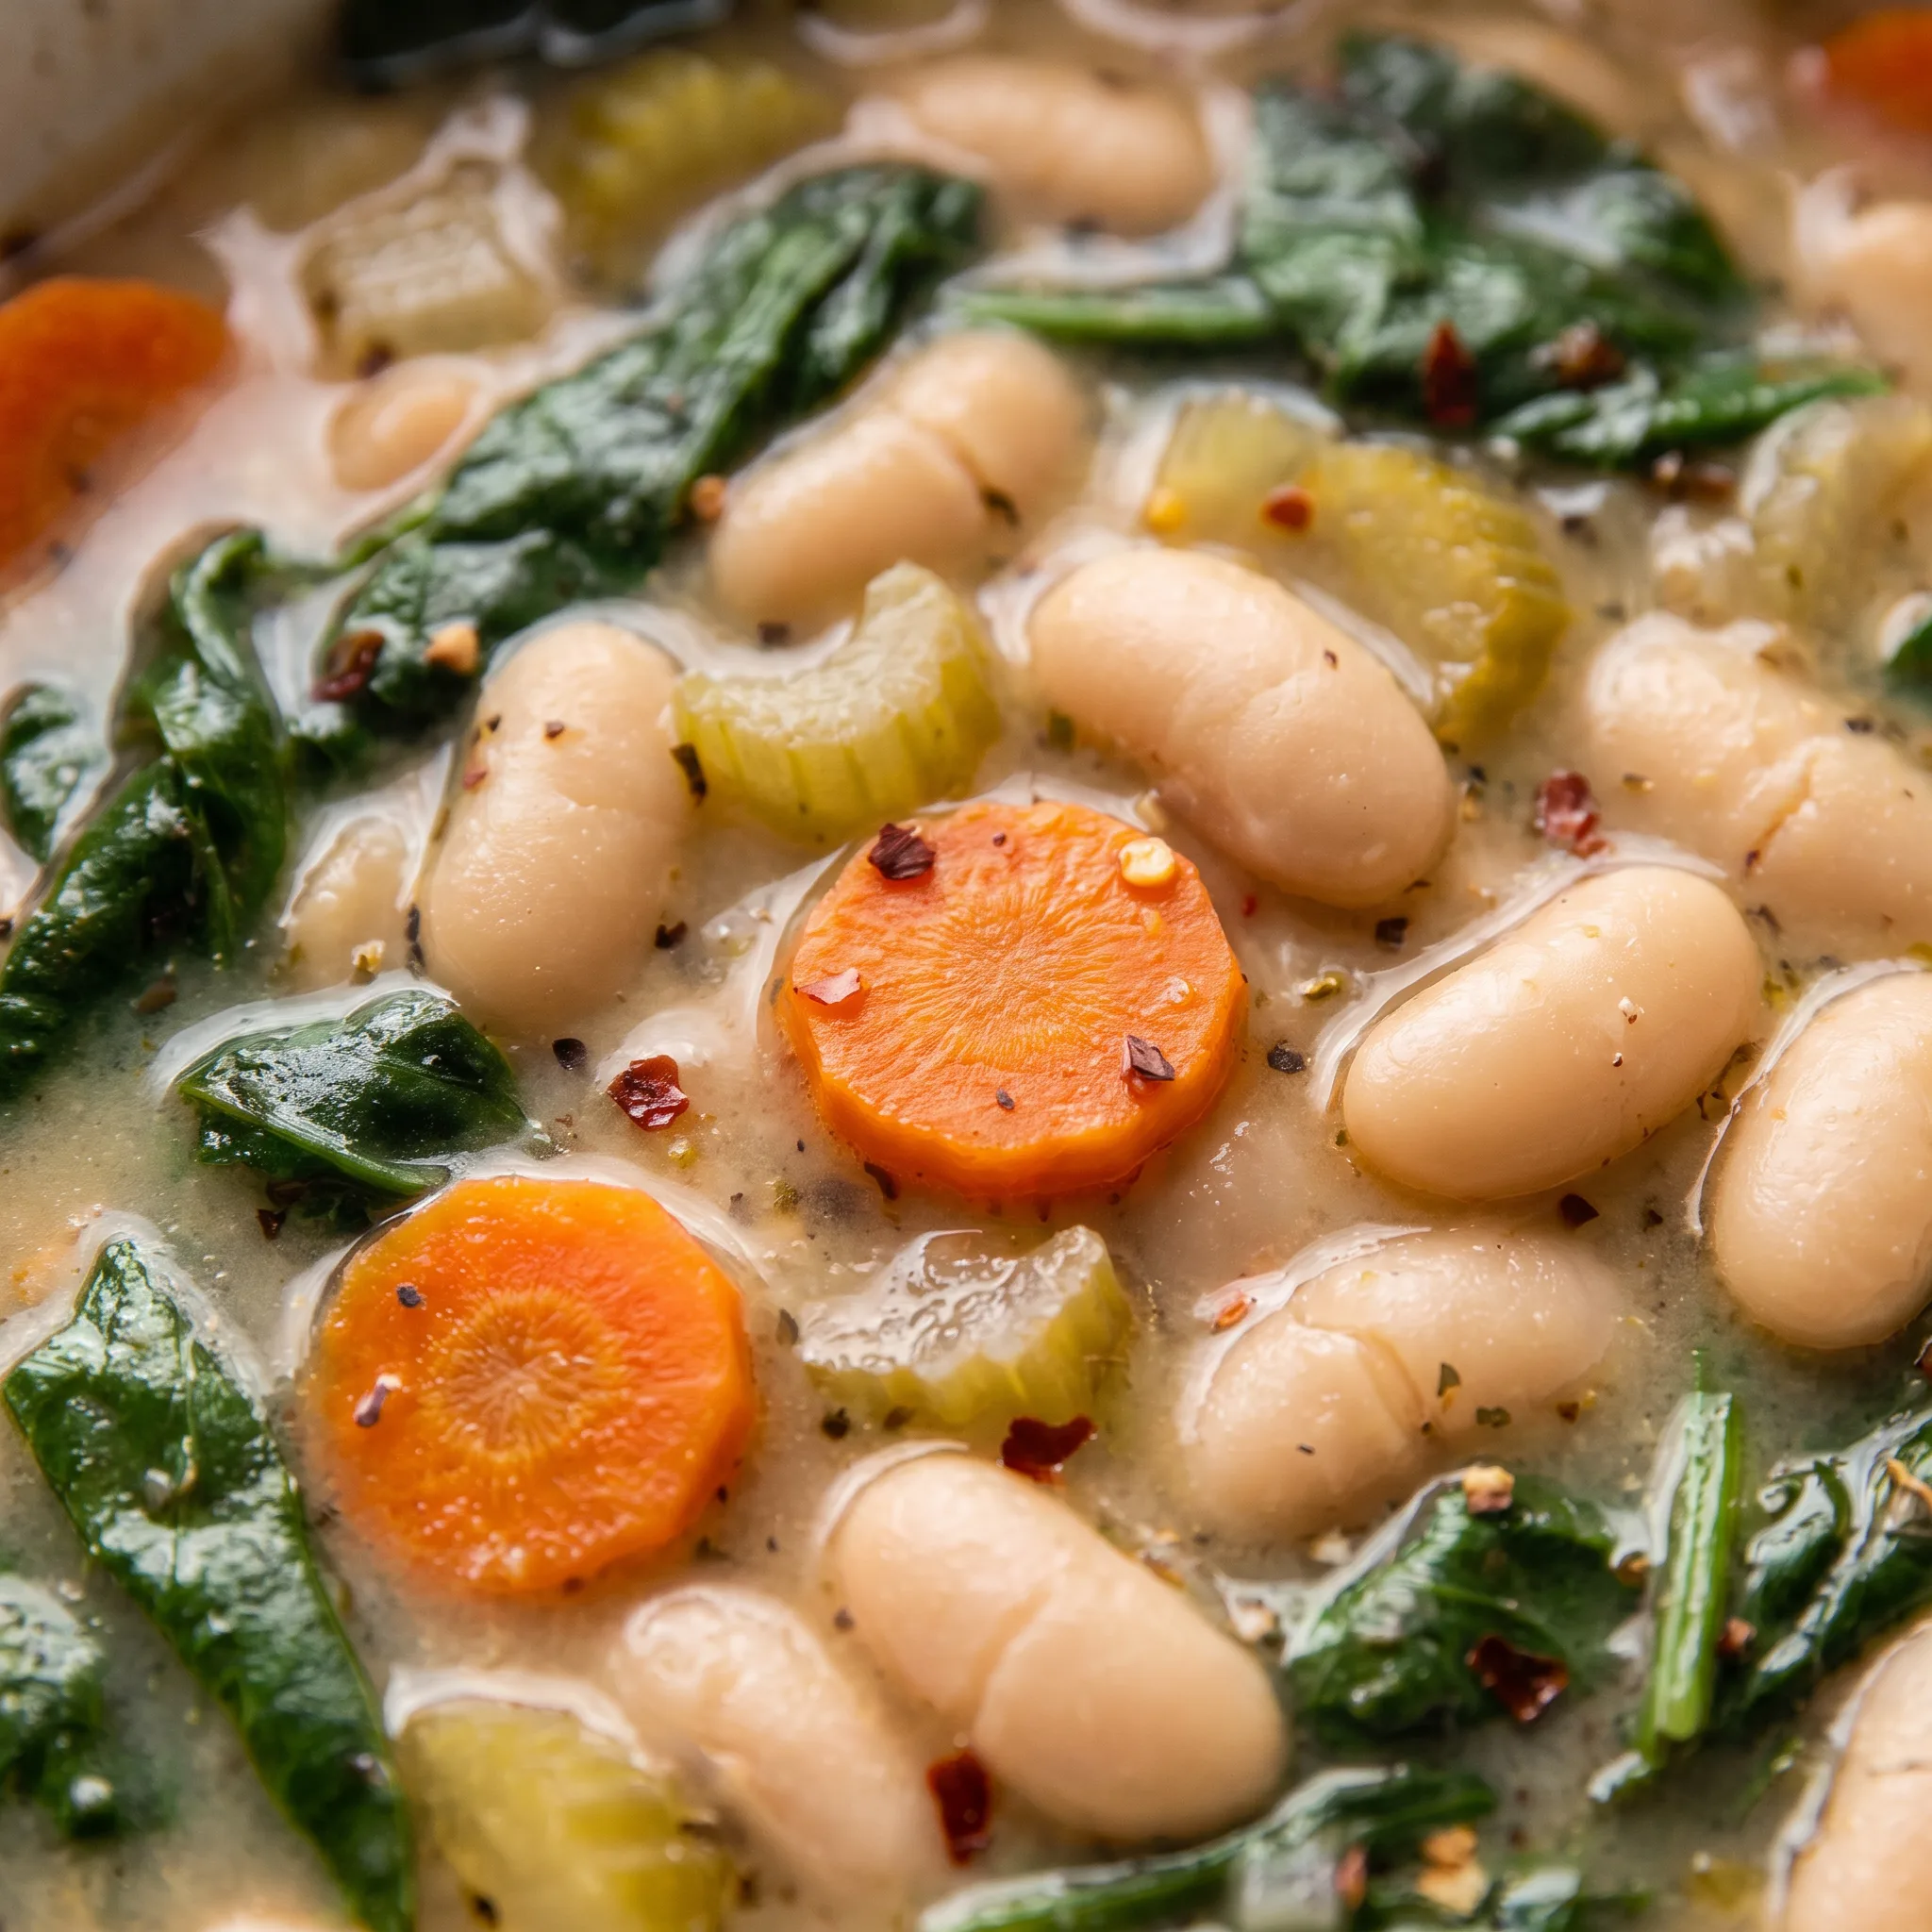
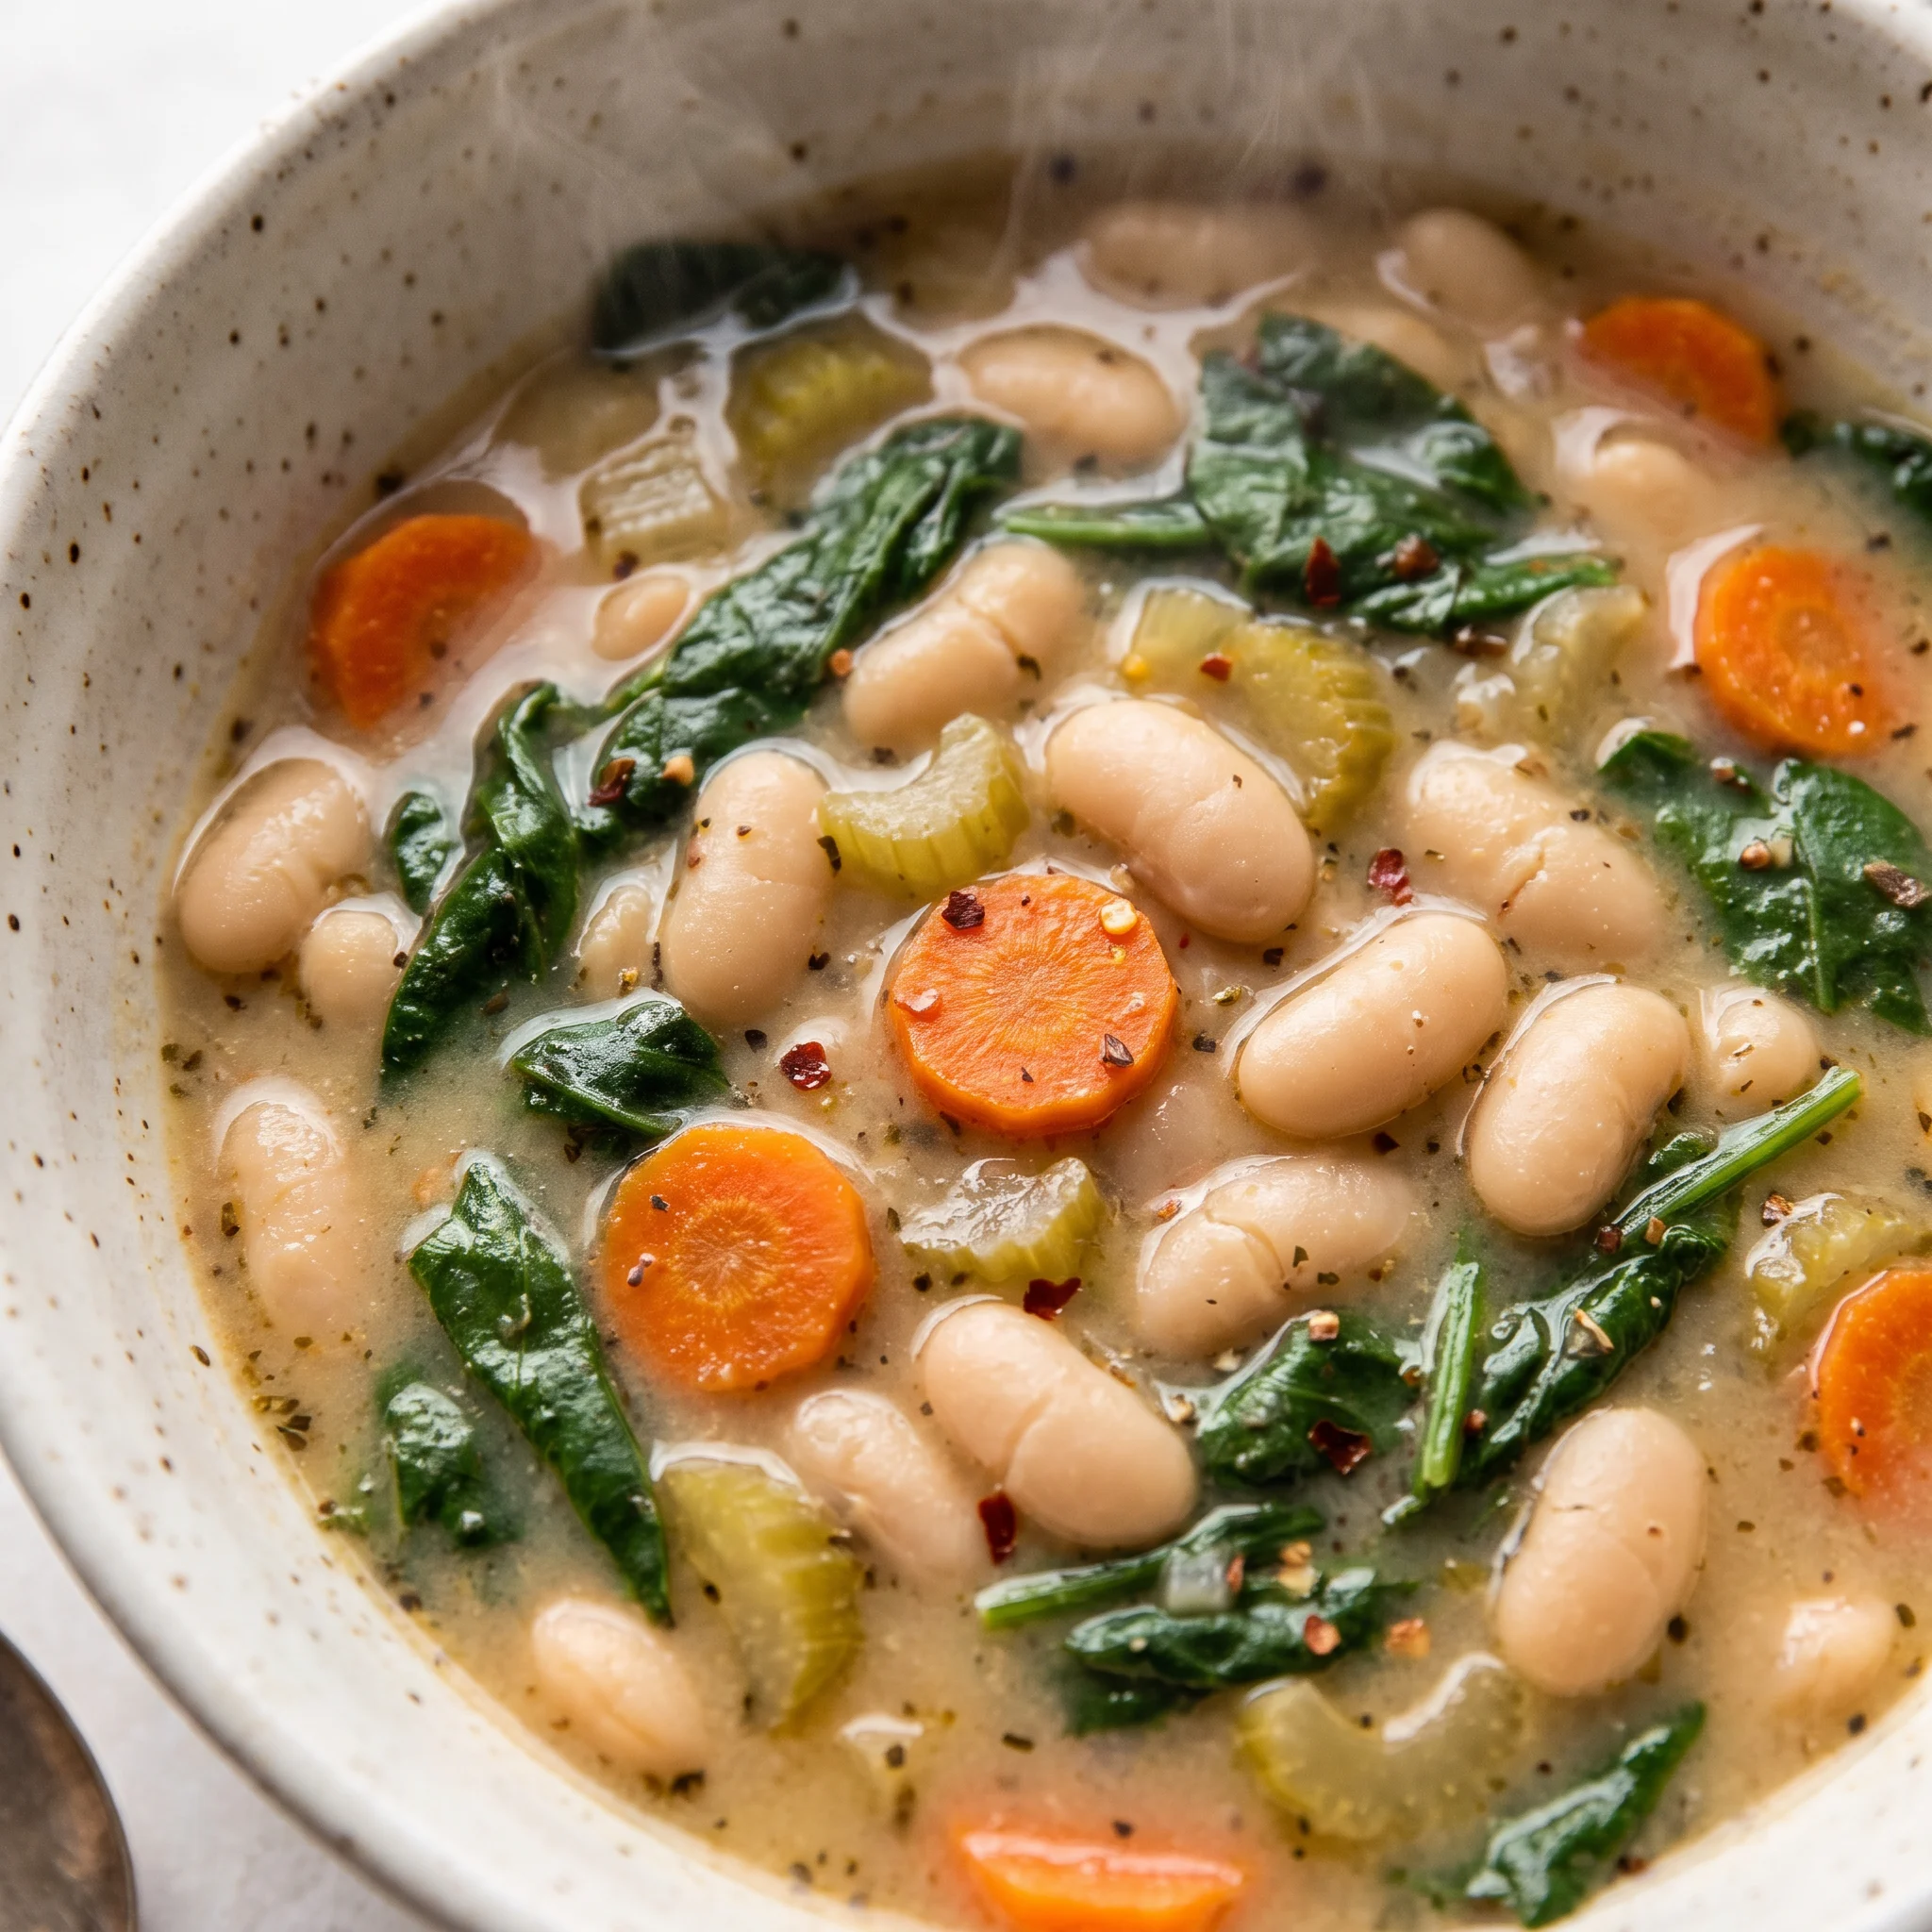
The soup’s body depends on blending only about 2 cups, roughly a third, so the starch from those beans thickens the broth while the remaining beans stay intact. Watch the pot as the blended portion returns: the liquid should look like a light cream that still shows whole beans and visible carrot coins, and it should fall from the ladle in a slow stream rather than a heavy plop. Once the entire pot has been puréed smooth, the starch is fully released and no amount of added broth restores the broken texture, that point is past correcting.
How Does Blending Only Part of the Soup Make It Creamy?
Ladle two cups of the soup into the blender, and you’re taking out roughly a third of the pot. Those are mostly beans and broth, with some carrot and celery. Blended smooth, the cannellini beans break down into a purée that thickens the whole pot when you stir it back in.
The starch that’s released does the work of cream without any cream. You get a body that coats a spoon but still lets the broth run. Blend the entire pot, though, and the soup goes past creamy into pasty.
Every bean becomes a uniform purée, and you lose the distinct pieces that make each spoonful interesting. The two-cup amount keeps whole beans and vegetable bits in the pot, so you get a mix of creamy and chunky.
After you stir the purée back in, the soup should look silky but still have visible beans and vegetables. That’s the texture to aim for.
Why Do Aromatics Go In Before the Carrots and Celery?
Onion, shallot, and garlic go first because they’re soft and release their flavor quickly. In hot oil, they turn translucent in a few minutes, and that’s when they’re done. Carrots and celery are dense and need longer contact with the heat to soften and sweeten.
They go in after the aromatics are ready. If you added garlic with the carrots, the garlic would cook for the same long stretch and likely burn, turning bitter and acrid.
That bitterness would spread through the soup. So the order matters: soft aromatics first, dense vegetables second.
You’ll know the carrots and celery are ready when they’re tender enough to pierce with a knife but still hold their shape. The pot should smell sweet and savory, not sharp or burnt.
That’s the base for the rest of the soup.
What Role Do Cannellini Beans Play in This Soup?
Cannellini beans give this soup its heft. They’re large, creamy white beans that hold their shape during a simmer but yield a soft, silky texture when bitten.
That combination is why the soup feels hearty without meat. Canned beans come packed in liquid that’s high in sodium and surface starch. Rinsing them under running water washes away that starchy film, which would otherwise cloud the broth and make it taste flat.
After rinsing, the beans go into the pot whole. As they simmer, they absorb the broth and seasonings.
When you blend a portion, those beans break down into a purée that thickens the soup. The ones left whole provide contrast. You end up with a soup that’s both creamy and chunky, with beans that taste clean and savory, not canned.
That’s the backbone of the dish.
Adding Spinach at the End
Spinach is delicate. If it simmers with the beans for the full 15 minutes, it collapses into dark, olive-drab shreds and loses its fresh, green flavor.
Instead, it goes in after you remove the bay leaves and stir in the blended soup. The residual heat of the soup is enough to wilt the leaves in a minute or two.
You’ll see them shrink and turn bright green, and the soup will smell fresh and grassy. That’s what you want.
Overcooked spinach would taste dull and slightly metallic, and the color would muddy the whole pot. So add it last, stir until it just wilts, and serve.
The soup should look bright, with specks of green against the white beans. That’s the sign it’s ready.
The Four Ingredients That Decide How This Soup Turns Out
Cannellini beans: Buy cans with no dents and check the date, since older beans stay firm and never soften into that silky bite the soup needs.
Extra virgin olive oil: Use a bottle you’d drizzle on bread, because the oil is the first thing to hit the pot and cheap oil tastes flat and slightly waxy here.
Shallots: Pick firm, papery shallots with no green sprouts pushing through the tip, since sprouted ones taste sharp and raw rather than sweet.
Fresh spinach: Buy leaves that are crisp and deep green with no slimy patches or yellow edges, because wilted spinach goes limp and dull the moment it hits the hot broth.
Bay leaves: Use dried leaves that still smell grassy and resinous when you crush one corner, since old leaves smell like hay and add nothing.
How to Read the Pot at Four Points Where This Soup Can Go Wrong
When the onion stops being raw and starts being sweet
After 3 to 4 minutes over medium-low, the onion should look glossy and see-through, not browned. If the edges pick up color, the heat is too high and the garlic will turn acrid before the carrot softens. Pull the pot off the burner for a minute, stir, and lower the flame.
The smell should be sweet, not sharp. That’s your cue to add the carrots and celery.
Judging the carrot and celery by feel, not by the clock
Seven to ten minutes in, pierce a carrot coin with a knife. It should slide in with a little resistance, like a cooked potato, not snap like a raw one.
If it’s still hard, give it two more minutes. Soft carrots will break down later; undercooked ones stay crunchy in the final soup.
The celery should bend, not crack. Taste a piece: it should be sweet, not grassy.
The fifteen-minute simmer: enough time for the beans to drink, not so much they collapse
After the boil, lower the heat to low and cover. At fifteen minutes, a bean should crush easily against the roof of your mouth but still hold its shape in the pot.
If the beans are still firm, simmer two more minutes. If they’re falling apart, you’ve gone too far and the soup will be thick without chunks.
The broth should taste seasoned, not watery. That’s when you pull the bay leaves.
Blending two cups: stop before the purée turns gluey
Process the ladled soup just until smooth, maybe twenty seconds. Overblending whips air in and makes the purée pasty.
Stop when it looks like thick cream. Stir it back in and check the texture: the soup should coat a spoon but still show whole beans and vegetable pieces.
If it’s too thick, add broth a splash at a time. If it’s too thin, simmer uncovered for a few minutes.
Hearty Tuscan White Bean Soup with Spinach
Ingredients
Method
- Warm the olive oil inside a large soup pot or Dutch oven set over medium-low heat.
- Chop the onion, garlic, and shallots; put them into the hot oil and sauté for 3 to 4 minutes, until the onion turns translucent.
- Rinse and cut the carrots and celery; place them into the pot and sauté for another 7 to 10 minutes to develop flavor.
- Drain and rinse the cannellini beans; add them to the pot together with the bay leaves, Italian seasoning, red pepper flakes, vegetable broth, salt, and pepper.
- Bring the mixture up to a boil, then lower the heat to low, cover, and simmer for 15 minutes.
- Remove the lid, take out the bay leaves, and discard them.
- Ladle 2 cups of the soup into a high-speed blender and process until thick and creamy.
- Pour the blended soup back into the pot and stir thoroughly.
- Add the spinach and stir until it wilts.
- Divide among bowls; top with fresh chopped parsley if desired, accompany with crusty bread, and enjoy.
How to Store Leftover Tuscan White Bean Soup and Reheat It
Eat this soup the day you make it if you can. The spinach is at its brightest right after it wilts, and the whole beans still have a little bite.
Every hour after that, the blended bean starch keeps pulling liquid out of the broth, and the pot tightens. By the next morning it’s noticeably thicker, closer to a stew than a soup.
Cool leftovers within two hours, then refrigerate in a sealed container. It keeps about four days.
Reheat gently on the stove, not at a rolling boil, and add broth a splash at a time until it loosens to the texture you want. Expect it to be thicker than it was on day one no matter what you do.
The base without spinach freezes well for up to three months. Leave the spinach out of any portion headed for the freezer, since it goes limp and dull on thawing. Stir fresh spinach into the hot soup after reheating.
Top with parsley just before serving, and add it only to bowls you’re eating now.
Where Swapping Hurts This Soup and Where It Slips By Unnoticed
Vegetable broth: The card calls for 5 to 6 cups, and that spread is yours to set by how thick you want the pot. Water plus bouillon paste or cubes works in a pinch, mixed to the same volume the jar directs.
Start at 5 cups and thin after blending if the soup tightens up. Broth is most of what you taste between the beans, so a weak one leaves the pot flat no matter how much seasoning goes in.
Bouillon runs salty, which is why you mix it weaker than the jar says and hold back on the measured sea salt until you’ve tasted the simmered broth. Homemade stock that gels in the fridge gives the richest body.
Skip plain water alone and the soup reads thin and watery, with the beans carrying all the weight.
Italian seasoning: One tablespoon of the blend, or build your own from what’s in the cabinet: roughly equal parts dried oregano, basil, and thyme, a pinch of rosemary, and a little marjoram if you have it. Mix a tablespoon of that combination and add it in the same step. The blend is dried leaf and needle, and it needs the 15-minute simmer to soften and release.
Taste the broth at the end of the simmer; dried herbs fade faster than you’d think in a pot this size. A blend past its date smells like dusty hay and contributes little beyond color specks. Fresh herbs won’t do the same job here, since they go in at the wrong moment and turn bitter over the full simmer.
Extra virgin olive oil: A quarter cup is a real amount, and it’s the first thing in the pot. Regular olive oil or a neutral oil like avocado works if that’s what’s open.
Don’t reach for butter; it browns and burns at this heat before the onion softens. The oil carries the aromatics and coats the carrots and celery so they sweeten instead of scorch.
Cheap oil tastes flat and faintly waxy, and since it’s a quarter cup, you’ll notice it in the first spoonful. A good bottle tastes peppery and green going in, though most of that fades by the time the broth goes in. Keep the good oil for drizzling at the bowl.
Shallots: Two shallots is a small amount, so a quarter cup of diced yellow onion fills in fine. Skip red onion, which bleeds color and tastes sharper once cooked.
Shallots bring a gentler sweetness than onion, and they soften in the same 3 to 4 minutes alongside the diced onion already in the pot. Yellow onion makes the base more savory and a touch more pungent.
Either way, the pot should smell sweet, not sharp, when the carrots go in.
Tips
- Hold back the sixth cup until after you blend and stir the purée back in. The two cups you ladle out are mostly beans, and once they’re puréed and returned, the pot thickens in a way you can’t predict from the simmer alone. Taste and check the texture first, then add broth a half cup at a time if it’s tighter than you want. Adding all 6 cups up front can leave you with a thin soup you can only fix by simmering uncovered, which overcooks the spinach you just added.
- If you’re cooking for fewer than six and plan to reheat later, mix the full 5 cups in at the start and keep the extra cup warm on the side. The beans keep drinking broth as the pot sits, so a soup that looks right at the stove turns thick by the second bowl. Reheating with that reserved cup lets you loosen each portion to the texture you want without watering down the seasoning, since the reserved broth is already flavored from the pot.
Frequently Asked Questions
Can I make this Tuscan white bean soup ahead of time and reheat it?
Make the base a day ahead and hold the spinach back until you reheat, since the greens are what fade first. The pot will look tighter than it did last night because the blended beans keep drawing liquid from the broth; loosen it with broth a splash at a time over gentle heat until it coats a spoon again.
Cooked spinach stirred in after reheating wilts in the residual heat and stays green. If you plan to freeze any of it, leave the spinach out of that portion entirely.
Why did my soup turn out too thick or gluey after blending?
Overblending is the usual culprit. Twenty seconds or so gets you a purée that looks like thick cream; push past that and the blender whips air into the beans, and the texture turns pasty instead of silky.
The second check is how much liquid went in: the card allows 5 to 6 cups of broth, and if you started at the low end, the pot has less to spare once the purée goes back. Stir in broth a splash at a time until it coats a spoon but still shows whole beans and vegetable pieces.
How is this soup different from classic Tuscan ribollita?
Ribollita is built on bread. Stale loaves go into the pot and thicken it, and the soup is traditionally reheated the next day, which is what the name means.
This version gets its body from blended cannellini instead, so there’s no bread to soak up the broth and the pot stays soup rather than porridge. Ribollita also leans on cavolo nero and often tomatoes; here it’s fresh spinach stirred in at the end, which keeps the flavor green and light against the white beans.
Can I use dried cannellini beans instead of canned?
Yes, and they’ll taste cleaner, but they need a full soak and a long cook before they ever meet this pot. The card’s timing assumes beans that are already tender, so plan on cooking the dried ones separately until they crush easily against the roof of your mouth, then use them in place of the canned. Salt the soaking water or the cooking liquid, not just the soup, or the beans stay firm no matter how long they simmer.
Expect the pot to need more broth, since home-cooked beans don’t carry the canning liquid that canned ones do.
What should I serve with this soup to make it a full meal?
Crusty bread is the obvious partner, and it does real work: the soup is thick enough to cling to a torn piece, and you’ll want something to wipe the bowl with. For protein, a soft-boiled egg halved over the top or a spoonful of white beans mashed with olive oil and lemon on toast alongside.
A crisp green salad with a sharp vinaigrette cuts the richness of the blended beans. Keep additions light; the soup already carries 280 calories a serving and plenty of body.
