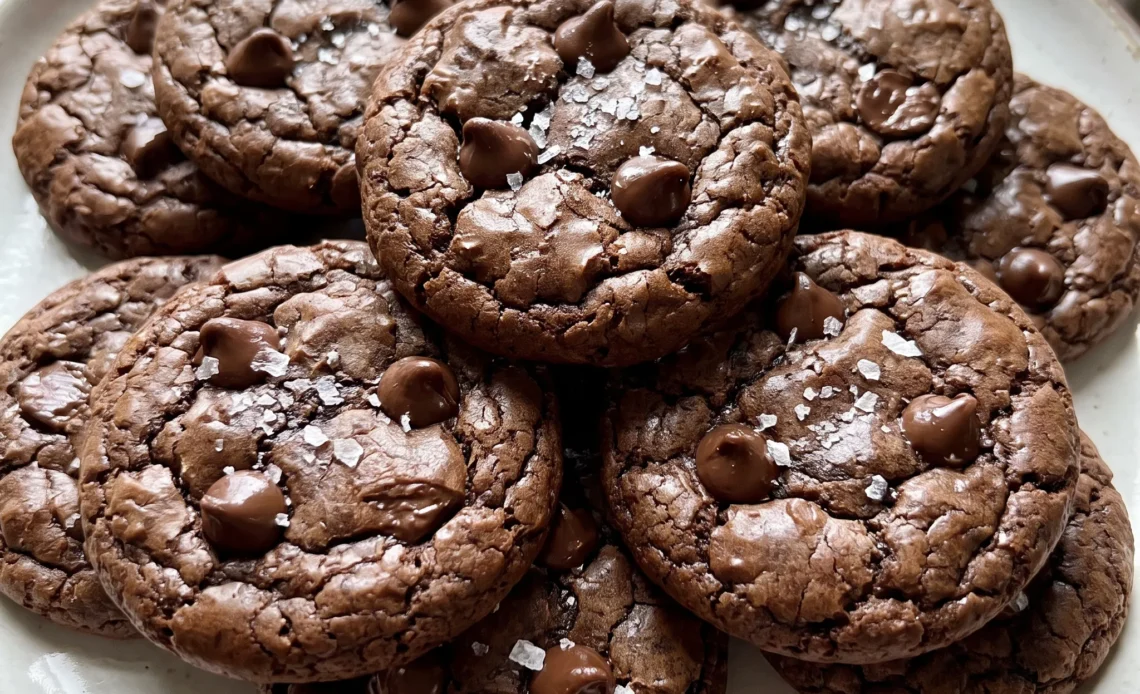
Shiny on top, molten at the center, and barely holding together when they first come out of the oven. That contrast is what separates salted brownie cookies from anything you’d fold chips into: the crackled surface shatters, the middle pulls like fudge, and they’re too tender to stack. The payoff is that building this dough takes one bowl and doesn’t demand a chill.
The risk is real, though. A batter this loose punishes a heavy hand, and the window between fudgy and dry is narrow enough that you have to watch the tray, not the clock. Warm from the sheet is where they’re at their best.
Why This Cookie Batter Needs So Much Egg
One cup of flour to two eggs plus a yolk. That ratio is the whole reason these cookies land closer to brownie than to a butter cookie. Most drop cookie doughs run an egg or maybe two across two cups of flour, so this one carries a lot more water and fat than you’d expect.
All that liquid dissolves more of the granulated sugar, and dissolved sugar is what bakes into a glossy, crackled surface instead of a matte, cakey top. The extra yolk is almost pure fat, which keeps the middle dense and fudgy rather than spongy. Pull back on the eggs and you get a dry, crumbly disk that snaps instead of bends.
Push past this amount and the dough turns soupy, spreading flat and thin in the oven with no structure to hold a chew. The batter should look wet and loose when it goes into the bowl, and the finished cookie should give a little when you press the center.
Melted Chocolate and Cocoa Together
Chocolate chips alone give you sweetness and a mellow finish. Cocoa powder alone gives you intensity but a dry, powdery edge. Use both and the flavor reads deeper and rounder than either one manages on its own.
The order matters. Whisk the cocoa into the warm melted chocolate and butter right after it comes off the heat, while there’s still enough warmth to break up the powder completely. Skip that and you’ll find pale, dry pockets in the batter that never quite absorb, and they bake into bitter little streaks.
Espresso powder is in the ingredient list for a reason, and it isn’t there to make these taste like coffee. It sharpens the chocolate so it tastes more like chocolate. Leave it out and the cookies still work, just a touch flatter.
Let the melted mixture sit a minute before it meets the eggs. Warm is fine, hot is not.
Scooping a Batter This Loose
Brownie batter and this cookie dough have a lot in common. Both are thin, both slump off a spoon, both look like they should be poured rather than dropped. That’s expected here, not a sign you measured wrong.
Because the batter is so wet, a 1 1/2-tablespoon scoop is the tool that keeps portions even. Two spoons work too.
What matters is that each mound is roughly the same size so they all finish at the same time. Space them about 1 1/2 inches apart on the sheet, because these spread as they bake and will run into each other if crowded.
If you’ve ever been tempted to chill a dough like this to make it easier to handle, don’t. Cold turns this batter stiff and tacky, and you’ll fight it off the scoop.
It goes into the oven at room temperature, straight from the bowl. The mounds should look glossy and wet on the tray before they ever see heat.
Salt Flakes and Chocolate on Top
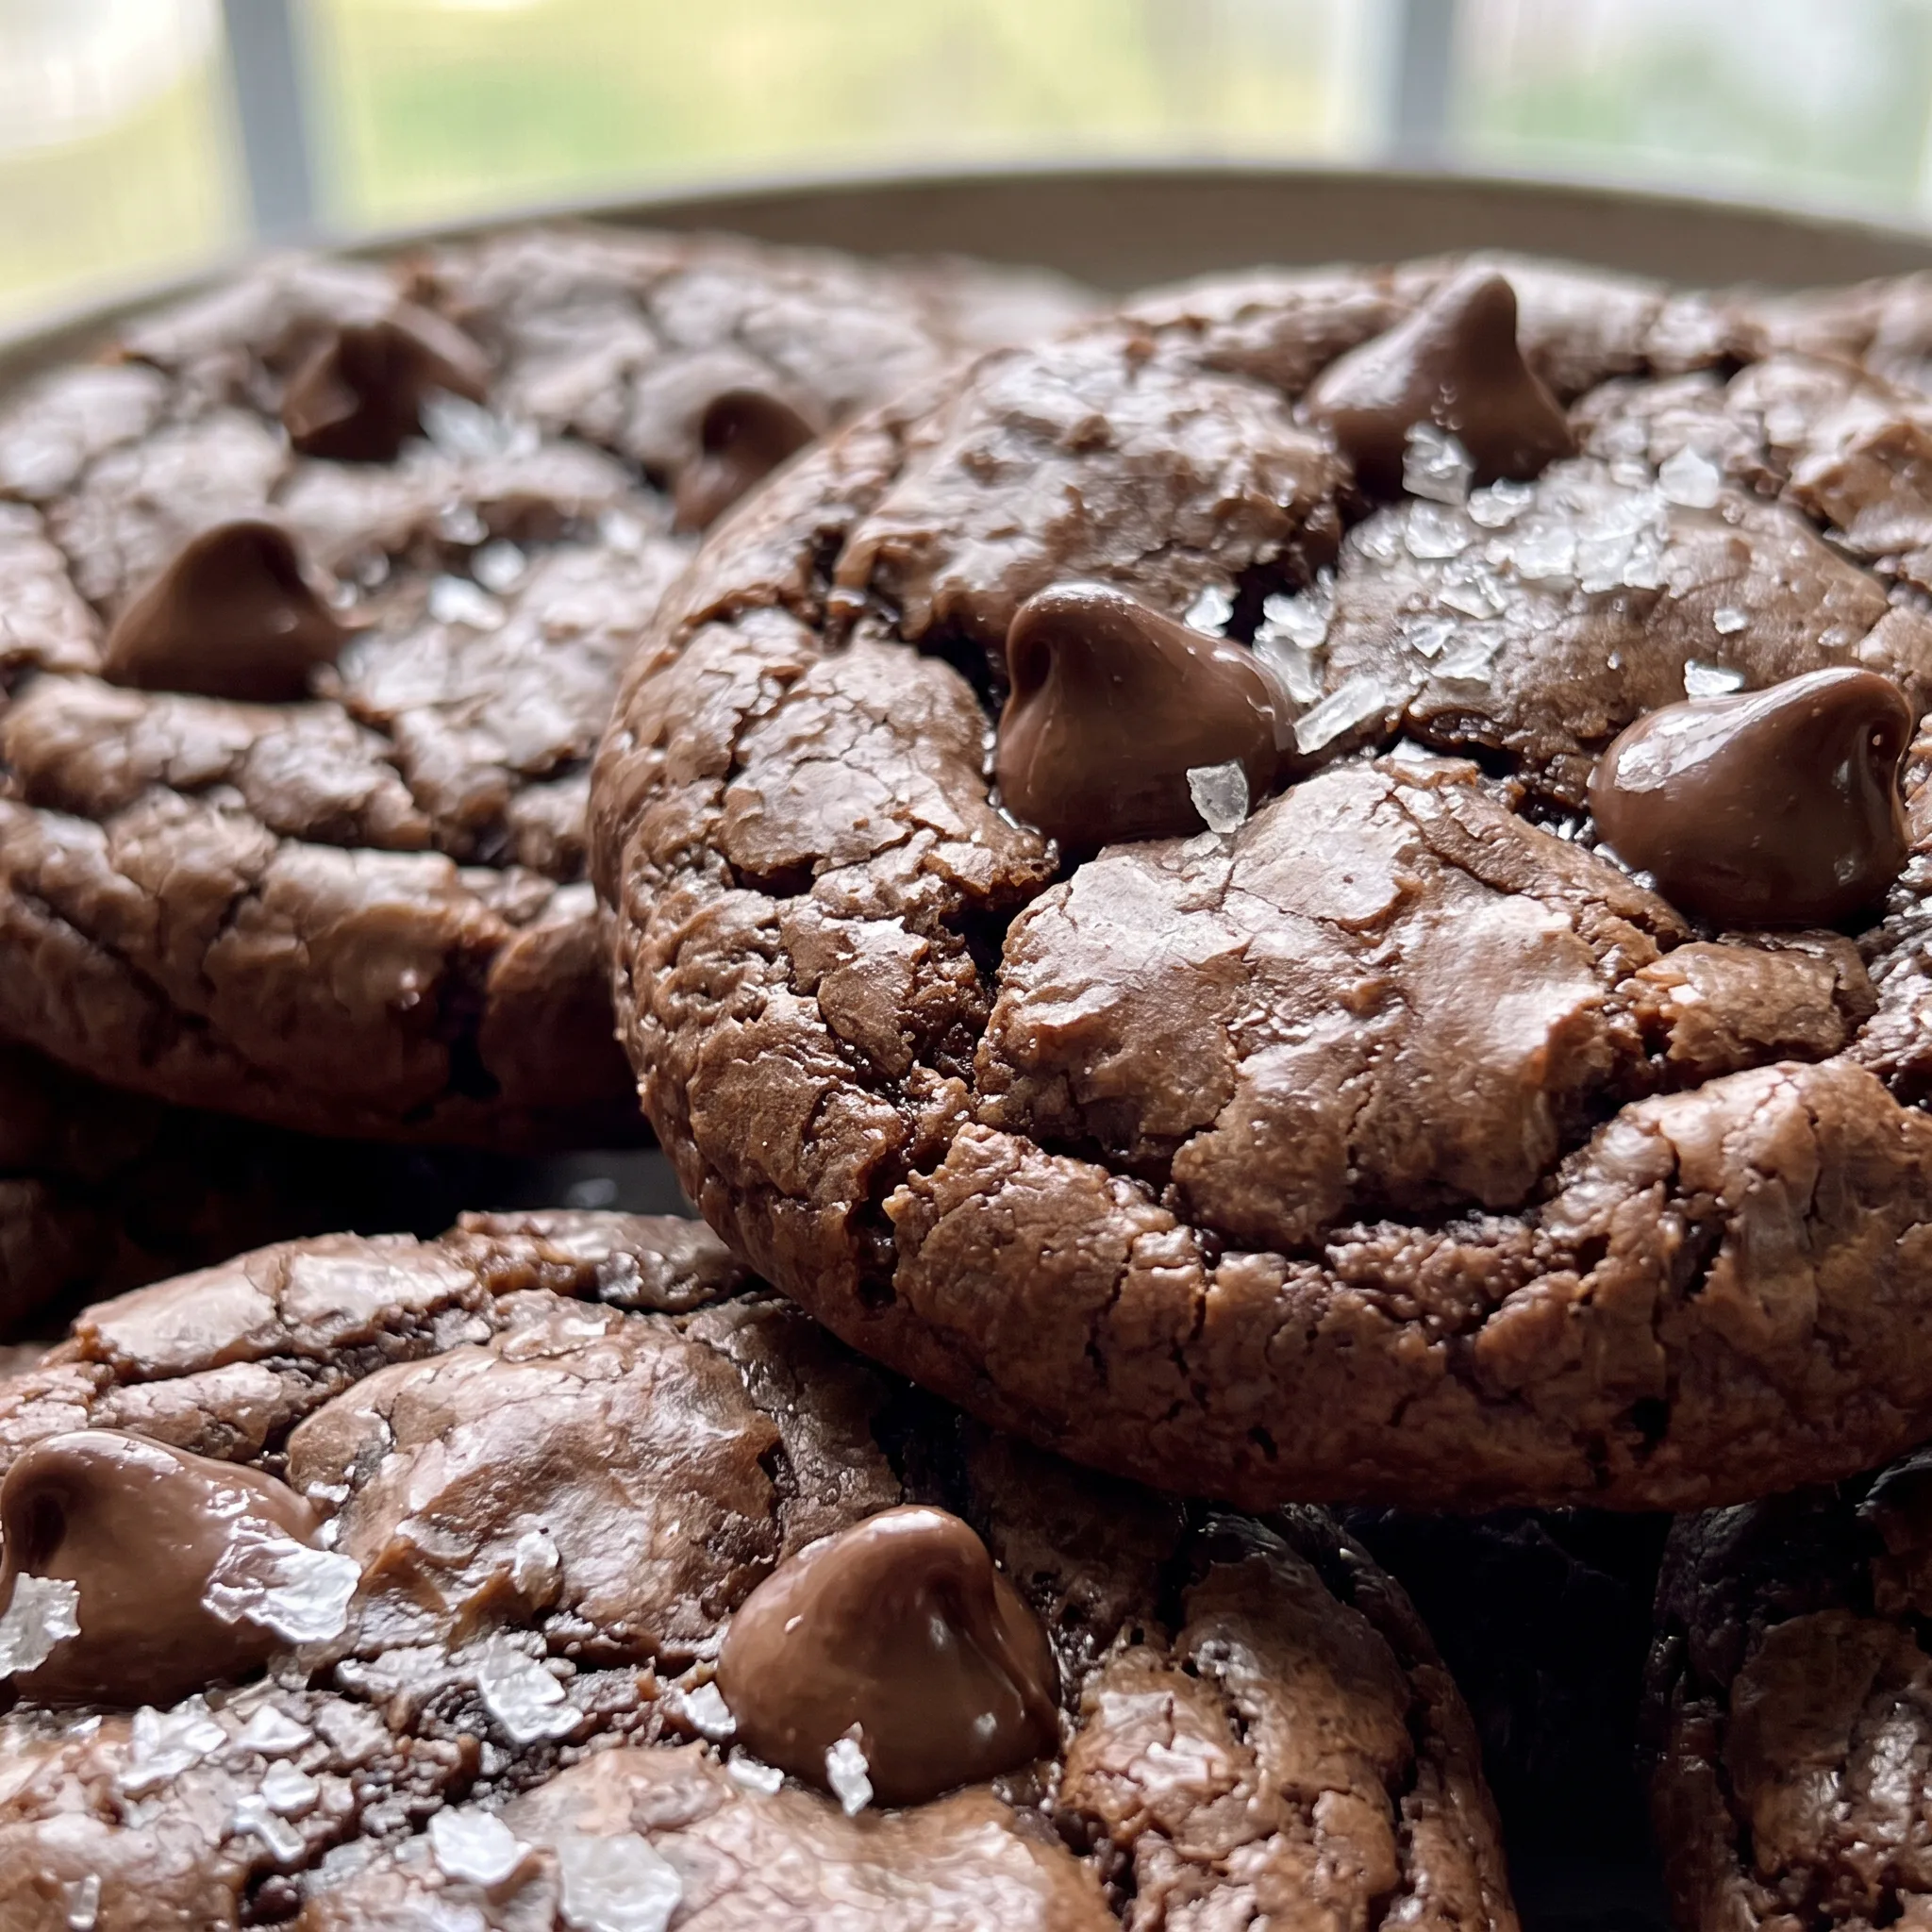
A pinch of flaky sea salt on the raw mound does two things. It gives you a salty crunch against all that sugar, and it makes the chocolate taste more like chocolate. Those flakes stay distinct through the bake, so you get little bursts of salt rather than an even seasoning through the dough.
A few extra chocolate chips pressed onto the tops right after the cookies come out of the oven is a separate move. They melt from the residual heat and set glossy as the cookies cool, which gives the surface a finished look and a second hit of chocolate in the bite.
Both are optional. Without them, you still have a good cookie. With them, you have one that looks like it came from a bakery case and eats with more contrast.
Scatter the salt before baking, add the chips after. The salt should still be visible as flakes on the finished cookie.
Handling These Cookies While They’re Warm
Straight from the oven, these are barely holding together. The centers are molten, the edges are set but soft, and a spatula will tear right through them if you try to move one too soon. That’s normal for a cookie this fudgy.
Leave them on the baking sheet for about 5 minutes. In that time they firm up enough to lift without falling apart, though they’ll still be tender. Slide a thin spatula under each one and move it to a rack to finish cooling.
They’re at their best while still slightly warm, when the middle is soft and the chocolate is gooey.
Once fully cooled, they hold their shape better and the texture turns chewier. Either way, treat them gently.
These aren’t the kind of cookie you stack in a pile or toss in a bag. A single layer on a plate is the safest way to serve them, and they’ll disappear before you have to worry about it.
The Ingredients That Decide Whether These Bake Up Fudgy or Flat
Granulated sugar: Regular granulated, not brown or coarse: it dissolves into the wet batter and dries into that shiny crackled top.
Semi-sweet chocolate chips: Standard chips, not chopped bar chocolate, melt smoothly with the butter and keep the sweetness in check against the cocoa.
Unsweetened cocoa powder: Natural unsweetened cocoa, sifted if yours is lumpy, since it goes into warm melted chocolate and needs to disappear completely.
Eggs and egg yolk: Room temperature matters here so they whip frothy with the sugar instead of seizing when the warm chocolate hits them.
The melted chocolate-butter mixture leaves the saucepan hot enough to set egg proteins on contact, so the moment it hits the eggs you get small cooked flecks rather than a smooth emulsion. Watch the mixture as it comes off the heat: it should look glossy and fluid, and if you can hold the pan against your wrist without flinching, it is still too hot to add. Once scrambled flecks appear, no amount of whisking or straining will undo them, and the baked cookies will carry rubbery bits.
How to Tell When This Batter Is Right and When the Cookies Are Done
Judging the batter after the dry ingredients go in
Stop mixing the moment you see the last streak of flour disappear. The batter should look wet and glossy, like thick brownie batter, and slump off a spoon without holding a shape. If you keep mixing, the cookies bake up tough and flat instead of fudgy.
A few small lumps are fine; they’ll bake out. If the batter seems too thin to scoop, you’ve likely overmixed or the chocolate was too warm, but it will still bake; just work quickly.
Knowing when the cookies are done in the oven
Set the timer for 8 minutes and start watching. The tops should be shiny and crackled, with edges that look set but not browned. The centers will still look underdone and puffed.
At 10 minutes they’re at the edge; any longer and the crackle turns to a dull crust and the middle loses its fudgy pull. If you pull them at 8 and they seem too soft, they’ll firm up on the sheet. Better to underbake than overbake.
The moment to reshape cookies for a round edge
As soon as the sheet comes out of the oven, while the cookies are still soft and puffy, you can nudge them back into circles. Use a round cookie cutter larger than the cookie and gently scoot the edges inward. Wait even a minute and the edges set, and any attempt to reshape will crack the surface.
This is optional, but if you want uniform cookies, it has to happen immediately.
Judging when they’re firm enough to move
Leave them on the hot baking sheet for about 5 minutes. They’ll look fragile and molten at first, but after 5 minutes the centers set enough to lift with a thin spatula without tearing.
If you try sooner, they’ll smear and fall apart. If you wait much longer, they stick to the parchment.
The window is short, so stay nearby and test one gently with the spatula before moving the rest.
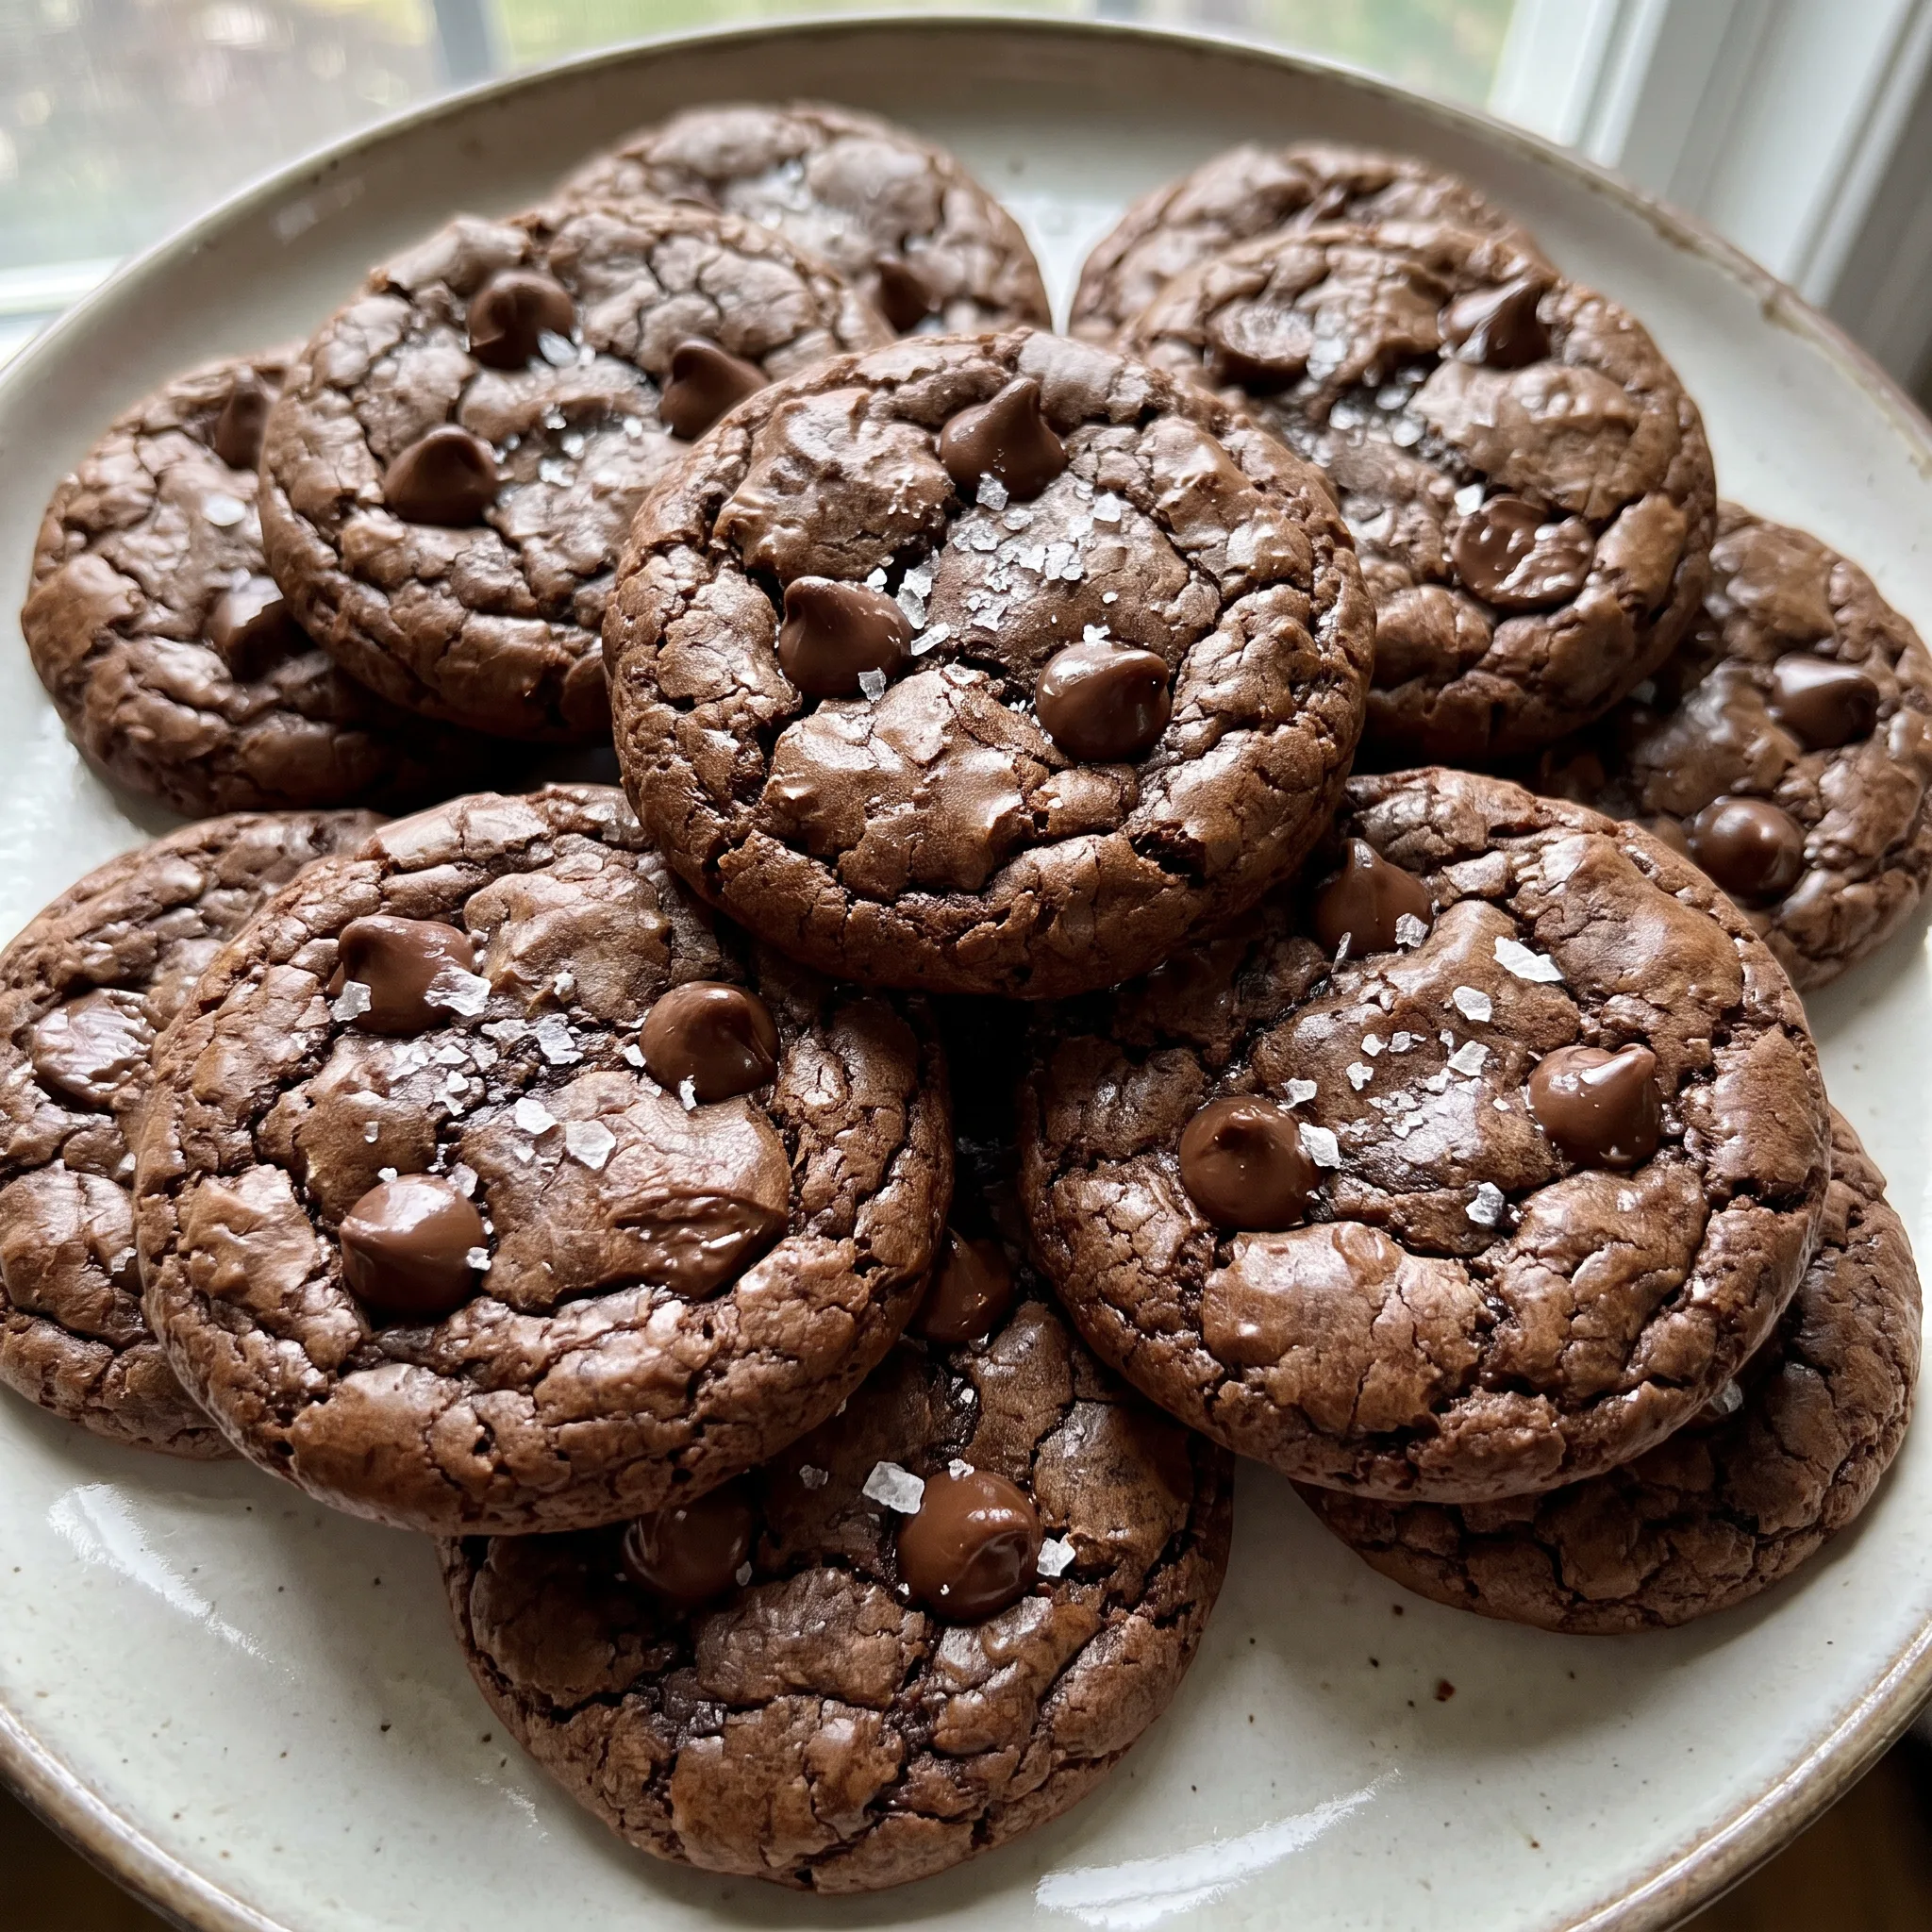
Salted Brownie Cookies with Sea Salt Flakes
Ingredients
Method
- Position the oven rack on the second level, just above the middle, and heat the oven to 350°F (175°C). Prepare two baking sheets by lining them with parchment paper or silicone mats; leave them aside.
- Combine the flour, baking powder, and salt in a medium bowl by whisking; set aside.
- Using a hand mixer or a stand mixer equipped with the paddle attachment, beat the eggs, egg yolk, granulated sugar, vegetable oil, and vanilla on medium-high speed until thoroughly blended and frothy.
- In the meantime, in a small saucepan over medium heat, melt the semi-sweet chocolate chips and unsalted butter until smooth. Take off the heat and promptly whisk in the cocoa powder and espresso powder, if using.
- Slowly introduce the melted chocolate mixture into the wet ingredients and stir until just incorporated.
- Incorporate the dry ingredients and mix on low speed or fold with a spatula until just combined. The batter will be thin but scoopable.
- With a 1 1/2-tablespoon cookie scoop or two spoons, drop the dough onto the prepared baking sheets, spacing about 1 1/2 inches apart.
- Scatter sea salt flakes over each cookie, then bake at 350°F (175°C) for 8–10 minutes, until the tops are shiny and crackly.
- Take out of the oven and, if desired, press a few additional chocolate chips onto the tops. For perfectly round cookies, immediately after baking while still soft, use a round cookie cutter to shape them; see the blog post’s ‘how do you make perfectly round cookies?’ section for tips.
- Allow the cookies to cool on the baking sheets for about 5 minutes, then move with a spatula to a cooling rack to cool almost completely—they are excellent still warm. The cookies are very soft, so handle gently.
- Keep cookies in a sealed food container at room temperature for up to 2 days.
What Swaps Actually Work and What Breaks These Cookies
Unsalted butter and semi-sweet chocolate chips: Leave them as written. These two are the fat and chocolate backbone and shouldn’t be swapped. Butter provides structure and flavor; chocolate chips melt smoothly for that fudgy texture.
Replace either and you’ll lose the chew and crackle that make these cookies work.
Espresso powder: Simply omit it. The cookies still bake fine, but the chocolate flavor reads a touch flatter, less sharp. If you have it, use it; if not, no need to run out.
Semi-sweet chocolate chips: Use dark or bittersweet chips in the same amount. You’ll get a less sweet cookie with a deeper, more intense chocolate flavor. The texture stays the same, but the overall sweetness drops noticeably.
Vegetable oil: Swap in an equal amount of melted coconut oil. Coconut oil adds a subtle coconut taste and may make the cookies slightly firmer when cool. If you don’t want that flavor, stick with vegetable oil.
Tips
- With 24 cookies and a 1 1/2-tablespoon scoop, you’re looking at two sheets of 12, and the second sheet has to wait. Scoop it onto parchment on a cool surface, not a second warm pan, and slide it into the oven only after the first sheet comes out and the rack is free. Leave the waiting dough at room temperature, since it’s already loose; a cold pan under a thin batter sets the bottoms before the tops crack, and a warm pan from the first batch starts the mounds spreading on the tray.
Storage and Serving: The Two-Day Window
These cookies are at their best warm from the oven or within the first day. After that, the texture shifts: they stay soft and fudgy, but the crackly top softens and the middle becomes more uniformly chewy.
They never firm up like a crisp cookie, so don’t expect a snap. Keep them in a sealed container at room temperature for up to 2 days. Beyond that, they dry out and lose their appeal.
If you want to extend their life, freeze them. The baked cookies freeze well for up to 2 months.
Thaw at room temperature for about 30 minutes. To serve, bring them to room temperature or warm them briefly in a 300°F oven for 3 to 5 minutes. The finishing touch, sea salt flakes and extra chocolate chips, goes on before baking and right after baking respectively, so it’s already done.
If you’re storing them, the salt may dissolve slightly, so add a fresh pinch before serving if you like.

Frequently Asked Questions
Why did my cookies turn out flat and spread too much?
Nine times out of ten it’s the butter and chocolate going into the eggs while they’re still too hot, which thins the batter before it ever hits the sheet. Let the melted mixture sit a minute and feel the side of the pan; warm is what you want, hot is not. The other cause is overmixing once the flour goes in, since the batter should stay glossy with a few small lumps and slump off the spoon instead of pouring.
A thin, pourable batter spreads fast at 350°F, so work quickly and keep the mounds looking wet and mounded on the tray.
Can I make the dough ahead of time and bake later?
Not this one, and it isn’t a matter of preference. The batter goes into the oven at room temperature straight from the bowl; chill it and it turns stiff and tacky, fighting you off the scoop and baking up tighter than it should.
If you want cookies later in the day, scoop the whole batch onto lined sheets now, leave them at room temperature, and bake them off in two rounds. There’s no rest time in this recipe for good reason.
How do I know when the cookies are done baking?
Watch for shiny, crackled tops with edges that look set but haven’t taken on color, and centers that still look puffed and underdone. That last part reads wrong the first time you make these, but the middle keeps setting on the hot sheet for the 5 minutes they sit there. Set your timer for 8 minutes and start looking; past 10 the crackle dulls into a flat crust and the fudgy pull in the center is gone.
If you’re unsure, pull them early. A slightly underdone center beats a dry one every time.
What makes these cookies different from regular chocolate chip cookies?
Regular chocolate chip dough is a butter-and-brown-sugar affair that bakes up chewy and matte, and it usually sits in the fridge before it goes in. This one is built like brownie batter: thin, glossy, dropped wet onto the sheet at room temperature, and it comes out with a crackled top and a soft, fudgy middle rather than a uniform chew. The chocolate flavor is also deeper because melted chips, cocoa, and a hit of espresso go in together instead of chips folded through a plain dough.
You’ll notice the difference in your hand before you even taste it, since these are too tender to stack.
Can I freeze these cookies after baking?
Yes, and they hold up well for up to 2 months in a sealed container. Thaw them at room temperature for about 30 minutes, then either eat them as is or warm them in a 300°F oven for 3 to 5 minutes to bring the middle back to soft.
Don’t expect the crackled top to return exactly the way it was on day one; the texture goes more uniformly chewy, which is the tradeoff for keeping them past the two-day window. If you stored them with the salt flakes on top, add a fresh pinch before serving, since the flakes soften in the container.
