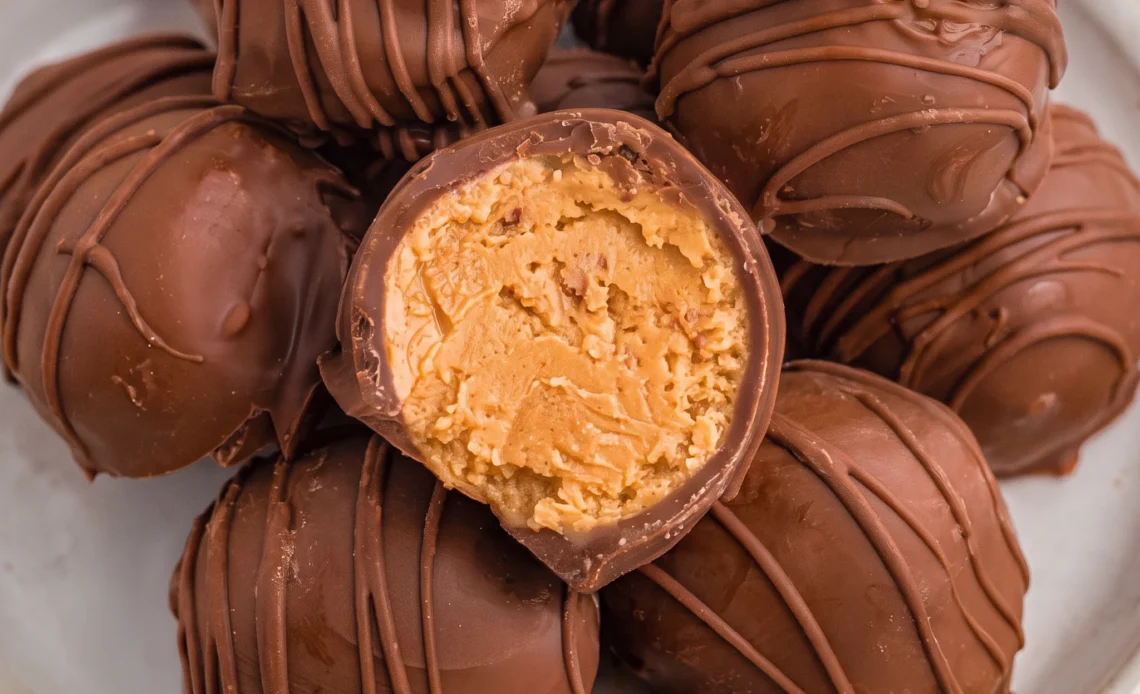
A good one cracks when you bite it, and the shell is thin enough that the peanut butter hits first. Get the filling too loose and the balls flatten overnight; roll it too stiff and the centers turn chalky.
Softened butter buys you some room there, and so does a short rest in the cold before the chocolate goes on. Dip them fully and you avoid the bare-topped look of a buckeye, which keeps the texture even from edge to center. Homemade peanut butter balls live or die on that shell thickness and the chill, and neither is hard once you know what to watch for.
These are worth making the day you plan to eat them.
Chocolate melts best when heat is applied in short increments, because cocoa butter has a narrow working range and the solids scorch quickly once past it. A single long microwave burst heats unevenly, so some of the chocolate burns while the rest is still solid, and any moisture that contacts the chocolate causes the sugar particles to clump and the mixture to seize into a grainy paste. Stirring between intervals distributes the heat and lets residual warmth finish the melting without pushing any section past the scorch point.
Balance Peanut Butter and Sugar for a Creamy Center
Get the ratio wrong and you’ll know it before you even dip. The filling’s structure comes from powdered sugar, but you need enough peanut butter to keep it from turning to paste. One cup of peanut butter to one and three quarter cups of powdered sugar gives you a mixture that holds a rolled shape yet stays soft enough to bite through.
If you skimp on the sugar, the balls slump at room temperature and leave a greasy smear on the parchment. Add too much and the centers taste chalky, with the peanut butter flavor buried under sweetness.
Softened butter is the quiet helper here: it keeps everything cohesive without turning the mixture slick. You want a dough that feels like firm cookie dough, not wet sand. That’s your cue that the ratio is right.
The whole batch comes together in one bowl, no mixer required, and the texture tells you immediately if you’re on track.
Chill Before Dipping to Keep the Centers Intact
Warm chocolate meets a room-temperature peanut butter ball and the result is a mess. The ball softens, sheds crumbs into the chocolate, and leaves you with a lumpy coating that never sets smooth.
Chilling firms the centers so they hold their shape when they hit the melted chocolate. The cold also slows the chocolate’s set, giving you a few extra seconds to work.
I’ve found that timing matters more than you’d think: too short in the fridge and the balls still give under a fork; too long and the chocolate sets on contact and cracks as the centers warm back up. The twenty-minute window in the refrigerator is enough to firm them without freezing. That fits neatly into the total fifty-two minutes, with prep and a two-minute melt in between.
When you pull them out, they should feel solid but not rock-hard. That’s when they’re ready for their chocolate bath.
Melt Chocolate Gently to Avoid Seizing
Chocolate doesn’t like sudden heat. A single long blast in the microwave can scorch it, turning it grainy and bitter. Short bursts give you control: the chocolate melts gradually, and you can stop the moment it’s smooth.
Seizing happens when chocolate overheats or catches even a drop of moisture. It turns into a stiff, dull paste that no amount of stirring will fix.
Stirring between intervals is important; it distributes heat evenly and prevents hot spots that burn. The two-minute cook time on this recipe reflects the combined microwave time, not one continuous session.
You’re looking for a glossy, fluid chocolate that drips off the spoon in a smooth ribbon. If it’s thick or clumpy, it’s too hot or has seized.
A quick stir usually brings it back if you catch it early. Otherwise, start over with fresh chocolate; there’s no rescuing a seized bowl.
The Fork Method for a Thin, Even Shell
Dropping a ball into chocolate and fishing it out with a spoon gives you a thick, uneven coat. A fork does two things: it supports the ball from underneath, and it lets the excess chocolate drip back into the bowl.
That thin shell keeps the peanut butter flavor in front, where it belongs. A heavy coating would bury it under chocolate. After dipping, return each ball to the parchment.
If you set them on a plate, the chocolate pools and sticks, leaving a flat bottom. Parchment lets them release cleanly once set.
Let the chocolate firm up at room temperature; the fridge can cause condensation and dull spots. You’ll know they’re ready when the surface looks dry and glossy, and the balls lift off the paper without resistance. That’s the finish you want: a crisp shell, a creamy center, and no sticky bottoms.
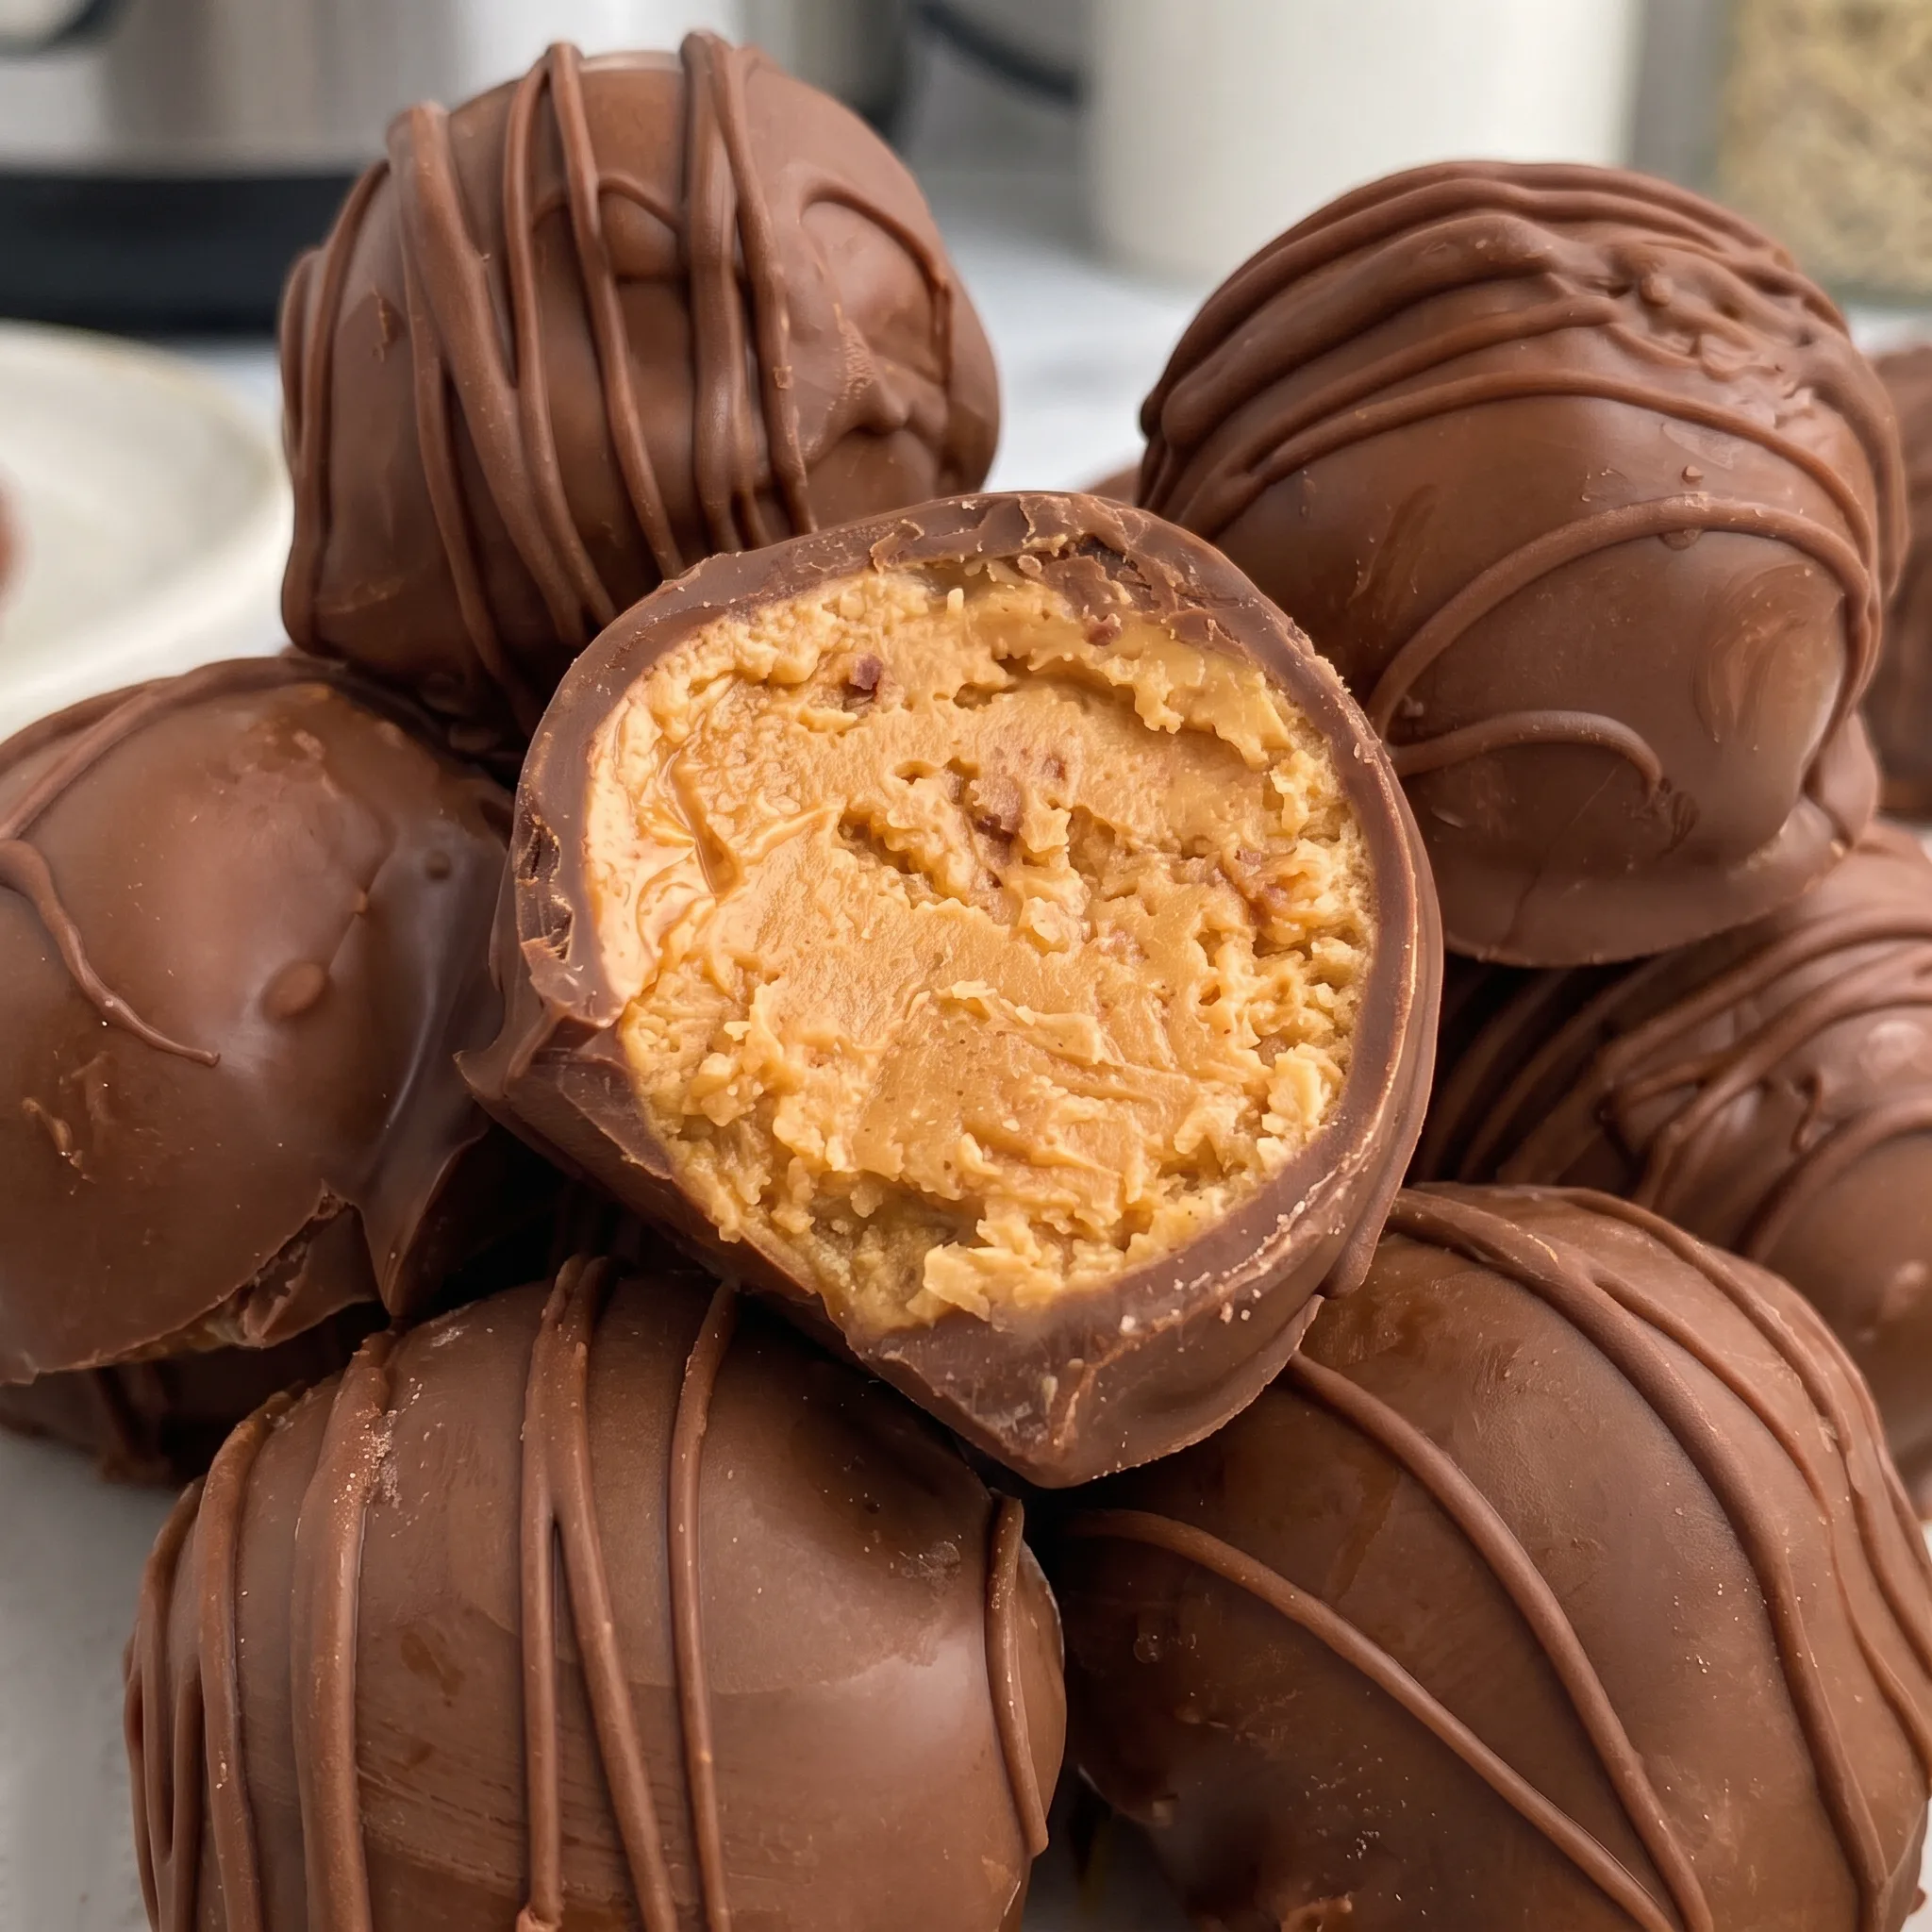
Pick the Peanut Butter and Chocolate That Carry This Batch
Peanut butter: Natural peanut butter that separates into oil and paste makes a loose filling, so reach for a no-stir creamy or crunchy jar instead.
Unsalted butter: Salted butter throws off the sweet filling, and butter that’s still cold from the fridge won’t blend smooth.
Powdered sugar: Lumpy powdered sugar leaves hard specks in the filling, so sift it if the bag has been open a while.
Melting chocolate: Chocolate chips hold their shape and set soft, so use melting wafers or chopped bar chocolate for a shell that snaps.
Judging Peanut Butter Balls: What to Look For at Each Turn
When the filling stops being dusty and starts being dough
Powdered sugar disappears into the peanut butter and butter at its own pace. Stop mixing the instant you see the last dry patch vanish.
A few extra turns past that point won’t ruin it, but the mixture warms from your hand and the butter starts to separate, leaving a slick film on the bowl. If that happens, chill the bowl for five minutes before scooping. The texture you want is firm cookie dough, not frosting.
Firm enough to hold, cold enough to stall the chocolate
The twenty-minute chill is a range, not a command. Pull one ball out and press it with a fingertip. It should resist slightly, then give.
If it dents easily, put the tray back for five more minutes. If it’s hard enough to crack when you press, you’ve overshot and the chocolate will set on contact, leaving a dull, cracked shell.
Fifteen to twenty minutes is the window; check at fifteen.
Reading the chocolate’s gloss before it turns
Melted chocolate goes from fluid and shiny to thick and matte in seconds. Stir after every thirty-second burst and stop when a spoon dragged through leaves a ribbon that folds back on itself. If it looks dull or feels gritty, it’s overheated or has seized.
A teaspoon of neutral oil can loosen a slightly thick batch, but seized chocolate stays grainy. Start fresh rather than dip in a broken bowl.
The drip that tells you the shell is thin enough
Lift a dipped ball on the fork and let the excess fall back. Count two drips, then set it down.
A third drip means the coating is still thick enough to pool at the base. If the chocolate sheets off instead of dripping, it’s too warm and the shell will be thin and fragile.
You’re after a coat that clings evenly, shows the ball’s shape, and leaves no puddle on the parchment.
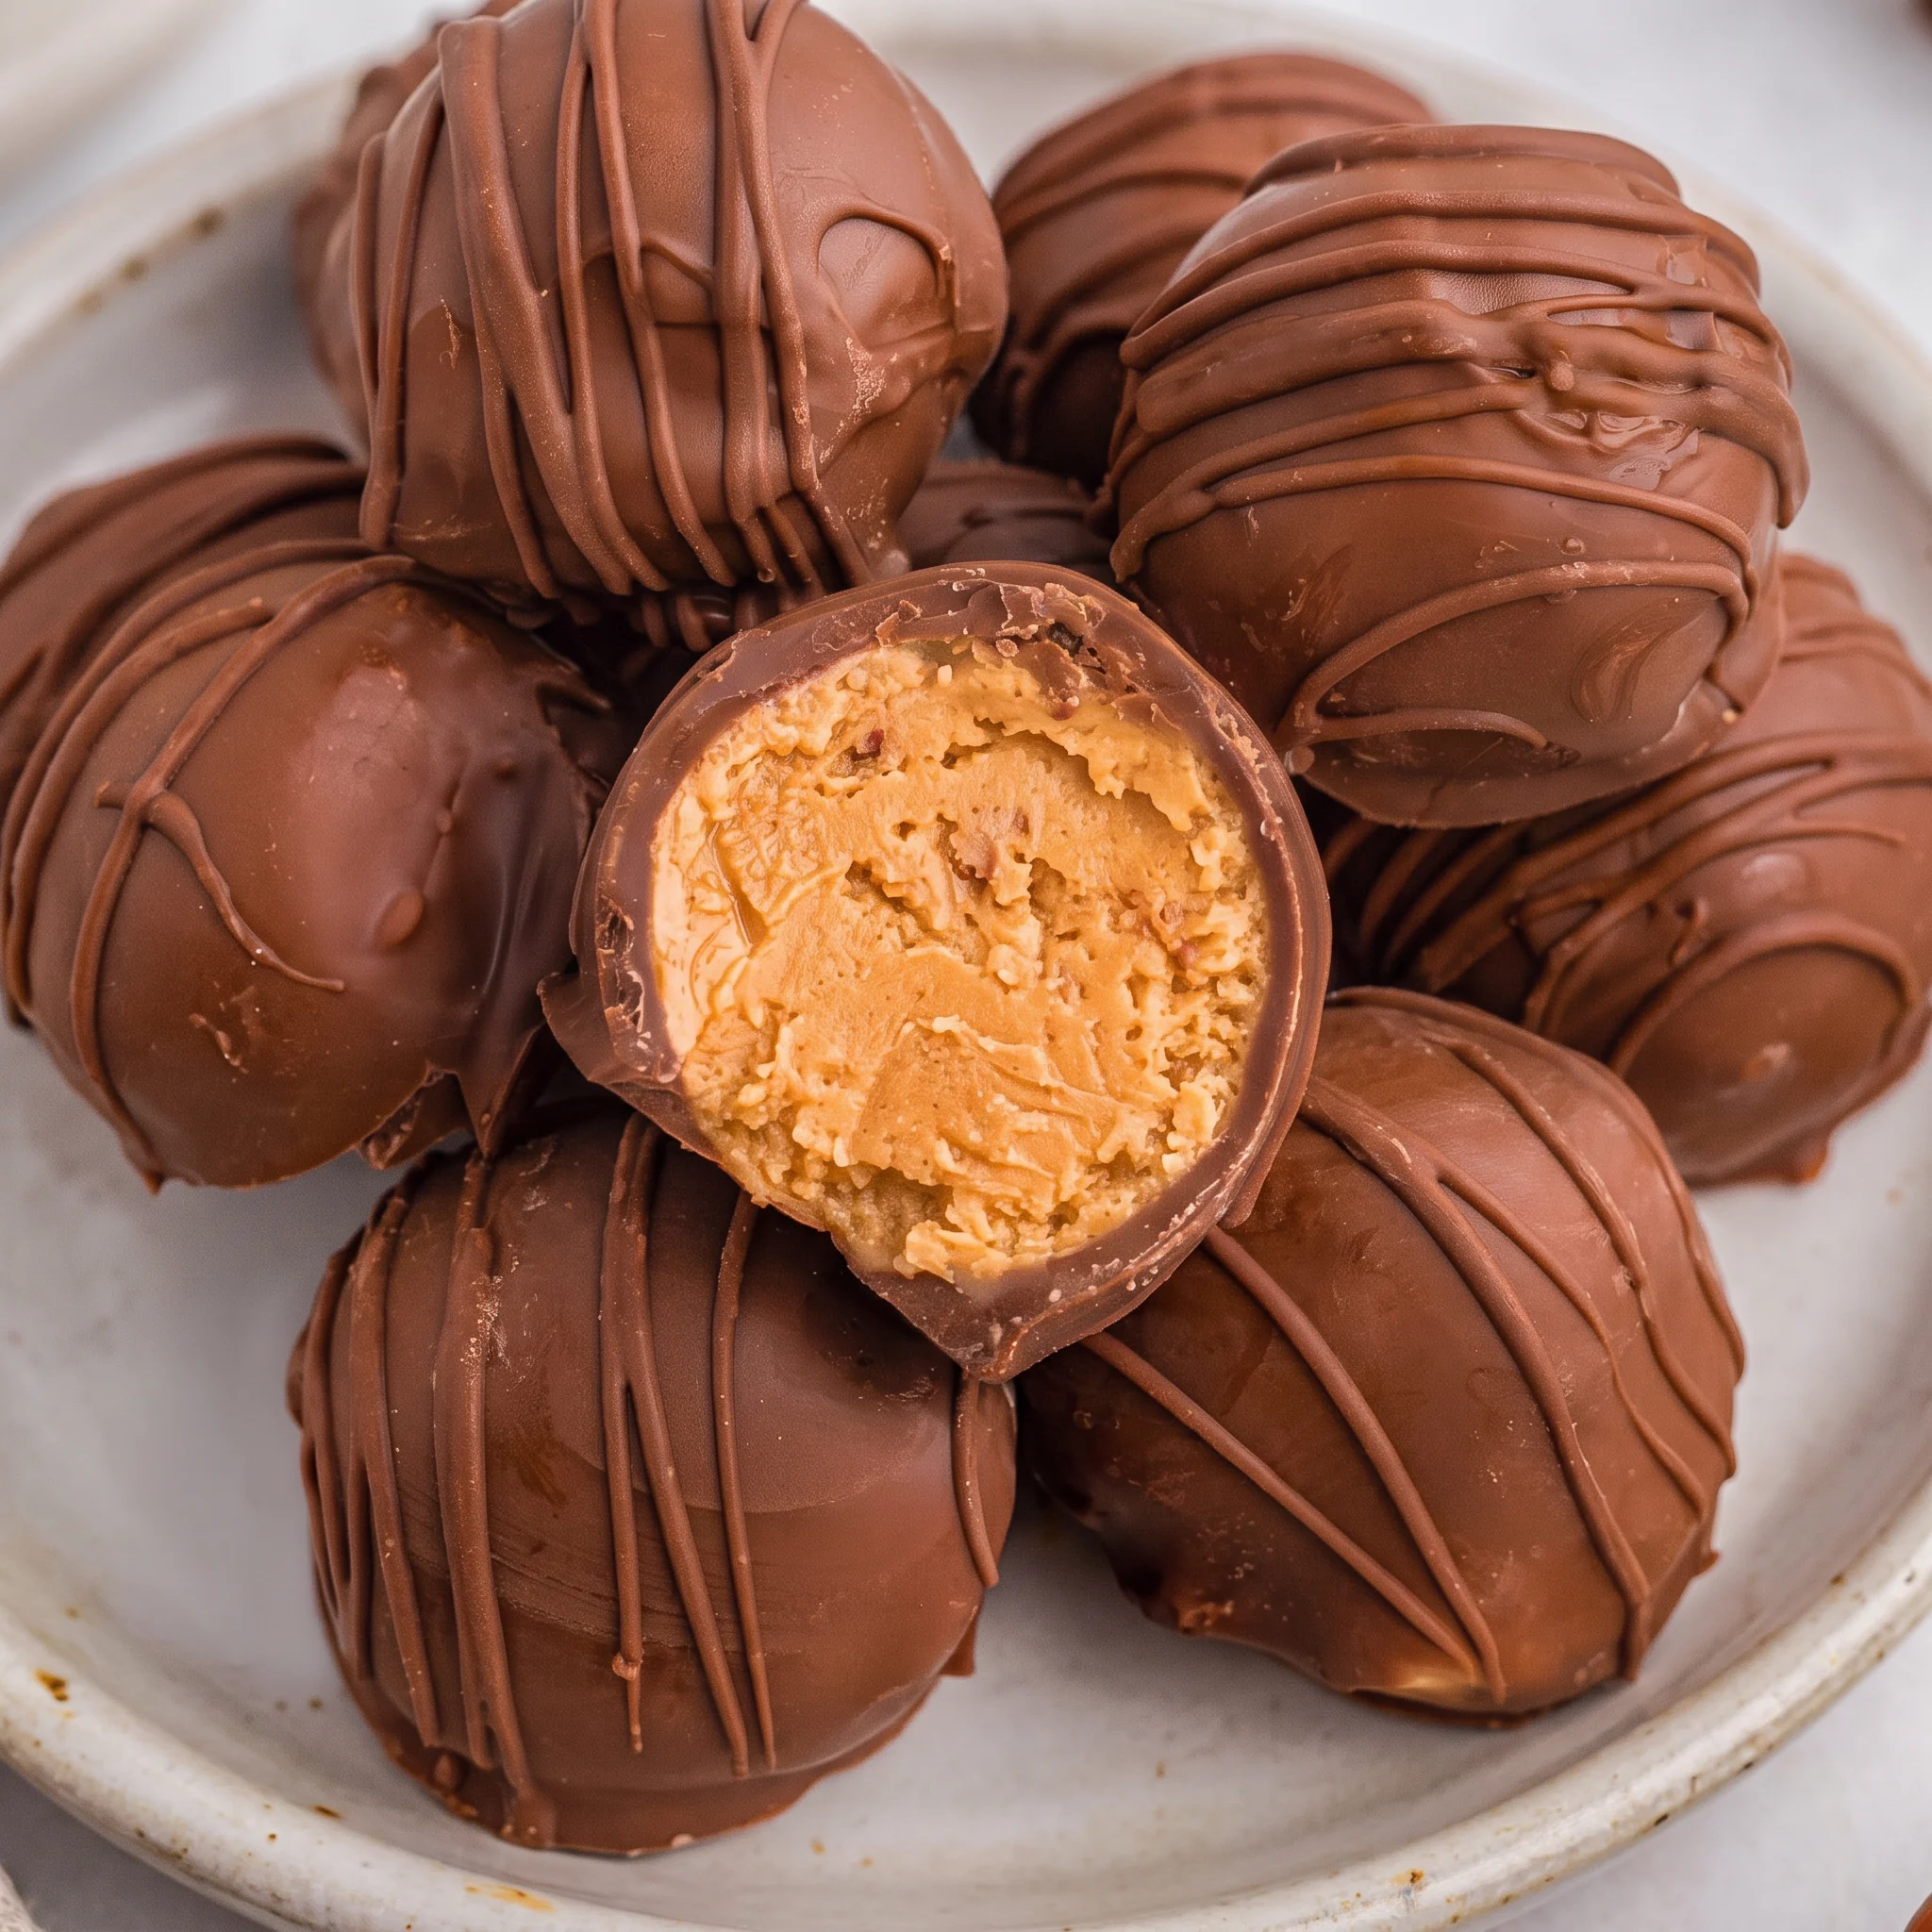
Peanut Butter Balls Coated in Chocolate
Ingredients
Method
- In a medium bowl, mix peanut butter, butter, and powdered sugar. Beat or stir until fully incorporated and no dry powdered sugar remains. The mixture should be smooth and creamy.
- Using a 1 ½ inch scoop, portion the mixture and roll into balls. Place them on parchment paper, then refrigerate for 15-20 minutes until they become firm.
- Place chocolate in a microwave-safe bowl and melt in 30 second intervals, stirring after each interval, until smooth and creamy. Stir to avoid burning the chocolate.
- Take the balls out of the refrigerator. With a fork, dip each ball into the chocolate until completely covered. Put them back on the parchment paper and continue until all balls are coated. Let the chocolate set before serving.
Storage, Serving Window, and Making Them Ahead
These balls are at their best within two hours of the chocolate setting. The shell stays glossy and snaps cleanly, and the center is still firm from the chill.
After that, the coating begins to dull and the peanut butter filling softens toward room temperature, so the bite gets a little slack. That’s the serving window: same day, ideally within a few hours.
Keep leftovers in an airtight container in the refrigerator, where they hold for about two weeks. The cold firms the centers again, though the chocolate may show faint bloom, which is cosmetic and harmless.
Let a chilled ball sit out five minutes before eating so the center relaxes. For longer storage, freeze them in a single layer, then transfer to a freezer bag. They keep two to three months.
Thaw in the refrigerator overnight rather than at room temperature, which draws condensation onto the chocolate and leaves dull spots. Once thawed, eat within a few days. Add no finishing touch at serving; the chocolate coating is the finish, and it goes on before the set, not after.
When a Swap Saves the Batch and When It Sinks It
Peanut butter: Natural peanut butter that separates, or another nut butter like almond or cashew. The oil sitting on top of a natural jar never fully blends back in, so the filling turns slack and the balls won’t hold a round shape after chilling.
Reach for a no-stir creamy or crunchy peanut butter instead. If you swap in almond or cashew butter, start with the same one cup the recipe calls for. The filling will be slightly softer, so add powdered sugar a tablespoon at a time until it feels like firm cookie dough, then taste.
The flavor shifts, but the texture can be brought back in line.
Unsalted butter: Salted butter, or a dairy-free stick butter. Salted butter adds roughly a quarter teaspoon of salt per stick.
Across a batch this size, that’s enough to make the sweet filling taste seasoned rather than clean. If salted butter is what you have, cut the amount to ½ cup and expect a slightly firmer set, since salted butter often carries more water. A dairy-free stick butter works if it’s the kind that solidifies when cold.
Tub spreads and coconut oil won’t firm up the same way, and the balls will slump at room temperature.
Melting chocolate: White chocolate, dark chocolate, or chocolate chips. White chocolate is sweeter and sets softer, so the shell won’t snap the way dark or semisweet does.
Dark chocolate above 70 percent cuts the sweetness and balances the filling, which some cooks prefer. Chocolate chips are the trap: they’re formulated to hold their shape in cookies, so they set with a dull, soft finish and often streak.
Use melting wafers or chopped bar chocolate if you want a clean, glossy coat. If you do use chips, add a teaspoon of neutral oil to loosen the melted chocolate, but accept a softer shell.
Powdered sugar: A gluten-free powdered sugar, or a sugar-free powdered sweetener. Most powdered sugar is already gluten-free, but some brands add wheat starch as an anti-caking agent. Check the label if that matters to you.
Sugar-free powdered sweeteners, like those made with erythritol or allulose, don’t dissolve the same way. The filling turns gritty and the balls won’t hold together as well. If you try it, start with the same 1 ¾ cups and add a splash of milk or cream to bring the dough together, then chill longer before dipping.
The texture won’t match the original, but it’s workable.
Tips
- Check the ingredient list before buying: melting wafers and bar chocolate list cocoa butter, cocoa solids, sugar, and often lecithin, while chips and candy melts list palm kernel oil or hydrogenated oil in place of cocoa butter. That fat is what makes chips hold their shape in an oven, and it’s also why they set soft and streaky instead of snapping. Chop a 4-ounce bar into even pieces no larger than a chocolate chip so it melts in the same 30-second bursts without one chunk scorching while another stays solid.
- The 8 ounces of chocolate in this recipe coats 24 balls with about a tablespoon each, which is a thin shell only if you let the fork drain properly. If the bowl runs low before the last few balls, don’t add water or milk to stretch it; a single drop of water seizes the whole batch into a dull paste. Melt one extra ounce in a separate bowl and stir it into the working bowl instead. Tempering isn’t necessary here, but keeping the chocolate between 100 and 110 F as you dip keeps the shell glossy rather than cloudy.

Frequently Asked Questions
Can I make peanut butter balls ahead of time?
Yes, they’re a natural make-ahead item because the filling needs to firm up before dipping anyway. You can roll the balls and refrigerate them a day ahead, then dip when you’re ready. For longer storage, the Storage section covers freezing and thawing.
Just note that after the chocolate sets, the serving window is same day for the best snap.
Why are my peanut butter balls falling apart?
The most likely culprit is the filling ratio: too little powdered sugar leaves the mixture too soft to hold a round shape. You want it to feel like firm cookie dough, not wet sand, and if it’s crumbly or greasy, adjust with a tablespoon more powdered sugar until it comes together. Another cause is skipping the chill; the balls need to firm up before dipping so they don’t shed into the chocolate.
If they still feel soft after chilling, give them a few more minutes in the refrigerator, but don’t let them get rock-hard or the chocolate will crack.
How are these different from traditional buckeyes?
Buckeyes are typically dipped with a toothpick and left with a bare circle of peanut butter showing on top, while these get fully coated in chocolate. That means every bite has a complete shell, so the peanut butter stays enclosed and the texture is consistent throughout. The filling here is also a straightforward mix of peanut butter, butter, and powdered sugar, no graham crumbs or other binders.
The result is a cleaner, more uniform candy that travels well.
