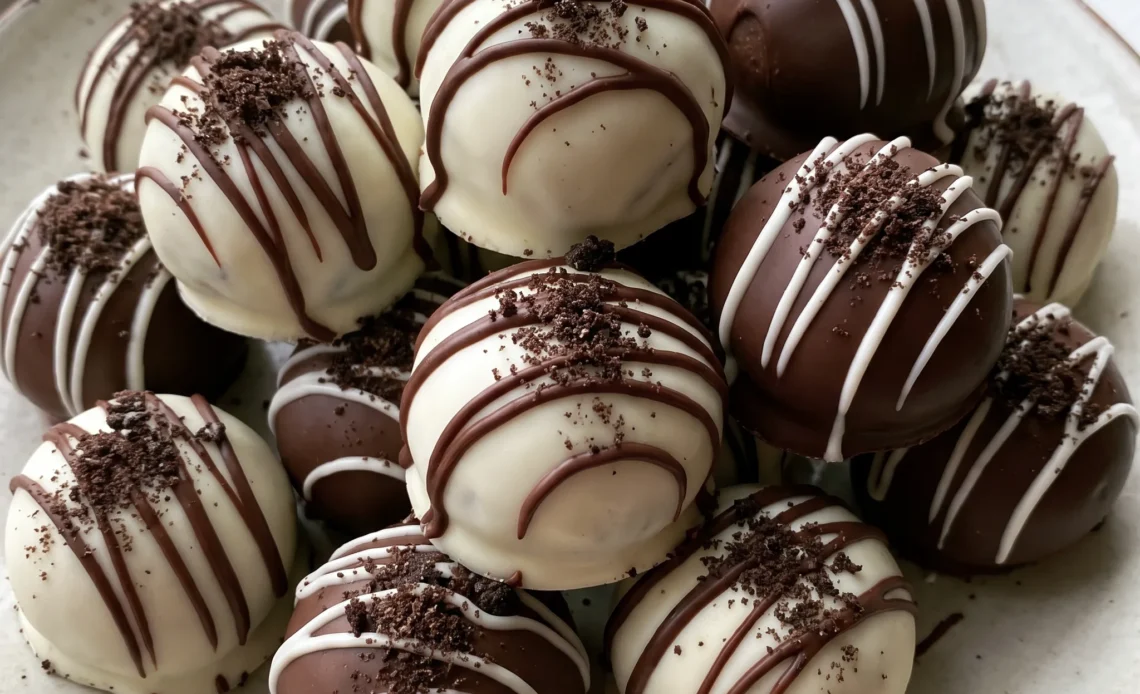
Getting the mixture to hold a neat ball without smearing across your palms is the fiddly part, and it comes down to how fine the cookies are crushed. Coarse crumbs leave the inside lumpy and the surface rough, which shows once the chocolate sets.
Roll a test piece and press it; it should feel dense and slightly tacky, not wet. You can taste the cream cheese’s tang against the sweet crumbs, and that’s the sign the balance is right, though you’ll have to feel your way there. The dip is where a cold ball rewards you with a smooth shell, and a warm one costs you streaks.
Do the work in order and oreo balls come out looking like they came from a candy counter, not a home kitchen.
The Right Balance of Cookies and Cream Cheese
25-ounce package of Oreos to one 8-ounce brick of cream cheese is the ratio that works. Too little cream cheese and the mixture stays dry and crumbly, the balls crack when you roll them and never quite hold together. Too much and the mixture turns soft and sticky, the balls flatten as they sit and lose their shape.
What you want is a mixture that’s thick and moldable, like playdough. It should hold a ball when you press it together but not stick to your palms. That’s your cue that the ratio is right.
If it’s crumbly, you’re short on cream cheese, but the fix is to add a little more, not to add liquid. If it’s sticky, you’ve gone over, and adding more crumbs will bring it back. The texture should be dense and slightly tacky, not wet.
Why Chilling Before Dipping Matters
Chilling firms the balls so they hold together when they hit the melted chocolate. Cold balls also help the chocolate set quickly and evenly, giving you a smooth shell instead of a streaky, soft coating.
If the balls are too warm, they’ll crumble as you dip, and the chocolate can seize up from the moisture. The cold also makes the texture more firm and brownie-like, which is what you want when you bite into one. I’ve found that cold balls are much easier to handle and give a cleaner finish.
Once they’re firm to the touch, they’re ready. You don’t need them frozen solid, just chilled enough that they don’t squish when you pick them up. That’s when the chocolate will cling properly.
White and Dark Chocolate for Coating and Drizzle
Half white chocolate and half dark chocolate for coating gives you variety in every bite. The opposite chocolate is used for drizzling to create contrast, so a white-coated ball gets a dark drizzle and vice versa.
White chocolate is sweeter, dark chocolate is richer, and together they balance the overall sweetness of the Oreo filling. The combination makes the Oreo balls look professional and appealing, with a marbled effect that’s more interesting than a single color. You can also dip some in one and some in the other, then drizzle across both.
The visual contrast is what catches the eye, and the flavor contrast keeps each piece from being too sweet or too intense. When you set them on the tray, the two tones side by side look intentional and polished.
The Role of Cream Cheese in Texture and Binding
Cream cheese adds moisture and tang, preventing the balls from being too dry. It acts as a binder, holding the crushed Oreos together so they form a cohesive ball. The tang of cream cheese balances the sweetness of the chocolate coating, so each bite isn’t just sugar.
Softened cream cheese blends more easily with the crumbs, making a smooth mixture without lumps. If your cream cheese is cold, you’ll get a lumpy mixture that’s harder to roll.
Let it sit out for a bit before mixing. The result should be a mixture that’s easy to scoop and roll, with a slight resistance.
When you taste it, you should notice the cream cheese’s slight tang against the sweet cookies. That’s the sign it’s doing its job. The balls will hold their shape and have a creamy, rich texture.
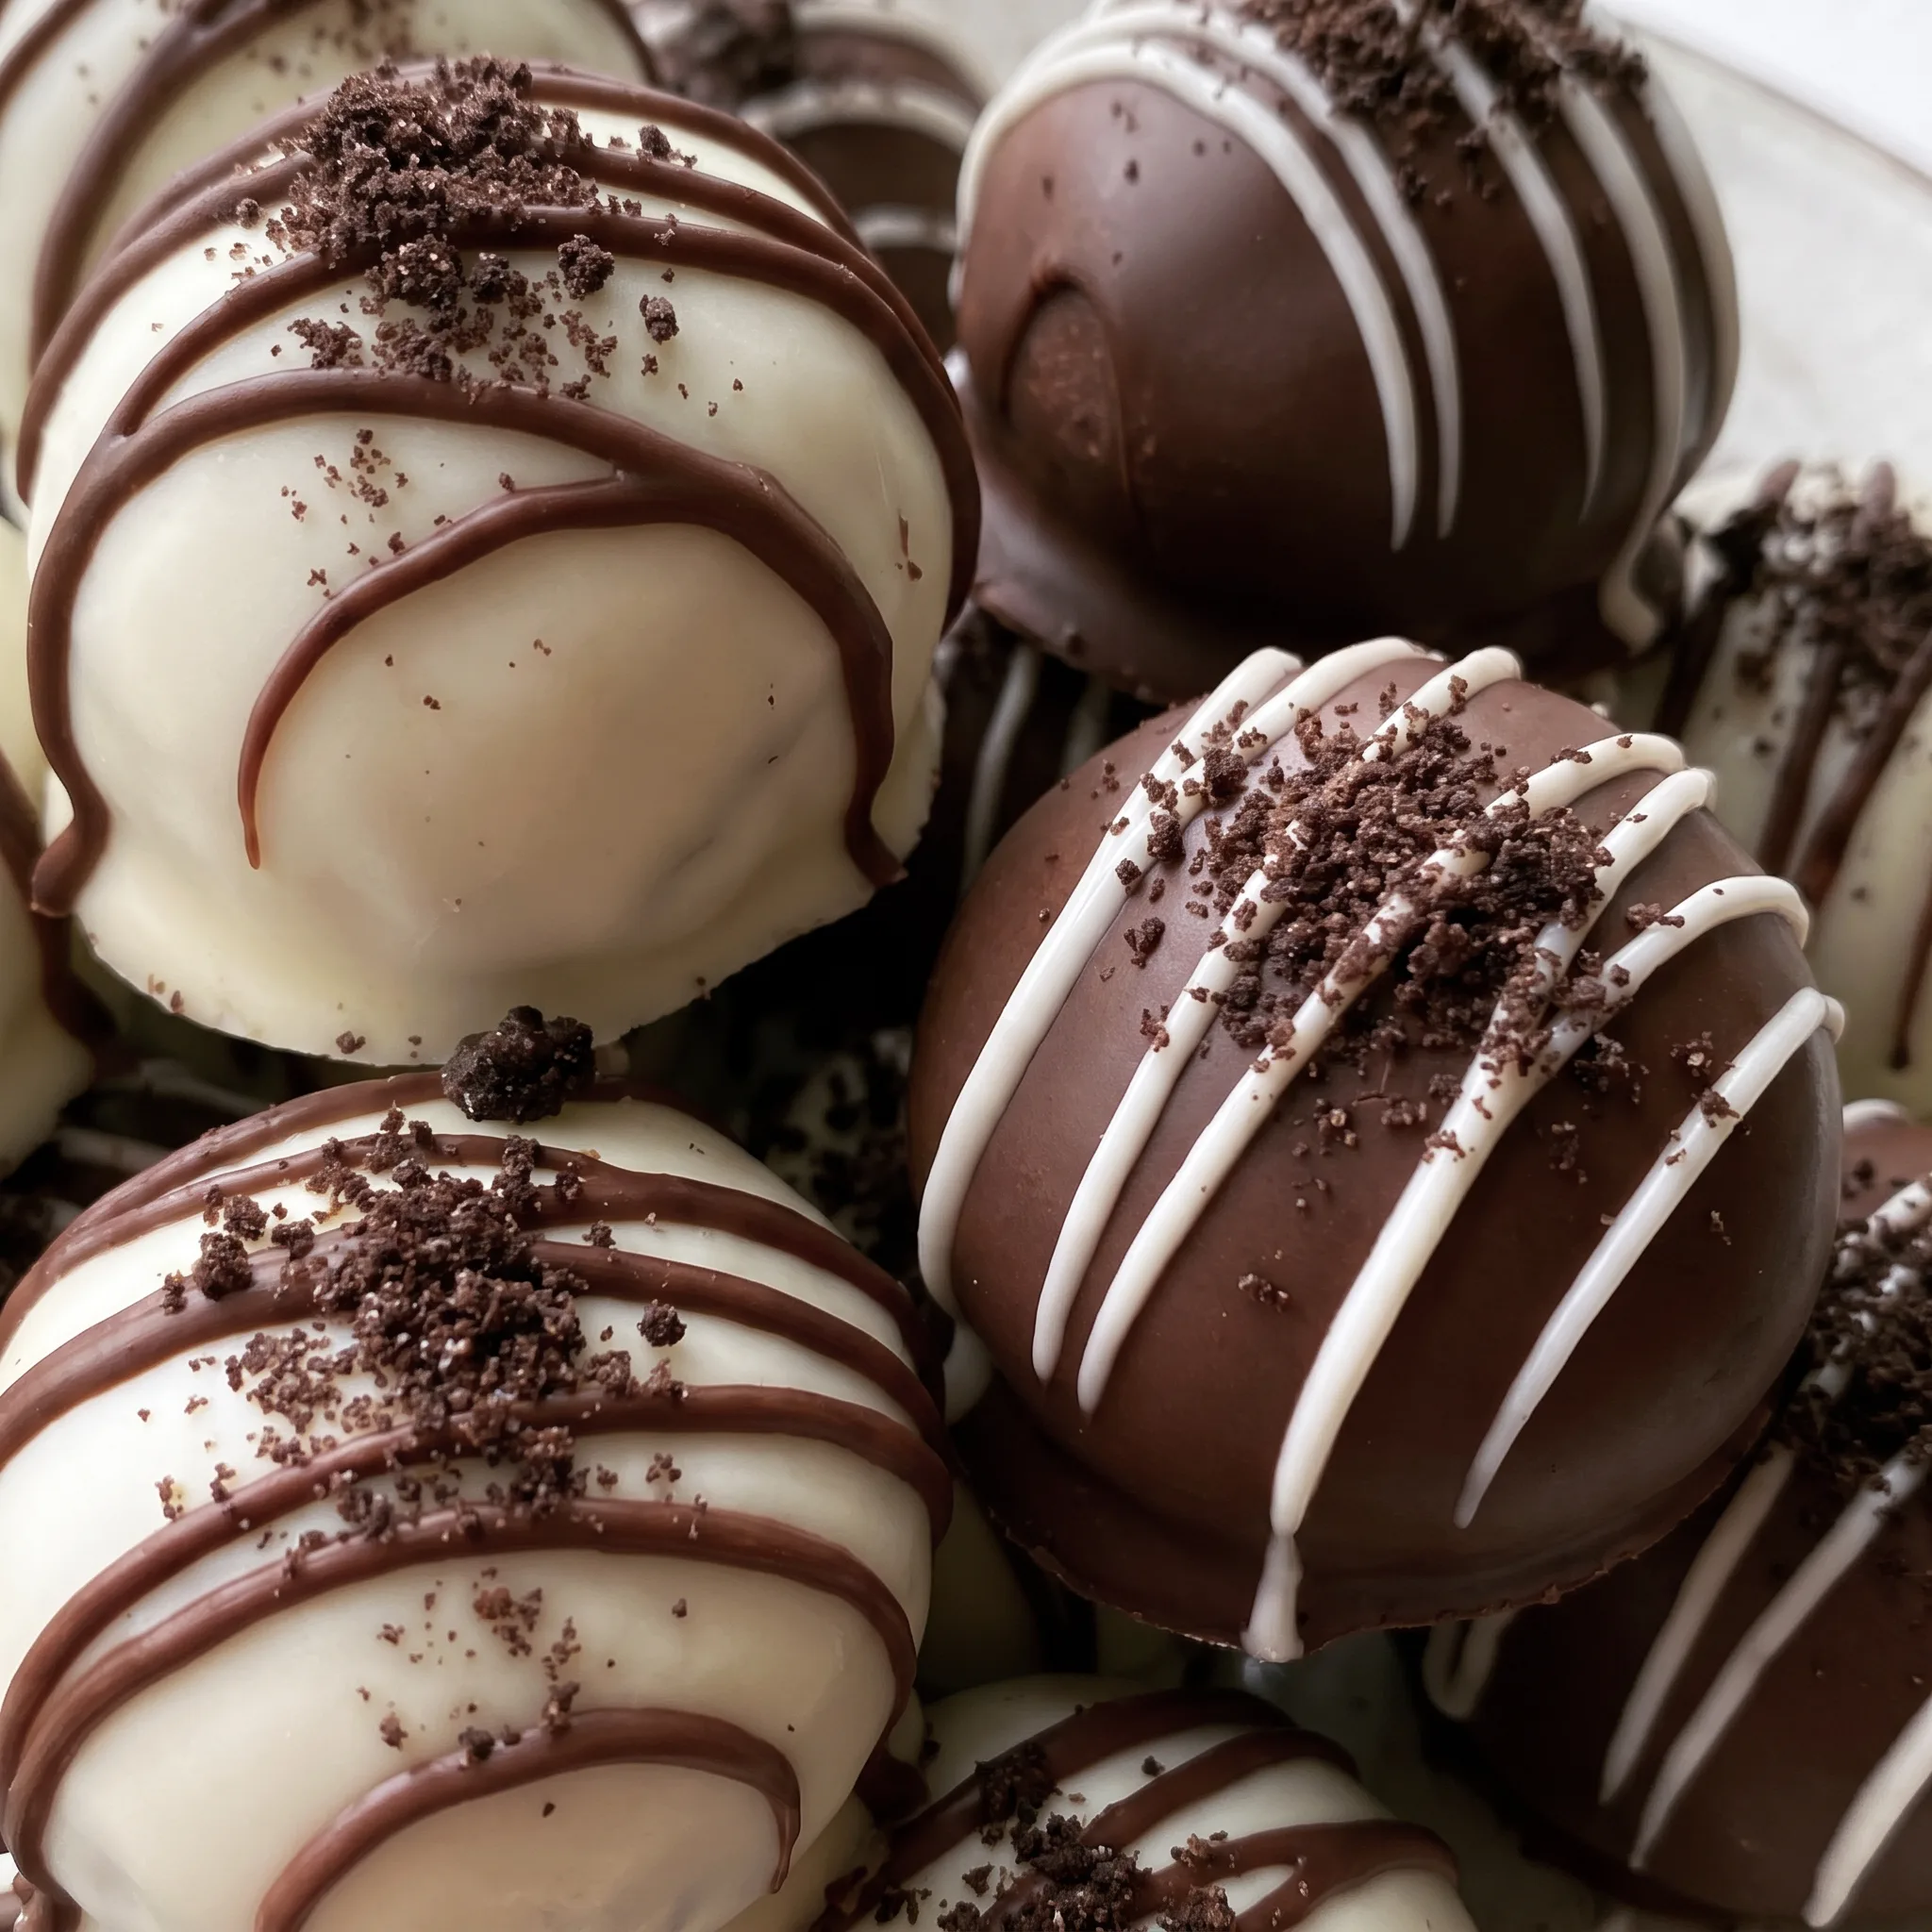
The Ingredients That Make or Break Oreo Balls
OREO cookies: Use a standard 15.25-ounce package, not Double Stuf or any limited-edition flavor, since the filling ratio is calibrated for the classic.
cream cheese: Full-fat bricks, not spreadable tub cream cheese, which has added water and won’t firm up the mixture properly.
melting chocolate: Buy real melting chocolate or candy coating, not chocolate chips, which seize and stay thick when melted.
white chocolate: For the drizzle, use the same melting chocolate you used for coating, not white baking chips, which won’t flow thin.
Judging the Crumb, the Mix, and the Chocolate
When the cookies are crushed fine enough
Stop blending when the crumbs look like dark sand, not pebbles. Run a fork through the mixture between pulses. You want no visible white flecks of filling and no chunks bigger than a grain of rice.
If you can feel grit when you pinch a bit, keep going. Coarse crumbs won’t bind smoothly and the balls will feel lumpy.
Reading the mixture’s tackiness
After mixing the crumbs and cream cheese, press a small amount in your palm. It should hold together like playdough and leave only a faint sheen on your skin, not a sticky film.
If it crumbles at the edges, you’re short on cream cheese. If it smears and sticks to your fingers, you’ve gone too far. Adjust with a little more of either until it holds.
Knowing when the balls are firm enough to dip
After 20 to 30 minutes in the freezer, pick one up. It should feel firm and cold, not frozen solid, and not squish when you press it. If it dents easily, they need more time.
If it’s rock hard, let them sit a minute or two so the chocolate adheres. Warm balls will crumble into the chocolate and turn the coating streaky.
Judging the melted chocolate’s consistency
Melt in 15-second bursts after the initial 1 minute 20 seconds, stirring gently each time. The chocolate is ready when it’s smooth, glossy, and drips off the spoon in a steady ribbon. If it’s thick or seized, it’s overheated.
Let it cool slightly and stir; a teaspoon of neutral oil can loosen it if needed. Don’t rush the melting or you’ll scorch it.
Timing the drizzle so it sets cleanly
For the drizzle, melt 2 tablespoons of each chocolate in separate bags for 30 seconds, then massage. Snip a tiny corner. The chocolate should flow in a thin stream; if it’s too thick, microwave a few more seconds.
Drizzle while the coated balls are still slightly tacky so the lines stick. If the coating has fully set, the drizzle may slide off.
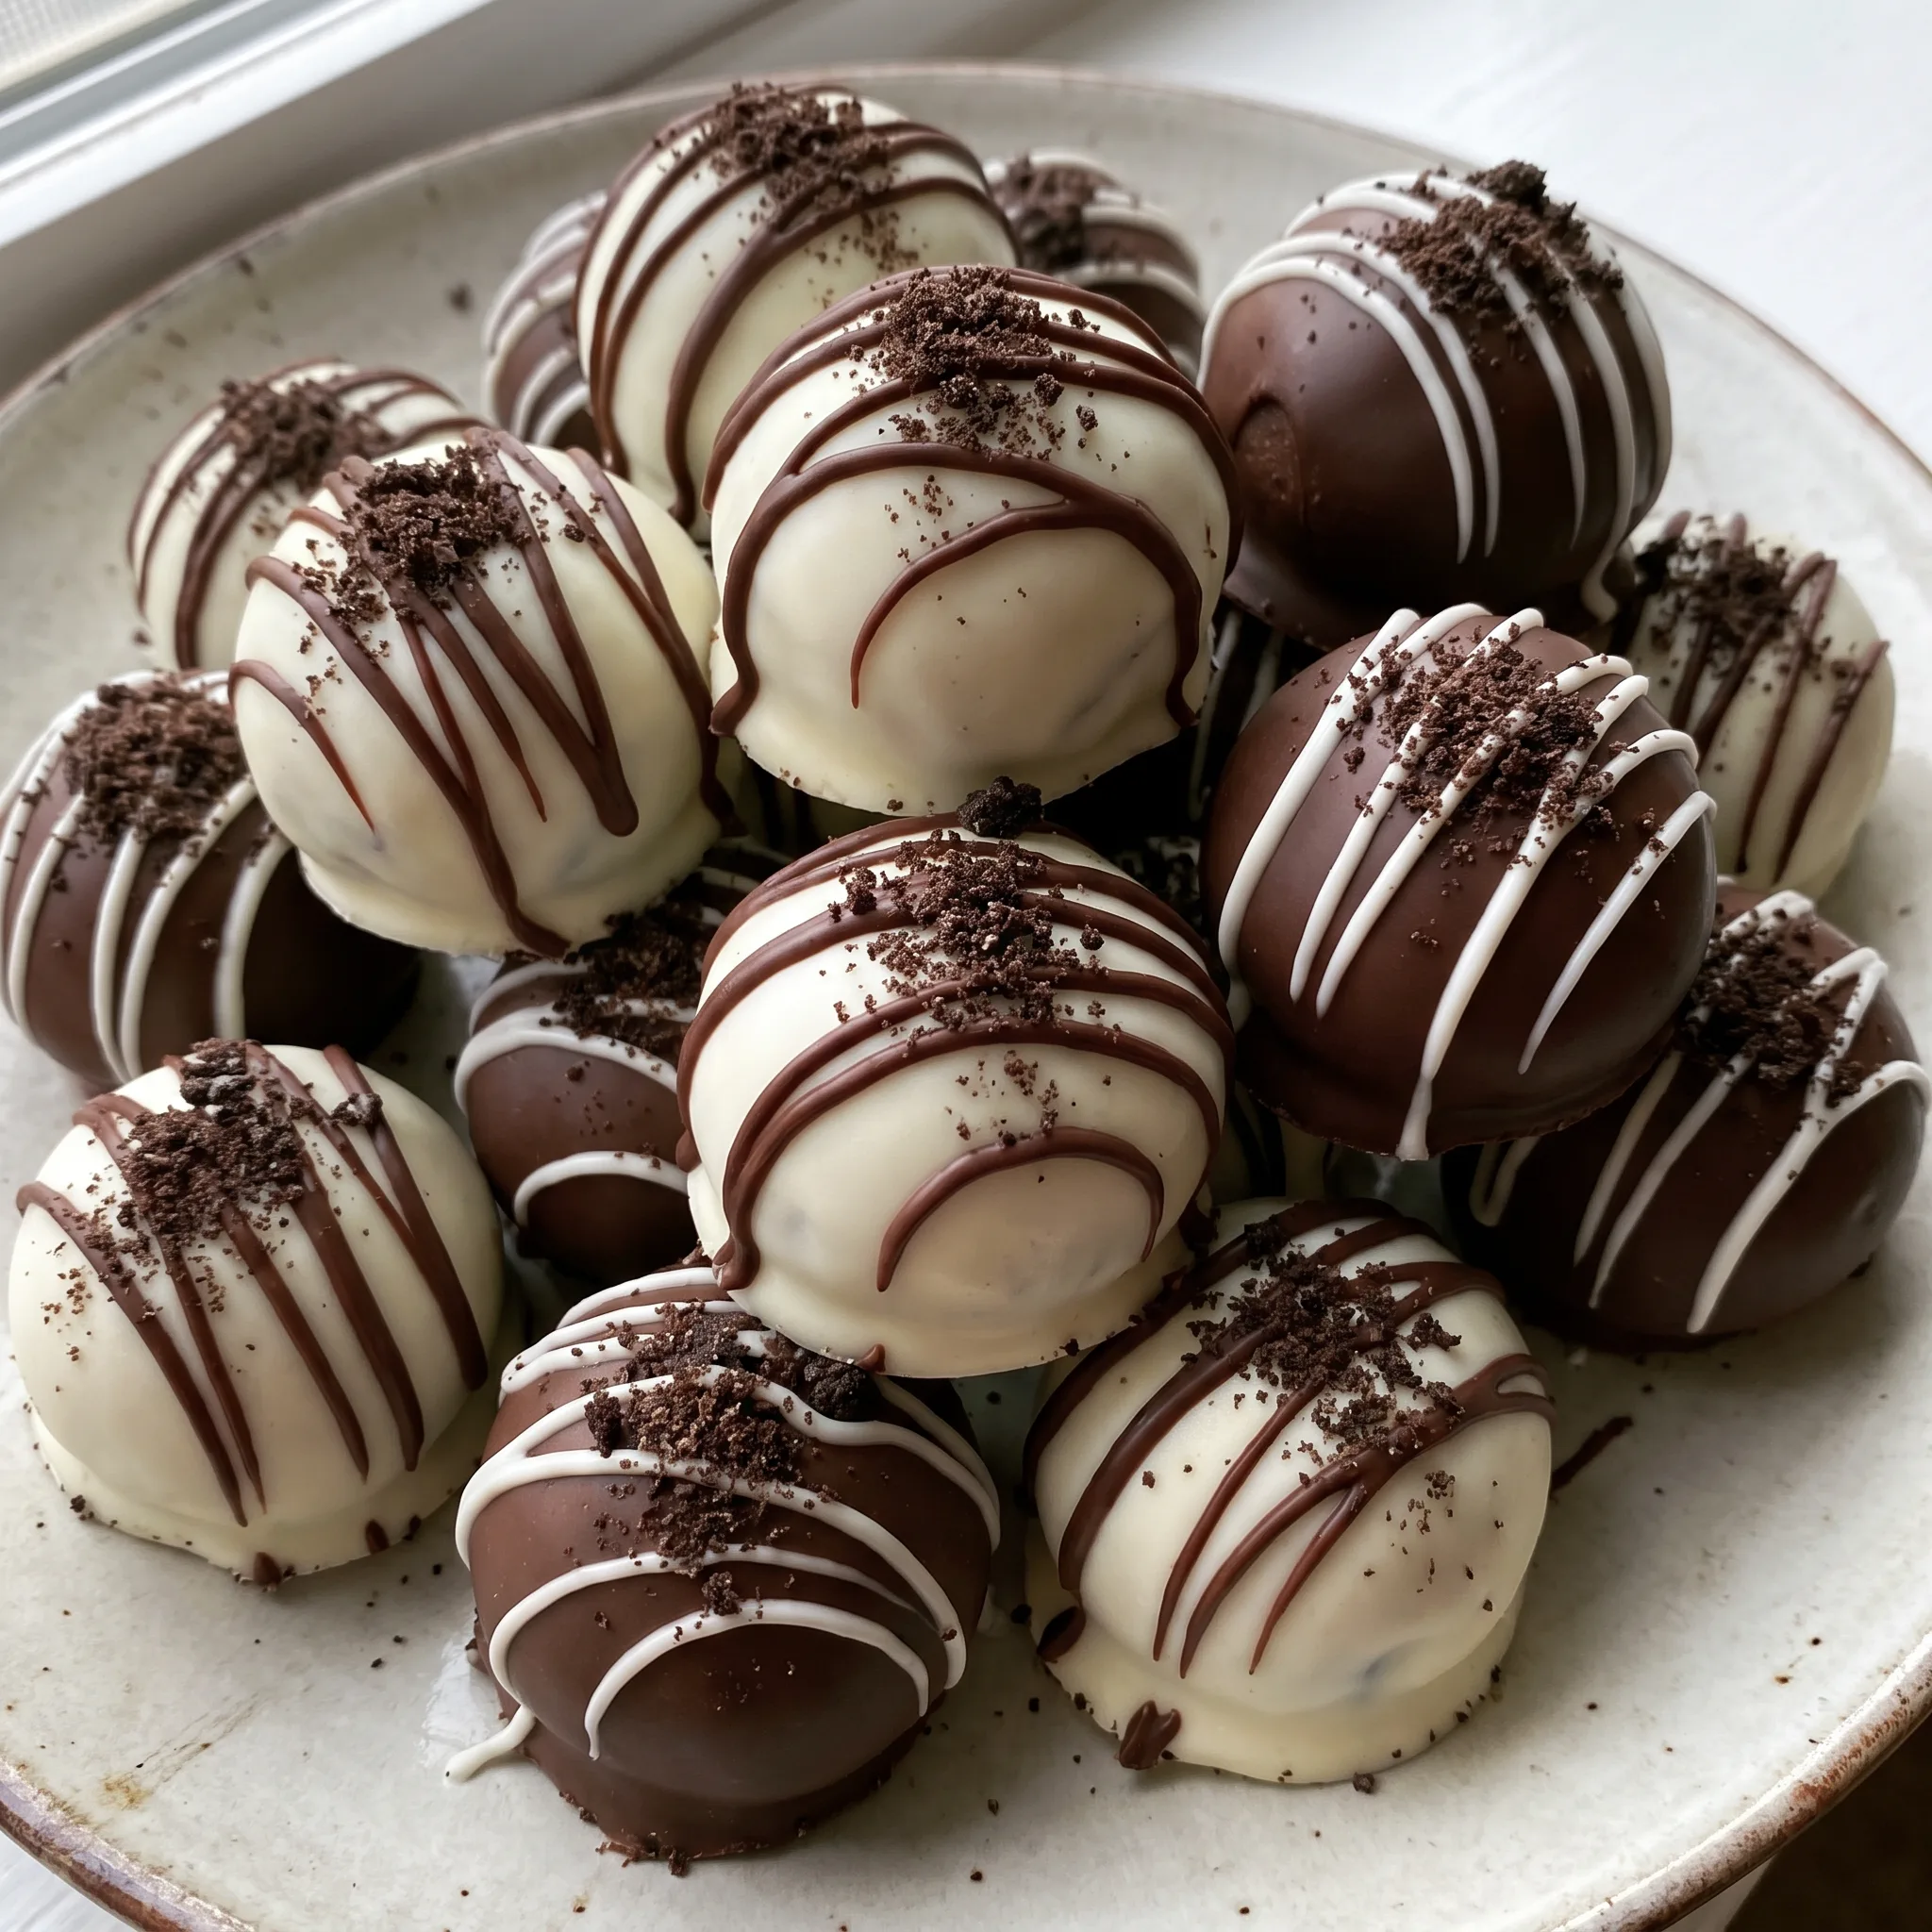
Oreo Balls with Cream Cheese and Chocolate
Ingredients
Method
- Crush the OREO cookies. A blender works best, but a small food processor or a sealed plastic bag with a meat mallet can be used. If using a blender, process half the cookies at a time rather than all 36 at once, and stir the mixture with a fork between blends to achieve the finest consistency.
- Mix the crumbs with the cream cheese until well blended.
- Use a cookie scoop to measure about 1.5 TBSP of the cookie mixture and roll each scoop into a ball. Place the Oreo balls on a parchment or wax paper lined cookie sheet.
- Freeze the balls for about 20-30 minutes before dipping.
- Melt the candy coating or melting chocolate in the microwave for about 1 minute 20 seconds. Stir gently until smooth, returning to the microwave in 15 second increments if needed.
- Dip each ball in the chocolate and place back on the lined pan.
- Place 2 TBSP white chocolate in one sandwich bag and 2 TBSP dark chocolate in another. Microwave for 30 seconds. Gently massage the bag. Snip a tiny corner of the bag and drizzle the opposite chocolate onto each Oreo ball. Remove the cream filling from a reserved Oreo cookie. Place the cookies in a bag and smash. Sprinkle each Oreo ball with cookie crumbs.
Storage and Serving: Keeping Oreo Balls Fresh
Oreo balls hold up best in the fridge. Put them in an airtight container in a single layer, or between sheets of parchment, and they keep for up to two weeks.
The cold firms the chocolate shell and keeps the cream cheese filling safe. Over days, the cookie crumbs soften and the texture becomes more uniform, which some cooks prefer.
For longer storage, freeze for up to three months. Freeze on a sheet until solid, then transfer to a freezer bag. To serve from frozen, let them sit at room temperature for about 10 minutes.
They’re ready when the shell gives slightly under your thumb but hasn’t started to sweat. That’s your window: cold but not icy, soft but not greasy. Eat within 30 minutes of pulling them out.
The finishing drizzle and crumb topping go on after the coating sets, before storing. Once stored, the topping stays put.
If you stack them, the drizzle may smudge, so keep them in one layer if looks matter.
What You Can Swap and What to Leave Alone
OREO cookies: Use gluten-free Oreos if you need a gluten-free version. 25-ounce package. The texture of the crumbs is slightly different, a bit more sandy, but they bind with the cream cheese just as well.
You won’t taste a difference once coated. Avoid Double Stuf or flavored Oreos because the filling ratio throws off the moisture. If you try a different brand, start with the same amount the recipe uses and adjust after testing; you may need a tablespoon more crumbs if the mixture feels too soft.
Gluten-free Oreos make the recipe accessible without changing the yield or the rolling and dipping steps. The finished balls taste the same. Just check the label if you’re serving someone with celiac disease, since not all brands are certified.
melting chocolate: Chocolate chips can stand in, but they need help. Stir 1 teaspoon of shortening or neutral oil into every 1 cup of chips after melting.
Chips alone melt thick and seize; the fat loosens them enough to coat. White baking chips behave the same way.
Use the same total amount: 3 cups for coating, and the same 2 tablespoons for each drizzle bag. The coating won’t be as glossy or snap quite as cleanly as with real melting chocolate, but it sets and tastes fine. The drizzle flows better with the added fat, so it won’t clog the snipped corner.
If you skip the shortening, the chocolate will be too thick to dip and will tear the chilled balls.
cream cheese: Leave it alone. There’s no good dairy-free substitute that matches its body and tang. Vegan cream cheese spreads are softer and often contain more water; they’ll make the mixture sticky and the balls won’t hold shape after chilling.
Mascarpone is richer and looser, so the balls slump. If you must avoid dairy, this isn’t the recipe to adapt. Using anything other than full-fat brick cream cheese means you lose the binder that holds the crumbs together.
The balls will either crumble when rolled or flatten as they sit. No adjustment to the cookie amount fixes that.
white chocolate for drizzle: Use the same melting chocolate you used for coating. Don’t reach for white baking chips here: they’re formulated to hold their shape in cookies, not to flow. If you only have chips, add a tiny bit of shortening as above, but expect a thicker line that sets fast.
Start with the same 2 tablespoons and adjust after testing. The drizzle is for looks and a touch of contrast.
A thicker chocolate will still taste right but won’t give you the thin, clean lines. If it sets before you finish, the lines look broken and clumpy.
Tips
- Chill your hands in cold water for a minute and dry them before rolling, or rub a thin film of neutral oil on your palms. The mixture carries 8 ounces of cream cheese, and at room temperature it smears across warm skin instead of staying in a ball. Cold or lightly greased hands keep the surface smooth so the chocolate shell sits flush, with no ridges or dents that catch the drizzle.
- Roll all 27 balls before you start dipping, then return the tray to the freezer while you melt the chocolate. Rolling warms each ball as you handle it, so the last few come out softer than the first. A quick second chill evens them out, and every ball hits the chocolate at the same firmness, which keeps the coating from streaking on some and setting clean on others.
After mixing, the texture tells you whether the balls will hold: it should feel like firm playdough, holding a scoop shape without sagging or cracking. If it is crumbly, there is not enough cream cheese to coat every crumb; if it is sticky and glossy, there is too much, and the balls will flatten as they chill. The point of no return is before freezing, once the balls are frozen, an off texture cannot be corrected.

Frequently Asked Questions
Can I make Oreo balls ahead of time?
Yes, and they actually improve. The coating needs time to set firm, and the filling stiffens in the cold, so the texture becomes more uniform after a few hours. Store them airtight in the fridge or freezer, as the storage section covers.
If you’re making them for an event, do the full dip and drizzle the day before, then keep them cold until you’re ready to serve.
Why are my Oreo balls falling apart?
The most common cause is the mixture being too dry, usually from not crushing the cookies fine enough or from using cold cream cheese that didn’t blend in. If the crumbs still have visible white flecks or pieces bigger than a grain of rice, they won’t bind, so pulse longer until the mixture looks like dark sand. If it’s already mixed and crumbles when you press a ball, work in a little more softened cream cheese.
Chilling helps firm them up, but it won’t fix a dry mix. For a quick save, roll the balls a bit more firmly in your palms before freezing.
How do I store Oreo balls and how long do they last?
Keep them in an airtight container in the fridge for up to two weeks. For longer storage, freeze them for up to three months; freeze on a sheet until solid, then transfer to a freezer bag. The chocolate shell stays crisp in the cold, and the filling stays safe.
If you stack them, the drizzle can smudge, so use a single layer or parchment between layers. Serve them cold but not icy, and eat within 30 minutes of pulling them out.
