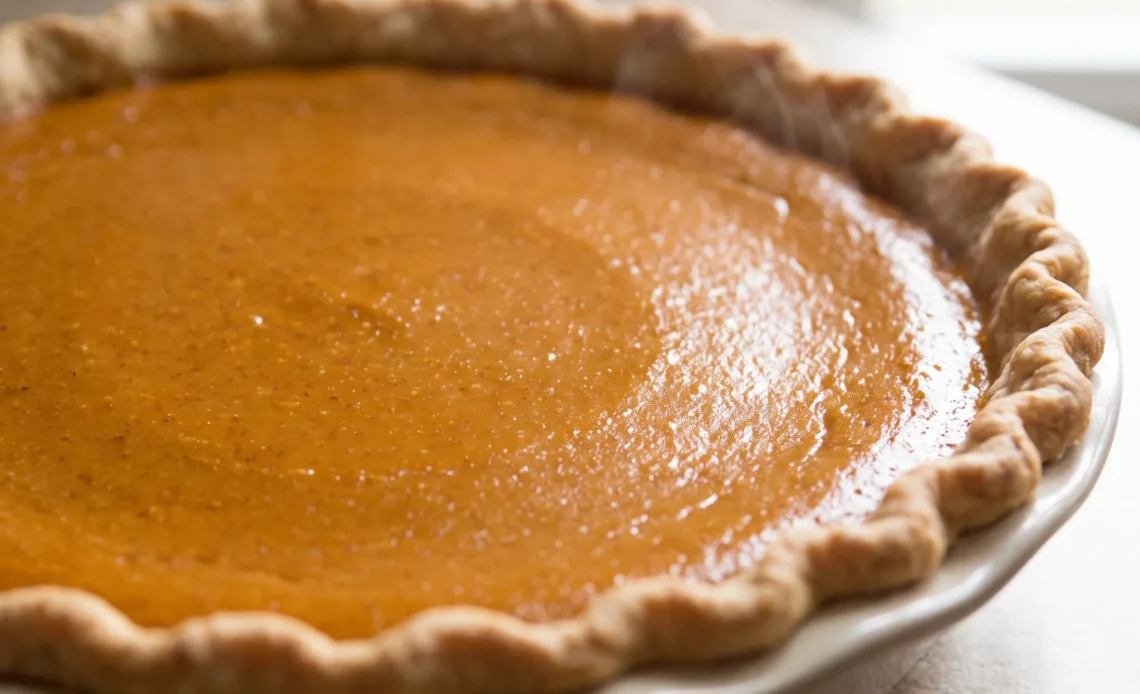
Classic pumpkin pie earns its spot on the holiday table by being made the day before, not by being quick. Most custard pies need a long chill before they slice without slumping, and this one is no exception. Skip that rest and you’ll serve something closer to a spoonable filling than a wedge that holds its edge.
The margin for error lives mostly in the bake: pull it at the right moment and it sets satiny, overshoot and the eggs turn grainy. A deep-dish pan matters here too, since the filling runs generous. What lands on the plate is dense enough to cut cleanly, still light on the tongue, and tasting the way people expect when they picture the dessert at all.
That recognition is what you’re after.
Why Two Milks Beat One
Evaporated milk brings richness without the water that would make the custard loose. Sweetened condensed milk adds sugar and body in one pour, and because that sugar is already dissolved, you aren’t stirring granules into the pumpkin and hoping they disappear.
Together they build a filling thick enough to slice cleanly, where a pie made with only evaporated milk tends to slump on the plate. The eggs still do their part, but they aren’t the only thing holding the custard together.
That firm set you feel when the knife passes through comes from this pairing. If you’ve ever had a pumpkin pie that wept onto the crust, the milk ratio was likely the culprit. Stick with both cans and you get that dense, almost cheesecake-like slice that still tastes light.
Cinnamon Leads, Ginger and Cloves Follow
One teaspoon of cinnamon sets the warm, sweet base that most people recognize as pumpkin pie. The half teaspoon of ginger adds a quiet peppery heat, just enough to cut the richness of the custard without calling attention to itself. Cloves, also a half teaspoon, bring a pungent depth that can easily overwhelm if you get heavy-handed.
That 2:1:1 ratio is deliberate: cinnamon first, ginger and cloves in equal support. Change the balance and you’ll taste it.
Too much clove and the pie turns medicinal; too little and the filling feels flat. This blend has been the standard for a reason.
When you take a bite, the cinnamon should hit first, then a gentle warmth from the ginger, and finally a faint echo of clove that lingers. It’s a quiet architecture, but it’s what makes the flavor read as classic.
Deep Dish Is Not a Suggestion
The filling here is generous: a full can of pumpkin, a cup of evaporated milk, a can of sweetened condensed milk, plus eggs. That volume will not fit in a standard 9-inch crust without spilling over the rim.
A deep-dish pan gives you the height to contain the custard as it puffs, and that extra depth also means the center bakes at a gentler rate than the edges. In a shallow crust, the pie would be thinner, and the custard would set too quickly, leaving the edges rubbery before the middle firms up.
You’d also risk a mess in the oven. The deep-dish crust isn’t just about capacity; it’s about giving the custard room to cook evenly.
When you slide the filled crust onto the baking sheet, you’ll see the filling come right up near the top. That’s exactly what you want.
The Jiggle Tells You When to Pull It
Eggs set the custard, but too much heat makes them squeeze out water, and you end up with a weeping pie. The surface should be slightly puffed and the center should still have a slight jiggle when you nudge the rack. If it looks fully firm and cracked, you’ve gone too far, and the texture will be grainy.
Carryover cooking continues after the pie leaves the oven, so pulling it while the center is still a bit loose is safer than waiting for it to look done. A set pumpkin pie has a smooth, satiny cut face, not a curdled one.
Your nose will also tell you: when the spices smell toasted rather than raw, it’s close. Trust the jiggle, not the clock.
The first slice will show you whether you nailed it.
Chill Time Does Real Work
Four hours in the fridge isn’t just about serving the pie cold. During that time, the custard continues to firm up as it cools, so each slice comes out clean instead of slumping on the plate. The spices and pumpkin also settle down, losing any raw edge and blending into that familiar, rounded flavor.
Serve it warm and you’ll get a loose, runny filling that won’t hold a cut. The crust benefits too: it firms and absorbs a bit of moisture from the filling, so it’s no longer raw-tasting but tender and sliceable.
This is why a pie baked in the morning tastes better at dinner. The wait feels long, but it’s the difference between a pie that’s merely baked and one that’s ready.
Give it the full chill and you’ll be rewarded with neat wedges that hold their shape all the way to the plate.
What to Buy and How to Prep It
Canned pumpkin puree: Buy pure pumpkin, not pumpkin pie filling, which is already sweetened and spiced and will throw off this custard.
Evaporated milk: The 1 cup is what keeps the custard sliceable; whole milk or cream adds water and the filling slumps on the plate.
Ground cloves: Buy the smallest jar you can; pre-ground cloves go flat within months and a stale half teaspoon leaves the filling tasting dusty.
Unsalted butter: Cold chunks, straight from the fridge, are the difference between flaky layers and a greasy crust that shrinks in the pan.
The filling sets when egg proteins unwind and link into a delicate network that traps the milk and pumpkin. If the internal temperature climbs too high, those proteins contract and expel water, turning the custard curdled and weepy. The recipe’s visual cue, edges set but center still slightly jiggly, signals that the network is just formed and carryover heat will finish the job without overcoagulating.
The Moments That Decide Whether This Pie Sets Clean
Reading the filling before it goes in the oven
After whisking, the mixture should pour in a slow, heavy ribbon, not a thin stream. If it looks watery or separates at the edges of the bowl, the eggs weren’t beaten enough or the pumpkin wasn’t fully broken up. Give it another thirty seconds of whisking.
A filling that’s too loose will still bake, but it sets with a softer center and slices with a slump. You want it uniform in color and thick enough to leave a faint trail when you drag the whisk through.
The fifteen minutes at 425°F that set the crust edge
The first blast of heat does two things: it starts the crust before the custard can soak it, and it brings the filling up fast so the outside firms early. If the rim is already dark brown at the fifteen-minute mark, tent it with foil before you drop the temperature.
If it’s still pale, leave it. This is the only point where the crust edge gets protected without interrupting the bake, so look at it through the glass rather than opening the door.
Nudging the rack to read the center
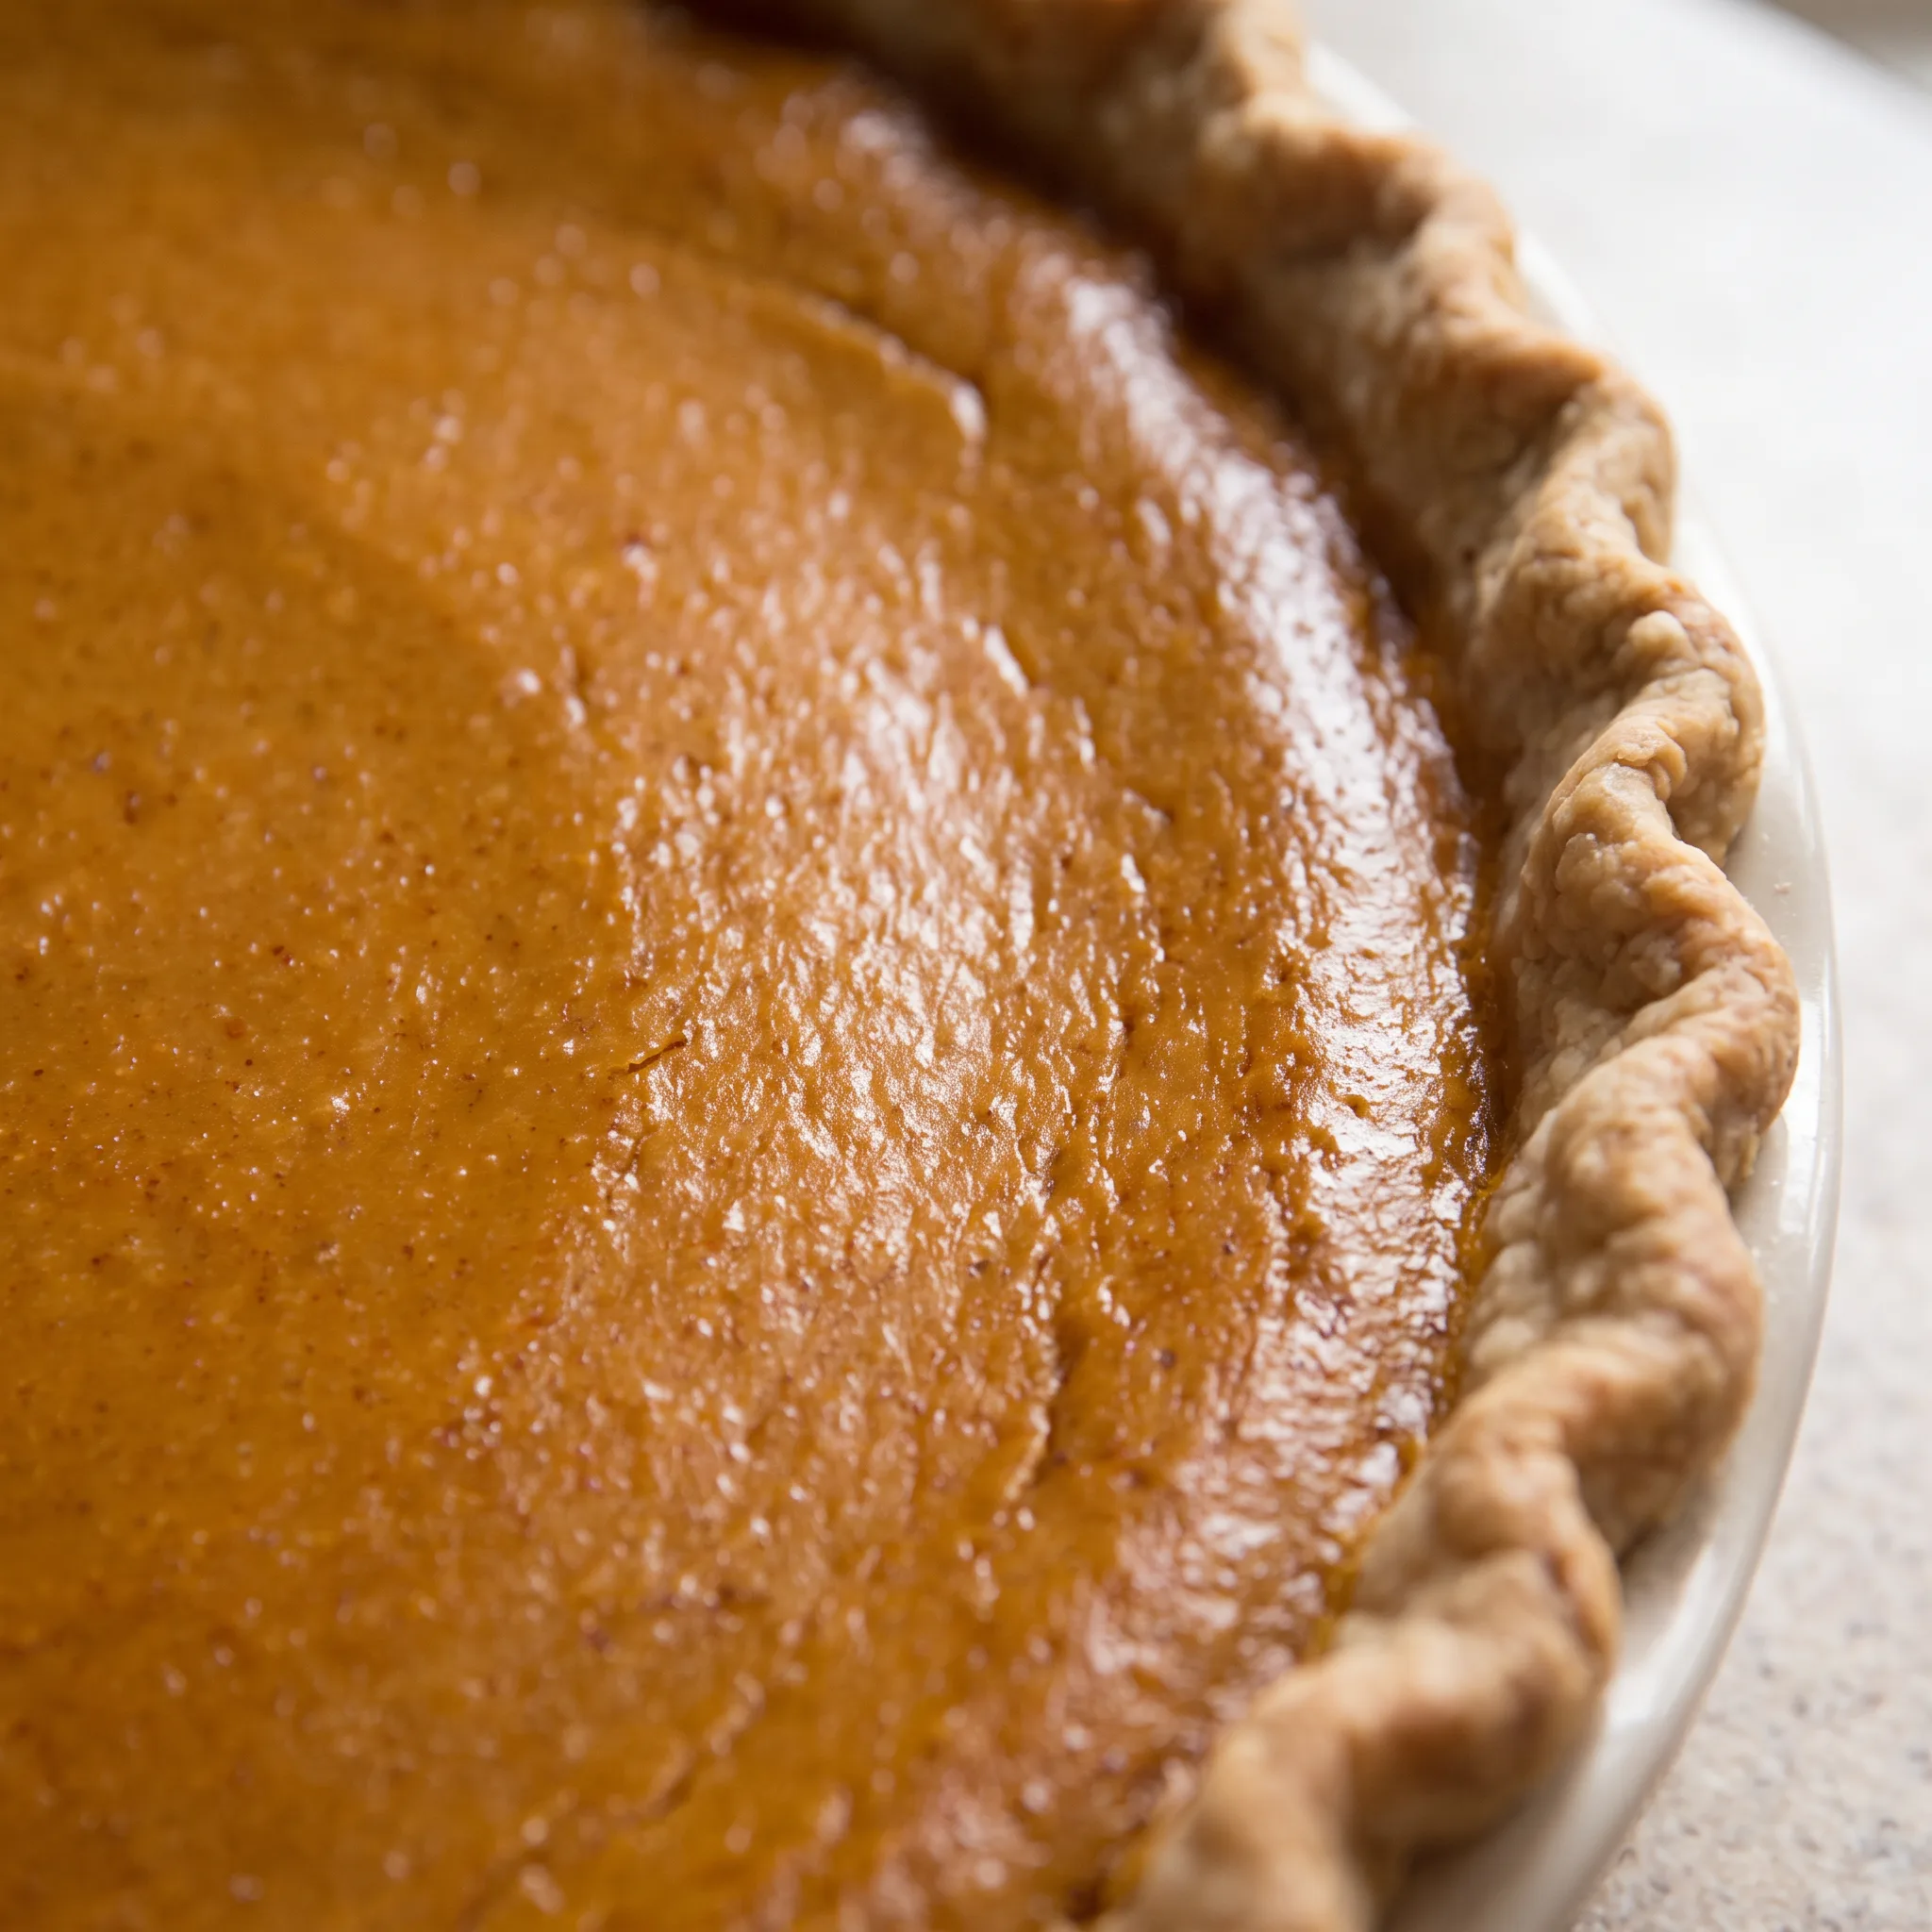
The pie is close when the outer two inches look set and slightly puffed, and the middle still wobbles as one piece, not as a liquid sloshing under a skin. A jiggle that moves like a loose custard means it needs more time; a center that’s firm and cracked means it’s past done and will turn grainy.
Carryover heat finishes the middle, so pull it while that wobble is still there. If you’ve overshot, the texture won’t recover, but the flavor will.
The smell telling you the spices have toasted
Somewhere in the last ten minutes, the raw edge of the spices cooks off and the kitchen smells warm and rounded instead of sharp. That shift is your cue to start checking the jiggle every few minutes. If the spices smell acrid or the top looks matte and cracked, you’ve gone too far.
The nose is more reliable than the timer here because oven drafts and pan placement change how fast the custard sets.
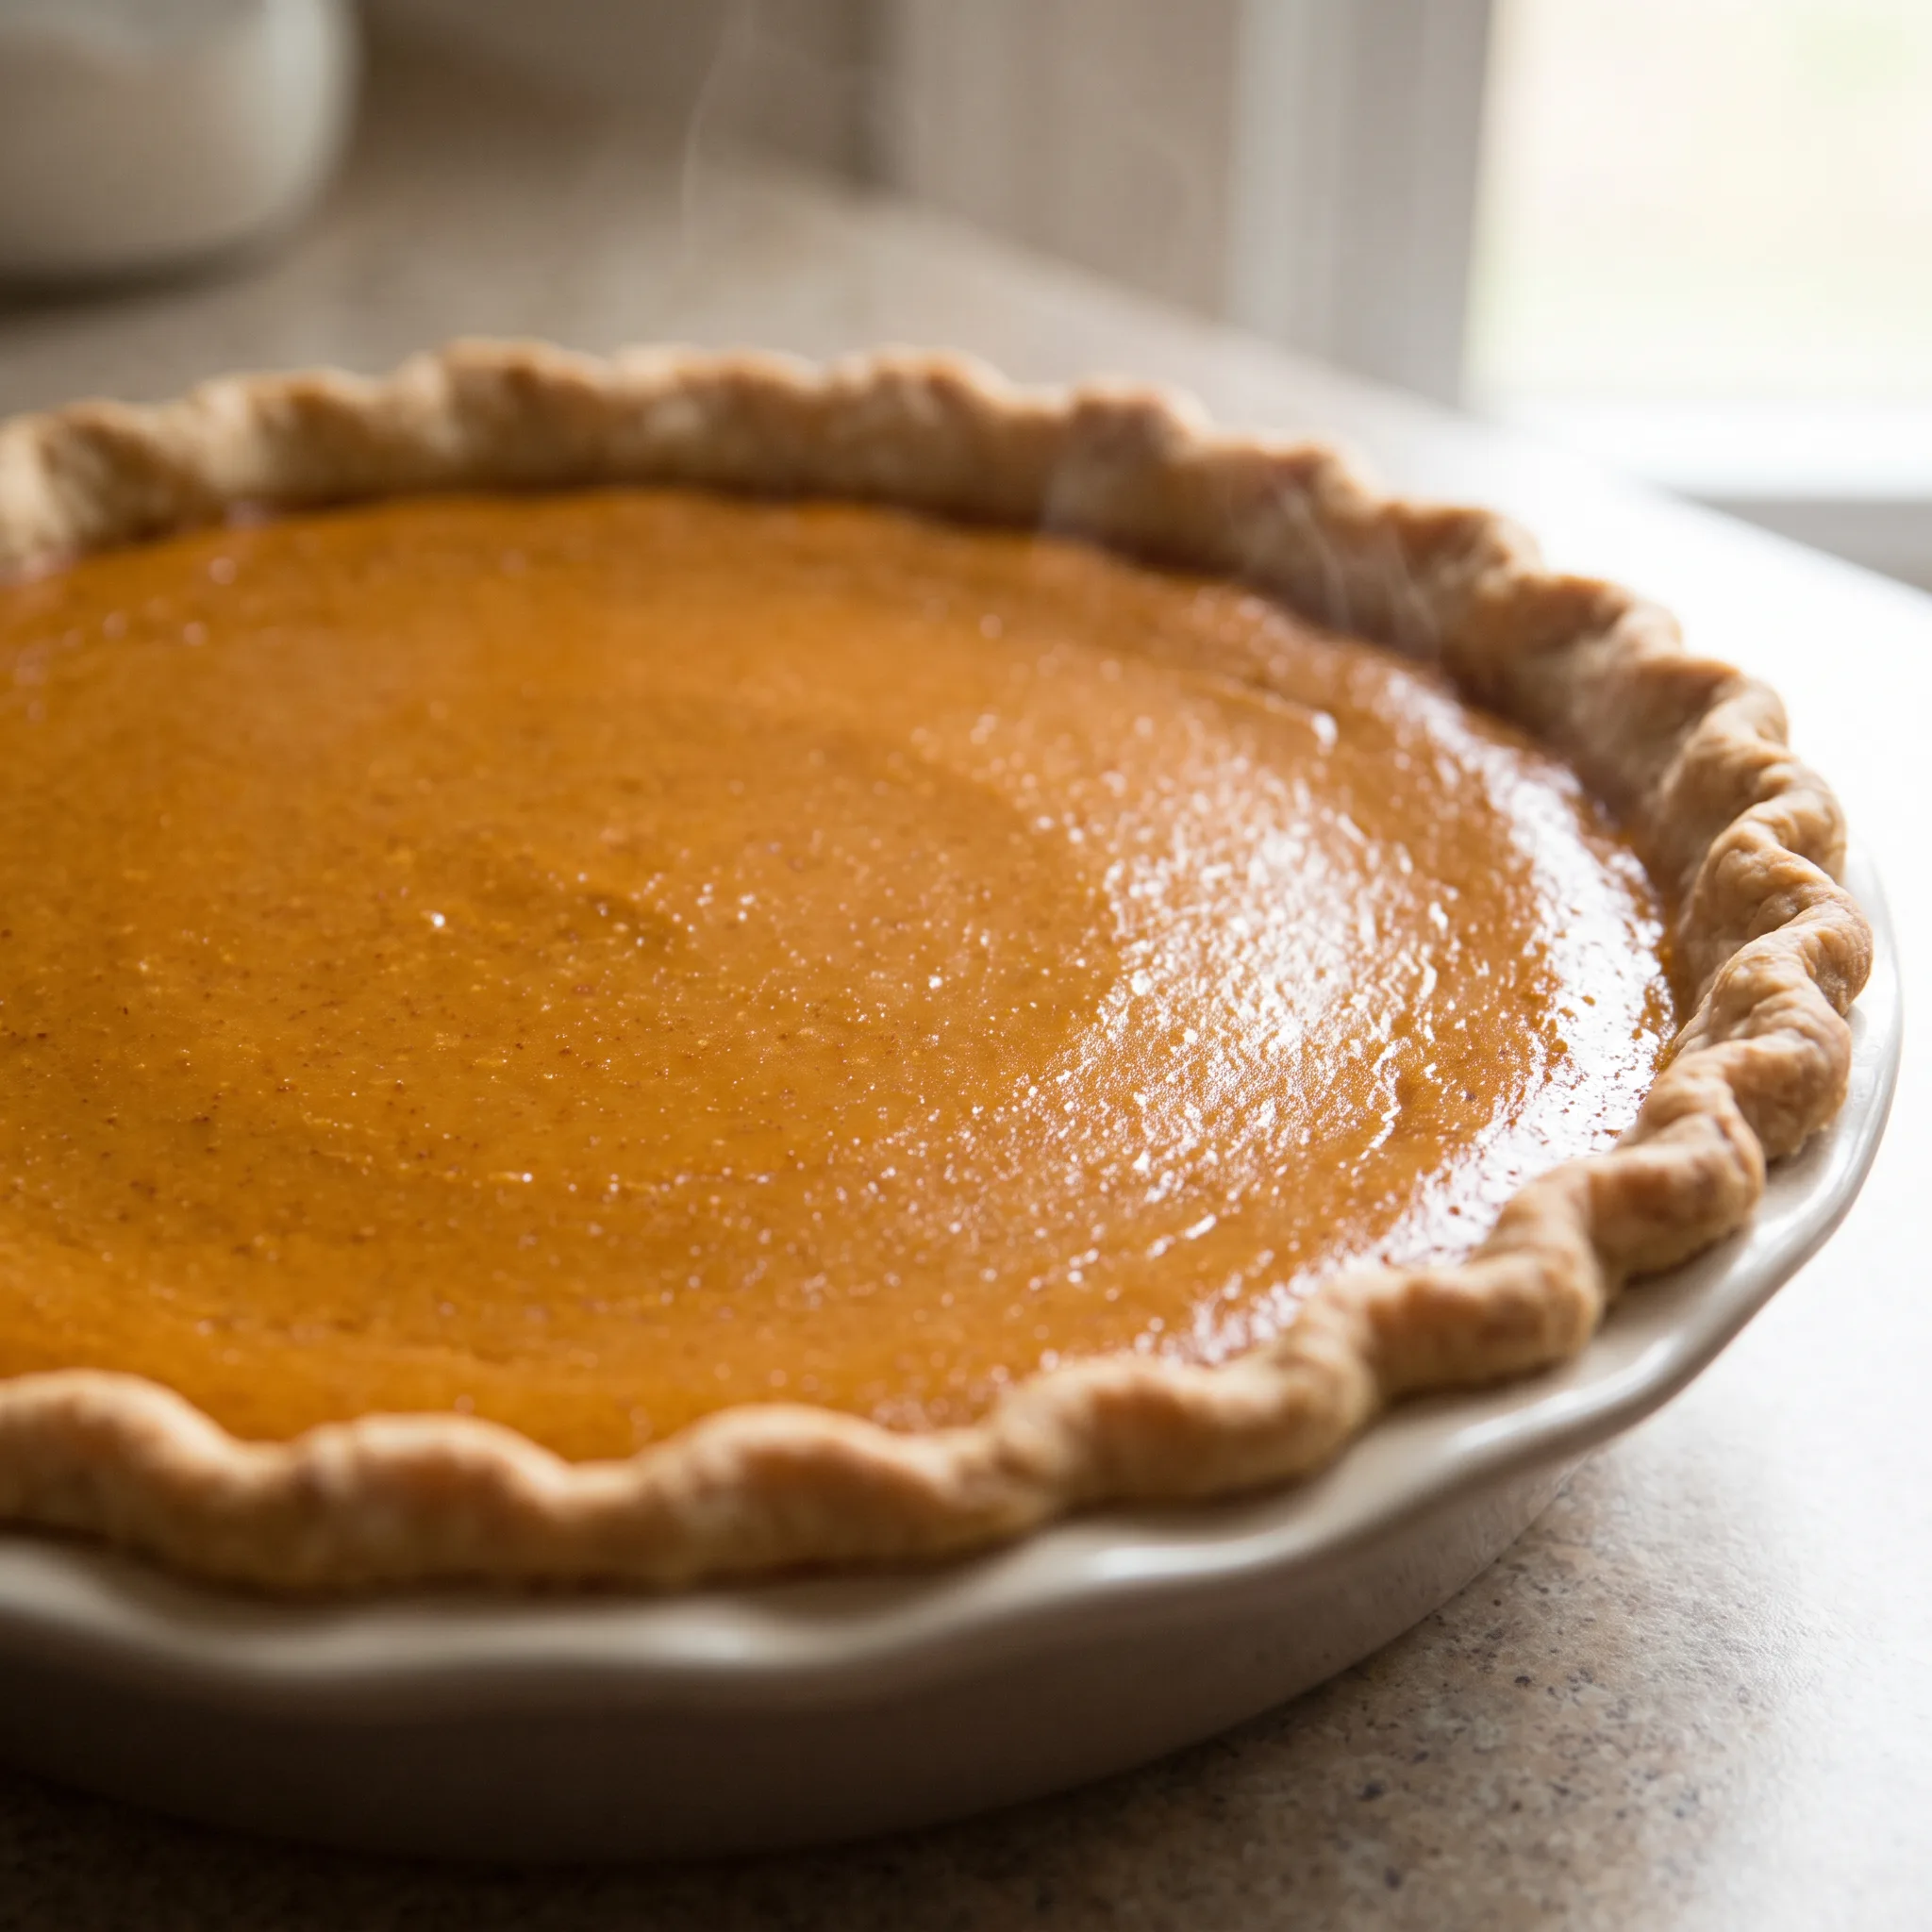
Classic Pumpkin Pie with Canned Pumpkin
Ingredients
Method
- Set oven to 425°F (220°C).
- In a large bowl, beat eggs thoroughly until completely broken up. Add pumpkin, both milks, salt, and spices; whisk until fully incorporated.
- Transfer mixture to an unbaked pie crust and set on a baking sheet for easier handling. Bake 15 minutes, then reduce oven to 350°F (175°C) and continue baking another 30-40 minutes, until edges are set and surface is slightly puffed. Note: See my notes in the post about how to know when your pie is done. Mine took longer than Libby’s states, so don’t be surprised if yours does too.
- Let pie cool on a rack for 2 hours before slicing. If not serving within 2 hours, refrigerate loosely covered.
- In a food processor, pulse flour and salt a few times to combine. Add cold butter chunks and pulse about 20 times until mixture resembles coarse meal.
- With processor running, add ice water a little at a time, pulsing just until dough forms a clump. This will take under a minute. NOTE: you may not need all of the water, but you may also need a little more, so feel free to adjust.
- Turn dough onto a floured surface and gather into a ball. If dry flour remains, knead it in until incorporated. If dough is too sticky, add a touch more flour.
- Divide dough in half, shape into two flat disks, and wrap each in plastic. Refrigerate for 2 hours (or overnight) before rolling. You can freeze the extra disk of dough for later.
Swap the Cans and the Crust, Not the Structure
Canned pumpkin puree: Butternut squash or sweet potato puree, cooked and mashed smooth. Start with the same 15 ounces the recipe uses, then adjust after tasting. The custard sets the same because the water content is similar, but the flavor shifts.
Squash is milder and slightly sweeter, so the cinnamon and cloves read louder. Sweet potato brings a denser, starchier body; you may notice a heavier slice.
Either works, but neither tastes quite like pumpkin. If you make your own puree, drain it well.
A watery puree will leave the center soft even after the full bake.
Evaporated milk: For dairy-free, use full-fat canned coconut milk. Start with the same 1 cup, then adjust after tasting.
The custard will set, but it won’t be as firm as with evaporated milk. Coconut milk adds a faint tropical note that fights the pumpkin spices. The pie may weep a little at the edges after chilling.
If you use a lower-fat coconut milk, expect a looser slice. A tablespoon of cornstarch whisked into the sugar helps, but you’re changing the texture, not matching it.
Sweetened condensed milk: There’s no clean substitute. If you must, simmer 1 cup of whole milk with 1/2 cup of sugar until reduced by half, then cool.
Use the same 14 ounces called for. You lose the body that condensed milk brings. The filling will be thinner and the bake time may stretch by five to ten minutes.
The sugar won’t be as integrated, so you might taste a faint graininess. The pie still sets, but it lacks that dense, almost cheesecake-like slice. For a dairy-free version, sweetened condensed coconut milk works better than a homemade syrup, though it carries a coconut flavor.
Unbaked deep-dish pie crust: For gluten-free, use a gluten-free pie crust mix or recipe. Press it into the same deep-dish pan. Do not use a standard shallow pan; the filling will overflow.
Gluten-free crusts often crack and don’t hold the custard as well. Blind-bake it for 10 minutes at 425°F before adding the filling, then reduce the initial bake to 10 minutes to prevent overbrowning.
The crust may taste sandy or crumbly, and it won’t absorb moisture the same way, so the bottom can stay soft. If you’re swapping to a store-bought crust, check that it’s deep-dish.
A shallow crust will spill.
How to Store, Chill, and Serve the Pie
Serve this pie cold from the fridge, and give it that full four-hour chill before the first slice. Warm custard slumps on the plate; a cold one cuts into clean wedges with sharp edges. The other reason to wait is the crust.
During those hours it takes on a little moisture from the filling and firms from tender and raw-tasting into something sliceable, so a pie baked in the morning eats better at dinner.
Cold also tightens the custard, which is why leftovers sliced straight from the refrigerator hold their shape better than a pie left sitting out. Keep the pie loosely covered in the fridge and eat it within three days.
Past that, the crust softens from the bottom up and the custard starts to weep. Eat slices cold. Letting a slice sit at room temperature only makes it looser and the crust soggier.
Tips
- Watch the pie through the glass for the moment the outer two inches of filling puff slightly above the rim while the center stays flat and glossy. That raised ring is the edge custard setting first, and it tells you the 350°F bake is entering its final stretch without cracking the door.
- At the 30-minute mark at 350°F, slide the baking sheet out just far enough to touch the pan’s side with your palm. A deep-dish pan full of barely set custard stays warm but not hot at the outer wall; once that wall feels distinctly hot to a quick tap, the custard nearest the crust has firmed and you can judge the center by sight alone.

Frequently Asked Questions
Why did my pumpkin pie turn out watery?
Watery pumpkin pie usually means it didn’t bake long enough, so the eggs never fully set the custard. Pull it when the outer two inches are set and the middle still wobbles as one piece, not as liquid sloshing under a skin. If the whole center was loose when you sliced it, the culprits are underbaking or the wrong milk.
Using whole milk or cream instead of evaporated milk adds water and the filling slumps on the plate. And if you made your own pumpkin puree, it needs to be drained well; a watery puree leaves the center soft even after a long bake.
Can I make pumpkin pie ahead of time?
Yes. The pie needs a full 4-hour chill before slicing, so baking it the morning you plan to serve it works well, and a pie baked in the morning eats better at dinner. You can also bake it a day ahead and keep it loosely covered in the fridge; that rest only helps the custard firm and the flavors settle.
Just don’t push it past 3 days in the fridge, because the crust softens from the bottom up and the custard starts to weep. If you want to work further ahead, freeze the extra disk of pie dough and thaw it in the fridge before rolling.
How do I know when pumpkin pie is done baking?
The edges should look set and slightly puffed, and the center should still have a slight jiggle when you nudge the rack. A wobble that moves like loose custard means more time; a center that’s firm and cracked means you’ve gone too far and the texture will turn grainy. Carryover cooking finishes the middle after it leaves the oven, so pulling it while that wobble is still there is safer than waiting for it to look completely done.
Your nose also gives you a cue: when the spices smell warm and toasted rather than raw and sharp, it’s close.
What’s the difference between this pumpkin pie and Libby’s recipe?
This one uses both evaporated milk and sweetened condensed milk, while Libby’s calls for evaporated milk alone. That pairing builds a filling thick enough to slice cleanly, where a pie made with only evaporated milk tends to slump on the plate. The spice blend here is a deliberate 2:1:1 ratio of cinnamon to ginger to cloves, and the recipe notes that the bake can run longer than Libby’s states.
So if yours takes longer, that’s expected.
Can I use fresh pumpkin instead of canned?
You can, but drain the cooked puree well before measuring. A watery puree will leave the center soft even after the full bake, so the extra step matters. Start with the same 15 ounces the recipe uses, then adjust after tasting, because fresh pumpkin varies in sweetness and water content.
If you don’t want to deal with that, butternut squash or sweet potato puree are other options, though neither tastes quite like pumpkin.
Why does my pumpkin pie have cracks on top?
Cracks mean the custard baked past the point where the eggs set gently. The surface puffed too much and then split as it cooled, which is the same signal as a center that’s firm rather than slightly jiggly. Pull the pie while the middle still wobbles as one piece; carryover heat finishes it without overbaking.
Cracks don’t ruin the flavor, but the texture will be grainy rather than satiny. Next time, start checking a few minutes earlier and trust the jiggle over the clock.
How long does pumpkin pie last in the fridge?
Keep it loosely covered in the fridge and eat it within 3 days. Past that, the crust softens from the bottom up and the custard starts to weep. Cold also tightens the custard, so leftovers sliced straight from the refrigerator hold their shape better than a pie left sitting out.
For the first serving, give it the full 4-hour chill before you cut into it.
Should pumpkin pie be served warm or cold?
Serve it cold from the fridge. Warm custard slumps on the plate, while a cold one cuts into clean wedges with sharp edges. The full 4-hour chill also lets the crust take on a little moisture from the filling and firm from tender and raw-tasting into something sliceable.
Letting a slice sit at room temperature only makes it looser and the crust soggier, so keep it chilled until you’re ready to eat.
