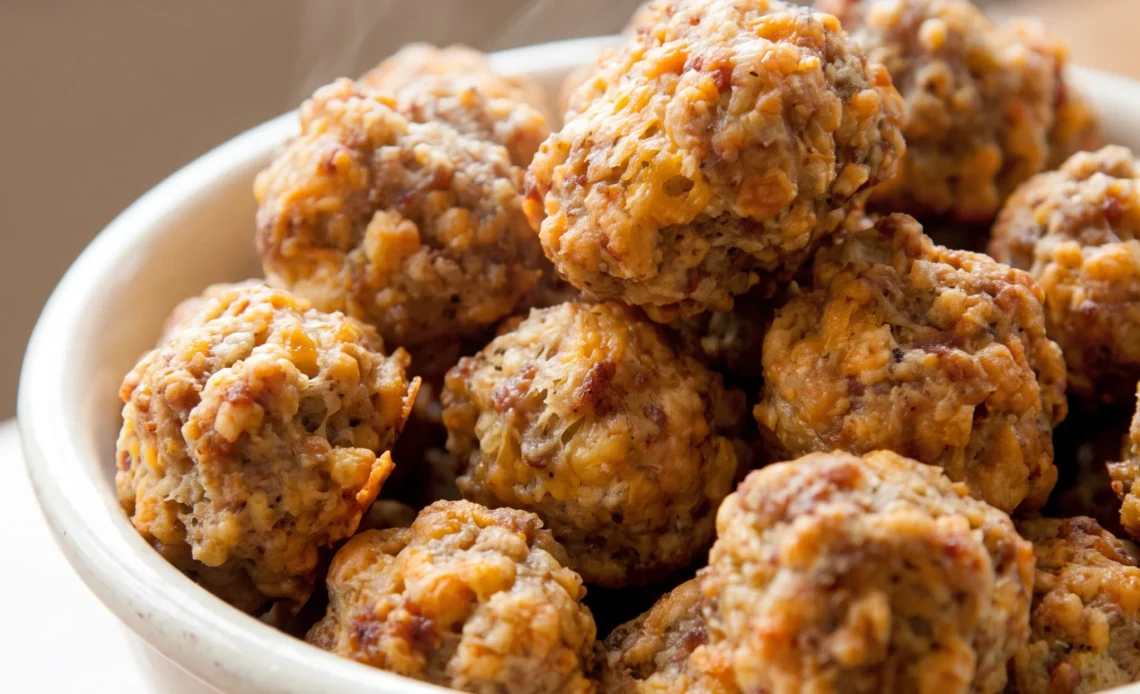
Sausage balls without bisquick aren’t a shortcut, and that’s the whole reason to make them. The boxed mix gets replaced by flour, baking powder, and melted butter, which means you’re mixing a loose, tacky dough by hand and deciding for yourself when it’s bound. The hard part is feel: dry sausage and cold cheese both fight the flour, and the margin between a mix that holds and one that crumbles is narrow.
Sharp cheddar and sage pork do most of the heavy lifting on flavor, and the crumb lands somewhere between a biscuit and a meatball, tender at the center with a browned shell. What follows is the from-scratch version, start to finish, with the texture calls that actually matter.
Build the Biscuit Base from Scratch
Bisquick brings flour, shortening, salt, and baking powder to the party, all in one scoop. Here, those jobs get split between all-purpose flour, melted butter, and a measured spoonful of baking powder. That trio is what gives the balls their tender, slightly biscuity crumb.
The butter also adds richness that plain shortening lacks. What matters most is the balance: too much flour and the mix turns dry and crumbly, too little and the balls slump in the oven.
Sharp cheddar pulls double duty, adding fat and moisture that help everything cling together without a pre-mixed shortcut. When you pinch a piece of the raw mixture, it should hold its shape but still feel a little tacky. That feel tells you the ratio is right.
If it’s sandy, you’ll fight to form balls that stay round. If it’s sticky, they’ll spread.
Aim for a soft, cohesive dough that just barely holds.
Sage Sausage Sets the Flavor and the Fat
Sage ground pork sausage is the loudest voice in this recipe. Its herby, peppery notes run through every bite, and its fat content keeps the balls from turning into dry pucks. Lean sausage sounds healthier, but it’s a trap: fat carries flavor and coats the flour particles, which is what gives you a moist, tender crumb.
Without enough fat, the mixture bakes up tight and mealy. A standard pork sausage with a decent fat ratio does the heavy lifting. Then there’s the seasoning already in the meat.
Most sage sausages are salty and spiced, so the added salt, pepper, and onion powder can push things over the edge if you’re not careful. Taste a pinch of the raw mixture before baking; it should taste seasoned but not aggressive. The final balls should be savory and herb-forward, with a gentle heat in the background.
If the sausage is mild, the pepper and onion powder fill in the gaps. Adjust with a light hand.
Grate Your Own Sharp Cheddar
Sharp cheddar earns its place by cutting through the sausage’s richness. That tangy bite keeps each ball from tasting flat, and the cheese’s fat adds to the tender texture. But the type of cheddar matters.
Pre-shredded bags often dust the shreds with potato starch or cellulose to keep them from clumping. Those powders absorb moisture and can leave the mixture feeling gritty, and they interfere with the bind. Grating a block yourself gives you clean, moist shreds that melt evenly.
The cheese also needs to be tossed with the dry ingredients first. That coating separates the shreds so they don’t fuse into clumps when the wet stuff goes in.
You want every shred lightly floured, not stuck together in a cheesy wad. When you bite into a finished ball, you should hit little pockets of sharp, melted cheddar, not a rubbery chunk.
Freshly grated makes that difference clear.
Size Matters for Even Baking
One-inch balls are not arbitrary. That size gives you the right ratio of browned, slightly crisp exterior to juicy, sausage-packed interior. Go smaller and the oven dries them out before the pork is safely cooked; go bigger and the outside browns while the center stays raw.
Consistent size also means the whole batch finishes at the same time, so you’re not pulling trays in and out. You’ll know they’re right when they feel like small, firm spheres in your palm, roughly the size of a walnut. The yield of 46 balls depends on keeping them close to that one-inch target.
If you end up with fewer, larger balls, expect a longer bake and a different texture. The goal is a batch that bakes evenly, with each ball delivering a savory, cheesy hit and a tender crumb.
Weigh a few if you want to be precise, but your hands will learn the feel quickly.
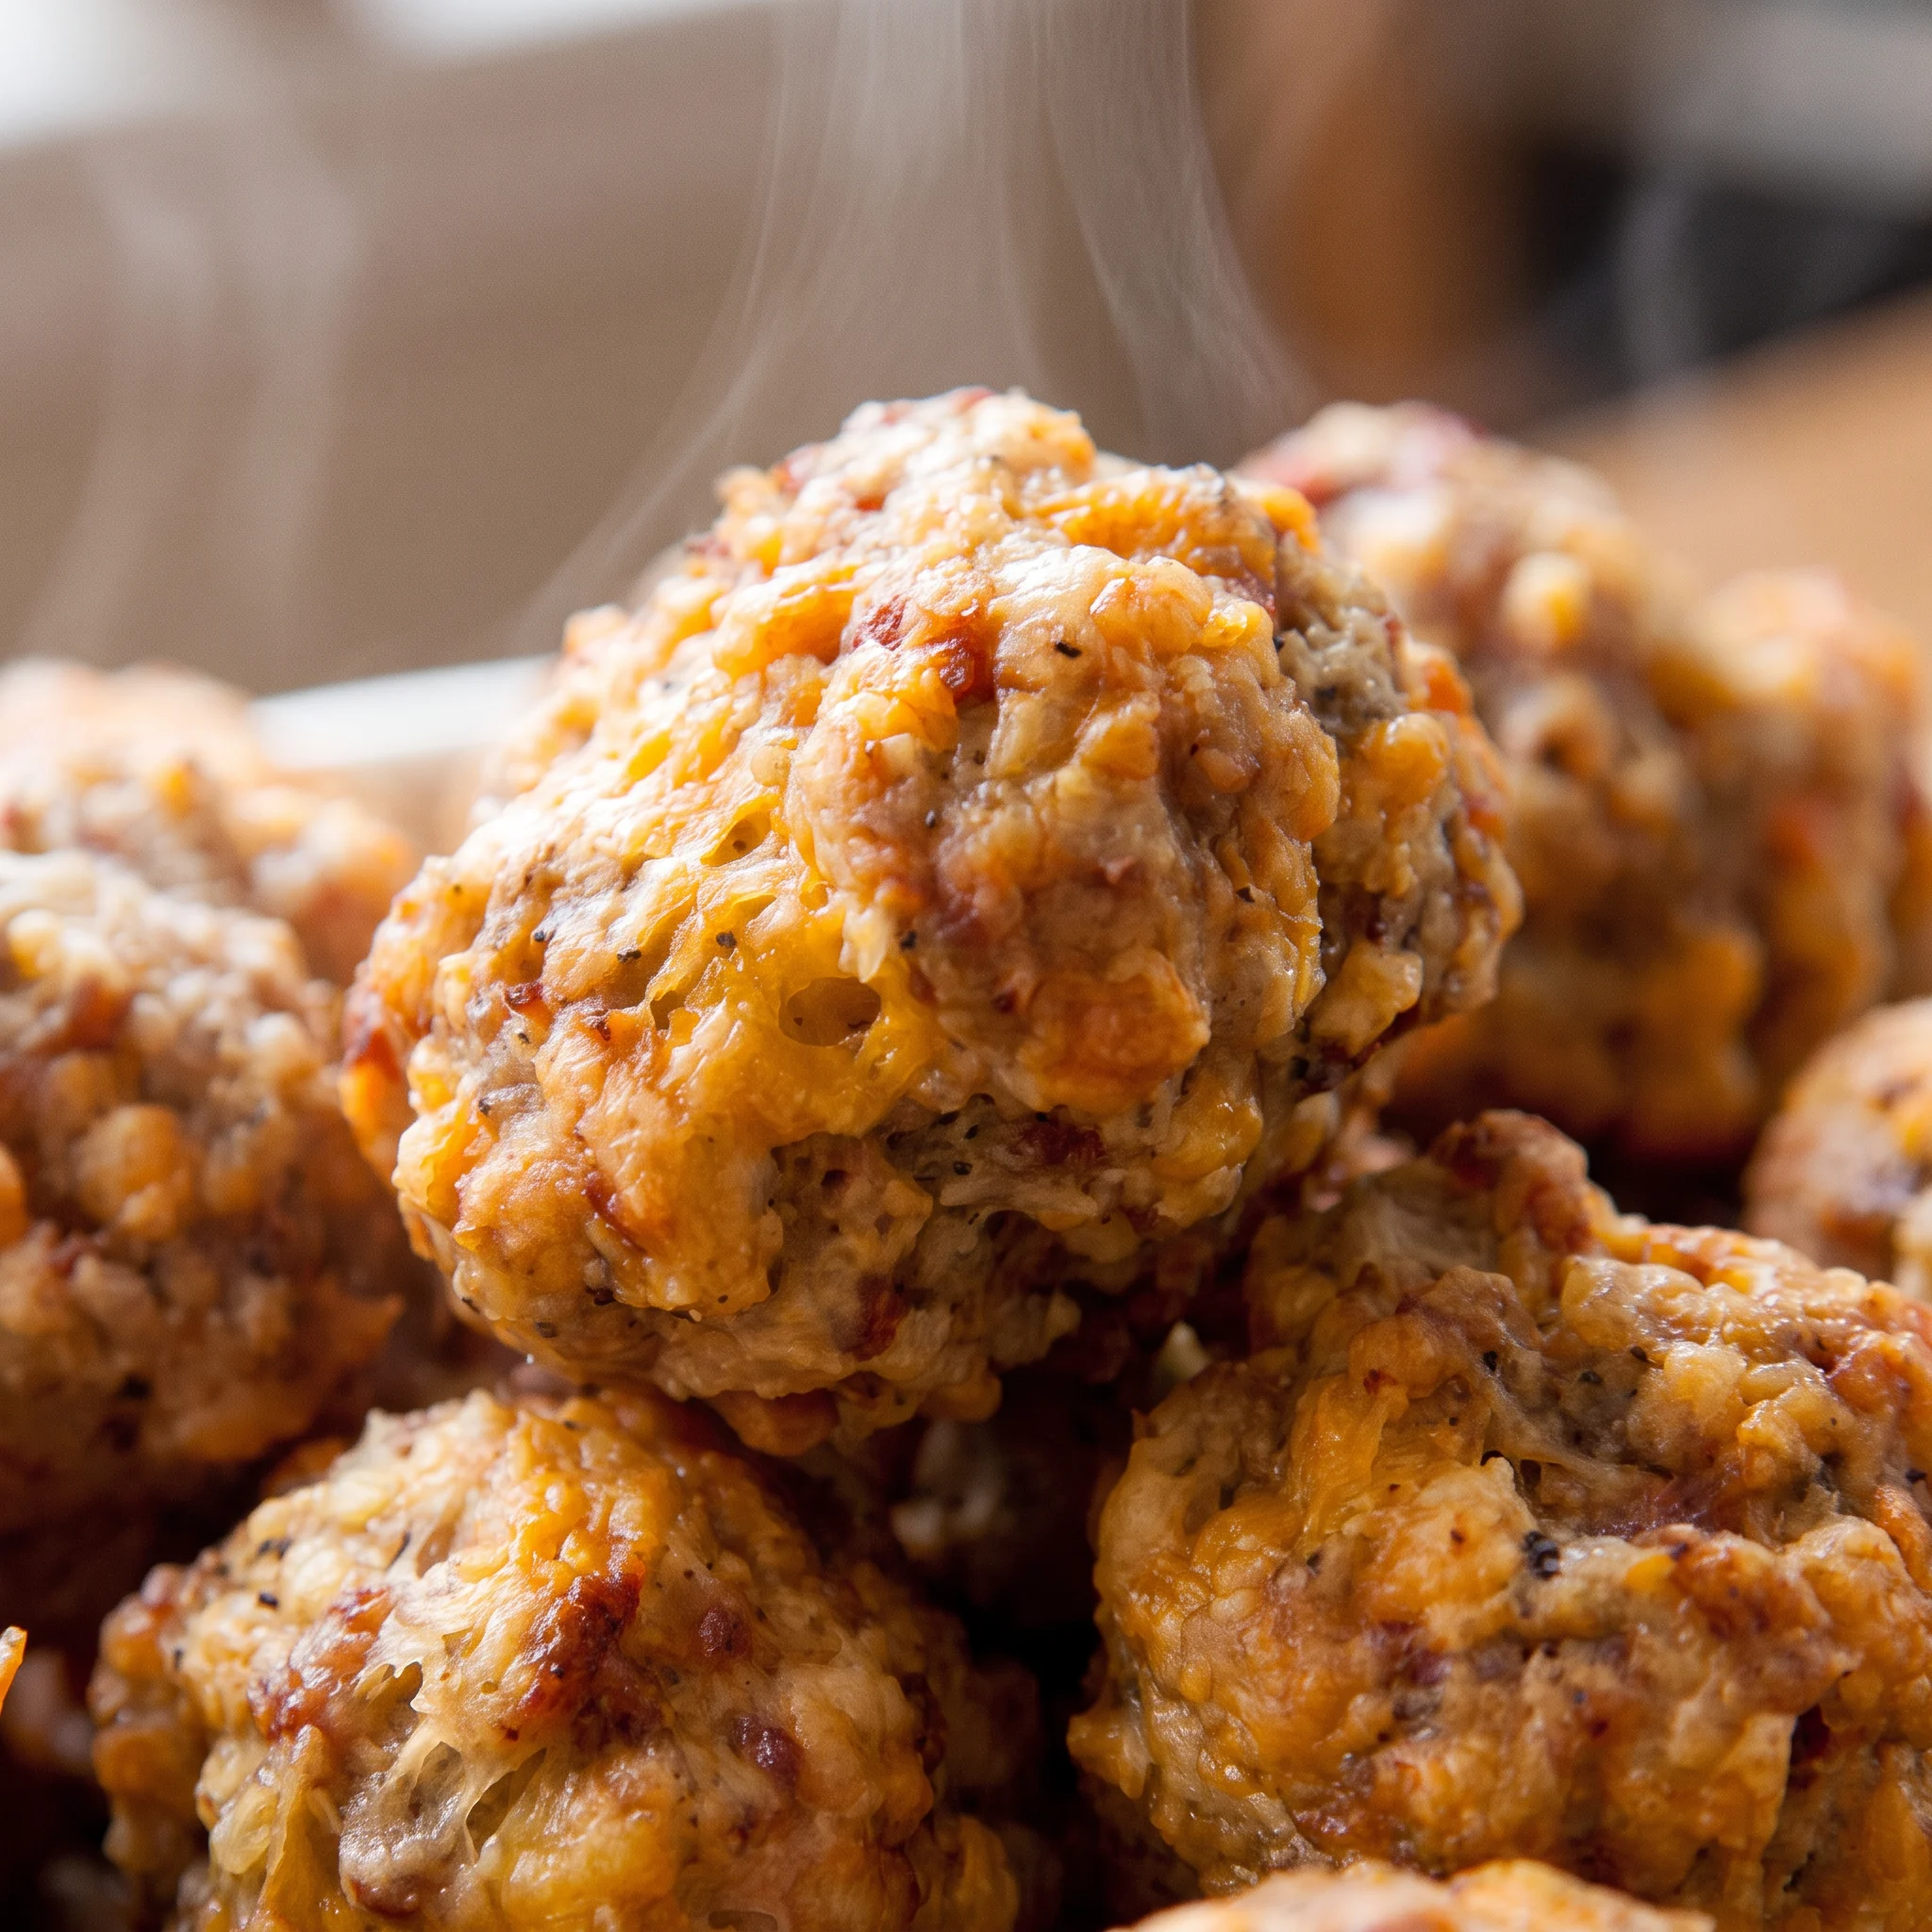
What to Buy Before You Start Mixing
Sharp cheddar cheese: Buy a block and grate it yourself, since pre-shredded bags carry starch that leaves the mix gritty.
Sage ground pork sausage: Pick a standard pork sausage with decent fat, because lean versions bake up tight and mealy.
All-purpose flour: The 1 1/4 cups is the whole structure here, so scoop it level rather than packing it into the cup.
Unsalted butter: Melted and cooled slightly, since hot butter would start cooking the sausage before it ever hits the oven.
Milk: Whole milk brings the fat that keeps the crumb tender, and the 1/4 cup is the full liquid budget for the batch.
How to Tell When the Sausage Balls Are Ready to Come Out
Reading the Raw Mix for the Right Bind
After you work the sausage, butter, and milk into the dry ingredients, pinch a golf-ball-sized piece. It should hold together when you press it, but still feel a little tacky, not wet. If it crumbles, add milk a teaspoon at a time.
If it smears like paste, work in flour a tablespoon at a time. This is your only chance to fix the texture before baking.
Judging the Color and Firmness for Doneness
At 20 minutes, peek through the oven door. The balls should be golden brown on the bottoms and around the edges, with no pink showing at the seams. If they’re pale, give them 2 to 3 more minutes.
If they’re already dark, pull them immediately. A thermometer inserted into the center of a middle ball should read 160°F.
If you don’t have one, break one open: the meat should be opaque, not pink.
Deciding Whether to Rotate or Rearrange
If your oven runs hot on one side, you’ll see some balls browning faster than others. Rotate the pan halfway through baking, but only if you notice uneven color at the 12-minute mark.
Otherwise, leave the door closed. Every time you open it, the temperature drops and the balls bake less evenly.
Trust the visual cues over the clock to decide.
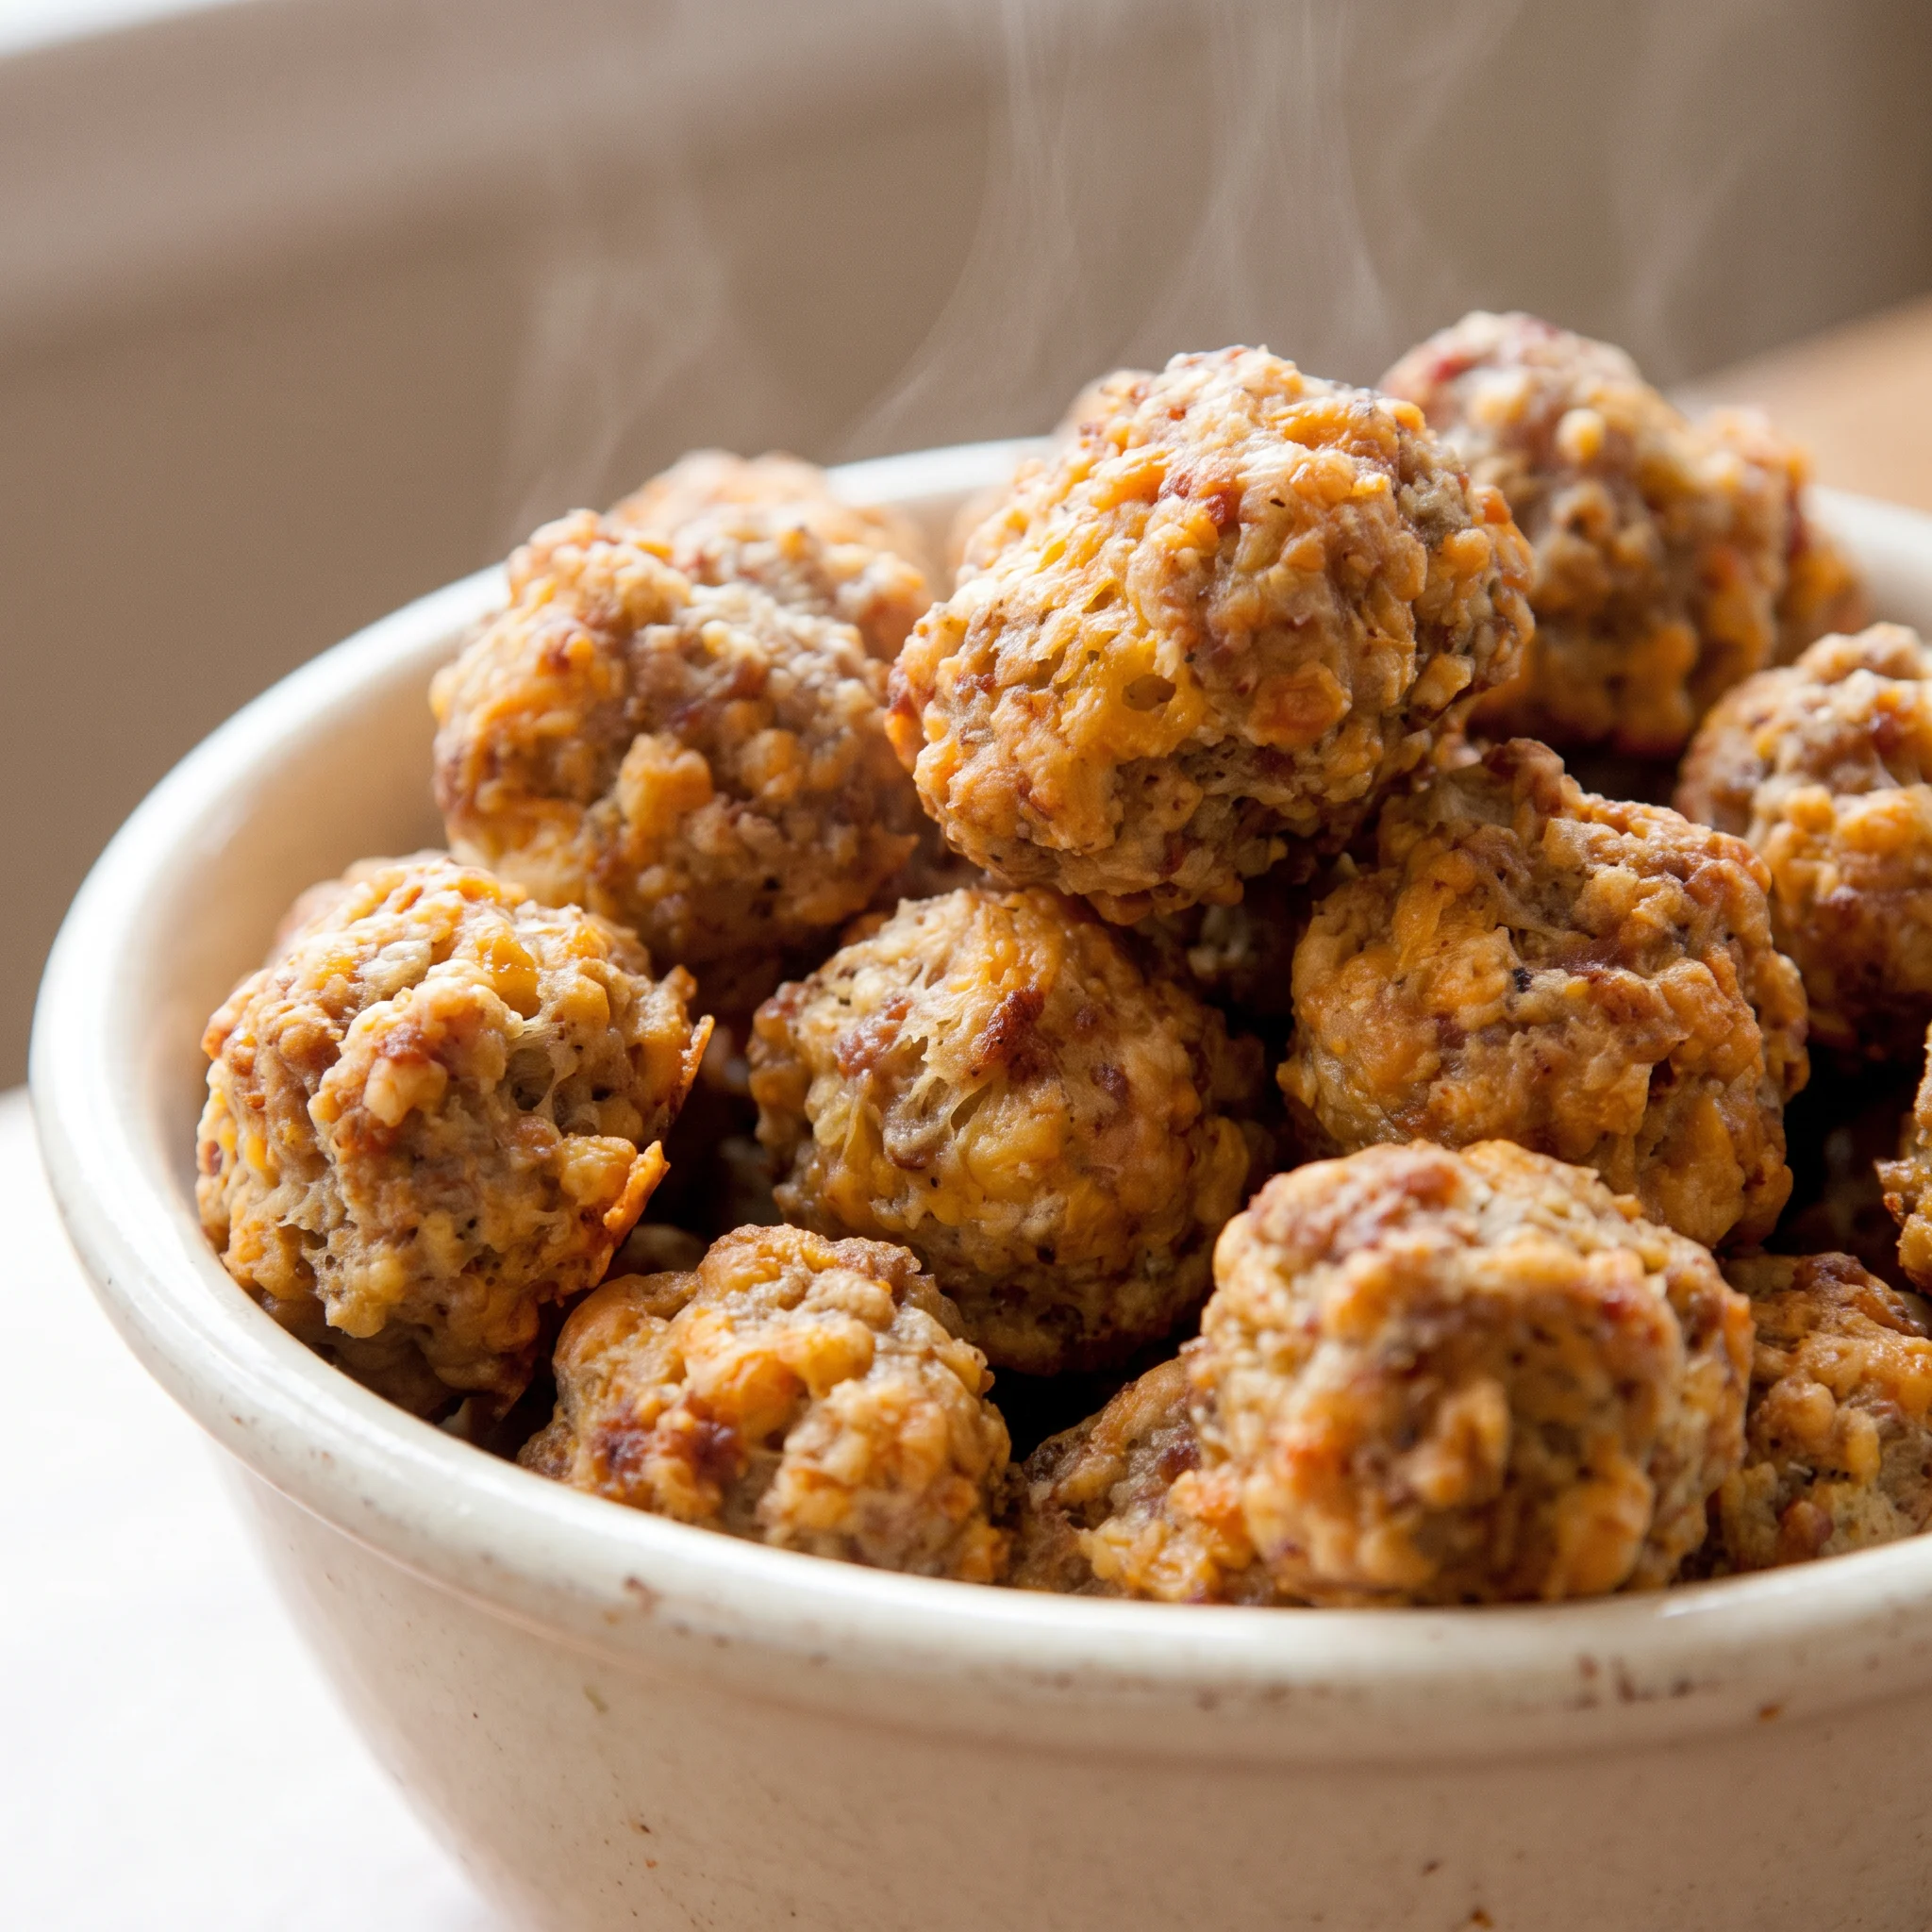
Sausage Balls Without Bisquick
Ingredients
Method
- Set oven to 400°F (205°C). In a large bowl, combine flour, salt, pepper, onion powder, and baking powder by stirring.
- Introduce the cheese and toss to coat.
- Add the sausage, melted butter, and milk. Blend thoroughly—using clean hands is most effective.
- Shape the mixture into 1-inch balls and arrange on a large lightly greased baking sheet. Bake for 20–25 minutes until browned and fully cooked. Serve immediately.
Storage, Reheating, and the Serving Window
These are at their best within 20 minutes of leaving the oven, while the crust still has a slight snap and the cheddar is molten. Past an hour, the exterior softens as moisture migrates outward, and the texture turns uniformly tender. That’s still good eating, just not the same ball.
Leftovers keep in the fridge for 3 to 4 days in an airtight container. Don’t stack them warm; trapped steam is what dulls the crust fastest.
Reheat at 350°F for 8 to 10 minutes, or in an air fryer at 350°F for 4 to 5 minutes, until the surface feels dry and firm again. The microwave works in a pinch but leaves them flabby.
To make ahead, shape the raw balls and freeze them solid on a sheet pan, then bag them. Bake straight from frozen at 400°F, adding 5 to 7 minutes to the time. Baked balls also freeze well for up to 2 months; reheat from frozen at 350°F for 12 to 15 minutes.
If you’re finishing with a glaze or dipping sauce, add it after reheating, never before storing.
Substitutions That Keep the Bite and Bind Intact
Melted butter and milk: Swap in an equal amount of neutral oil for the butter and water for the milk. The recipe uses 3 tablespoons of butter and 1/4 cup of milk, so measure the same volumes of oil and water.
You’ll lose some richness from the butter, but the balls still hold together and bake up tender. The oil keeps things moist without adding flavor, and the water thins the mix just enough to bring the dough together.
Don’t expect the same buttery taste, but the texture stays close.
Sage ground pork sausage: There’s no good swap. Turkey or chicken sausage sounds leaner, but it lacks the fat that keeps these balls from drying out. If you must, use a fatty turkey sausage and add a tablespoon of oil, but the sage flavor will be weaker and the texture more compact.
The fat in pork sausage coats the flour and keeps the crumb tender. Lean poultry sausage bakes up tight and mealy. The sage is also milder in most turkey versions, so the signature herby punch fades.
Stick with pork if you can.
Sharp cheddar cheese: For dairy-free, use a solid block of vegan cheddar and grate it yourself. Skip pre-shredded vegan cheese, which often has starches that make the mix gummy. Start with the same 2 cups (226 g) the recipe calls for, then adjust after a test bake: if the dough feels dry, add a splash more milk or water.
Vegan cheese melts differently, so the pockets of sharp, gooey cheddar won’t be the same. The balls may be a bit less rich and the flavor milder.
They’ll still hold together, but the texture leans more uniform, less studded with melted cheese.
All-purpose flour: For gluten-free, use a 1:1 gluten-free flour blend that contains xanthan gum. Measure the same 1 1/4 cups (150 g) as the recipe, then let the mixed dough rest for 10 minutes before shaping. If it feels too sticky, add more flour a tablespoon at a time.
Gluten-free blends absorb liquid differently, so the dough can turn tacky or dry. The rest lets the flour hydrate. The baked balls come out a little more crumbly and less chewy, but they still taste savory and cheesy.
Handle them gently when shaping.
Tips
- Grate the cheddar on the large holes of a box grater, then leave it in a single layer on the cutting board for about ten minutes. Cold shreds from the fridge stay stiff and slick, so they slide past the flour instead of catching it; once the cheese loses its chill, the shreds soften just enough that the flour sticks and each piece stays separate when the sausage goes in.
- Hold back 2 tablespoons of the milk, mix the dough, then add the rest only if it won’t come together. The sausage and the room-temperature cheese both release moisture as you work them, and a full 1/4 cup poured in at the start can leave the mixture wet enough that the balls flatten on the sheet instead of holding their round shape.
The binding in this recipe depends on fat and moisture from melted butter, milk, sausage, and cheese hydrating the flour while the baking powder begins to leaven. If the mixture is under-mixed, the flour stays dry and the balls crumble; if over-mixed, the sausage fat warms and the texture becomes dense. This recipe uses a single-bowl method with melted butter and milk added directly to the dry ingredients and sausage, relying on thorough hand blending to distribute the fat evenly without overworking the meat.

Frequently Asked Questions
Can I make sausage balls ahead of time and bake them later?
Yes. Shape the raw balls and freeze them solid on a sheet pan, then bag them; bake straight from frozen at 400°F, adding 5 to 7 minutes to the time. The reason this works is that the sausage and cheese hold the mix together even when solid, and the flour gets a slow hydration as they thaw in the oven.
If you stack raw balls in the fridge, they slump and stick, so freeze them first. Baked balls also freeze well for up to 2 months.
Why did my sausage balls turn out dry or crumbly?
The most likely culprit is lean sausage. Fat coats the flour and keeps the crumb tender, so a low-fat pork or poultry sausage bakes up tight and mealy. Check the package: you want a standard pork sausage with visible fat, not a 90% lean version.
The second thing to look at is your flour measure. Scooping packed cups adds extra flour and dries the mix. If the raw mixture feels sandy rather than slightly tacky, add milk a teaspoon at a time until it holds together.
How are these different from traditional Bisquick sausage balls?
Traditional versions rely on Bisquick for structure, which brings its own shortening and salt. Here, that job is split between all-purpose flour, melted butter, and a measured 1 1/2 teaspoons of baking powder. The butter adds a richness you don’t get from the pre-mixed shortcut, and you control the seasoning.
The result is a slightly more tender, buttery crumb with a sharper cheddar bite. The trade-off is a few extra minutes of measuring, but the texture is worth it.
