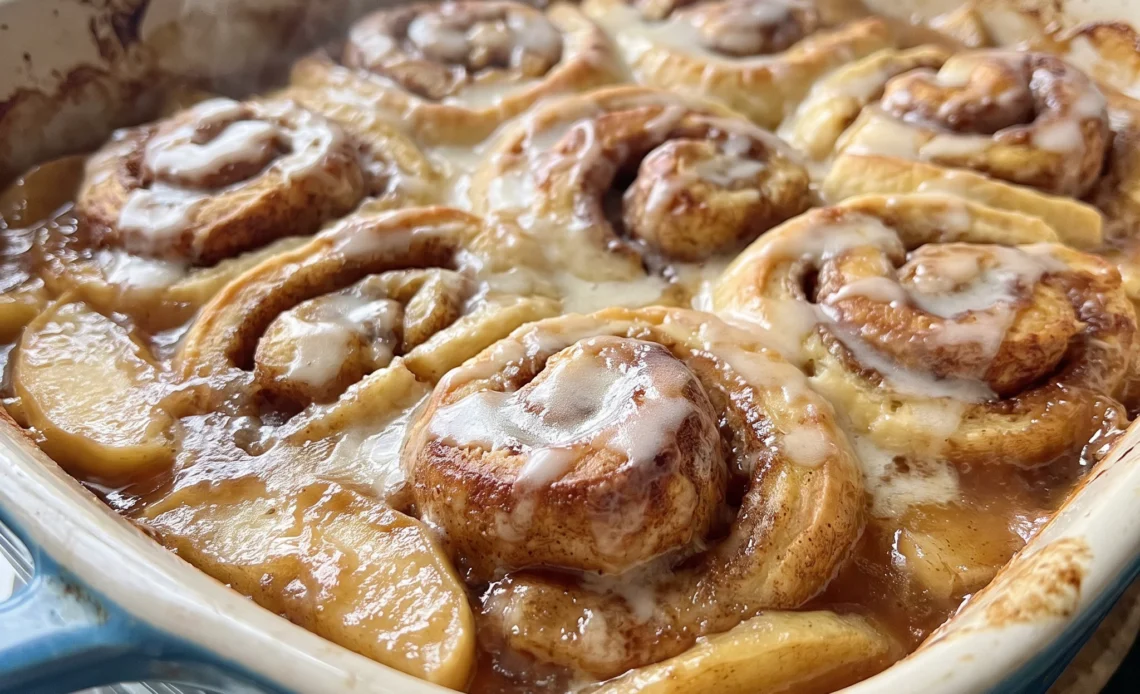
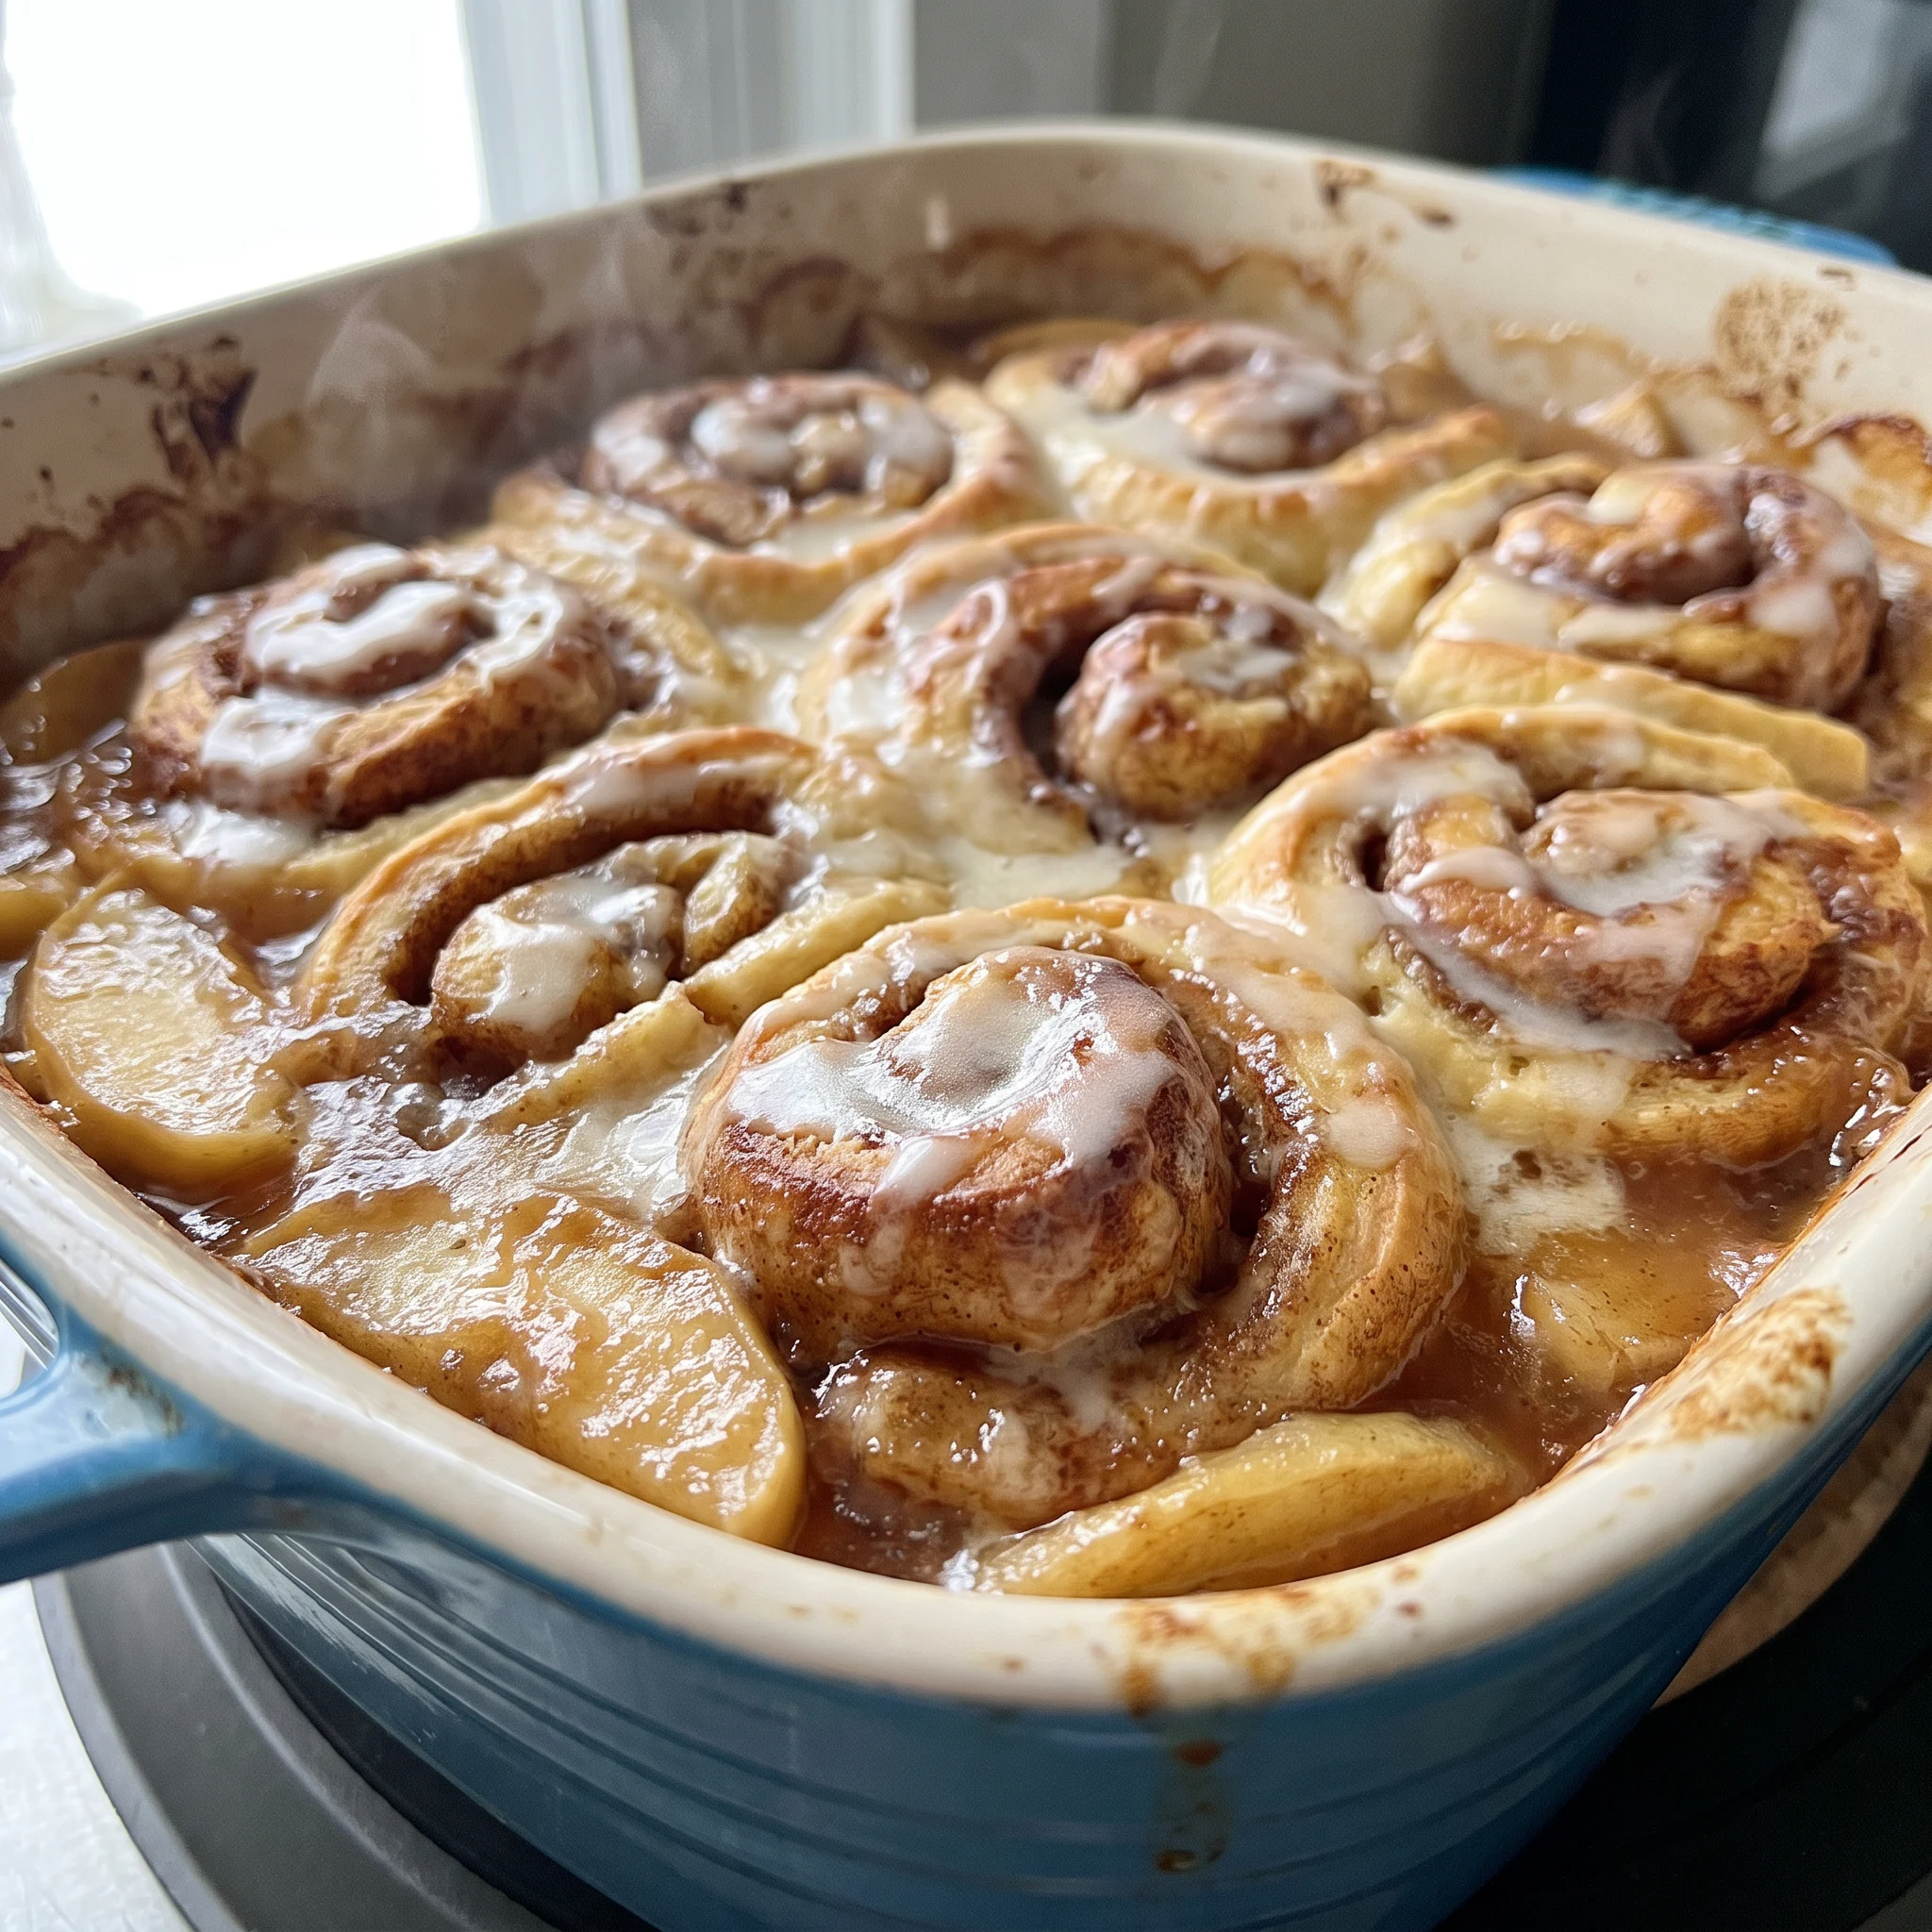
Pull the dish out and the tops are bronzed and joined, apple filling bubbling up in the gaps, and the smell is cinnamon and cream and baked apple all at once. Icing goes on cold, right over the hot surface, and it slackens into a glaze that pools in the crevices. Two cans of cinnamon rolls, two cans of apple pie filling, one pan.
Almost no mixing. What catches people is the liquid.
Apples throw off water as they bake, the dough has to drink it, and when that balance tips the wrong way you end up with a loose center and a puddle on the plate instead of something you can spoon. This cinnamon roll apple bake rewards paying attention to how the pieces sit before it ever goes in the oven, and a couple of clues tell you whether it’s working long before the timer matters.
Apple Filling, Roll Dough, and the Wet-to-Dry Balance
Two 20-ounce cans of apple pie filling go in as a deep, wet layer. They release more moisture in the oven, and that liquid has to go somewhere.
4-ounce cans of cinnamon rolls, cut into quarters, give the dough enough exposed surface to drink up some of that liquid. Cut them larger and there’s less surface, more liquid stays loose at the bottom.
The half cup of heavy cream adds richness but also more liquid. So the wet-to-dry ratio is the whole game. Too much liquid against too little dough and the bake never sets; you scoop it and get a soupy base.
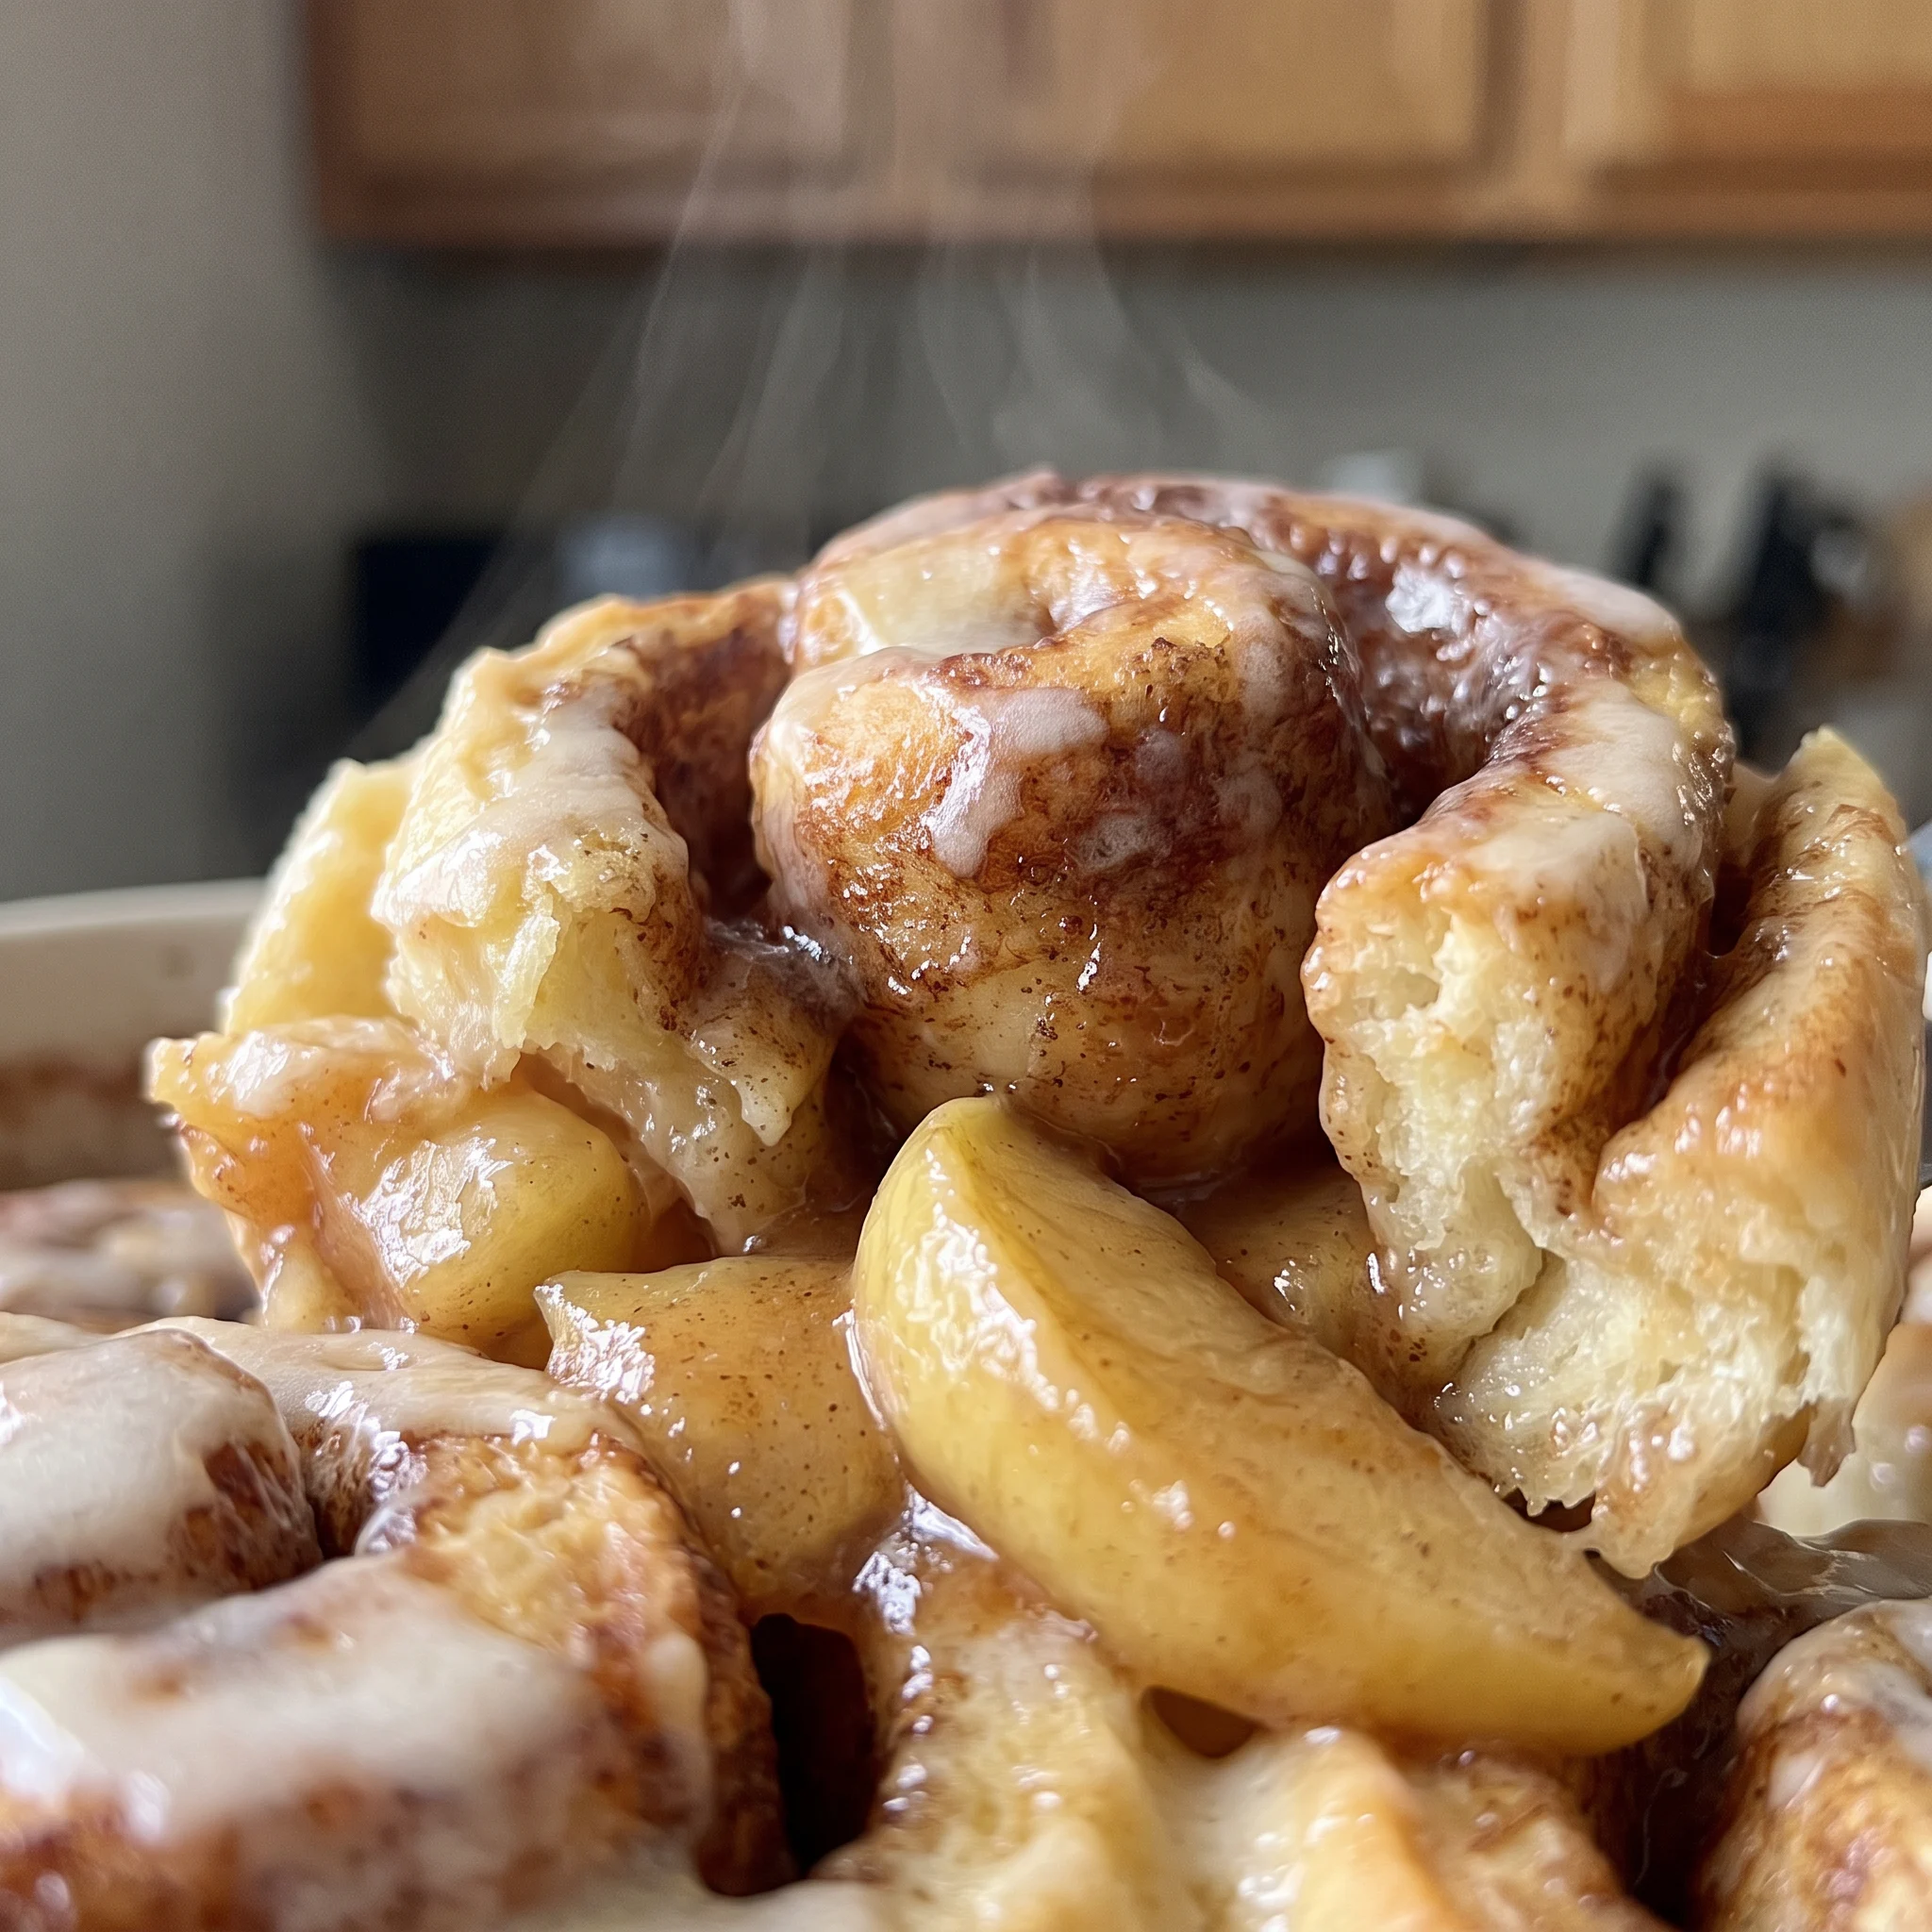
Get the ratio right and it comes out cohesive, like a cobbler you can spoon onto a plate. The apple filling should look thick and glossy around the dough, not watery.
That’s the sign it’s set. I once pulled a similar bake early and the center was still liquid, so I’ve learned to look for that gloss.
Why Quarter the Cinnamon Rolls
Cutting each cinnamon roll into four pieces isn’t just for smaller bites. Quartering exposes more edges, and those edges swell and press against each other as the dough bakes, turning separate pieces into one mass. Leave the rolls whole and you get distinct islands floating in apple filling.
The smaller pieces also absorb the apple filling and cream more evenly, so you don’t hit a dry pocket of dough in the middle. And the bumpy surface that results catches the icing after baking, letting it pool in crevices instead of sliding off. When you pull the dish from the oven, the pieces should look puffed and joined, with apple filling bubbling up between them.
That’s what you’re after. If they still look separate, they needed more time or less liquid.
Heavy Cream Does More Than Thin the Filling
Heavy cream isn’t just a stand-in for milk or water here. The fat in it coats the cinnamon roll pieces, which limits how much they dissolve into the apple filling.
That means you keep some chew in the dough instead of ending up with a uniform mush. It also adds a rich dairy note that balances the tartness of the apple pie filling and the sweetness of the icing.
And because you pour it over the top without stirring, it seeps down and creates a custardy layer at the bottom of the dish. After baking, that bottom layer should be soft and spoonable, not stiff.
If you used a lower-fat liquid, the texture would be leaner and the dough would break down more. The cream is what gives the bake its body. Taste a spoonful from the edge; the cream should be barely noticeable as a separate element, just a roundness in the background.
Adding the Icing After Baking
The frosting from the cinnamon roll cans stays in the refrigerator while the bake is in the oven. Once the dish comes out, you spread that cold icing over the hot surface.
It melts slightly and turns into a glaze that coats the bumps and fills the crevices. If you put the icing on before baking, it would dry out or burn, losing its creamy finish.
The contrast between the warm, spiced apple base and the cool, sweet icing is deliberate. You get a temperature difference in each bite.
The icing should look glossy and just starting to run, not fully melted into the filling. Spoon it out while it’s still warm; the icing will continue to soften against the heat. That’s when it’s best.
The Three Cans That Decide This Bake
Apple pie filling (2 20-oz cans): Buy the kind with distinct slices, not the pureed stuff, because those pieces hold shape and keep the bottom from turning into sauce.
Cinnamon rolls (2 12.4-oz cans): The refrigerated cans with separate icing cups; check that the dough is cold and firm so it slices cleanly into quarters.
Heavy cream (½ cup): Use actual heavy cream, not half-and-half, since the fat is what keeps the dough from dissolving into the filling.
The most common mistake is assuming the bake is done when the top is golden, then pulling it from the oven too early. The apple pie filling and heavy cream release a substantial amount of liquid that must either be absorbed by the cinnamon roll pieces or evaporated during baking; if the dish is removed before that happens, the bottom remains a thin, soupy layer instead of a cohesive, scoopable base. The fix is to bake until the liquid around the edges has thickened and the center is set, using a foil tent only if the top browns too quickly.
Reading the Bake While It’s Still in the Oven
Judging the liquid level before the dish goes in
Once the cream goes over the top, tilt the dish and watch the liquid. It should pool around the dough pieces, not drown them.
If there’s more than a thin layer above the apple filling, you’ve got too much moisture for the dough to absorb. The pieces should sit mostly above the surface, with the cream just filling the gaps. Press them down slightly if they float.
Too much liquid now means a runny center later that no amount of baking will fix without drying out the top.
When the top is browning too fast
At 350°F, the cinnamon roll pieces can darken before the center sets. Check around the 25-minute mark. If the tops are turning deep brown but the middle still looks wet, tent loosely with foil.
Don’t press it tight against the surface or the trapped steam will make the dough soggy. The foil just slows the top while the center catches up.
If you wait until the whole surface is dark, the bottom will be scorched by the time the middle sets.
Telling when the center has set
Between 40 and 45 minutes, look at the middle of the dish. The apple filling should be bubbling at the edges and around the dough pieces, and the center should look glossy and thick, not watery. Shake the pan gently.
If the middle ripples like liquid, it needs more time. If it moves as one mass, it’s done.
The dough pieces should look puffed and joined. Pull it too early and the center will be soupy on the plate.
Checking the bottom layer before it goes dry
The cream sinks and forms a soft custard at the bottom. After 40 minutes, slide a spoon down the side of the dish and taste a bit from the bottom edge.
It should be soft and spoonable, not stiff or grainy. If it’s already firm, the bake has gone too far and the dough will be dry.
If it’s still thin and milky, give it a few more minutes. That bottom layer is the difference between a cohesive bake and a wet one.
Cinnamon Roll Apple Bake with Creamy Icing
Ingredients
Method
- Set oven to 350°F (175°C) and coat a 9×13-inch baking dish lightly with nonstick cooking spray.
- Distribute the apple pie filling in an even layer over the bottom of the greased dish.
- Unseal the cinnamon roll cans, putting the frosting in the refrigerator. Slice each roll into 4 pieces. Scatter the pieces uniformly atop the apple pie filling.
- Drizzle the heavy cream over the cinnamon roll pieces. Avoid stirring.
- Bake for 40-45 minutes. Should the surface brown excessively, tent the dish loosely with aluminum foil to stop further browning.
- After baking, spread the icing over the top.
Storing and Serving the Bake
The bake is at its best within 30 to 45 minutes of coming out of the oven, once the icing has softened against the hot surface but hasn’t fully melted away. That’s the window where the dough still has chew and the cream layer at the bottom is loose and spoonable. After that, the cinnamon roll pieces keep pulling liquid from the apple filling.
Overnight in the fridge, they turn noticeably softer, closer to a bread pudding texture than the puffed, joined pieces you pulled from the oven. Cover the dish or transfer portions to an airtight container and refrigerate. Because of the cream and the dairy-based icing, keep it no more than three days.
Reheat single portions in the microwave for about a minute, or the whole dish covered with foil at 325°F until the center is warm, roughly 15 to 20 minutes. Freezing doesn’t work here; the cream separates and the dough goes grainy on thaw.
If you have leftover icing, it keeps refrigerated in its own container for the same three days. Add it after reheating, not before, so it stays glossy instead of soaking in.
When the Cans Stay Out of the Cart
Apple pie filling (2 20-oz cans): Homemade cooked apples work, but cook them down first. Peel and slice firm apples (Granny Smith, Honeycrisp), simmer with sugar, a little lemon, and cinnamon until the slices are tender and the liquid around them coats a spoon. You want roughly 5 cups, cooked and drained of any thin syrup.
If your apples are still releasing water when they hit the dish, the bake will run. A can of cherry or peach pie filling drops in the same way, same two cans, and the method doesn’t change. Cherry brings more tartness against the icing; peach goes softer and sweeter.
What you don’t want is a pureed filling or applesauce. Those have no structure, and the bottom turns to sauce while the dough floats.
Heavy cream (½ cup): Half-and-half pours in at the same half cup and the bake will still set, because the liquid amount is what the dough absorbs and the apples thicken around. What changes is the bottom layer: less fat means a leaner, thinner custard, and the roll pieces break down more, so you lose some chew. Evaporated milk at the same half cup gives a slightly denser set and a cooked-dairy note that reads almost caramel against the cinnamon.
Both are workable. Skim milk or water is where it goes wrong: the dough dissolves into the filling and you scoop a wet base with no body.
4-oz cans): Refrigerated crescent dough or frozen puff pastry cut into rough squares will bake into the same dish, but neither carries the cinnamon swirl or the icing cup. Crescent dough puffs and turns flaky rather than tender, and puff pastry shatters under a spoon.
You’d need to make your own icing (powdered sugar loosened with a little milk) since the cans won’t supply it. For gluten-free, use a gluten-free cinnamon roll or biscuit dough and expect a crumblier texture that drinks less liquid, so cut back slightly on the cream or the center stays loose.
Check the dough cold and firm before slicing.
Tips
- Squeeze each cinnamon roll gently before slicing. Dense, firm dough springs back with little give; a very soft pull-apart style compresses under your fingers and the quarters slump into the apple filling during the 40 to 45 minute bake, losing the puffed, joined structure. Firm dough also slices into clean quarters instead of smearing.
Frequently Asked Questions
Can I make cinnamon roll apple bake the night before and bake it in the morning?
Not assembled. The dough pieces keep pulling liquid from the apple filling the whole time they sit, so by morning you’d be baking pieces that have already gone soft and a bottom layer that’s thinner and wetter than you want.
If you need to get ahead, do the opening work the morning of: set out the cans, grease the dish, and have the cream measured so assembly is quick. The bake itself is only a few minutes of hands-on work before it goes in, so prepping components rather than the full dish is where the night-before saves you anything.
Why is my cinnamon roll apple bake soggy at the bottom?
Most often the dough never got a chance to drink the liquid, which happens when the pieces are too large or too few against too much filling. Quartering each roll gives more exposed surface, and that surface is what soaks up the cream and the syrup the apples throw off.
A second check is the apples themselves: if you used homemade cooked apples that were still releasing water, or a pureed filling, the bottom turns to sauce no matter how long it bakes. Look at the finished bake: the apple filling around the dough should be thick and glossy, not watery. If it’s thin on the plate, the liquid load was the problem, not the oven time.
How is this different from regular cinnamon rolls or apple cobbler?
It borrows from both but sits between them. Regular cinnamon rolls are baked as separate spirals and iced individually, so every bite is mostly dough; here the quartered pieces bake into one joined mass with apple filling bubbling up between them, and the icing goes over the whole surface at once.
Cobbler uses a biscuit or batter topping over fruit, which bakes up crisp and craggy on top. This one stays soft and spoonable throughout, closer to a bread pudding in texture, and the cinnamon roll dough brings its own swirl and spice instead of a plain biscuit. You eat it with a spoon, not a fork.
