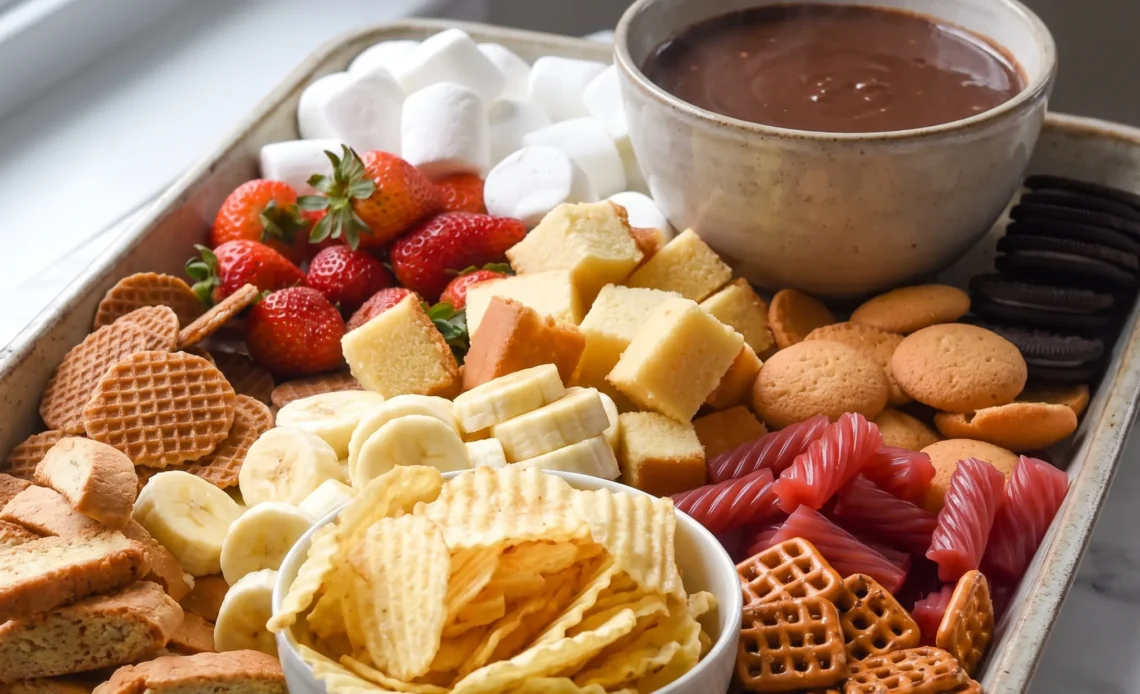
Melted chocolate waits for no one, and that’s the honest trouble with chocolate fondue. It’s a party dessert you assemble in one pot in about the time it takes to set out the dippers, but the window between silky and stiff is narrow, and a fondue left sitting turns tacky before the fruit’s gone. Get the pot on the table while it still flows.
Eight people around one bowl, each spearing what they like, is the whole appeal: no plating, no portions, no oven timing to chase. The recipe covers a lot of ground on chocolate choice, cream, and heat, and the details matter more than the ingredient list suggests. Read the texture cues before you start, because that’s where this dessert is won or lost.
It’s forgiving enough for a weeknight, exacting enough to reward attention.
How does the type of chocolate change the fondue?
Chocolate is not one thing, and the fondues it makes are not either. Milk chocolate runs sweet and soft, semi-sweet sits in the middle, and dark brings a sharper, less sugary edge.
Blend them and you get a flavor that no single bar delivers: sweetness from one, depth from another, a finish that keeps you dipping. The percentage on the label tells you how much cocoa solids and cocoa butter you’re working with. Higher percentages mean less sugar and more cocoa, so the melted mixture is thicker and tastes more bitter.
Lower percentages turn runnier and sweeter. Chopping matters because a pile of uneven shards melts at different speeds; some pieces turn liquid while others stay solid, and you end up stirring longer than you should.
Uniform pieces give you a smooth, even melt. As for which chocolate, that’s yours to decide.
A fondue that’s all milk chocolate can taste cloying after a few bites; a blend gives you a moving target that stays interesting through the whole pot.
Why the cream amount is flexible
The recipe gives you a range because the right amount depends on the chocolate you chose and how you like your fondue to behave. More cream means a thinner mixture that slides off a strawberry in a quick curtain. Less cream gives you a thicker coating that clings and sets slightly as it hits the cold fruit.
Whipping cream brings fat, and fat is what makes the melted chocolate glossy and smooth rather than tight and pasty. Start with the smaller amount, stir it in, and look at what you have. If it feels heavy on the spoon, add a splash more cream.
If it ribbons off the dipper in a thin stream, you’ve gone too far and need a little more chocolate. The goal is a consistency where a dipped piece comes out coated but not drowning.
That’s the difference between a fondue that feels rich and one that drips all over the tablecloth before it reaches your mouth.
The quiet role of vanilla
Vanilla doesn’t announce itself in a chocolate fondue, and that’s exactly why it works. A half teaspoon is enough to soften the sharp edges of dark chocolate or round out the sugary hit of milk chocolate without adding a flavor you can name. Add it after the chocolate and cream have melted because heat drives off the volatile compounds that make vanilla smell like vanilla.
Stir it into a hot mixture and you lose most of what you paid for. Pure extract, the kind with alcohol and real vanilla beans, carries more complexity than imitation or vanilla flavoring. You won’t taste vanilla in the finished fondue, not directly.
What you’ll notice is that the chocolate tastes fuller, less flat, more like itself. Skip it and the fondue still works, but it can come across as one-dimensional, especially if you’re using a chocolate with a high cocoa percentage. The difference is subtle, and that’s the point of adding it at all.
Heat, texture, and the danger zone
Chocolate is forgiving right up until it isn’t. Too much heat and the mixture turns grainy, the texture rough on your tongue, the gloss gone. That’s seized chocolate, and it happens fast.
Boiling is the enemy; a gentle melt keeps everything smooth and fluid. Stirring constantly during melting prevents scorching because the chocolate in contact with the pan’s hot surface never sits still long enough to burn.
Once the fondue is smooth, it needs to stay warm. As it cools, it thickens, and a thick fondue won’t coat a dipper properly. A fondue pot with a low flame or tea light holds it at the right temperature without cooking it further.
If it does tighten up, a spoonful of warm cream brings it back. The texture you’re after is liquid enough to flow but thick enough to cling.
Dip a piece of fruit and watch how it comes out. That tells you everything about whether the temperature is right.
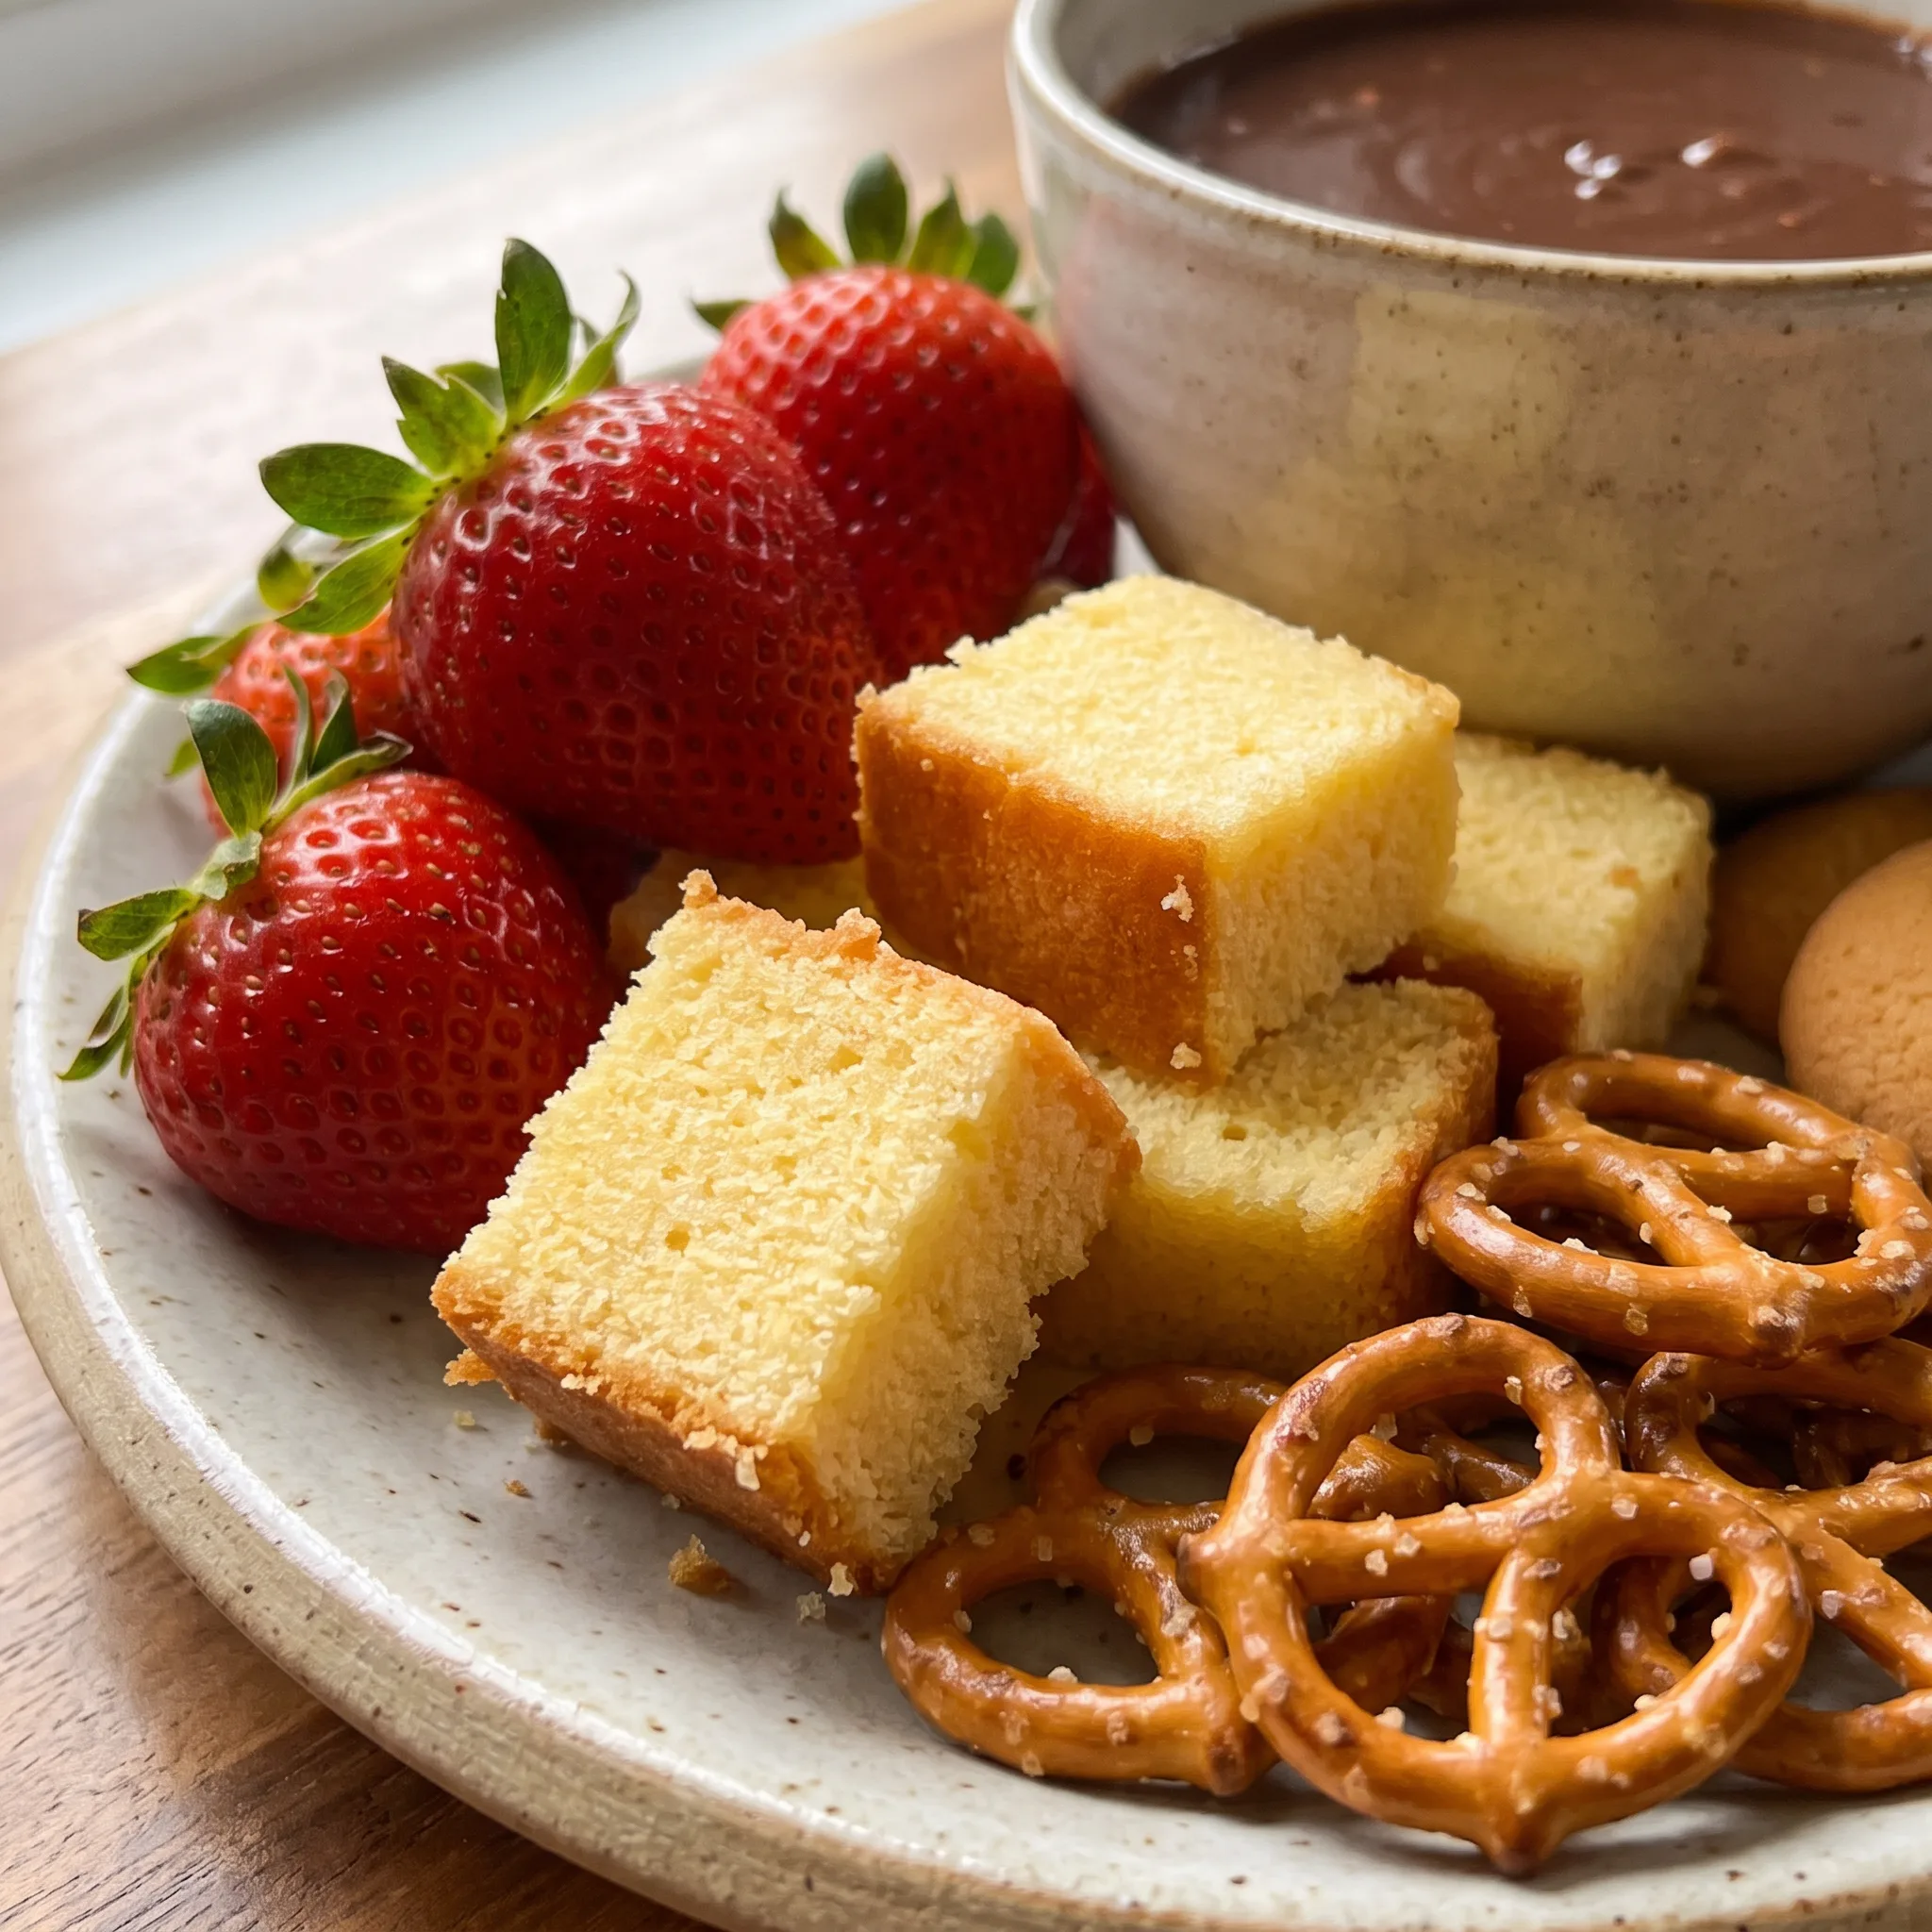
What to Look For Before the Chocolate Hits the Pan
Chocolate: Buy bars or blocks you chop yourself, since chips and morsels carry stabilizers that keep them from melting into a smooth, fluid pool.
Whipping cream: Use real whipping cream with at least 30 percent fat, because lighter cream or half-and-half gives you a thin, dull mixture.
Vanilla extract: Choose pure extract over imitation, since the real thing carries more of the compounds that round out chocolate.
Assorted dippers: Pick firm, dry, cold pieces like strawberries, banana chunks, cubed pound cake, and pretzels, since wet or soft items slip off the coating.
Chocolate is an emulsion of cocoa solids, sugar, and cocoa butter; when it gets too hot, the cocoa butter separates and the solids clump, producing a grainy texture. Adding cream at a lower temperature keeps the emulsion stable, while a higher heat risks breaking it. This recipe uses a moderate stovetop melt with constant stirring and a strict no-boil rule to stay below the breaking point.
Reading the Fondue at Four Points That Decide It
When the chocolate has melted but the cream hasn’t caught up
Chocolate goes liquid before cream fully blends, so the first smooth look can be misleading. Stir and watch for streaks of cream that refuse to disappear. They mean the mixture isn’t homogeneous yet.
Keep the heat low and stir until those streaks vanish. If you pull it off early, the fondue will taste uneven, some bites sweeter, some more bitter.
A few more seconds of stirring fixes it.
The first sign of graininess
Run a spoon across the bottom of the pan and look at what trails behind. A smooth, glossy ribbon means you’re fine.
If the surface looks sandy or feels rough on your tongue when you taste a cooled drop, the chocolate has seized. Pull the pan off the heat immediately. Stir in a spoonful of warm cream, a little at a time, until the texture comes back.
Once it turns grainy, heat only makes it worse.
The dip test for thickness
Coat a piece of fruit, let it sit for a second, then watch how the coating moves. If it slides off in a thin, fast curtain, the fondue is too thin; add chopped chocolate. If it clings in a thick, heavy layer that barely drips, it’s too thick; add cream a tablespoon at a time.
The target is a coating that stays put but still flows when you tilt the dipper. This tells you more than any timer.
Keeping it fluid without cooking it further
A low flame or tea light under the fondue pot holds the temperature, but it can still creep up. Every few minutes, stir and check the texture against your tongue. If it feels hotter than comfortable to taste, the flame is too high.
If it thickens as it sits, a splash of warm cream loosens it. The mixture should stay liquid enough to flow but thick enough to cling, and that balance shifts as the pot sits.
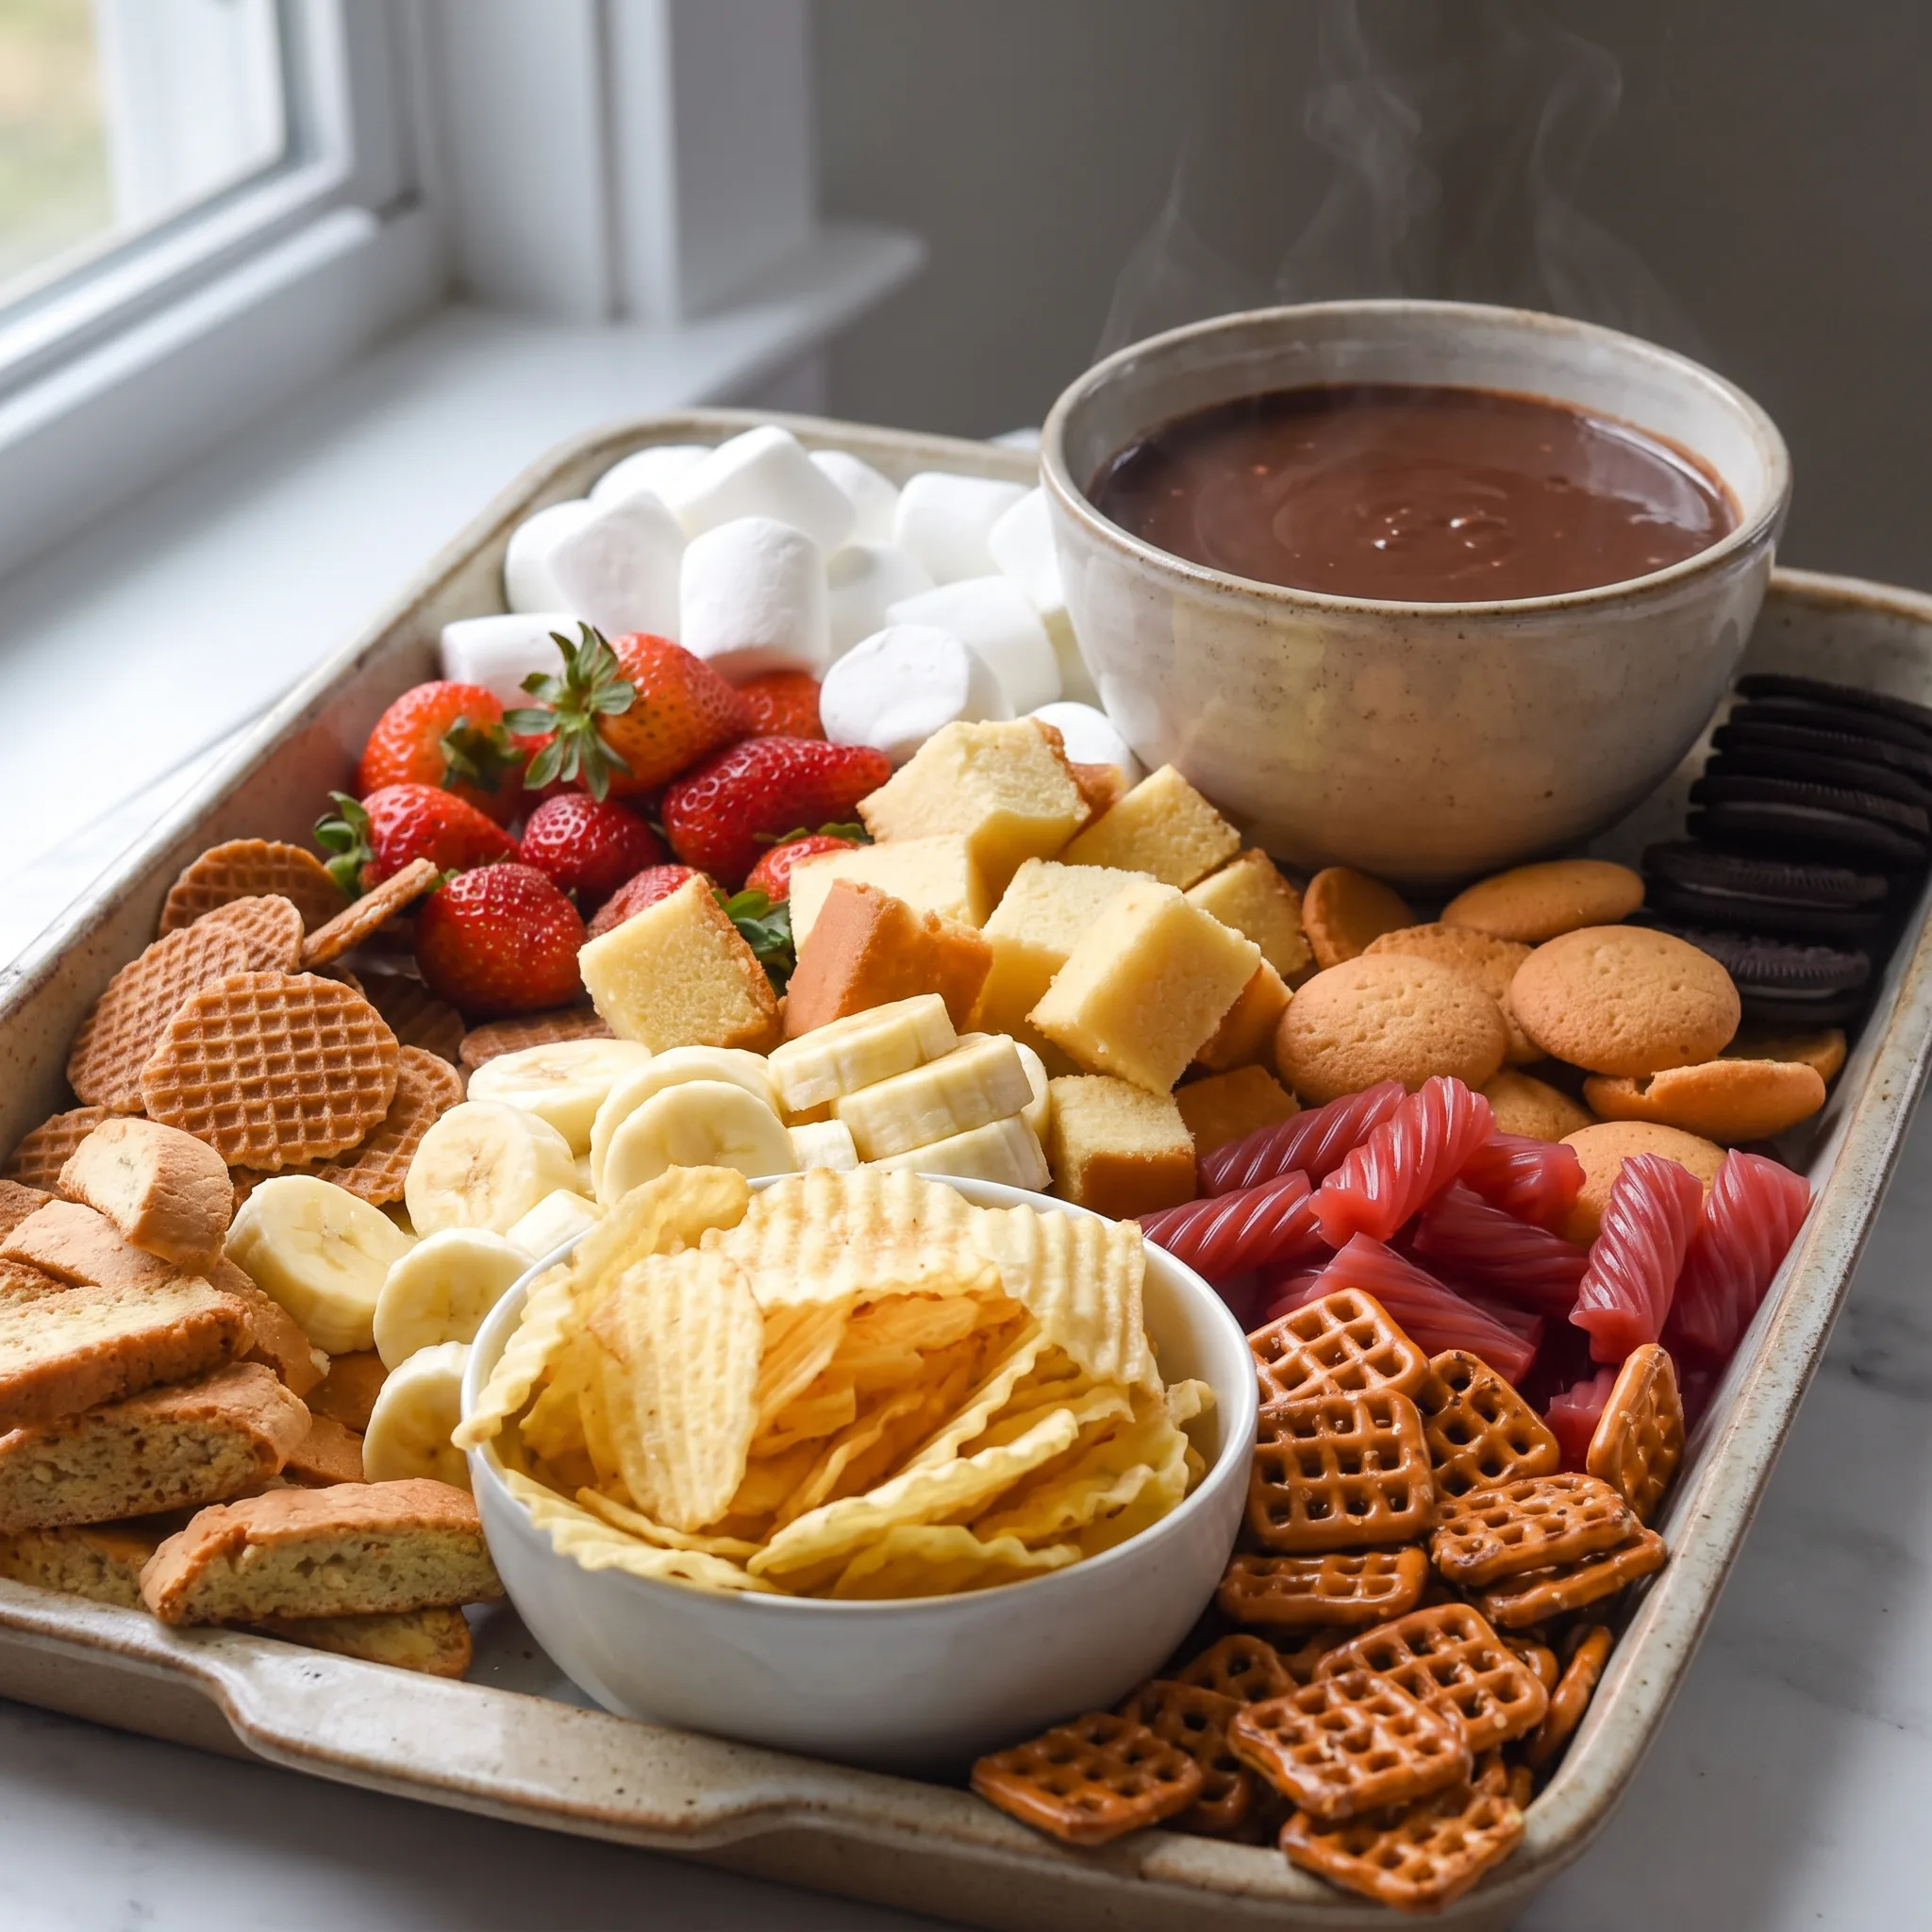
Chocolate Fondue with Cream and Vanilla
Ingredients
Method
- In a medium saucepan, combine the chocolate and whipping cream. Stir until melted; do not allow the mixture to boil.
- Stir in the vanilla extract.
- If needed, add additional cream to reach a smooth, good dipping consistency.
- Transfer the mixture to a fondue pot.
What You Can Trade and What Fights the Pot
Chocolate: Chips or morsels in place of the 18 oz of chopped bar chocolate. If chips are what you have, use the same weight, 18 oz. Chips carry stabilizers that hold their shape on a cookie sheet, and those same stabilizers fight a smooth melt.
You’ll stir longer and the finished pot can look dull and slightly thick. Bars or blocks you chop yourself give a glossier, more fluid fondue. If chips are the only option, chop them roughly first and keep the heat low.
Whipping cream: Half-and-half, whole milk, or a lower-fat cream in place of the 1/2 to 2/3 cup whipping cream. Fat is what makes the melted chocolate glossy and keeps it fluid. Less fat means a thinner, duller mixture, and it sets firmer as it cools, so the fondue tightens in the pot faster and coats a dipper in a tacky shell rather than a soft one.
Start with the same 1/2 cup the recipe calls for, then add more only if the texture still feels tight. Expect to stir in a little extra to reach the same dipping consistency.
Whipping cream (dairy-free): Coconut cream, oat cream, or a barista-style non-dairy creamer for a dairy-free pot. Coconut cream brings its own flavor and can read as coconut in a milk chocolate fondue.
Oat and nut-based creams vary by brand: some blend in smoothly, others separate or turn grainy when they meet the chocolate. Use the same 1/2 cup to start and watch the texture.
The finished fondue will set differently than a dairy version, often softer at room temperature and firmer once cold.
Vanilla extract: Imitation vanilla or vanilla flavoring in place of the 1/2 tsp pure extract. The real extract carries more of the aroma that rounds out chocolate, and a half teaspoon is small enough that the difference shows mostly in the finish, not the first bite. Imitation works, but the fondue can taste flatter, especially with a dark chocolate.
If you swap, use the same 1/2 tsp and taste before adding more.
Assorted dippers: Whatever firm, dry, cold pieces you have: strawberries, banana chunks, cubed pound cake, pretzels, shortbread, apple slices. Gluten-free dippers work the same as any other.
This is the free-choice element, so there’s no amount to convert. What matters is that the dipper is firm and dry; wet or soft pieces slip off the coating or shed crumbs into the pot.
Cold fruit also helps the chocolate set on contact, which is why a chilled strawberry coats better than a room-temperature one.
Tips
- Taste a small piece of each chocolate you plan to use before it goes in the pan. A bar that tastes waxy or flat on its own will taste the same once melted, and 18 ounces is too much to throw out. If one chocolate is dull, blend it with a sharper one rather than using it alone.
- Cut a few pieces of chocolate larger than the rest and set them aside. If the finished fondue tightens in the pot, drop those in one at a time and stir; they thicken the mixture without the extra liquid that cream adds, so you can correct the texture without thinning the flavor.
Storage, Serving, and the Texture Clock
Chocolate fondue has a serving window, and it’s short. The texture you built in the pot, fluid enough to flow but thick enough to cling, depends on warmth.
As the fondue sits, it cools and firms. You have about two hours at the table before it’s too thick to coat properly, so make it close to when you plan to eat and keep the pot on its low flame or tea light the whole time. Leftovers keep in a covered container in the refrigerator for up to a week.
The mixture sets solid and stiff, which is expected. Reheat it gently in a saucepan over low heat or in short bursts in the microwave, stirring in a splash of cream to loosen it back to dipping consistency.
Freezing doesn’t work here; the dairy and chocolate separate on thaw, and you lose the smooth emulsion. Serve reheated fondue the same day you warm it, with the same two-hour window.
Frequently Asked Questions
Can I make chocolate fondue ahead of time and reheat it later?
You can, but the window is short. The article gives you about two hours at the table before the pot gets too thick to coat properly, so making it right before serving is your best bet. Leftovers keep in the fridge for up to a week, and you reheat them gently with a splash of cream to bring back dipping consistency.
Freezing doesn’t work because the dairy and chocolate separate on thaw. Reheated fondue gets the same two-hour serving window, so don’t warm it and leave it sitting.
Why did my chocolate fondue turn grainy or seize?
Heat is almost always the culprit. Chocolate goes grainy when it gets too hot, and once that happens, more heat only makes it worse. Pull the pan off the flame and stir in a spoonful of warm cream, a little at a time, until the texture smooths out.
If the graininess showed up after you added liquid, you likely went past the point where the mixture could absorb it. A secondary check: make sure your chocolate was chopped into even pieces, since uneven shards melt at different rates and can leave you stirring longer than you should.
How is this chocolate fondue different from a classic Swiss fondue?
Classic Swiss fondue is cheese, wine, and a garlic-rubbed pot, served with bread for dipping. This one is chocolate and cream, sometimes with vanilla, and it’s built for fruit, cake, and pretzels. The technique is similar in that you’re melting something into a liquid base over gentle heat, but the ingredients and the finished texture are entirely different.
Swiss fondue stays savory and stretches; this one is sweet and coats. The dipping experience is a different category altogether.
