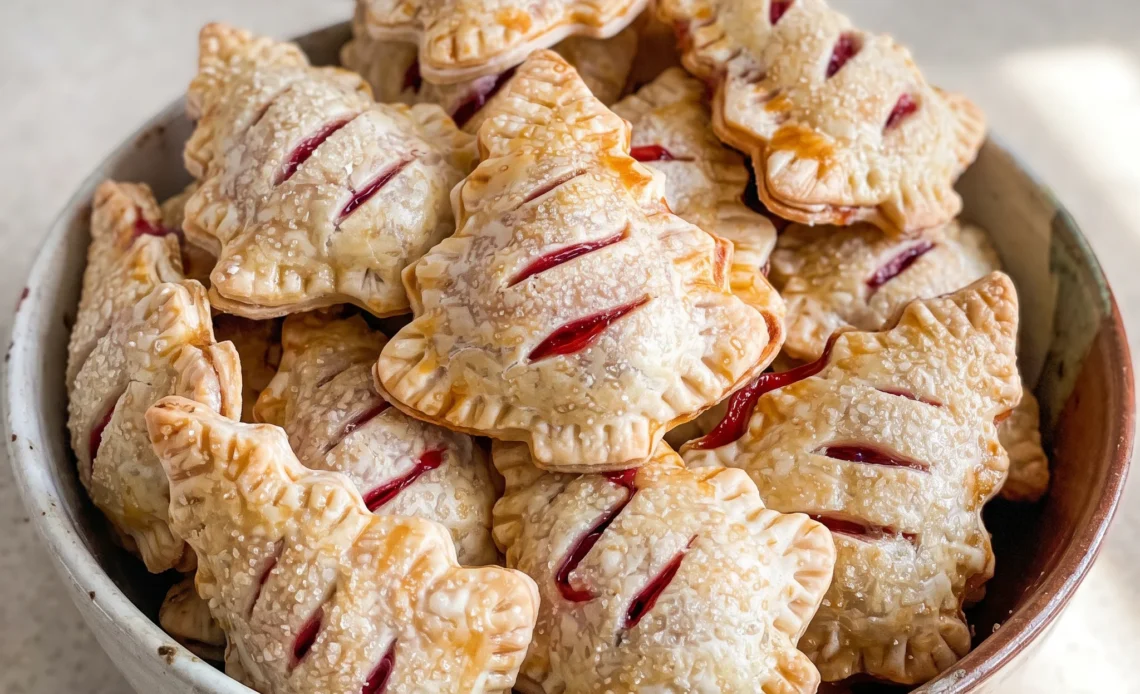
Warm cherry filling runs when you bite through the sugared top, and the crust shatters, which is exactly what you want from a cherry tree hand pies tray pulled from the oven. The work is in the sealing.
A tree cutter leaves you a narrow trunk, and that’s the spot that punishes a heavy hand: press hard there and filling pushes out, burns on the parchment, and leaves a crust that won’t close. Skip the vents and steam finds its own way through the branches.
The dough is forgiving if you leave the rim bare and let the filling mound in the middle. Nobody complains about the shape, either.
Why Does the Tree Shape Keep the Filling In?
That tree cutter with its trunk and branches isn’t just for looks. The shape gives you a natural border, a clean edge where two crusts meet and seal.
When you fold the top tree over the bottom one, the branches and trunk create a pocket that traps steam inside. As the pies bake, that steam builds pressure, but the sealed edges hold it back. The trunk is the trickiest spot.
It’s narrow and close to the filling, so you press gently. If you press too hard there, filling squishes out and burns. Leave the trunk area alone until the end.
The slits you cut in the top crust let steam escape in a controlled way. Without them, the steam finds its own exit, often through the seams, and you get leaks.
So the tree shape does two jobs: it looks festive and it helps keep every hand pie intact.
What Makes Refrigerated Pie Crust the Right Call?
Refrigerated pie crusts save you the rolling and chilling of homemade dough, but their real advantage is consistency. Each crust is rolled to a uniform thickness, so every hand pie bakes at the same rate. Thaw them according to the package directions.
Cold dough cracks when you try to unfold it, and cracks mean filling leaks later. Once thawed, a quick pass with a rolling pin gets you to an even 1/8 to 1/4 inch. That range is wide enough to handle easily but thin enough to bake through without turning soggy.
Thicker crusts stay pale and doughy; thinner ones tear. Roll a few and you’ll feel the right resistance.
The dough should give slightly without fighting back. If it springs, it’s too cold. Let it sit a minute and try again.
You’re after a round that holds its shape when you lift it.
How Much Filling Is Too Much?
A tablespoon and a half of cherry pie filling is the sweet spot. Any more and the filling pushes against the edges as it heats, forcing its way out. You’ll see it bubbling over the crust and burning on the parchment.
Any less and the pies taste dry, all crust and no fruit. 5 tablespoon range gives you a generous bite without risking a blowout.
When you spoon it in, leave a clear border around the edge. That border is where the two crusts will meet and seal. Filling touching the edge acts like a lubricant, preventing a tight seal.
Even a thin smear of filling on the rim can cause a leak. So keep the filling mounded in the center, and resist the urge to spread it. The pies will look a little underfilled, but that’s fine.
They plump as they bake, and the filling thickens.
Egg Wash and Sugar, Beyond the Shine
Egg wash does more than make the crust shiny. Brushed on the border before you seal, it works like glue. The egg proteins coagulate in the oven, bonding the two crusts together so they don’t separate.
Skip it and the edges might pop open. On top, the egg wash browns to a deep gold and gives the sanding sugar something to cling to. Without it, sugar rolls off.
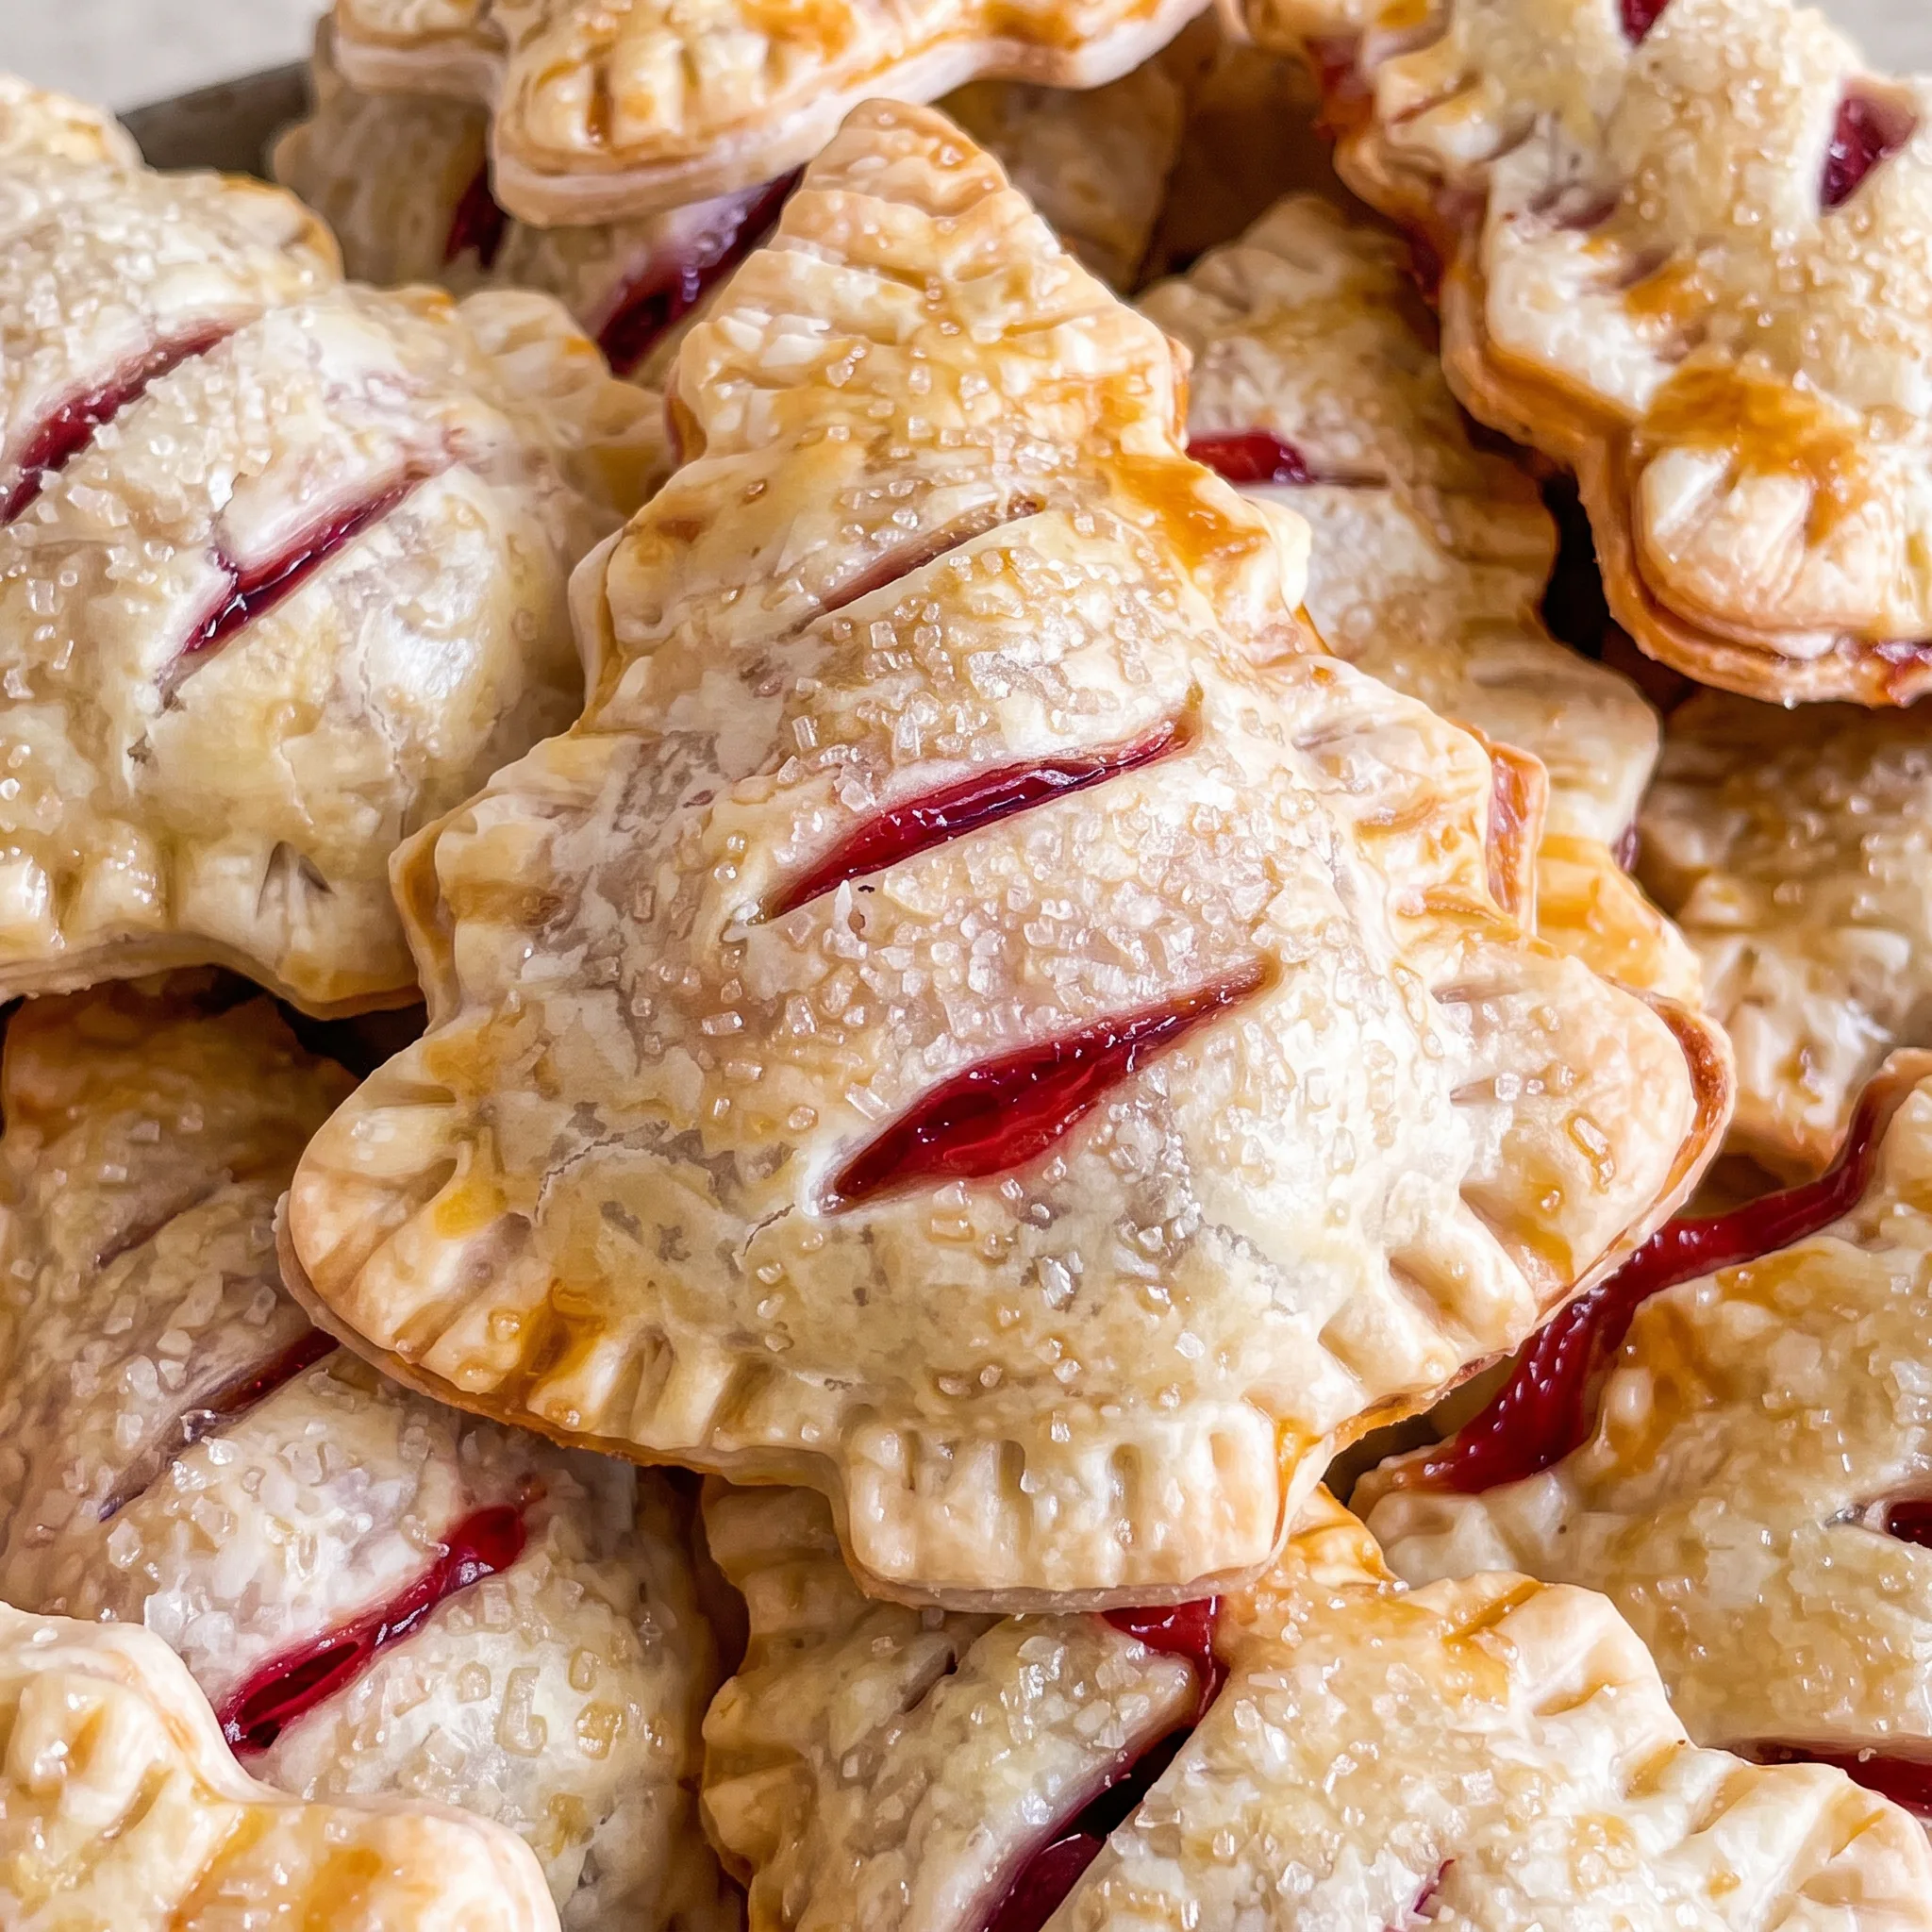
Sanding sugar is optional but worth it. Its coarse crystals add a crunch that contrasts with the soft filling and flaky crust. You can leave it plain, and the pies will still taste good, but the sugar makes them look bakery-made.
Just a sprinkle is enough. The wash also seals the vents you cut, keeping the surface glossy. One batch with sugar, one without, and you’ll see the difference in texture.
The sugared ones sparkle and crunch; the plain ones are softer. Both disappear fast.
Why These Ingredients Make or Break the Pies
Refrigerated pie crust: Buy a brand you trust, because six crusts means any off texture repeats across every hand pie.
Cherry pie filling: A 21 oz can gives you enough to fill all 26 pies with that 1 to 1 1/2 tablespoon measure.
Eggs: Two large eggs make enough wash for sealing every border and brushing all the tops.
Coarse sanding sugar: The coarse crystals sit on the egg wash and stay crunchy, while fine sugar dissolves into the crust.
The hard step is judging the filling border and seal before baking, because cherry pie filling liquefies and boils inside the sealed crust. If the border is too narrow or the filling sits too close to the edge, the hot filling will push through the seam and burn on the parchment. By the time you see dark syrup on the pan, the seal has already failed and the hand pie cannot be repaired.
Judging Your Hand Pies as They Come Together
Reading the dough’s resistance when you roll it
Thawed crust should give slightly under the pin, not fight back. If it springs or cracks at the edges, it’s too cold; let it sit a minute. If it smears and sticks, it’s too warm; chill it briefly.
You’re after a round that holds its shape when you lift it. Get this right and the trees cut cleanly; miss it and you’ll be patching tears before filling.
Leaving a clean border when you spoon in the filling
Keep the cherry filling mounded in the center, with a clear margin of bare dough all around. Even a thin smear on the rim acts like grease and stops the seal from holding. You’ll know you’ve left enough when the filling looks a little stingy.
That’s correct. It spreads as it heats, and the border is what keeps it inside.
Pressing the edges without squashing the filling
Start at the trunk and work outward, pressing gently. You should feel the two crusts bond without the filling shifting underneath.
If filling oozes at the edge, you’ve pressed too hard or used too much. Stop, wipe the edge, and reseal. A light touch here means no blowouts in the oven.
Knowing when the crust is done, not just golden
At 20 minutes, check the color. You want an even golden brown across the top and along the sealed edges. Pale edges mean the seal hasn’t set; dark spots mean the sugar is catching.
If the tops are browning but the edges look raw, rotate the sheet and give them a few more minutes. The full 25-minute mark is your limit before they turn too dark.
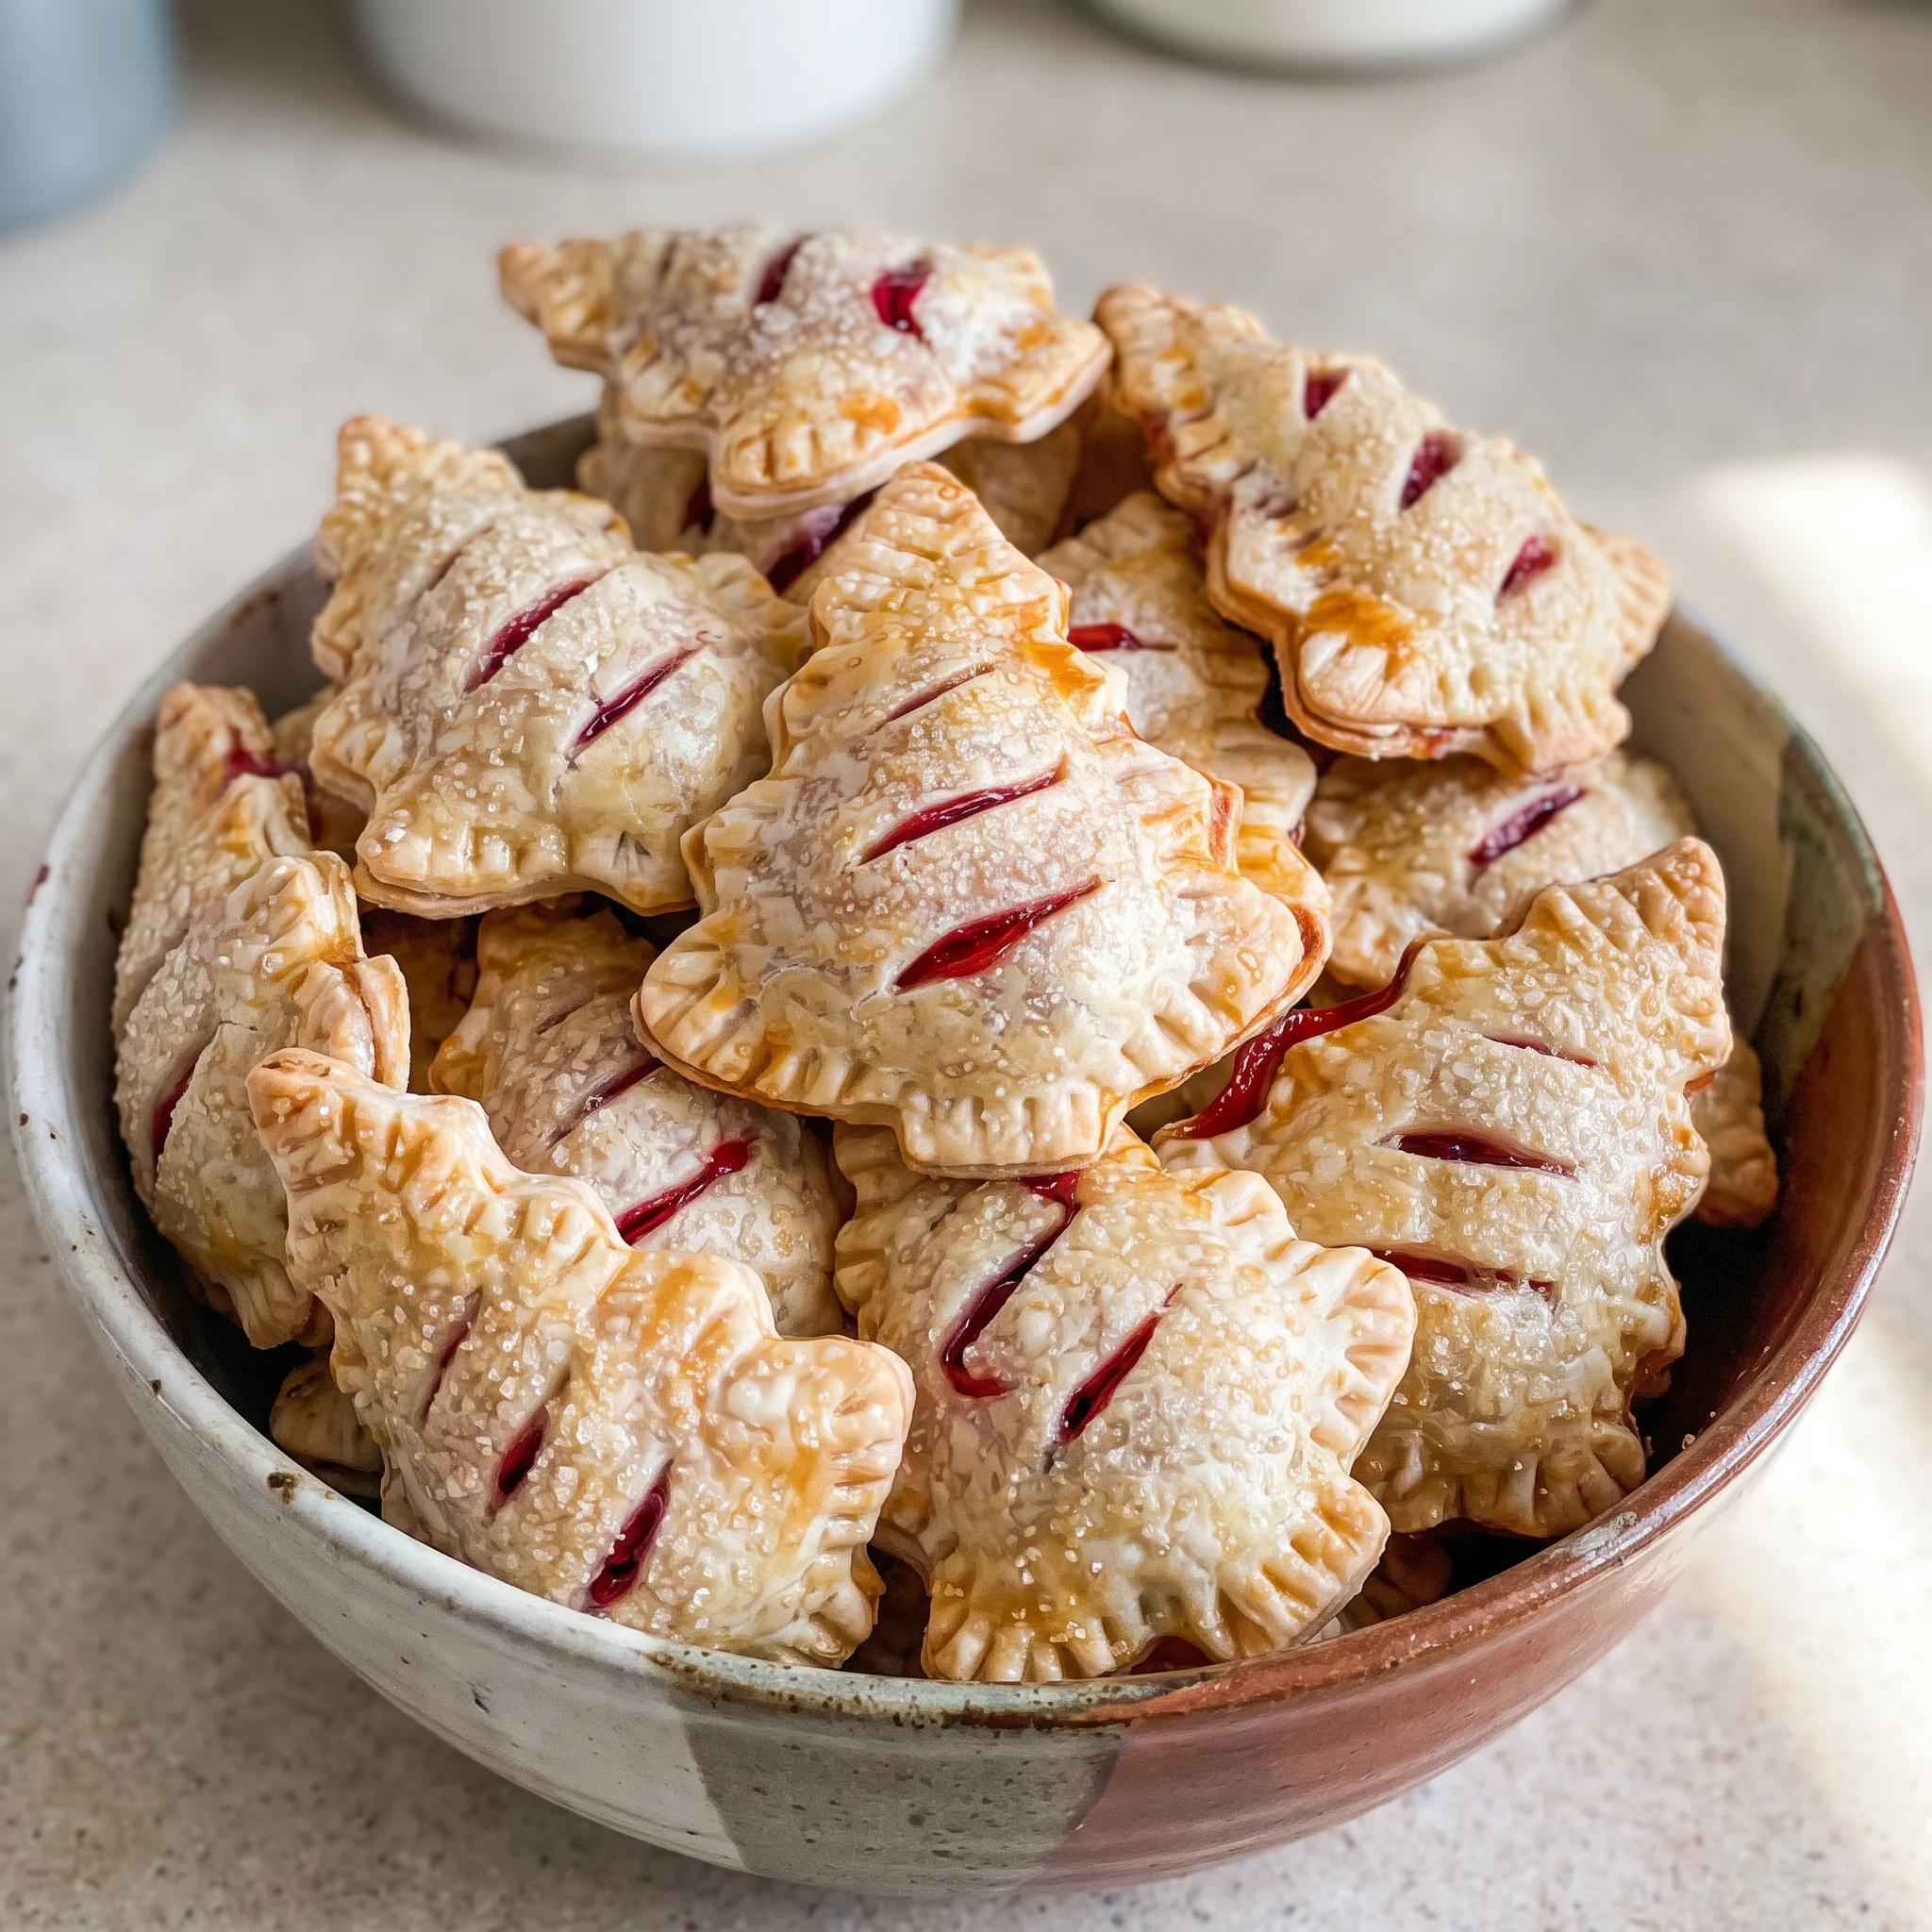
Cherry Tree Hand Pies with Pie Crust
Ingredients
Method
- Set oven to 350°F (175°C) and preheat. Thaw the refrigerated pie crust as directed on the package.
- Prepare a large cookie sheet by lining it with parchment paper; leave aside. In a small bowl, beat the eggs together with the water to create an egg wash; leave aside.
- With a rolling pin, flatten one thawed pie crust to a thickness between 1/8 inch and 1/4 inch, making sure no cracks or holes are present.
- Using a 3–4 inch holiday tree cookie cutter, cut out approximately 7 trees. Set aside the excess crust. Do the same with all remaining pie crusts, collecting the excess from each rolling. After all the ready-made crusts are used and only the excess is left, gather all the excess, roll it to the same thickness as the original crusts, and use it to finish the remaining hand pies.
- Arrange the trees on the parchment-lined baking sheet. Put about 1 to 1 1/2 tbsp of cherry pie filling in the middle of each tree. Apply egg wash to the border around the filling.
- Carefully lay a second tree over the filling. Beginning at the trunk, gently press the edges together, taking care not to press down on the filling.
- With the tines of a fork, seal the seams around the tree outline. Use a sharp knife to make a few slits in the top crust for venting. Coat the top crusts with the remaining egg wash and, if desired, sprinkle with coarse sanding sugar.
- Bake for 20–25 minutes, or until golden brown. Move to a cooling rack. Serve warm or at room temperature.
How to Store and Serve Cherry Tree Hand Pies
Cherry tree hand pies taste best within 2 hours of baking. The crust stays crisp and the filling is still warm. After that, they’re fine at room temperature for up to 6 hours, but the crust softens as it sits.
For longer storage, keep them in an airtight container at room temperature for 1 day. After that, refrigerate them; they’ll hold for 3 days but the crust will lose its snap. To reheat, put them on a parchment-lined sheet in a 350°F oven for 5 to 7 minutes.
The oven dries the surface and re-crisps the crust. A microwave makes them chewy and limp, so skip it. If you want to freeze, do it before baking: assemble the pies, freeze them solid on a sheet, then transfer to a bag.
Bake from frozen at 350°F for 25 to 30 minutes. Baked pies don’t freeze well; the filling gets watery and the crust turns soggy. For serving, let refrigerated pies come to room temperature or reheat in the oven.
Add sanding sugar before baking, not after.
Tips
- Hold a spoonful of the canned cherry pie filling over the bowl and count to three. If it drips off in a steady stream rather than dropping in a slow blob, it is too loose for these pies. Canned filling varies by brand, and a runny one will soak the bottom crust and seep through the seams before the 20 to 25 minutes are up. If yours drips, stir in 1 teaspoon of cornstarch per cup of filling and let it sit 10 minutes before spooning.
- Drain the filling briefly in a fine-mesh strainer set over a bowl, then use only the fruit that stays behind. The thick gel that clings to the cherries is what thickens in the oven, and the thin syrup that runs off is what leaks. You lose a little volume, so scoop from the drained fruit and keep the 1 to 1 1/2 tablespoon measure per pie. This works best with a filling that looks soupy straight from the can.
When to Swap the Crust, Filling, or Nothing at All
Cherry pie filling: Homemade cherry compote or another fruit pie filling, like apple or blueberry. Start with the same 1 to 1 1/2 tablespoons per pie, but test one first: if your filling is runnier than canned, cook it down or add a little cornstarch so it doesn’t run out. Homemade compote tastes brighter and less sweet, with visible fruit pieces.
It can be looser, so you might need less per pie to avoid leaks. Other fruit fillings change the flavor entirely, but the texture works if they’re thick like canned.
Refrigerated pie crust: Butter-based homemade crust. You can use it, but only if you roll it to the same 1/8 to 1/4 inch thickness as the recipe says.
Thinner tears, thicker bakes up doughy. Homemade crust tastes richer and flakes more, but it’s less forgiving. If it’s too warm, it’ll stick and tear; too cold, it cracks.
The bake time stays the same, but watch closely because butter browns faster than the fat in refrigerated crust.
All-purpose flour (in homemade crust): Gluten-free flour blend. Use a 1:1 blend, but expect the dough to be more fragile. Roll it between sheets of parchment or plastic wrap to keep it from cracking.
Gluten-free crust won’t stretch like wheat dough, so the trees might crack when you lift them. The baked texture is crumblier and less flaky. It still holds filling, but handle gently.
Butter (in homemade crust): Cold lard or vegetable shortening. Use the same amount by weight as the butter. Lard gives a flakier crust; shortening is neutral and makes it more tender.
Lard crust tastes savory and shatters when you bite it. Shortening crust is softer and less flavorful, but it’s easier to work with and holds its shape well.
Both bake up golden, but watch for drips if your filling is juicy.

Frequently Asked Questions
Can I make these cherry tree hand pies ahead of time?
You can assemble them and freeze them unbaked, which is the only make-ahead worth doing here. Freeze the filled trees solid on a sheet first, then bag them, and bake from frozen for 25 to 30 minutes.
Once baked, the clock runs the other way: they’re at their best within 2 hours, and they soften as they sit. If you want them for a party, freeze the tray raw and bake the day of.
Why did my hand pies leak filling in the oven?
Most leaks come from filling sitting on the rim, so the two crusts never actually touch. Wipe any smear off the border with a damp finger and press again, and remember the filling should look stingy in the middle, since it spreads as it heats.
If the border was clean, check the top crust for tears, especially along the trunk where the dough is narrow. And confirm you cut the vents; without an exit, steam pushes through the seams instead.
How are these different from classic cherry hand pies?
The cutter does the work: a tree with a trunk and branches instead of a plain round or half-moon, so each pie has a narrow handle end and a wide body. That shape is what makes the sealing order matter, trunk first and gently, then outward along the branches. You’re also working with six refrigerated crusts and rerolling the scraps to finish all 26, so the dough gets handled more than a single-batch hand pie ever would.
The payoff is portion size: at 110 calories each, they’re built to be picked up by the trunk and eaten in two bites.
