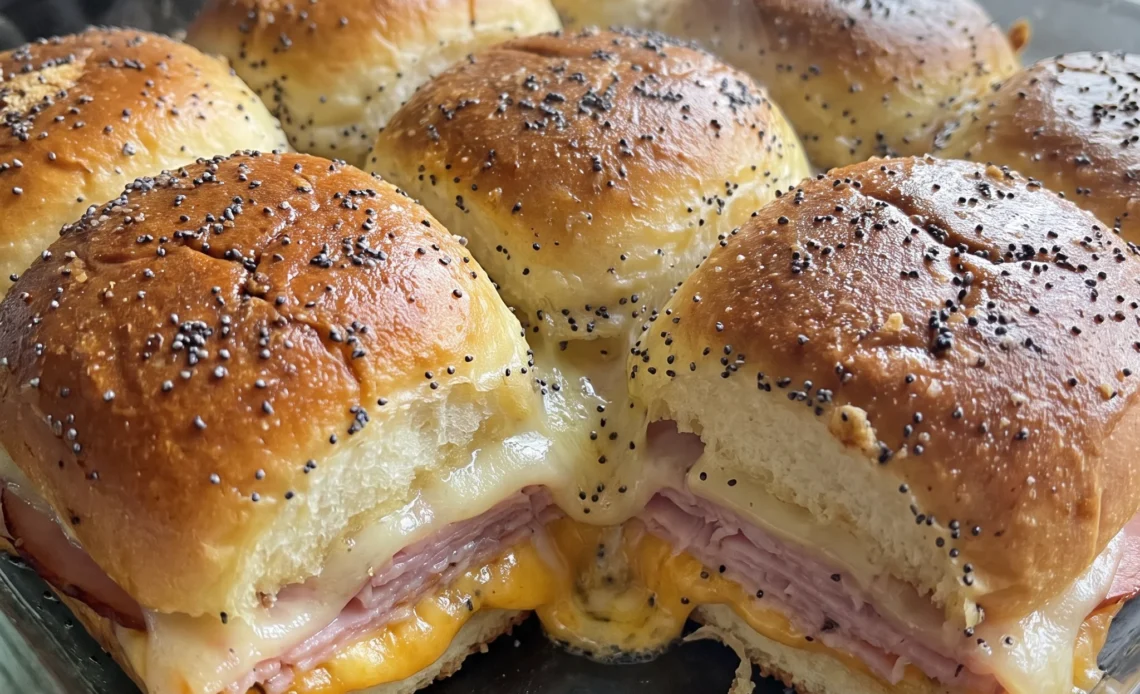
Twenty-eight minutes in the oven, and the last five decide everything. Baked ham and cheese sliders live or die in that uncovered stretch, when the butter topping goes from glossy to lacquered and the poppy seeds lock into a crust.
Pull too early and the tops taste raw; a minute too long and the bitterness of scorched seeds ruins the sweet roll underneath. The window is narrow, and it’s the one part of the bake that rewards standing at the oven instead of setting a timer and walking away.
What you’re building toward is a slider that eats like a hot sandwich but pulls apart in one clean piece, cheese still holding the stack. The rest of the method is forgiving.
This final stage isn’t.
Dijon-Mayo as a Moisture Barrier
That spread of mayonnaise and Dijon does more than season. It’s a waterproofing layer.
Applied to both the cut sides of the rolls, it keeps the ham and cheese from bleeding their moisture into the bread while the sliders bake. The fat in the mayo and the mustard’s acidity form a barrier that the ham’s juices can’t easily penetrate.
Without it, the interior crumb would soak up liquid and turn waterlogged, losing the tender give that makes a good slider. With it, the bread stays soft but never soggy, and the whole thing holds together when you bite in. You won’t see it happening, but you’ll notice the difference in the structure: the bottom roll doesn’t disintegrate under the weight, and the top doesn’t slide off.
That structural integrity is what lets you pick one up without it falling apart. It’s a small step that pays off in every bite.
Why the Broiler Matters
Skipping the broiler is a missed opportunity. A quick pass under high heat changes the cut sides of the rolls into something else: the surface dries, browns, and develops a nutty flavor you can’t get from baking alone. The toasted layer also gives a crisp texture that contrasts with the soft interior, and it armors the bread against the buttery topping that comes later.
Without it, the rolls would stay pale and soft throughout, and the topping would soak in rather than sit on top. When you pull them out, the cut sides should be golden with a few darker spots, and they’ll smell toasty and sweet. That’s the sign they’re ready for assembly.
The broiler works fast, so keep an eye on them. What you’re after is a surface that’s dry and slightly charred in places, not blackened.
The Butter-Poppy Seed Topping
Melted butter, poppy seeds, Worcestershire, and onion powder brushed over the tops do more than add flavor. The butter carries the seasonings into every crevice of the rolls, and as the sliders bake, the sugars in the bread caramelize with the butter, forming a thin, crunchy crust.
That crust is what gives each slider a satisfying crackle when you bite through it. The poppy seeds add a subtle pop and a speckled look, while the Worcestershire brings a savory depth that rounds out the ham and cheese.
Some butter will pool in the baking dish, and that’s fine; it’ll bubble around the edges and keep the bottoms from drying out. What you’re after is a glossy, golden top with a slight sheen.
If it looks wet and pale, it needs more time; if it’s dark and hard, you’ve gone too far.
Layering Cheese, Ham, Cheese
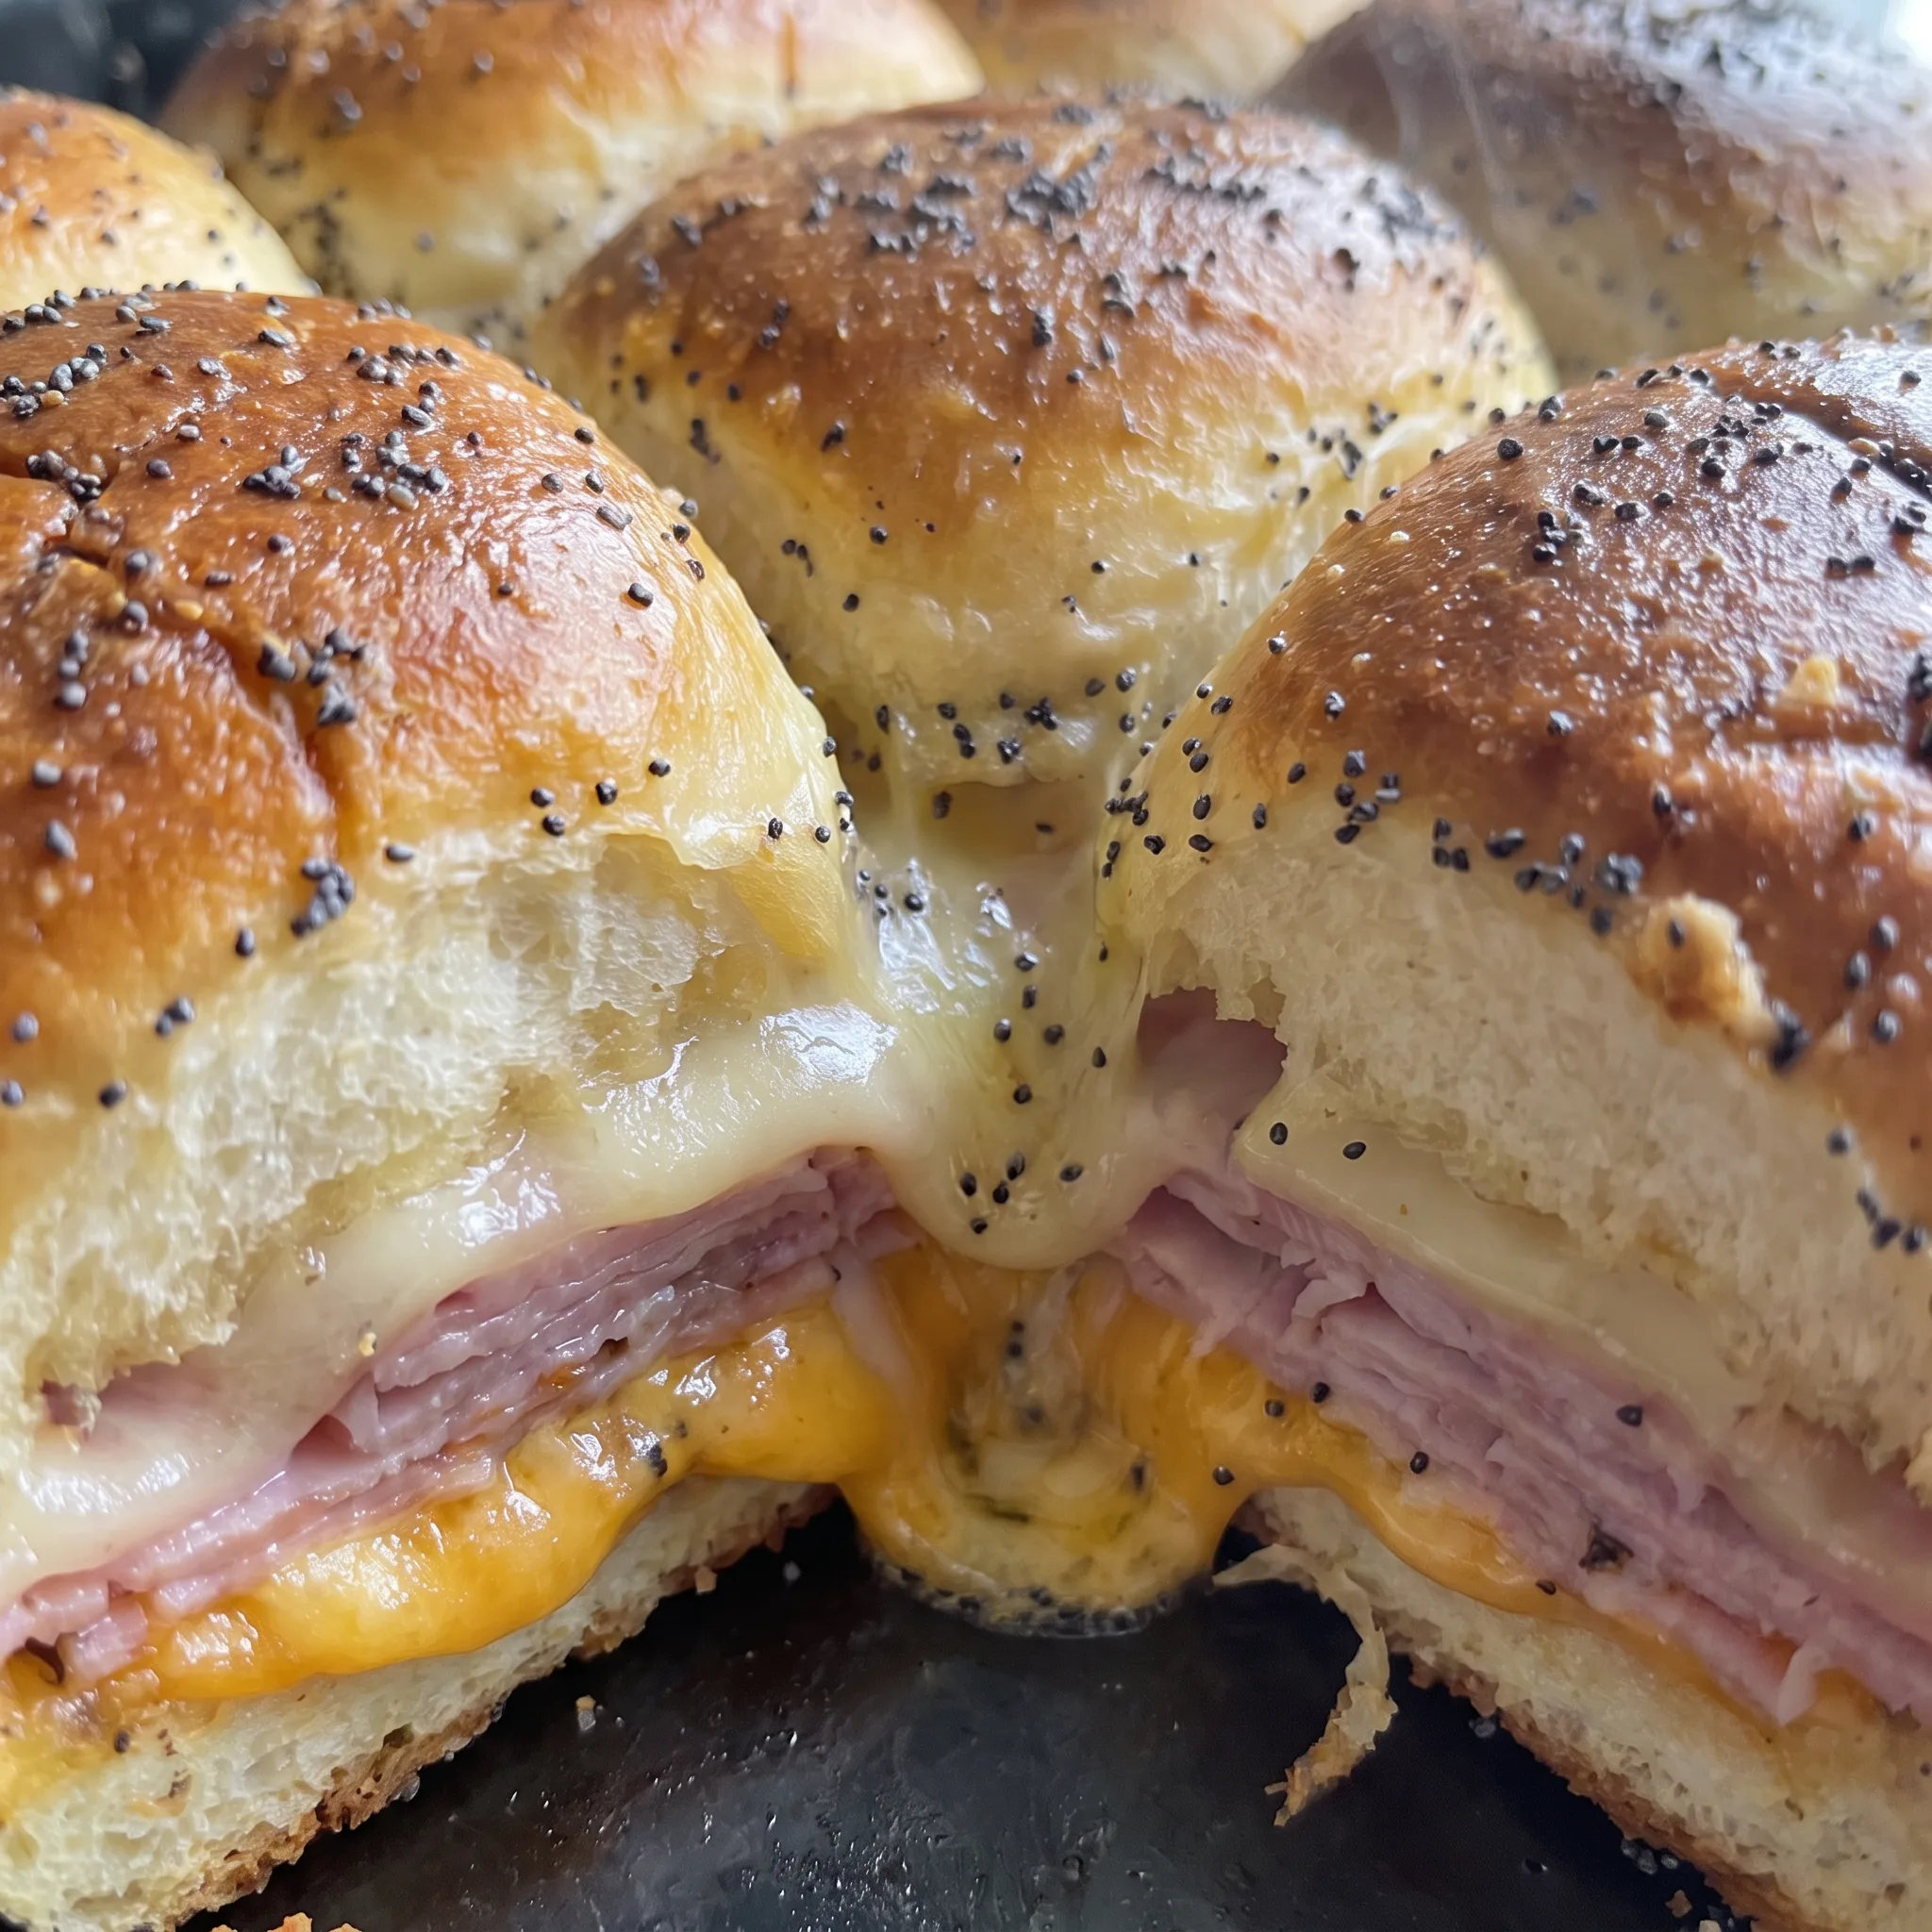
Building each slider with cheddar on the bottom, ham in the middle, and Swiss on top isn’t arbitrary. The cheddar melts first and sticks to the bottom roll, creating a seal that stops the ham’s juices from soaking the bread.
The ham sits in the middle, insulated by cheese on both sides, so it stays juicy instead of drying out. The Swiss on top melts down over the ham and bonds with the top roll, essentially gluing the slider together. When you bite in, you get a clean cross-section: melted cheese, tender ham, melted cheese, all held in place.
If you reversed the order or used only one cheese, you’d lose that structure. The ham would release moisture directly onto the bread, and the whole thing could turn soggy.
This sequence also means every bite has a balance of sharp cheddar and mild Swiss, with the ham as the savory center. It’s a simple stack, but it’s engineered for a reason.
The Two-Stage Baking Method
Baking these sliders in two stages, first covered then uncovered, is about control. The foil traps steam, which melts the cheese and heats the filling evenly without drying out the rolls.
The steam also helps the bread absorb the butter topping without burning. After the foil comes off, the dry heat of the oven does its work on the tops, drying them out and crisping them up. That final blast gives you the contrast between the soft, steamy interior and the crunchy, golden exterior.
Without the foil, the tops would brown before the cheese melted, and you’d end up with a burnt crust and a cold center. Without the uncovered stage, the tops would stay pale and soft, lacking that textural punch. What you’re looking for when you pull them out is a golden, crisp top and cheese that’s fully melted and bubbling at the edges.
Let them sit for a few minutes before serving; they’ll firm up slightly and be easier to cut.
What to Grab Before You Build These Sliders
King’s Hawaiian Original Sweet Rolls: The 12-count pack, and leave them in the connected slab so you can halve and fill them in one piece.
Deli ham: Ask for it shaved thin, since half a pound of thick-cut slices sits too tall and won’t let the sliders compress.
Sharp cheddar and Swiss: Have both sliced to order at the counter, because pre-shredded cheese won’t drape and bond the way flat deli slices do.
Mayonnaise: Full-fat, not light or whipped, since the fat is what forms the moisture barrier against the ham.
Poppy seeds: Check the jar before you measure, because seeds past their prime smell dusty and taste like nothing.
Worcestershire sauce: A splash is enough, and it’s the one bottle in the door you should sniff first if it’s been open a while.
Judging Your Sliders at the Moments That Matter
When the cut sides are toasted enough
Under the broiler, the cut sides of the rolls go from pale to golden to scorched in under a minute. You’re watching for a dry, lightly browned surface with a few darker spots, not an even tan. If you see blackening at the edges, pull them immediately; the burnt flavor will spread through the slider.
If they’re still soft and pale, they haven’t developed the crust that keeps the topping from soaking in. The difference between ready and ruined is often ten seconds.
Stay at the oven.
Recognizing when the cheese has fully melted
After the covered bake, lift a corner of the foil. The cheese should be glossy and sagging, with no opaque, solid patches left.
If it still looks stiff or the slices are distinct, give it another two or three minutes covered. Underdone cheese won’t bond the layers, and the slider will fall apart when you bite. Overdone, it breaks and leaks oil.
The sweet spot is when the edges just start to bubble.
Knowing when the tops are crisp, not burnt
During the uncovered stage, the tops go from pale and buttery to golden and crisp in a few minutes. You want a deep golden color and a surface that feels dry and slightly firm to the touch.
If the poppy seeds start to blacken or the edges darken too fast, pull the pan. The line between crunchy and burnt is thin. Once they’re too dark, the bitterness overpowers the buttery topping.
Check every minute after the first five.
The rest before cutting
Out of the oven, the sliders are still setting. The cheese is molten and the bread is soft from steam.
If you cut immediately, the layers slide and the filling spills. Waiting a few minutes lets the cheese firm up just enough to hold the stack together, and the bread absorbs any loose butter. The sliders will still be hot, but they’ll cut cleanly.
That short rest is what makes them easy to serve and eat.
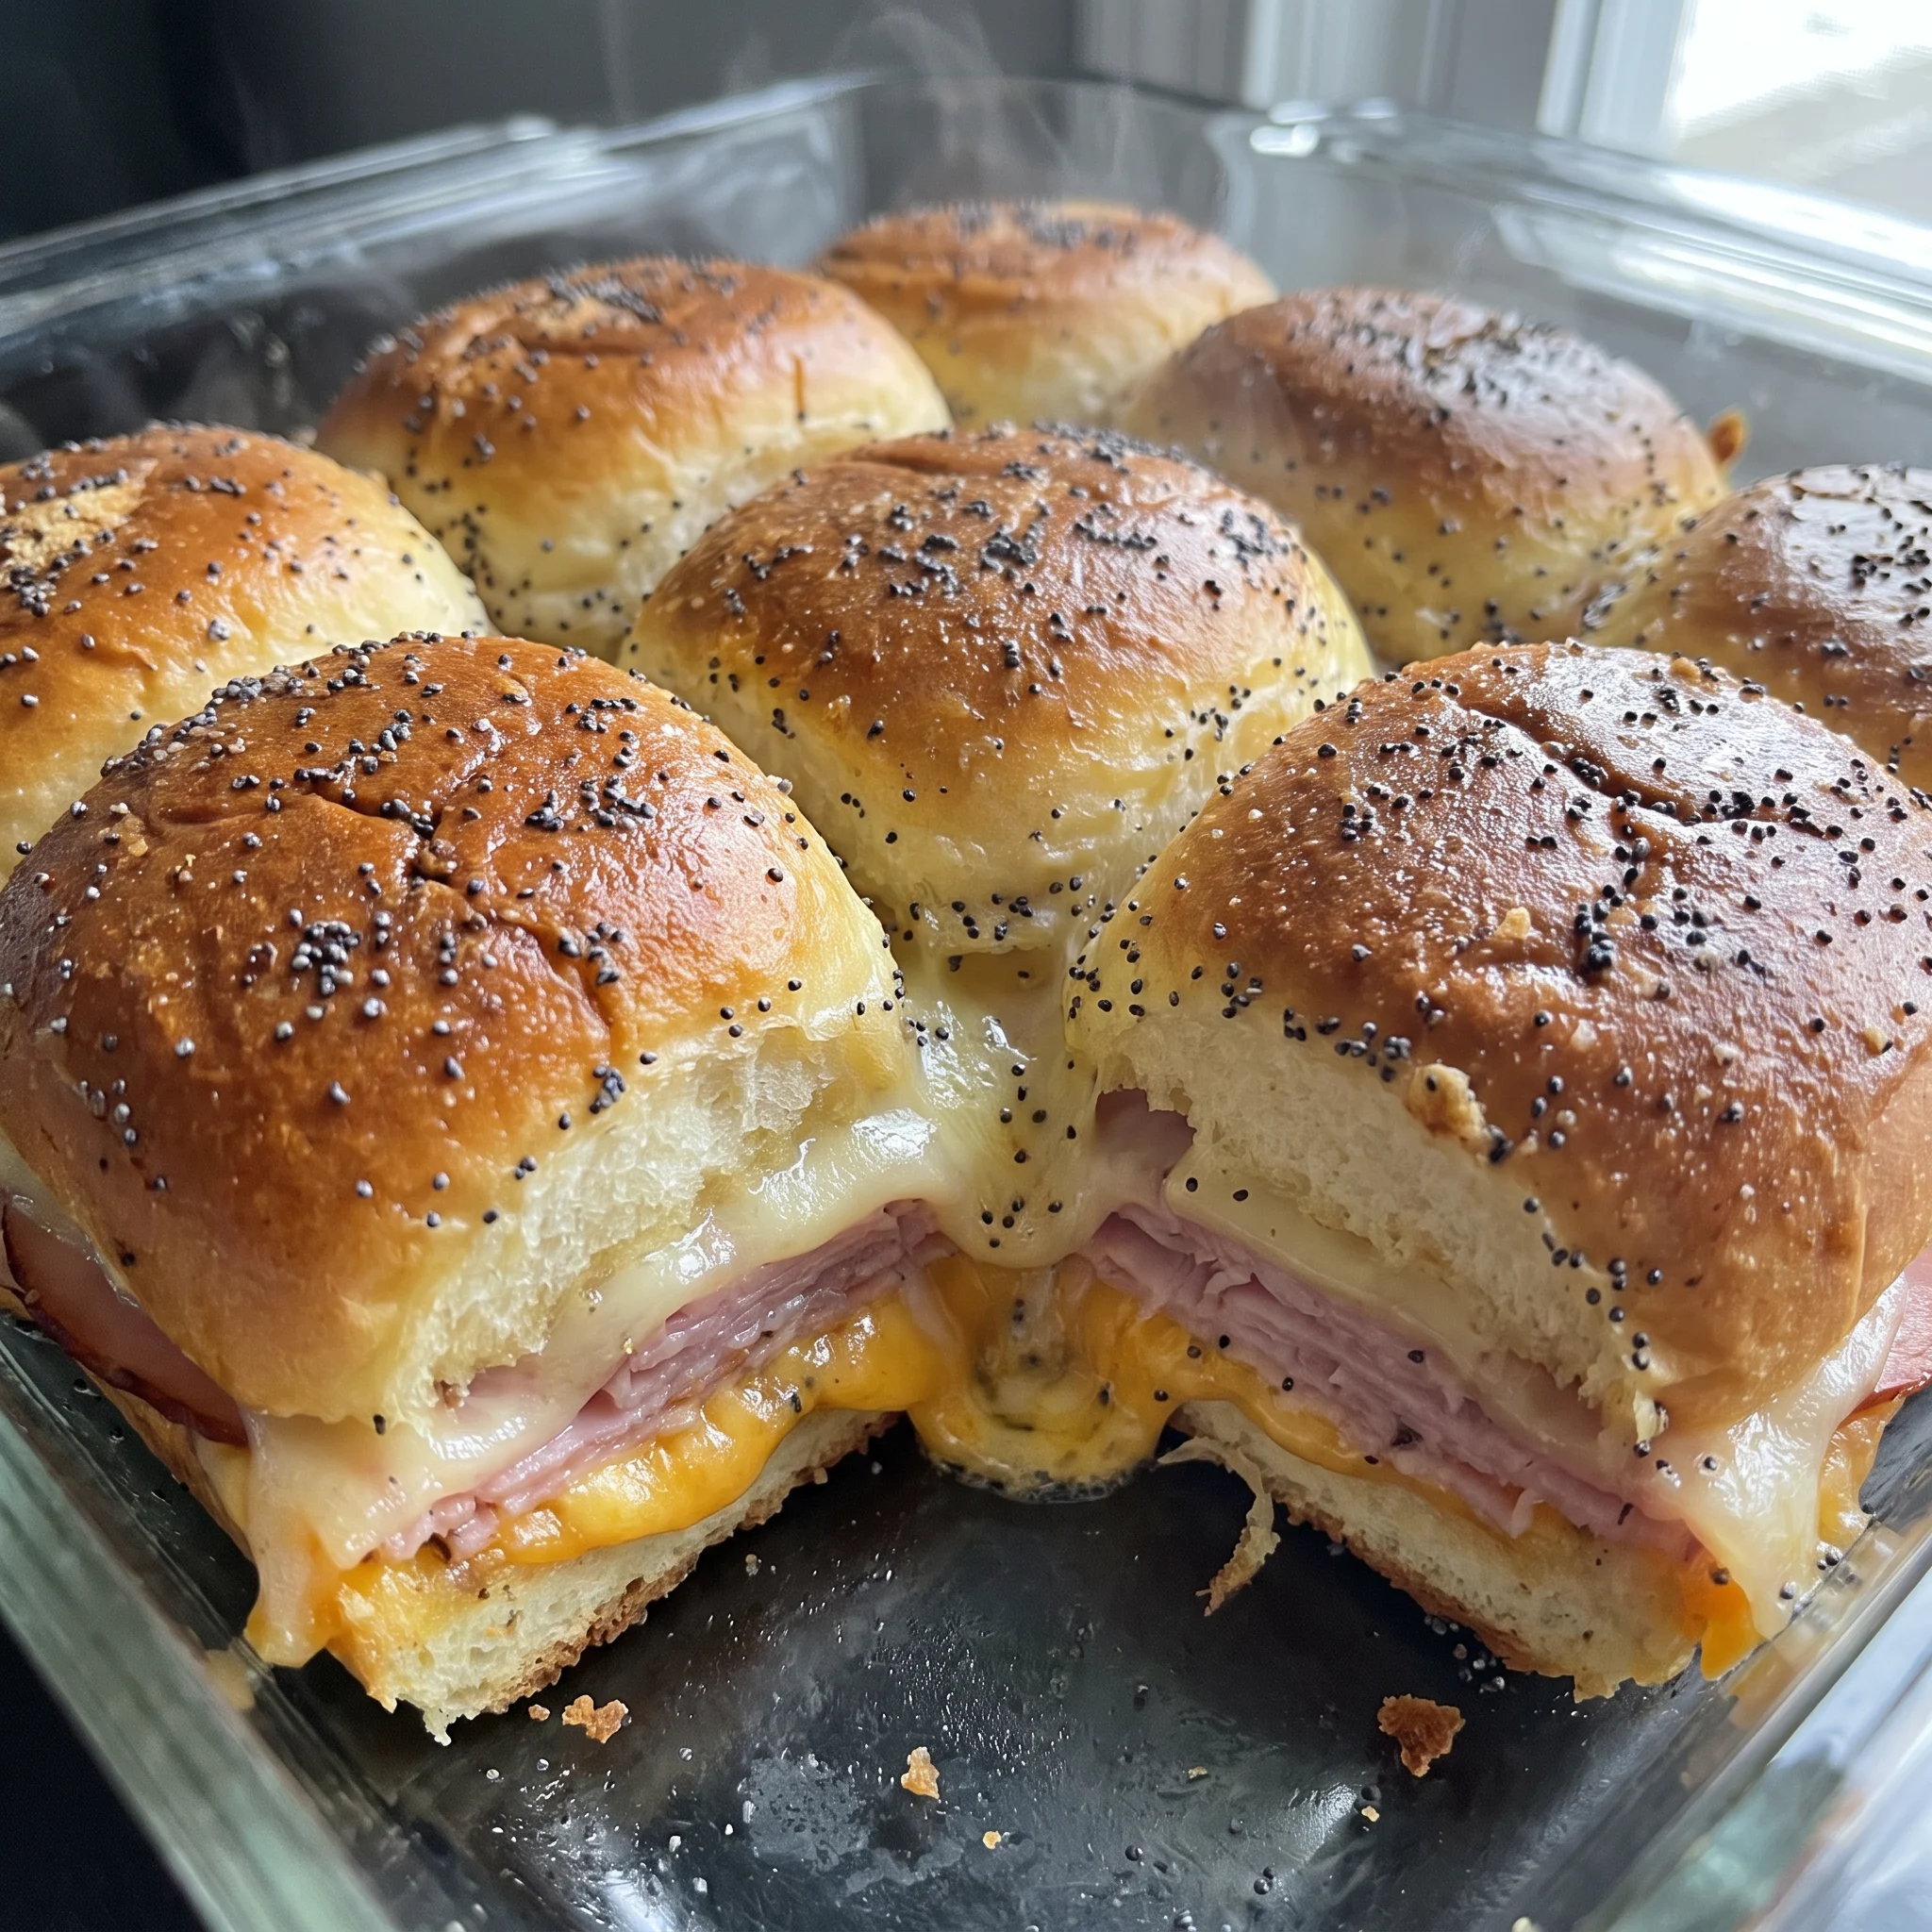
Baked Ham and Cheese Sliders on Sweet Rolls
Ingredients
Method
- To create the slider spread, whisk the mayonnaise and 2 tbsp Dijon mustard together in a small bowl; set aside.
- With a serrated bread knife, halve the slider buns horizontally to detach the tops from the bottoms. Arrange them cut side up on a baking sheet.
- Set the oven’s broiler to high, placing the rack in the second position from the top (about 6 inches from the broiler element). Broil only the cut sides of the rolls for 1–2 minutes, until lightly toasted. Stay vigilant and do not leave, as they can scorch rapidly; broiling times differ by oven.
- Set the oven to 350°F (175°C) with the rack in the middle position. Mist a glass or light-colored ceramic baking dish with cooking spray. If using a darker-interior pan, lower the oven temperature to 325°F (165°C).
- Lay the bottom half of the toasted rolls in the prepared baking dish. Apply slightly more than half of the Dijon-mayo mixture onto the rolls in the dish.
- Build the sliders by stacking the cheeses and meat in this sequence: cheddar cheese, ham, Swiss cheese. Coat the toasted side of the top half of the rolls with the remaining Dijon-mayo and set them over the Swiss cheese layer.
- In a small bowl, mix the melted butter, Worcestershire sauce, poppy seeds, onion powder, and a pinch of salt (if using). Drizzle over the sliders, using a basting brush or pastry brush to spread the butter and poppy seeds uniformly over the tops and sides. It is fine if some butter collects around the sliders in the baking dish.
- Cover with foil and let stand for 5 minutes. Bake for 20 minutes, until the sliders are heated through and the cheese is melted. Remove the foil and continue baking for 5–10 minutes, until the tops of the rolls are golden and crispy. Monitor closely during the last stage so they do not get too dark.
- Allow the sliders to stand for a few minutes, then cut the rolls into individual servings. Serve hot with potato chips, fries, or your favorite sandwich sides.
Storage, Serving, and Reheating
These sliders peak within 15 minutes of coming out of the oven. That’s your serving window: the tops are crisp, the cheese is molten, and the butter hasn’t soaked in.
After 30 minutes, the topping softens and the rolls lose their crunch. Leftovers keep in the fridge for up to 3 days.
Cool them completely, then store in an airtight container with a paper towel under the lid to catch condensation. The fridge makes the bread dense and the butter solid, but the flavor holds.
To reheat, put them in a 350°F oven, covered with foil, for 10 to 12 minutes. The foil traps steam, which softens the bread back to a tender crumb and melts the cheese without burning the tops. Uncover for the last 2 minutes if you want the tops to crisp again.
Don’t microwave; it makes the bread rubbery and the ham tough. Freezing isn’t recommended: the mayonnaise and melted cheese separate, and the rolls turn grainy. Eat them within 3 days, reheated covered, and they’re still worth it.
Swapping What Carries the Slider Without Breaking the Bake
King’s Hawaiian Original Sweet Rolls: Use another soft, enriched dinner roll, like brioche slider buns or a generic sweet party roll. Avoid crusty rolls, whole-wheat rolls, or anything with a firm crust. The sweet, squishy crumb is what lets the sliders compress into a neat stack and soak up the butter topping without turning tough.
A crustier roll stays rigid, so the layers slide apart when you bite, and the topping sits on the surface instead of soaking in. If you swap to a drier roll, brush on a little extra melted butter to keep the tops from feeling stale.
Deli ham: Turkey, roast beef, or a plant-based deli slice works, but keep it shaved thin. ‘. Ham brings salt and a little fat that seasons the whole slider.
Turkey is leaner and milder, so the cheddar and Swiss end up doing most of the talking; you may want a pinch more salt in the butter topping. Roast beef is beefier and can overpower the Swiss. Plant-based slices often release more water, so the mayo-Dijon barrier matters even more, and the interior can turn damp if you skip it.
Sharp cheddar and Swiss cheese: For dairy-free, use a meltable plant-based cheddar and Swiss-style slice, the kind sold near the tofu. For a different flavor, Gruyère stands in for Swiss and Monterey Jack for cheddar. Don’t use pre-shredded cheese or soft fresh cheeses like brie or goat.
The two cheeses do separate jobs: cheddar melts first and seals the bottom roll, Swiss melts over the ham and glues the top on. Plant-based slices vary wildly in how they melt; some turn oily and never bond, so the slider falls apart. Gruyère melts similarly to Swiss but tastes nuttier and saltier.
Jack is milder than cheddar, so the finished slider tastes softer overall. Pre-shredded cheese is coated with starch and won’t drape into a solid layer, leaving gaps where the ham’s moisture can soak the bread.
Mayonnaise: For an egg-free version, use a thick vegan mayo like Vegenaise. Don’t swap in salad dressing, Greek yogurt, or a light or whipped mayo.
The fat in mayo is what forms the moisture barrier on the cut sides of the rolls. Salad dressing is thinner and sweeter, so it soaks in rather than sitting on the surface, and the bread gets soggy.
Greek yogurt is watery and will do the same. Light mayo has less fat, so the barrier is weaker. If you’re using vegan mayo, start with the same 3 tablespoons the recipe calls for and adjust after the first bake if the interior seems damp.
Tips
- Buy the ham shaved and the cheddar and Swiss sliced to order in the same trip, and ask for the cheese at about 1/16 inch. A quarter pound of cheese per type is only four slices of each, so the thickness is what decides whether the layers fold over the ham or sit on it as rigid planks. Thick slabs also add height that keeps the top rolls from pressing down, and the butter topping then runs off instead of soaking into the tops.
- If the deli only has thick-cut ham, ask them to run it through the slicer twice or shingle it in the baking dish so no spot is more than two slices deep. Half a pound spread across 12 sliders is about two-thirds of an ounce each, and a single thick slice that weighs that much sits taller than the cheddar and Swiss combined, which is what pushes the top roll up and leaves the slider loose when you cut it.
The final uncovered bake puts the butter-and-sugar-coated roll tops directly under the oven’s heating element, where surface sugars caramelize quickly and then carbonize within seconds. Because the rolls are already fully heated and the cheese is melted by this point, there is no further cooking needed to justify extended exposure to that direct heat. The recipe’s own instruction to monitor closely during this last stage exists precisely because the line between golden and burnt is crossed faster than the visual check can catch.
Frequently Asked Questions
Can I make these sliders ahead of time and bake them later?
Assemble them fully in the baking dish, brush on the butter topping, cover with foil, and refrigerate. The cold butter will firm up on the tops, which actually helps the poppy seeds and onion powder stay put instead of sliding off in the brush strokes. Pull the dish from the fridge about 20 minutes before it goes in the oven so the glass or ceramic doesn’t shock, and add a few minutes to the covered bake since the filling starts cold.
That first covered stage is where the cold center catches up, so don’t skip it or the cheese will still be stiff when the tops are already golden. Reheated leftovers are a separate matter, and the Storage section covers those.
Why did my sliders turn out soggy on the bottom?
The most likely culprit is too much Dijon-mayo pooled in the baking dish before the bottoms went in, or ham that was sliced thicker than shaved so it released its water slowly during the bake. Spread the mixture thin across the cut side, not in a puddle, and ask the deli counter for shaved ham. A second check: if your baking dish has a dark interior, it runs hotter than glass or light ceramic, and the bottoms can steam in their own butter before the tops catch up.
The pooled butter around the edges is fine and keeps the crust from drying out, but butter sitting under the bread itself is what softens it.
How do I keep the poppy seeds from falling off the sliders?
Brush the butter mixture on while the sliders are still sitting in the dish, then use the brush to press the seeds into the tops rather than flicking them across. The melted butter is what glues them down as the bake goes; once the tops turn golden and crisp, the seeds are locked into that thin crust, so the covered stage matters for more than melting cheese.
A light second pass with the brush after the first drizzle catches the dry patches where seeds piled up. If a few roll off when you cut them, they’ll land on the serving plate and nobody’s counting.
What’s the difference between these baked ham and cheese sliders and the classic cold version?
The cold version is a sandwich: sliced rolls, cold ham, cold cheese, mustard, done. This one goes through the oven twice, first under the broiler to toast the cut sides, then covered at 350°F so the cheddar and Swiss actually melt and bond the stack, then uncovered so the butter topping caramelizes into a crust. What you get is a hot slider where the layers hold together when you bite instead of sliding apart, and the tops have a crackle the cold version never has.
The trade-off is time: 28 minutes of cooking plus a few minutes of rest, against about five minutes of assembly for the cold kind. Some people prefer the cold version for a picnic, and the baked one is what you want when the sliders are the main event.
