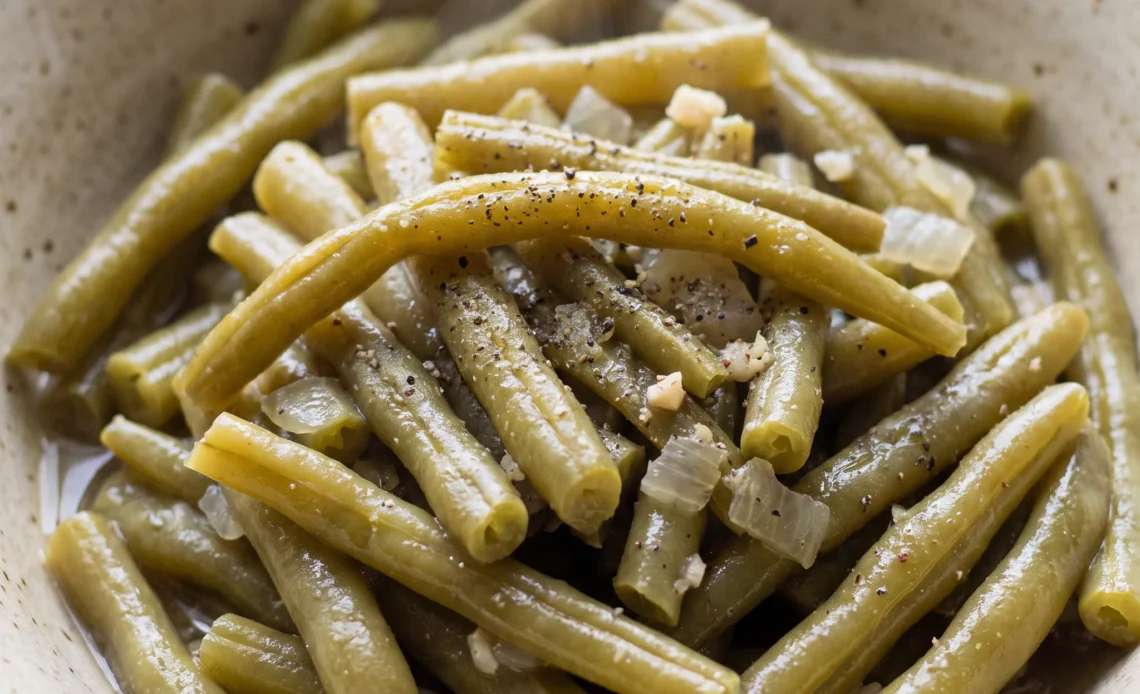
Slow cooker green beans live or die on one step that happens before the pot ever gets plugged in. Fifteen minutes of prep, mostly standing at a skillet with onions and garlic, and the difference between a savory side and a flat one is settled right there. Raw aromatics thrown in cold never lose their harsh edge after hours of gentle heat; they just sit there, sharp and bitter, while the beans cook around them.
Get the onions glassy and the garlic nutty before they go in, and the broth picks up a depth that tastes like somebody stood over a stove. Miss it, and no amount of time in the slow cooker rescues the pot.
The beans themselves are forgiving. That first skillet is not.
Frozen green beans carry surface ice and damaged cells that release water as they heat, so the liquid level in the pot rises and the beans lose their snap. Fresh beans hold their structure and release far less water, keeping the broth concentrated. By the time the beans look pale and the liquid seems too abundant, the texture is already gone.
Why Slow Cooker Green Beans Taste Different
Green beans roasted in a hot oven or sautéed in a skillet come out with browned, slightly shriveled skins and a concentrated flavor. The dry heat drives off water and caramelizes the surface.
In a slow cooker, the lid traps every bit of moisture; nothing evaporates, so the beans steam in their own juices. They end up tender and mild, not caramelized.
That’s not a flaw, just a different result. The broth and the sautéed onions and garlic do the heavy lifting here, giving the beans a savory backdrop they’d never get from steam alone. The butter or oil isn’t just for richness; it carries the garlic’s flavor throughout the pot, since water can’t dissolve those flavor compounds.
Without it, the garlic stays in the background. So the beans come out soft and full of broth flavor rather than roasted and intense.
If you’re after that roasted character, this isn’t the method. But for a tender, savory side that needs almost no attention, it works.
Fresh Versus Frozen in the Pot
Fresh green beans snap when you bend them and feel firm, with a matte skin. They hold their shape through long cooking because their cell walls are intact and they release little water. Frozen beans are different.
They’ve been blanched and frozen, which breaks down their structure. In the slow cooker, they shed a lot of liquid and turn soft quickly.
That extra water dilutes the broth, so you end up with beans sitting in a thin, watery liquid instead of a concentrated, savory broth. With fresh beans, the broth stays mostly as you added it, maybe a bit more flavorful from the beans’ own juices. If you use frozen, you might notice the beans look limp and the liquid seems thin.
The visual cue is simple: fresh beans stay bright green and slightly firm; frozen ones go dull and soft. The dish still works, but the texture is different. For a firmer bite, fresh is the way to go.
The Flavor Base That Raw Aromatics Can’t Build
Tossing raw onions and garlic into the slow cooker with the beans seems easier, but the result is disappointing. Raw onions stay sharp and pungent; garlic turns harsh and bitter after hours of cooking. The slow cooker’s gentle heat isn’t enough to mellow them.
Sautéing first changes everything. In the skillet, the onions soften and their harsh bite fades, replaced by sweetness. The garlic’s flavor blooms in the butter, and that fat spreads it evenly through the pot.
You can smell the difference: raw garlic is sharp and almost acrid, while sautéed garlic is nutty and warm. Those flavors then infuse the broth and beans as they cook.
The butter isn’t optional; it extracts the garlic’s flavor and carries it into every bite. Skip the sauté and the dish tastes flat, with a raw edge that never quite goes away. So that initial step is what gives the beans their savory depth.
The Broth-to-Bean Ratio
In a slow cooker, the lid seals in moisture, so almost no liquid evaporates. That means the amount of broth you add is the amount you’ll end up with. 5 ounces of broth, the beans cook down slightly and release some of their own juices, but the liquid stays mostly the same.
The result is a brothy side dish, not a soup. The beans sit in a shallow pool of savory liquid that coats them when you spoon them out.
If you add more broth thinking it’ll reduce, you’ll end up with a soupy pot and beans floating in diluted flavor. The beans themselves won’t absorb much beyond what they need. So stick to the ratio: enough to keep them moist and flavorful, but not so much that they drown.
When you open the lid, you want to see beans glistening with broth, not swimming in it. That’s the consistency that makes this dish work as a side.
What to Buy and Watch Before These Beans Go In
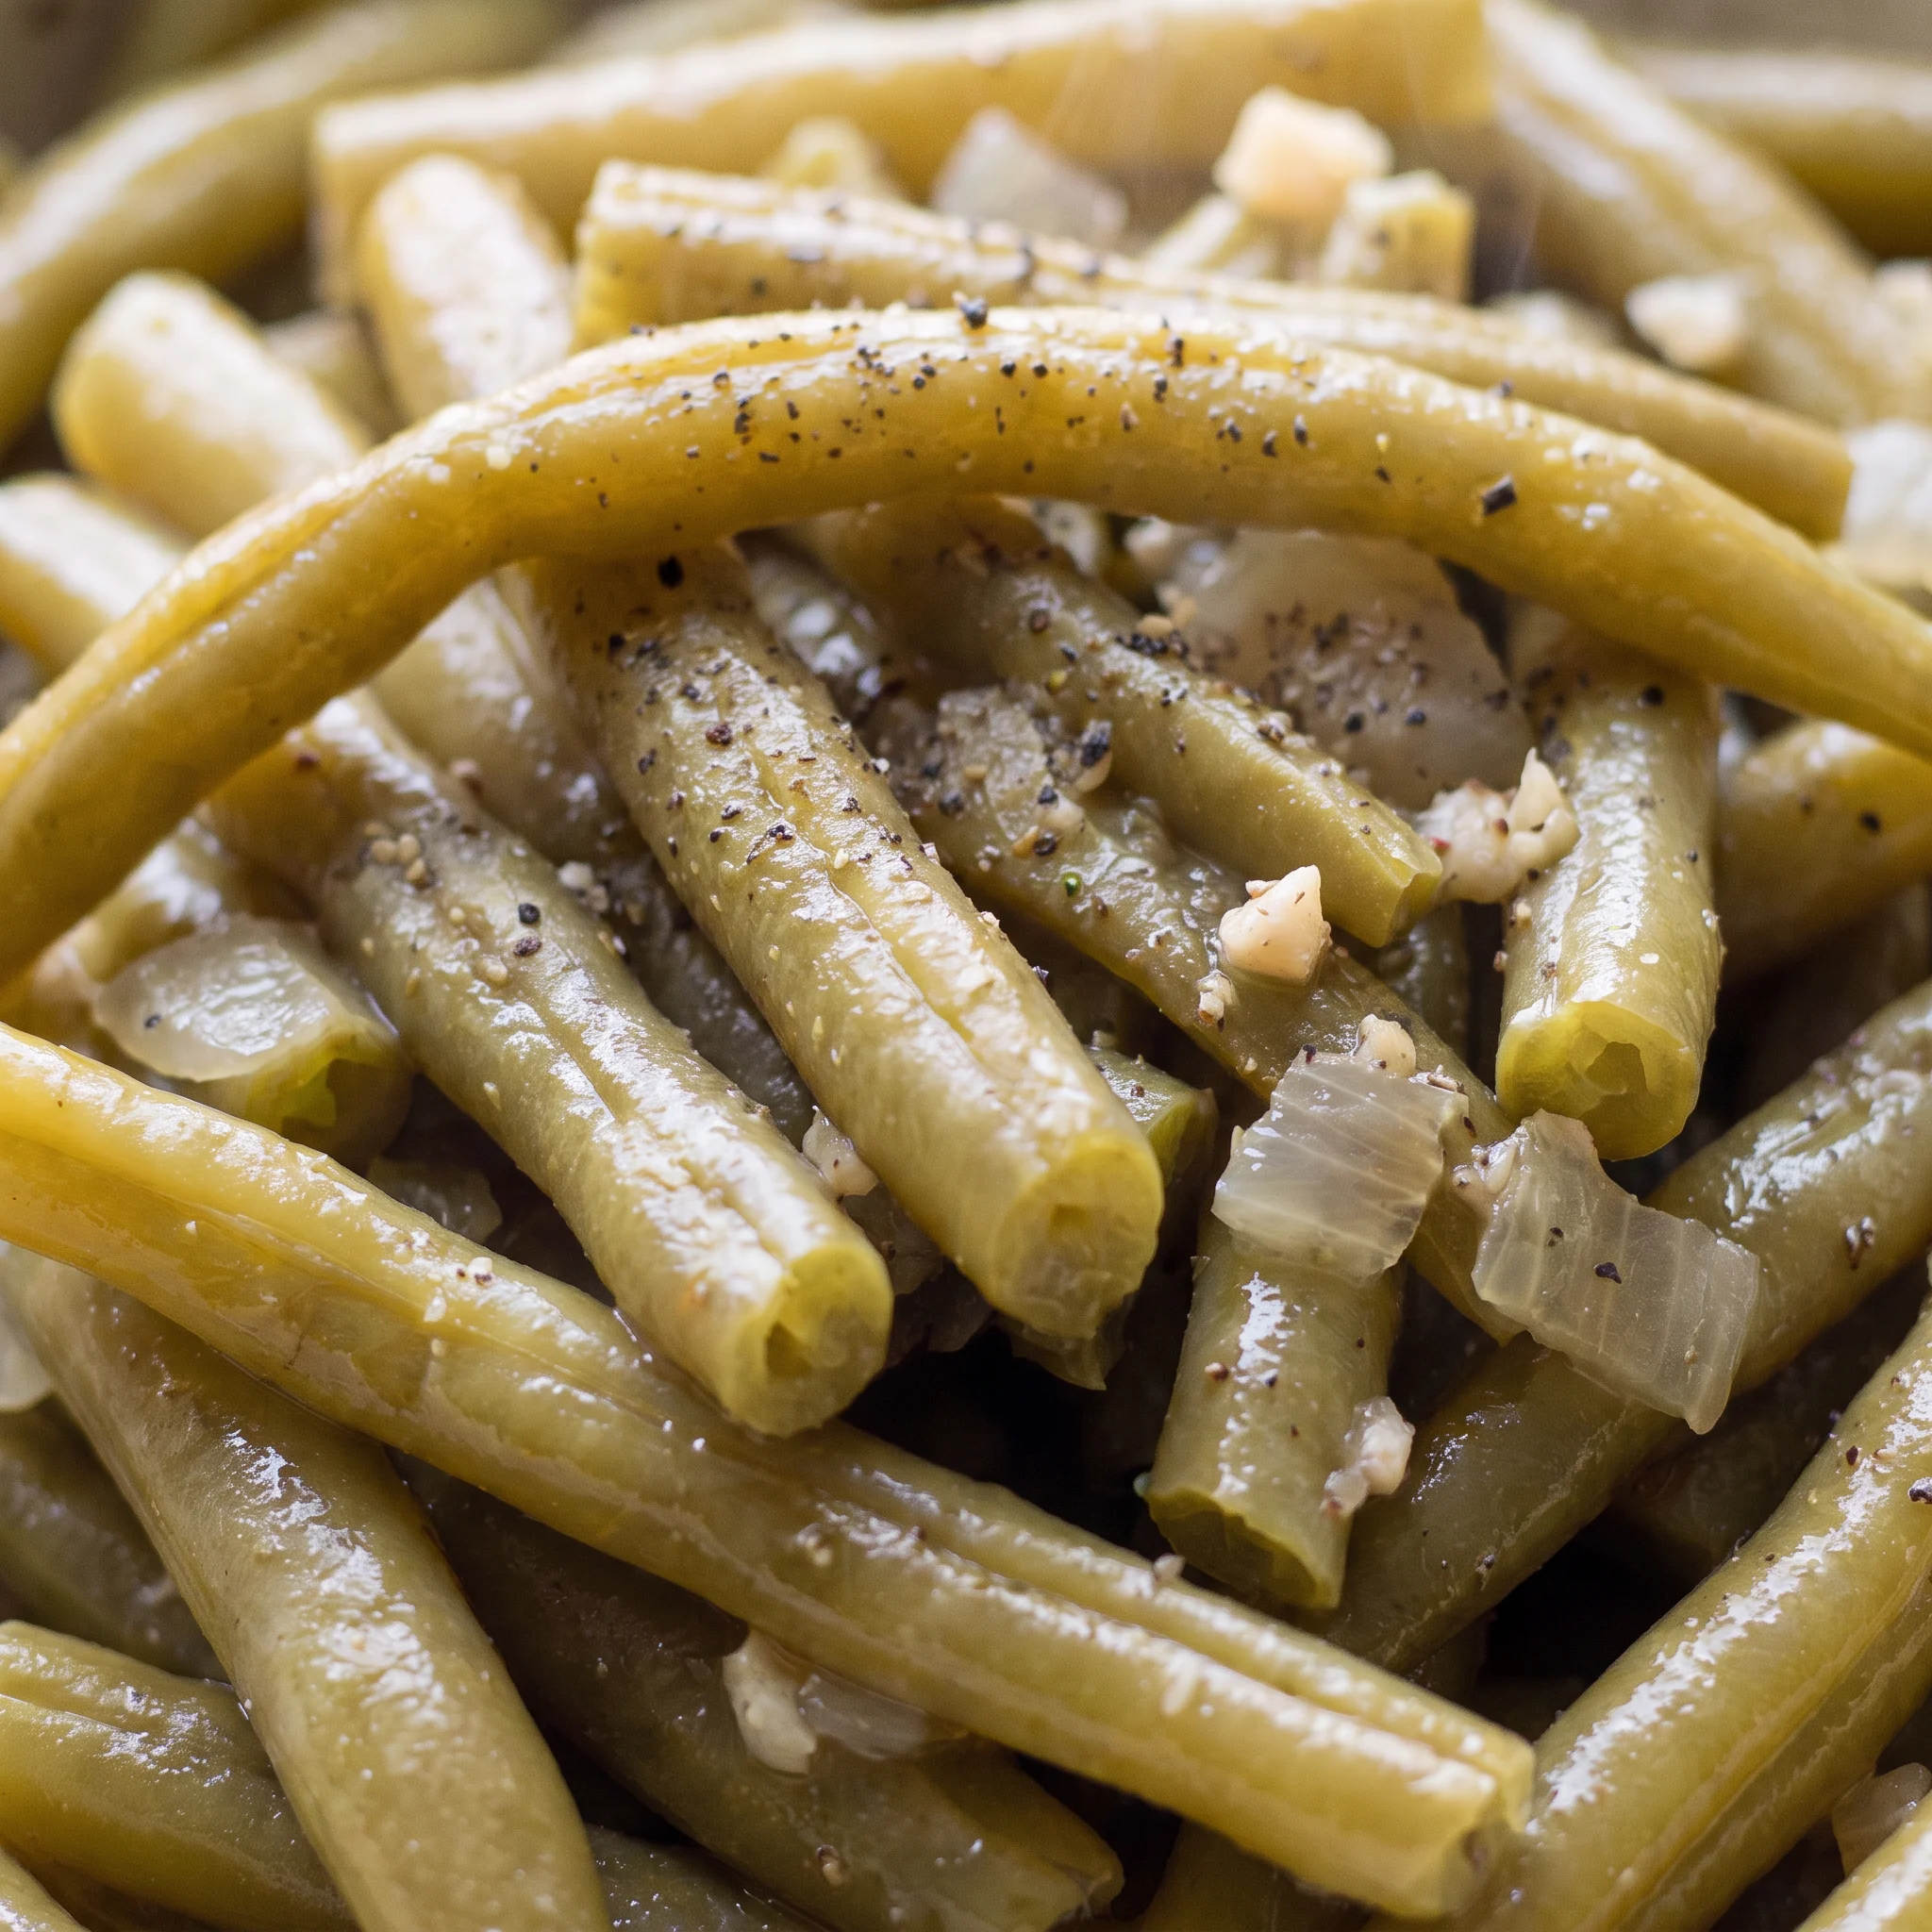
Green beans: Fresh ones snap cleanly and stay bright green through the long cook, while frozen beans release extra water that thins the broth.
Yellow onion: A medium one dices to about a cup, enough to sweeten the pot without taking over the beans.
Garlic: Two cloves minced fresh beat the jarred stuff, which tastes flat and slightly bitter after hours of low heat.
Butter: Real butter carries the garlic flavor through the pot, and vegan butter or olive oil does the same job if you need it.
How to Tell When the Beans Are Done and the Pot Is Right
Judging the onion and garlic before they hit the slow cooker
You want the onions translucent and soft, not browned. At 7 to 10 minutes over medium-high, they’ll look glassy and smell sweet. If they start to brown, pull the pan off the heat; those browned bits turn bitter after hours in the pot.
Garlic should smell nutty, not sharp. If it’s still acrid, give it another minute. This step sets the flavor base, so judge by smell and look, not the clock.
Reading the liquid level when you open the lid
After 4 to 5 hours on low, the beans should be tender and sitting in a shallow pool of broth. The liquid won’t have reduced much because the lid traps steam. If the beans are swimming, you’ve added too much broth or used frozen beans that released water.
You can’t fix that now without removing some liquid, but next time cut back. If the pot looks dry, add a splash of broth or water. You want glistening beans, not soup.
Tasting for doneness and seasoning at the end
A bean is done when it yields easily to a bite but still has a little resistance, not falling apart. Fresh beans hold up better; frozen ones may already be soft. Taste one before seasoning.
The broth has salt, so you might need less than you think. Add salt and pepper a little at a time, stirring, until the flavor sharpens.
Over-salting is the one mistake you can’t undo.
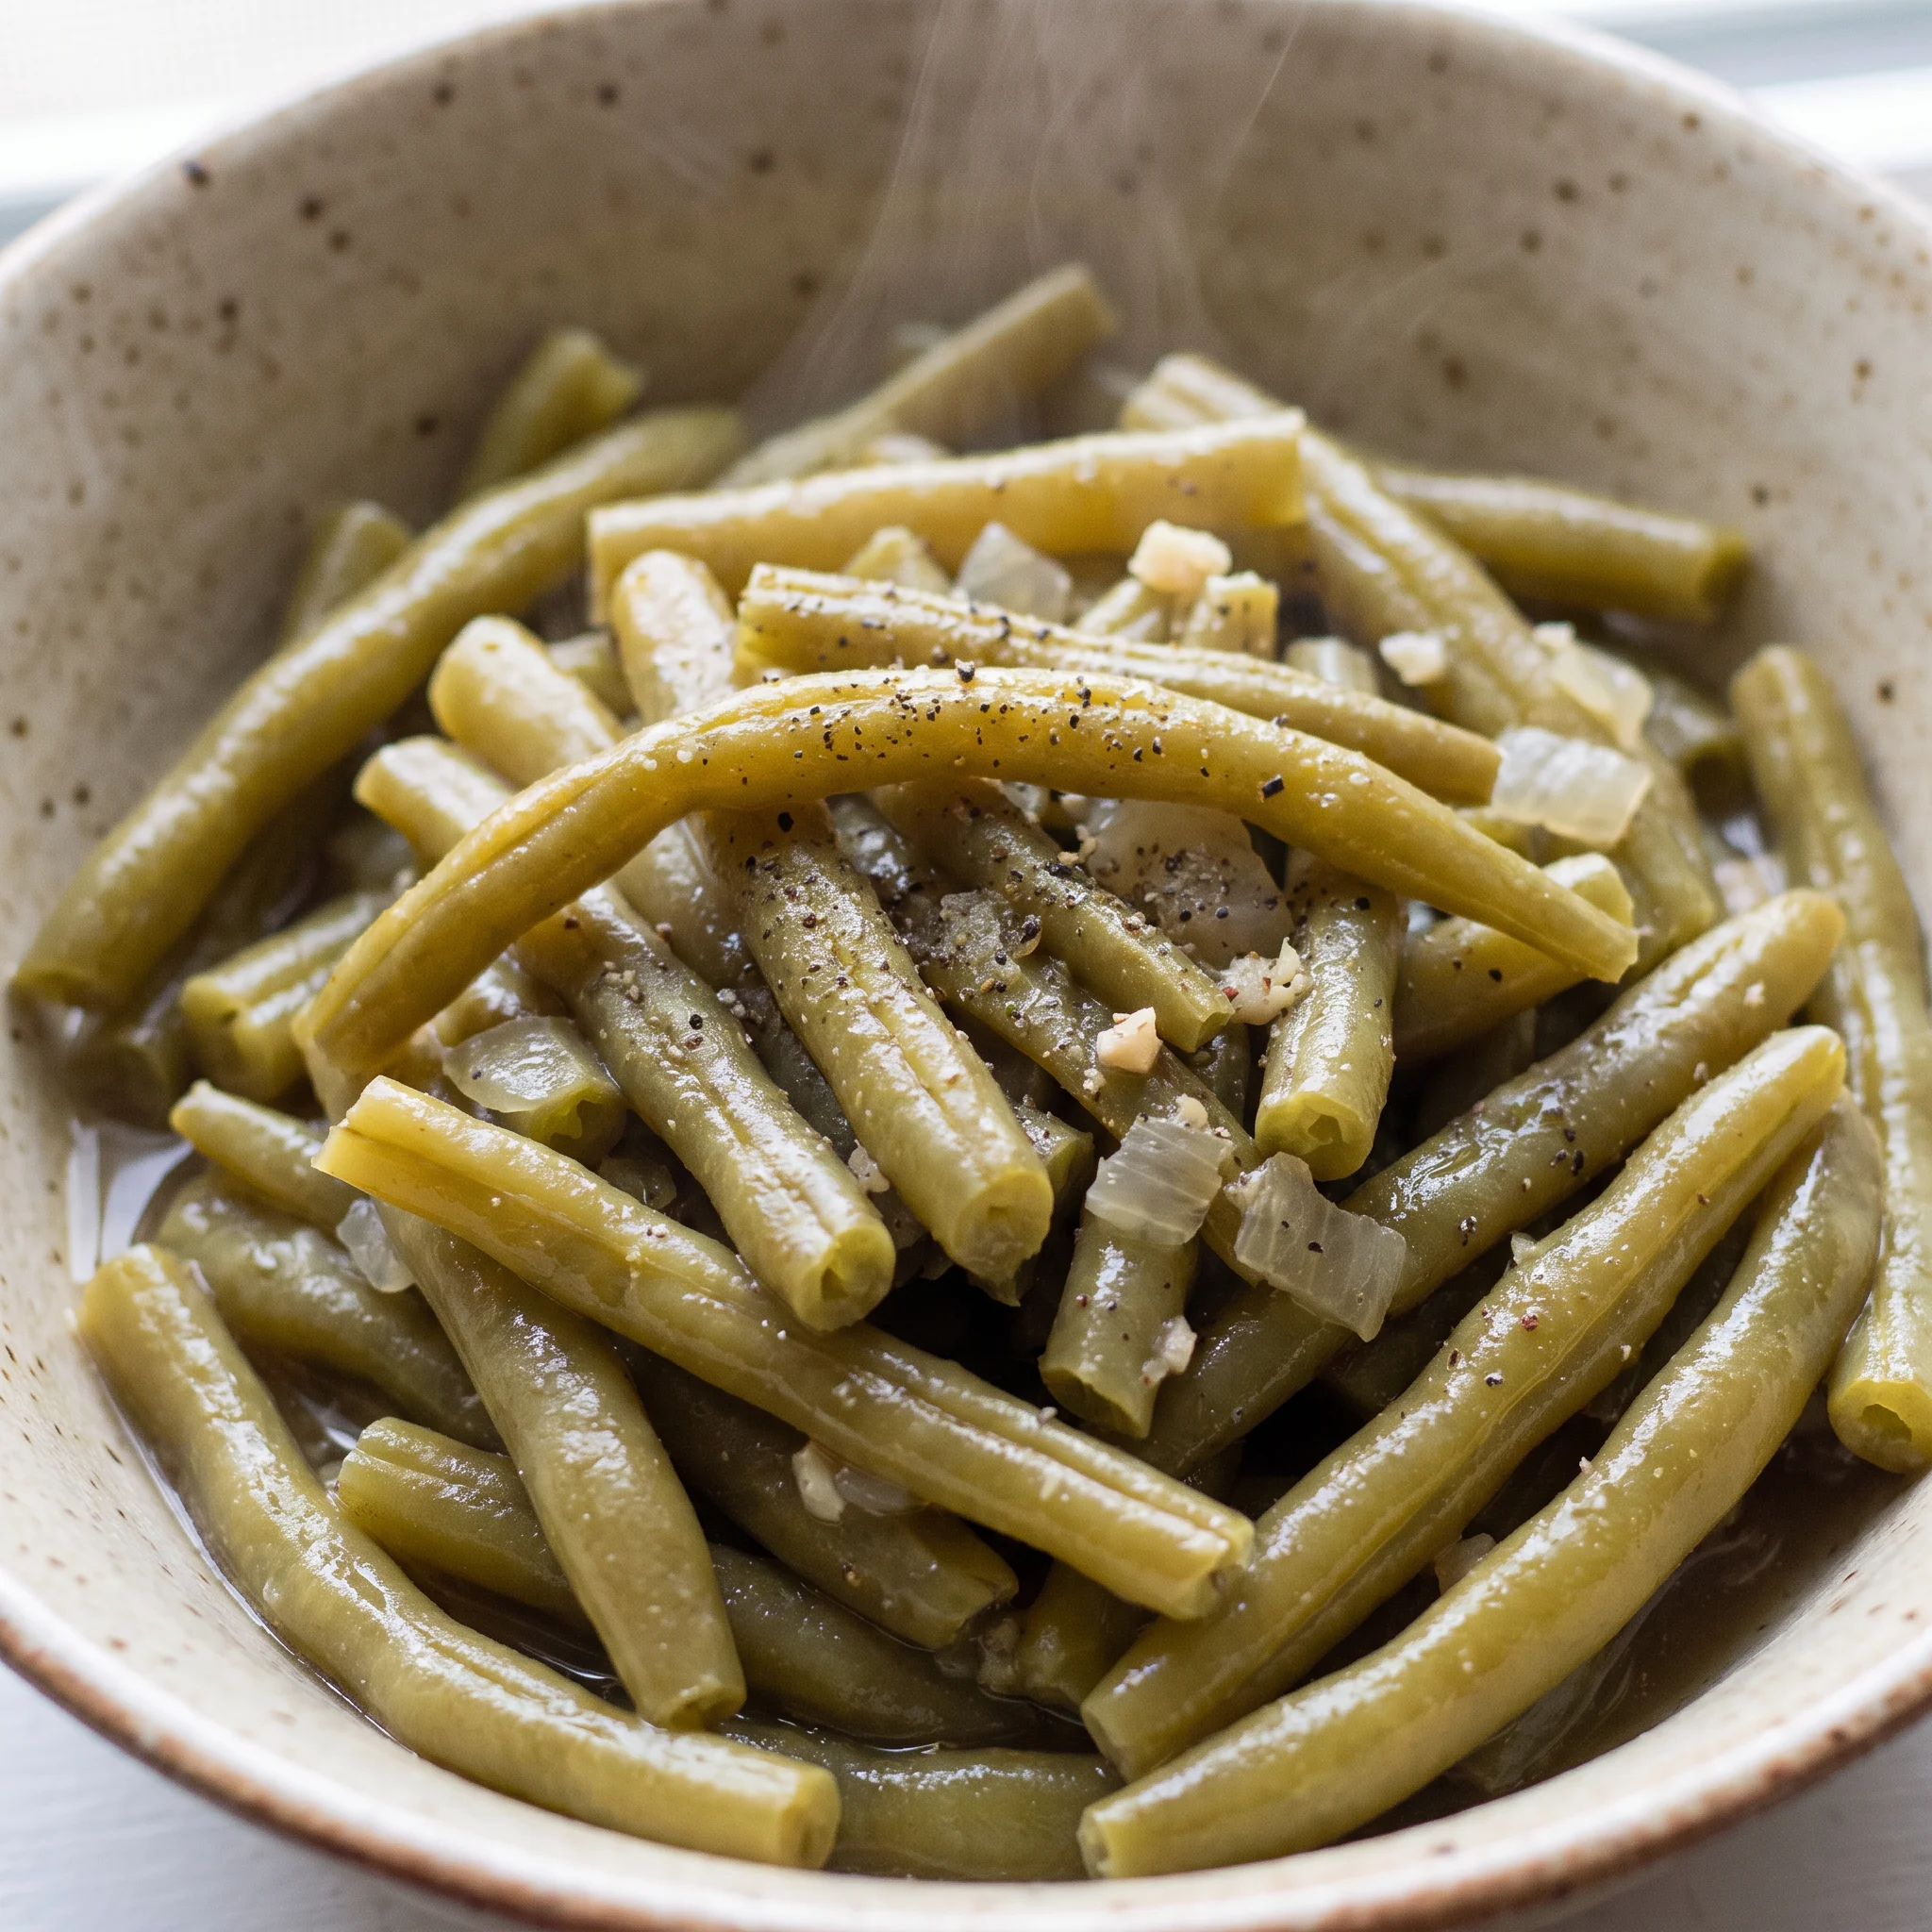
Slow Cooker Green Beans with Onion and Garlic
Ingredients
Method
- In a large skillet over medium-high heat, sauté the onions and garlic in the butter until the onions turn translucent, about 7 to 10 minutes.
- In the bottom of a 3.5-quart or larger slow cooker, add the green beans, sautéed onions and garlic, and the chicken broth.
- Cover and cook on LOW for 4 to 5 hours.
- Season with salt and pepper to taste and enjoy!
Storage and Serving: Texture Over Time
The beans keep softening after the slow cooker is off, so eat them within an hour of cooking for the best texture. They still have a little resistance then, and the broth is at its most balanced.
Leftovers hold in the fridge for up to 3 days in a sealed container. Day one they’re tender but intact; by day three they’re quite soft and the liquid has thickened with their starch.
Reheat gently on the stovetop or in the microwave with a splash of broth or water; high heat breaks them down further. Freezing isn’t recommended because the beans turn watery and limp once thawed. If you must, freeze only the broth for up to 3 months.
Salt and pepper go on right before serving, after reheating, because the broth’s saltiness concentrates as it sits. Taste first, then season.
What Swaps Work Here and What Falls Apart
Butter: Vegan butter or olive oil, same 1 tablespoon. Vegan butter behaves much like dairy butter in the skillet, melting and carrying the garlic flavor through the pot. Olive oil works too, though you may catch a faint fruitiness in the background.
The sauté step stays the same. What you lose is the browned-butter note, but in a slow cooker that nuance mostly disappears anyway. Use whichever fat fits your diet; the beans still come out savory.
5 fluid ounces. Vegetable broth swaps in cleanly. The beans and sautéed aromatics still get their savory backdrop, and the liquid level stays right.
If your vegetable broth is heavy on tomato or carrot, you might taste a sweeter, brighter note, but it won’t clash. Just check the salt: some vegetable broths are saltier than chicken, so hold back on added salt until you taste the finished beans.
Fresh green beans: Frozen green beans, same 2 pounds. Frozen beans have been blanched and frozen, which breaks down their structure.
In the slow cooker they shed a lot of liquid, so the broth turns thin and the beans go limp. You’ll want to cut the broth back, maybe to 1 cup, to avoid a watery pot, but start with the recipe’s amount and adjust next time based on how it looks. The beans still cook through, but don’t expect the same firm bite.
If texture matters, fresh is the better bet.
Tips
- Trim and wash the 2 pounds of green beans before you start the onions, then spread them on a towel and pat them dry. The skillet sauté and the slow cooker both care about water: wet beans drop extra liquid into the pot, and the broth is already calibrated to stay shallow, so a few ounces of rinse water can push the beans toward swimming instead of glistening.
- Cut the beans into 2-inch pieces rather than leaving them whole. Two pounds of whole beans pile high in a 3.5-quart cooker and the ones near the top steam without touching the broth; shorter pieces settle into a more even layer, so every bean sits in liquid and cooks at the same rate over the 4 to 5 hours.
Frequently Asked Questions
Can I put this together the night before and start it in the morning?
You can, with one caveat: hold the broth out until morning. Layer the green beans, sautéed onions, and garlic in the slow cooker insert, cover, and refrigerate overnight. The next morning, pour the broth over the top and set it to cook.
The reason is simple: beans sitting in liquid for eight hours before the heat comes on start to soften and leach flavor, and the dish ends up with less bite. If you do add the broth the night before, don’t worry, the beans still cook, but the texture won’t be quite as firm.
Why did my green beans turn out mushy?
The most likely cause is frozen beans. They’ve been blanched and frozen, so their structure is already weakened, and in the slow cooker they shed water and go limp fast. Fresh beans hold their shape much better.
A second check is your cook time: if you went past five hours on low, even fresh beans will soften past the point of a slight resistance. The visual cue is the liquid: frozen beans leave you with a thin, watery broth and dull, soft beans, while fresh beans stay bright green and the broth stays concentrated. If you’re using frozen next time, cut the broth back to avoid a soupy pot.
How is this different from Southern-style green beans cooked with bacon?
Southern-style green beans usually start with bacon or a smoked pork product, and the fat and smokiness are the backbone of the dish. Here, the flavor base is butter and sautéed onions and garlic, so the beans come out savory but without that smoke or pork richness.
The cooking liquid is chicken broth rather than the seasoned pot likker you get from simmering pork, so the broth stays lighter and more vegetable-forward. Both methods cook the beans low and slow, but this one leans on aromatics instead of cured meat. If you want that smoky depth, you’d need to add bacon or smoked turkey, which isn’t part of this recipe.
