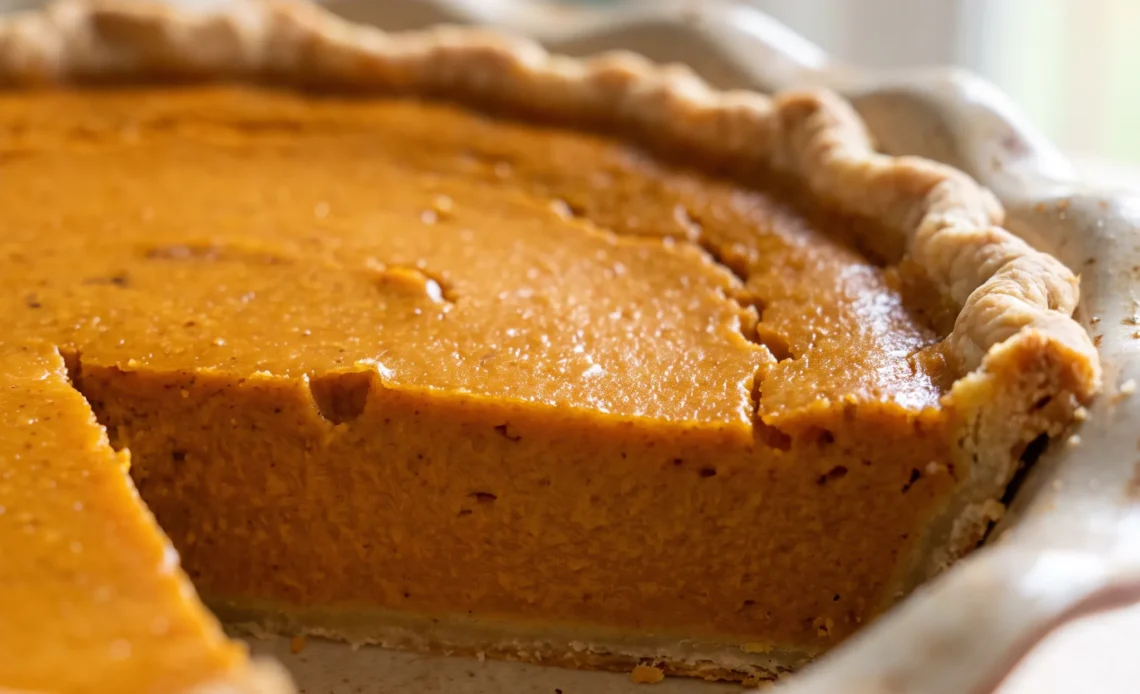
A roasted sugar pumpkin gives up a lot of water in the oven, and that’s the whole game with a from-scratch pumpkin pie. You scoop the flesh and it should hold a ridge on the spoon. If it slumps, the custard will separate and the crust turns sodden within an hour of slicing.
What surprises cooks is how much less sweet the filling tastes when the pumpkin itself was watery: the sugars that should have concentrated got diluted instead. You can catch that before the eggs go in and correct it. The reward is a slice that tastes like pumpkin rather than spice, with a texture closer to dense cheesecake than the soft, uniform stuff from a can.
The rest of the method is about reading each stage before it’s too late.
What’s the difference between fresh roasted pumpkin and canned puree?
Fresh roasted pumpkin brings a depth that canned puree just doesn’t have. When you roast a pie pumpkin, the oven pulls out a good amount of water, so the flesh you scoop out is denser and less watery.
That matters because a wet filling will soak into the crust and leave you with a soggy bottom. Canned puree, on the other hand, often contains more water and a flatter, more uniform taste.
As the pumpkin roasts, its natural sugars concentrate and start to caramelize, giving you a richer, more complex flavor that hints at caramel and earthiness. You’ll notice the difference in the first bite: a more intense pumpkin taste that isn’t buried under spice. The recipe offers canned puree as a fallback, and it works in a pinch, but the texture will be softer and the flavor less bright.
For the best result, take the extra time to roast a pie pumpkin. Look for one that feels heavy for its size and has a dry, firm stem.
That’s your cue for dense, sweet flesh.
Why does the crust need to be blind baked?
A raw crust can’t set properly under a liquid filling. The custard would seep into the dough, turning it into a gummy, undercooked layer instead of a crisp base.
Blind baking solves that by pre-cooking the crust to create a moisture barrier. As it bakes, the starches firm up and the surface dries out, so when the wet pumpkin custard goes in later, it stays on top rather than soaking through. Chilling the crust before it goes into the oven is equally important: cold dough holds its shape and resists shrinking, so you don’t end up with a crust that slumps down the sides.
Weights, whether beans, pennies, or pie weights, press the dough flat against the pan and keep it from puffing up. Docking alone, pricking the dough with a fork, isn’t enough because the liquid filling would still find its way in.
After blind baking, the crust should look set and dry, with no raw patches. That’s your sign it’s ready for the filling.
How do you get a silky custard instead of a grainy one?
Heating the pumpkin puree with the sugars and spices before adding the dairy and eggs is what gives you a smooth, lump-free custard. When the puree is hot, the sugar dissolves completely and the spices bloom, releasing their flavor evenly. If you just mixed everything cold, you’d likely end up with gritty bits of undissolved sugar and pockets of spice.
The half-and-half and maple syrup bring richness and a pourable consistency without making the filling too thin. Eggs are the setting agent, but they need to be added off the heat. If the mixture is too hot when they go in, they’ll scramble, leaving you with curdled bits.
Whisking them in gradually helps them incorporate smoothly. Once the eggs are in, stop whisking vigorously.
Over-whisking incorporates air, which can cause the custard to puff and then crack as it cools. A gentle stir until just combined is all you need. The filling should look glossy and uniform, like a thin batter.
That’s when you know it’s ready to pour.
Why does the pie need to rest before slicing?
The pie sets fully during a long rest, not in the oven. When you pull it out, the center might still jiggle slightly, and that’s expected. The residual heat continues to cook the custard, and as it cools, the structure firms up.
If you slice too early, the filling won’t have had time to set, and you’ll get a runny center. The recipe specifies a 1-hour cool before slicing, and that’s the minimum.
During that time, the proteins and starches fully set, giving you clean slices. Rushing it can also cause the surface to crack or weep, because the custard contracts unevenly as it cools too fast.
A properly set pie is firm but creamy, not watery. An overbaked one, on the other hand, will curdle and separate, with a spongy texture. You want to pull it when the edges are set but the center still has a slight wobble.
After an hour, the pie will be ready to cut. The first slice should come out neat, holding its shape on the plate.
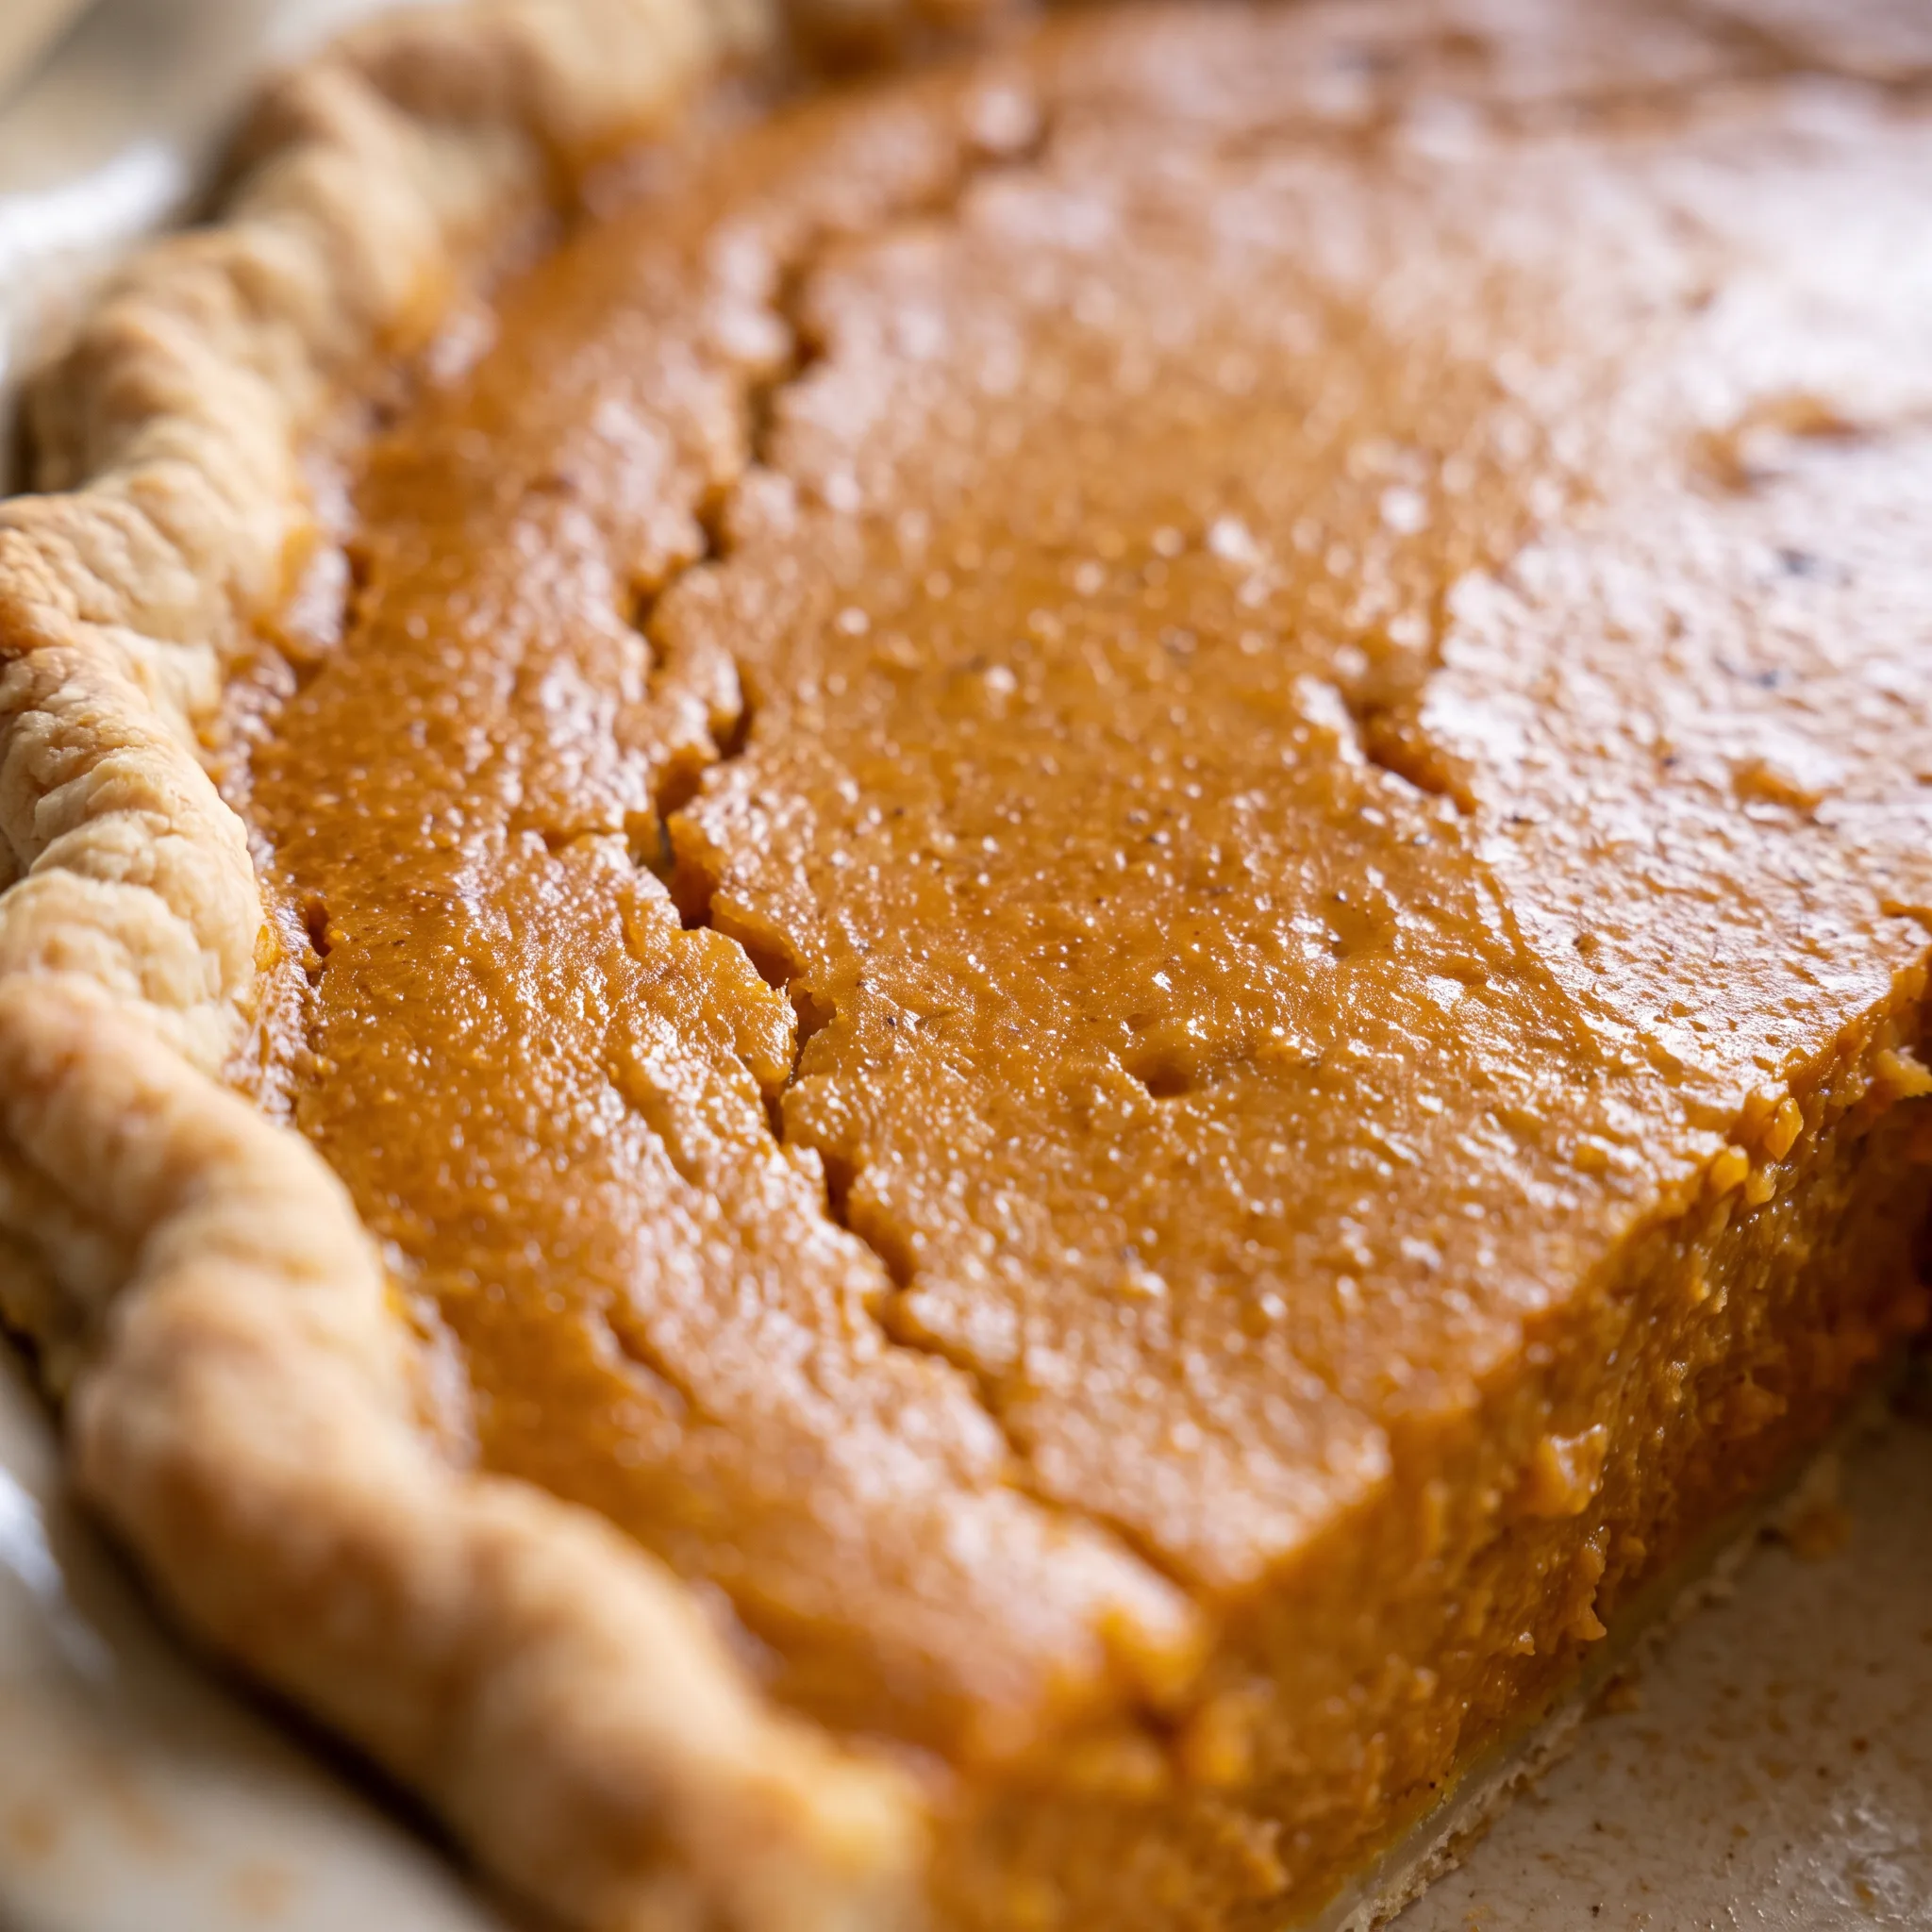
What to buy for a pie that sets and tastes like pumpkin
Pie pumpkin: Choose a pie pumpkin heavy for its size with a dry, firm stem, since the flesh is denser and sweeter than a jack-o’-lantern’s.
Ready-made pie shell: Frozen or refrigerated roll is fine, but bring it to room temperature first so it presses into the plate without cracking.
Half-and-half: Use the real dairy half-and-half, not a lower-fat or non-dairy creamer, or the custard won’t set with the same body.
Maple syrup: Pure maple syrup is what the recipe calls for, and pancake syrup’s corn syrup and additives will make the filling sweeter and thinner.
Ground cloves and nutmeg: These two are strong, so measure them carefully; a little extra cloves can bully the pumpkin and read as medicinal.
Eggs: Two large eggs are the setting agent, so use fresh ones and whisk them just until the yolks and whites are uniform.
The hard step is step 9: whisking the eggs into the hot pumpkin mixture. If the mixture is still steaming or bubbling when the eggs go in, the egg proteins will tighten into visible curds instead of forming a smooth gel. Watch for a glossy, uniform surface as you whisk; if you see streaks or small lumps, the eggs are already setting too fast and the custard will bake up grainy and leak water.
How to read the pie at each stage, from raw pumpkin to a clean slice
Judging when the roasted pumpkin is dry enough to puree
After an hour in the oven, the cut halves should feel soft all the way through and have released a pool of liquid on the baking sheet. If the flesh still feels firm in the thickest part, give it more time.
When you scoop it, the puree should hold its shape on a spoon rather than slump. Wet puree makes a filling that separates and leaves a soggy crust.
If it looks watery, spread it in a skillet over low heat and stir until it thickens.
Knowing when the blind-baked crust is set, not just pale
The crust comes out of its blind bake looking dry and matte, with no shiny raw patches and a faint golden edge. Touch it: it should feel firm and sandy, not cool and pliable.
If the center still looks wet or the dough gives under your finger, it needs a few more minutes. Underbaked crust will soak up the custard and turn gummy.
Overbaked is less of a problem, but it can taste stale by the time the pie finishes.
The moment the custard turns glossy and pourable
After the puree, sugars, and spices hit the saucepan, keep whisking over medium heat until the mixture is hot to the touch and the sugar has dissolved. You’ll see it go from grainy and dull to glossy and fluid, about five minutes.
If you add the eggs before it reaches that point, the filling stays gritty. If it gets too hot, the eggs will scramble when they go in. Pull it off the heat the second it looks smooth and steamy.
Reading the jiggle before you pull the pie from the oven
An hour in, the edges should look set and slightly puffed, while the center still wobbles like firm gelatin when you nudge the pan. A toothpick poked in the middle comes out clean.
If the whole surface is liquid, it needs more time. If the center is cracked or looks like a sponge, it’s overbaked.
The residual heat finishes the set during the one-hour rest, so pull it while the middle still moves.
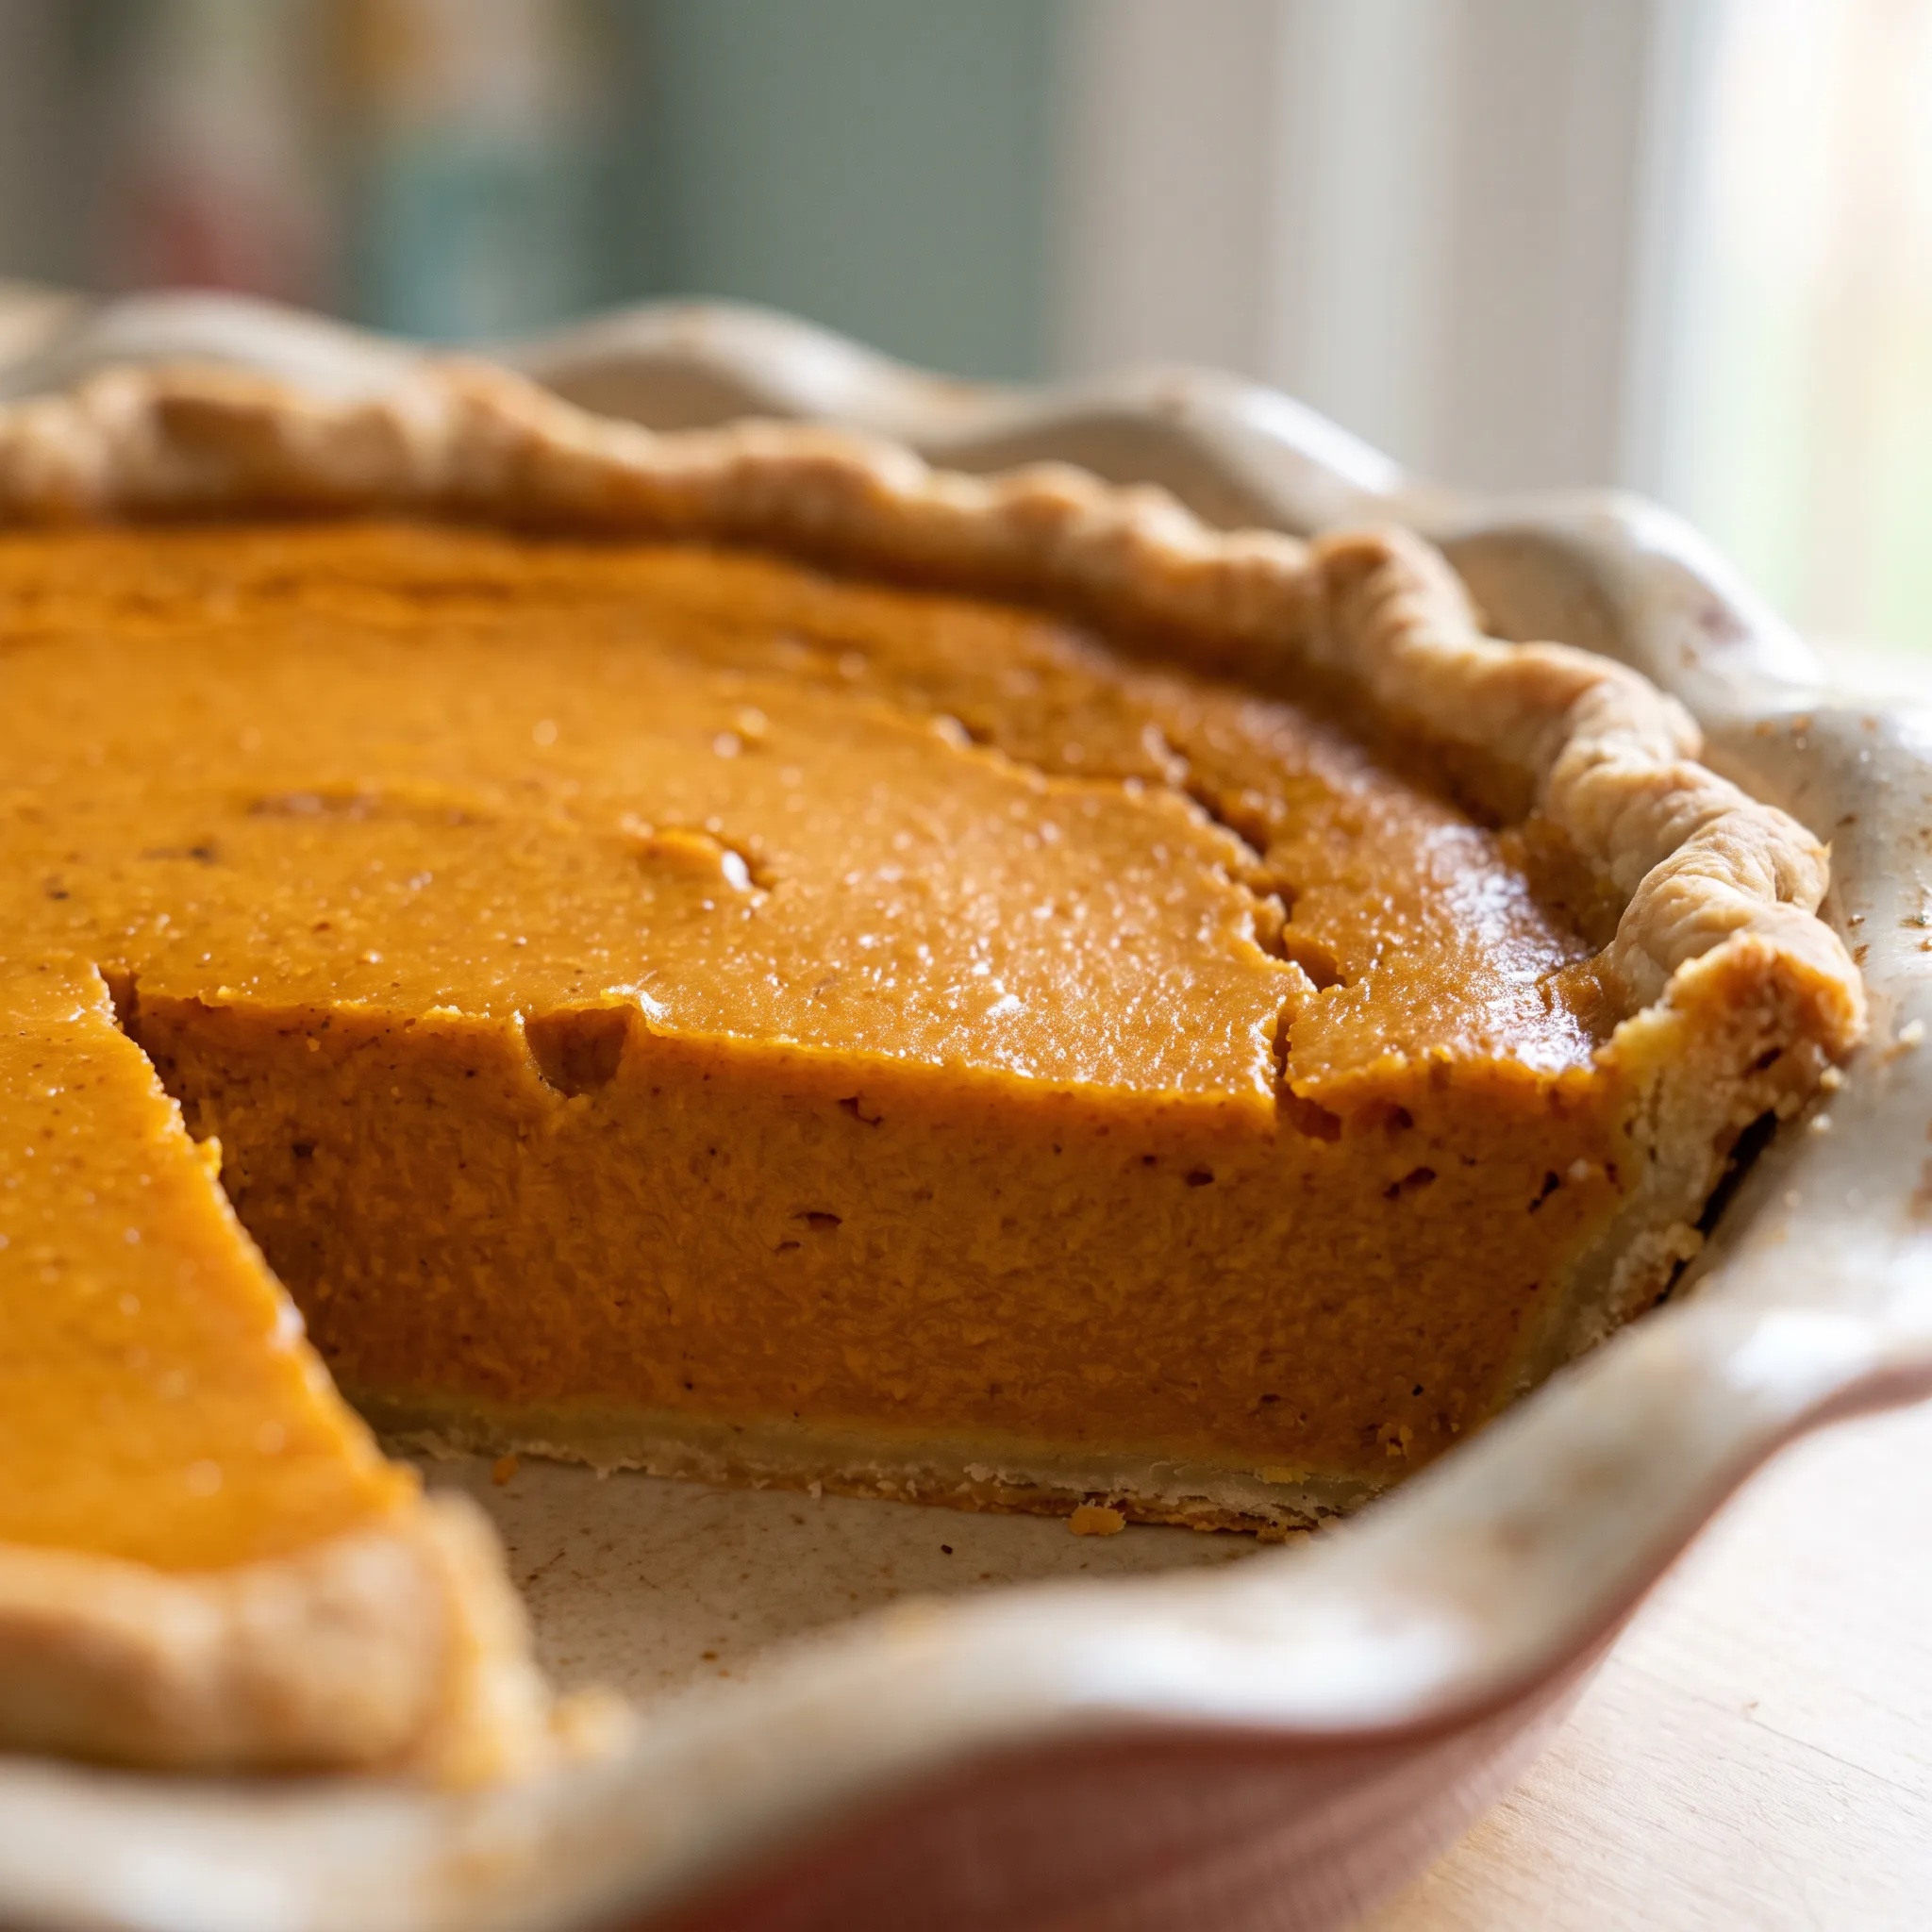
Classic Pumpkin Pie with Maple and Spice
Ingredients
Method
- Set oven to 350°F (175°C), positioning rack in the lower half.
- Slice pumpkin in half from top to bottom, remove seeds, lay halves cut side down on a baking sheet, and roast 1 hour. Allow to cool, then peel off skin.
- In the meantime, press crust into pie plate and chill at least 30 minutes, up to step 4.
- After pumpkin has roasted and is cool enough to touch, strip away all skin.
- Blind bake the crust: line with parchment paper and fill with dry beans, pie weights, small dried pasta shapes, or clean pennies/change. Bake 10–12 minutes.
- While crust blind bakes, place 2 cups pumpkin flesh, white sugar, brown sugar, ginger, cinnamon, cloves, nutmeg, and salt in a food processor; pulse 1 minute.
- Move puree to a saucepan and stir with a whisk over medium heat until hot, roughly 5 minutes.
- Stir in half-and-half and maple syrup; whisk until smooth. Take off heat.
- Stir in eggs and vanilla extract; whisk until smooth.
- Transfer pumpkin filling into the prepared pie plate.
- Bake roughly 1 hour, until a toothpick poked in the middle comes out clean. Let cool 1 hour before slicing.
What you can swap without wrecking the set, and what you can’t
Ready-made pie shell: Use a frozen deep-dish shell instead of a standard one, or a refrigerated roll if you prefer. A deep-dish shell holds more filling, so you’ll have leftover custard unless you scale up or bake the extra in a ramekin. A standard shell may runneth over if your pumpkin puree is on the wet side.
If using a refrigerated roll, press it into your own plate and chill it; the blind bake time stays the same, but check for doneness because thinner dough sets faster.
Half-and-half: For dairy-free, use full-fat coconut cream (the kind in a can) mixed with water to mimic half-and-half’s richness, or whole milk plus a tablespoon of melted butter per cup. Coconut cream adds a faint coconut flavor that can compete with the spices, and the custard may set slightly softer. Whole milk plus butter works in a pinch but lacks the body of half-and-half, so the pie might be a touch less creamy.
Start with the same 1 1/4 cups the recipe calls for, then adjust after the first bake.
White and brown sugar: Coconut sugar can replace the white sugar, and dark muscovado can stand in for the brown. Use the same weights: 67 g for the white, 55 g for the brown. Coconut sugar is less sweet and brings a faint caramel note; muscovado is darker and more molasses-heavy, so the filling will taste deeper and a bit less sweet.
Both will darken the custard’s color. The texture stays similar, but you may want to taste the filling before it goes into the crust and add a spoonful more sugar if it seems flat.
Eggs: Don’t swap them. Two large eggs are what set this custard; without them, you’re left with a soupy filling that never firms up. Egg substitutes or flax eggs won’t give you clean slices; the pie will weep and the center won’t hold.
If you’re avoiding eggs, this isn’t the recipe to adapt. The same goes for the pumpkin-to-liquid ratio: adding more or less of either will throw off the set. Stick to the amounts given.
Tips
- After you scoop the roasted pumpkin, press it in a fine-mesh sieve or a double layer of paper towels and blot the surface until no more water beads up. The recipe calls for 2 cups of flesh, but if that mash still feels wet, you have two choices: add 5 to 10 minutes to the blind bake so the crust forms a stronger moisture barrier, or pull back the half-and-half by 2 to 3 tablespoons. A mash that releases water in the sieve will otherwise thin the custard and soak the crust.
- Before you add the eggs and vanilla, taste the warm puree mixture for sweetness. If your roasted pumpkin came out especially watery, it also came out less sweet, because the sugars that would have concentrated are diluted. In that case, add an extra tablespoon of brown sugar (about 14 g) along with the half-and-half. This keeps the filling from tasting flat without changing the set.
Storage and Serving: How to Keep and Enjoy Your Pumpkin Pie
The pie is fully set after the 1-hour rest, but it’s still warm. For the best texture, serve it within 2 hours of that rest, when the custard is just firm and the crust is crisp. If you’re not eating it right away, cool it completely, then refrigerate.
Wrap it tightly or put it in a pie keeper. It’ll hold for 2 to 3 days.
Day one, the custard is creamy and the crust has a snap. By day two, the crust softens from the moisture in the filling, and the custard gets denser.
Day three, the crust is noticeably soggy, but the flavor is still good. You can serve it cold, at room temperature, or gently rewarmed. Cold firms up the custard and makes the crust crisper.
Room temperature brings out the spices. To rewarm, put slices in a 300°F oven for 10 minutes; the crust will crisp slightly.
Don’t microwave, it makes the crust rubbery. Freezing isn’t recommended; the custard weeps and the crust gets waterlogged when thawed.
If you must, freeze slices well wrapped for up to 1 month, then thaw in the fridge and eat cold. The finishing touch, a dollop of whipped cream, goes on just before serving so it doesn’t weep.
Frequently Asked Questions
Can I make pumpkin pie a day ahead?
Yes, but the crust pays for it. The pie is fully set after the one-hour rest, so cool it completely, then refrigerate it tightly wrapped or in a pie keeper. It holds two to three days, and by day two the crust has already softened from the moisture in the filling, with the custard getting denser.
Bake it the day before if you need to, but know that day-one texture is what you’re giving up. If you want the crisp snap, serve it within two hours of that rest.
Why did my pumpkin pie turn out watery?
Start with the pumpkin itself. If the puree slumps off a spoon instead of holding its shape, there’s too much water in it, and that water ends up in the custard and often in the crust.
Spread it in a skillet over low heat and stir until it thickens before you build the filling. If the puree was dense, check the other likely cause: pulling the pie before the center has set. The middle should still wobble like firm gelatin when you nudge the pan, and the long rest finishes the job.
Slice into a pie that never got that rest and the center runs.
How do I know when pumpkin pie is done baking?
Look at the edges and the middle separately. The rim should look set and slightly puffed, while the center still moves when you nudge the pan, like firm gelatin rather than liquid. A toothpick poked in the middle comes out clean.
If the whole surface is still liquid, it needs more time; if the center is cracked or spongy, it’s gone too far. The pie finishes setting during the one-hour rest, so pull it while the middle still has that wobble.
What’s the difference between this pumpkin pie and the classic version?
The pumpkin gets roasted first, and that changes the whole pie. An hour in the oven drives off water and concentrates the sugars, so the flesh you scoop is denser and tastes deeper than the flat, uniform flavor of canned puree.
Maple syrup stands in for some of the sugar, which brings a softer sweetness that sits alongside the spices instead of burying them. The result is a firmer, more intensely pumpkin filling. Canned puree works as a fallback, but the texture comes out softer.
