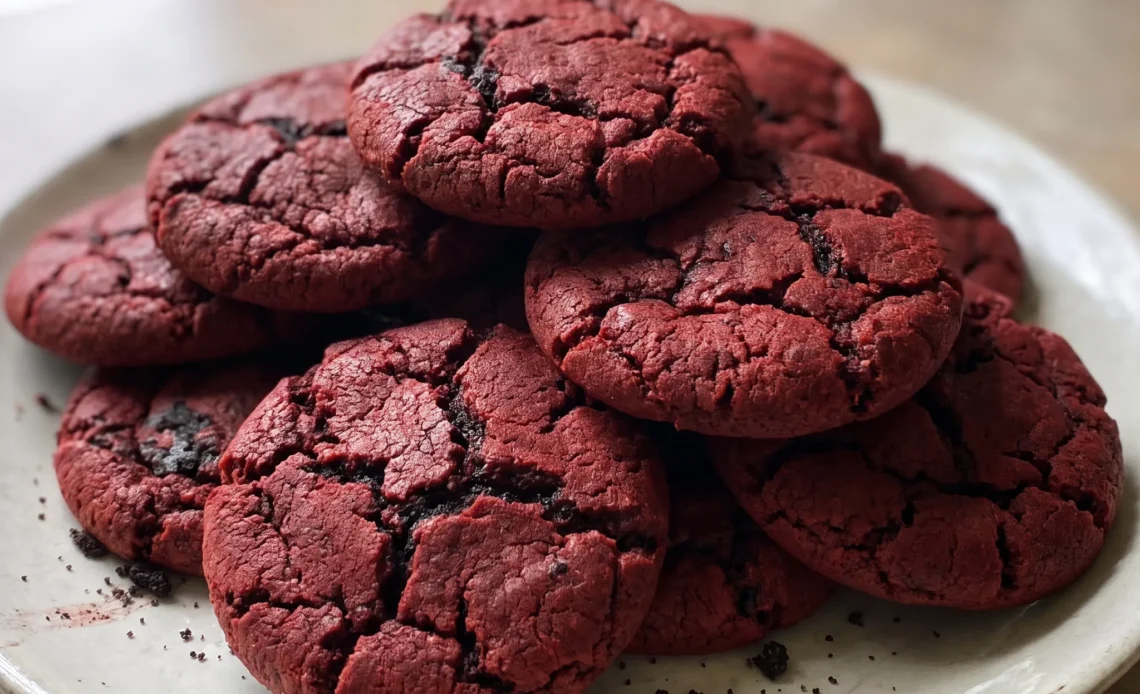
Red velvet Oreo cookies aren’t a red cookie with Oreos folded into the dough. The crust is the whole trick: each ball of deep red dough gets pressed into dry, cream-scraped crumbs before it hits the oven, so you bite through a toasted chocolate shell into a soft center.
That shell is where batches go wrong, and it’s rarely the dough’s fault. Cream left on the cookies steams, and the coating slides off in patches. Cold butter and a short chill keep the cookies tall, but the crumb itself stays tender from cake flour, which is the part people tend to notice only after they’ve eaten two.
It reads as a bakery project. It isn’t one.
The most common mistake is adding too much cocoa powder or overmixing after the red food coloring, which causes the red to turn brown. Cocoa powder contains natural brown pigments and is slightly acidic; when combined with red dye, the acid can shift the dye’s color toward a duller, darker tone, and overmixing exposes more of the dye to air and light, accelerating fading. The recipe’s balance of 2 tablespoons cocoa to a full bottle of red coloring is deliberate, deviating from it risks a muddy, brownish cookie.
Cold Butter Keeps the Dough Firm
If you’ve ever pulled a tray of cookies from the oven and watched them spread into one another, the butter was too warm. Starting with cold, cubed butter means the dough stays firm as it goes into the oven.
The fat doesn’t melt until the cookies are already setting, so they hold their height instead of flattening into crisps. You’ll notice the dough feels cooler and stiffer when you shape it, and that’s exactly what you want.
Creaming cold butter with sugar doesn’t trap air the same way room-temperature butter does; it’s a slower process, and the texture ends up denser, which helps the cookies bake up thick and chewy. After mixing, a 20-minute chill in the fridge gives the fat another chance to firm up.
Skip it, and the dough warms as you roll, spreading faster in the oven. With the chill, the cookies keep a soft center and a sturdy edge that holds up to the Oreo coating.
Cake Flour and Cornstarch Make a Tender Crumb
A soft, tender cookie doesn’t happen by accident. Cake flour has less protein than all-purpose, so it forms less gluten when you mix.
That means the crumb stays delicate rather than tough. Cornstarch works alongside it, getting in the way of gluten strands and adding a smooth, almost melt-in-your-mouth quality. Together, they keep the cookies from turning rubbery, even with the cocoa powder and a good amount of red food coloring in the dough.
The contrast with the crunchy Oreo coating is what makes these cookies interesting. Bite through the crisp outside and the inside gives way without resistance.
If you used only all-purpose flour, you’d get a chewier, denser cookie, but it wouldn’t have that softness that makes you reach for a second one. The combination here is what gives these their signature texture, so don’t skip either one.
Why the Oreo Cream Has to Go
Oreo cream is mostly fat and sugar, with a little moisture. If you leave it on the cookies before crushing, that moisture turns to steam in the oven, and the coating slides right off.
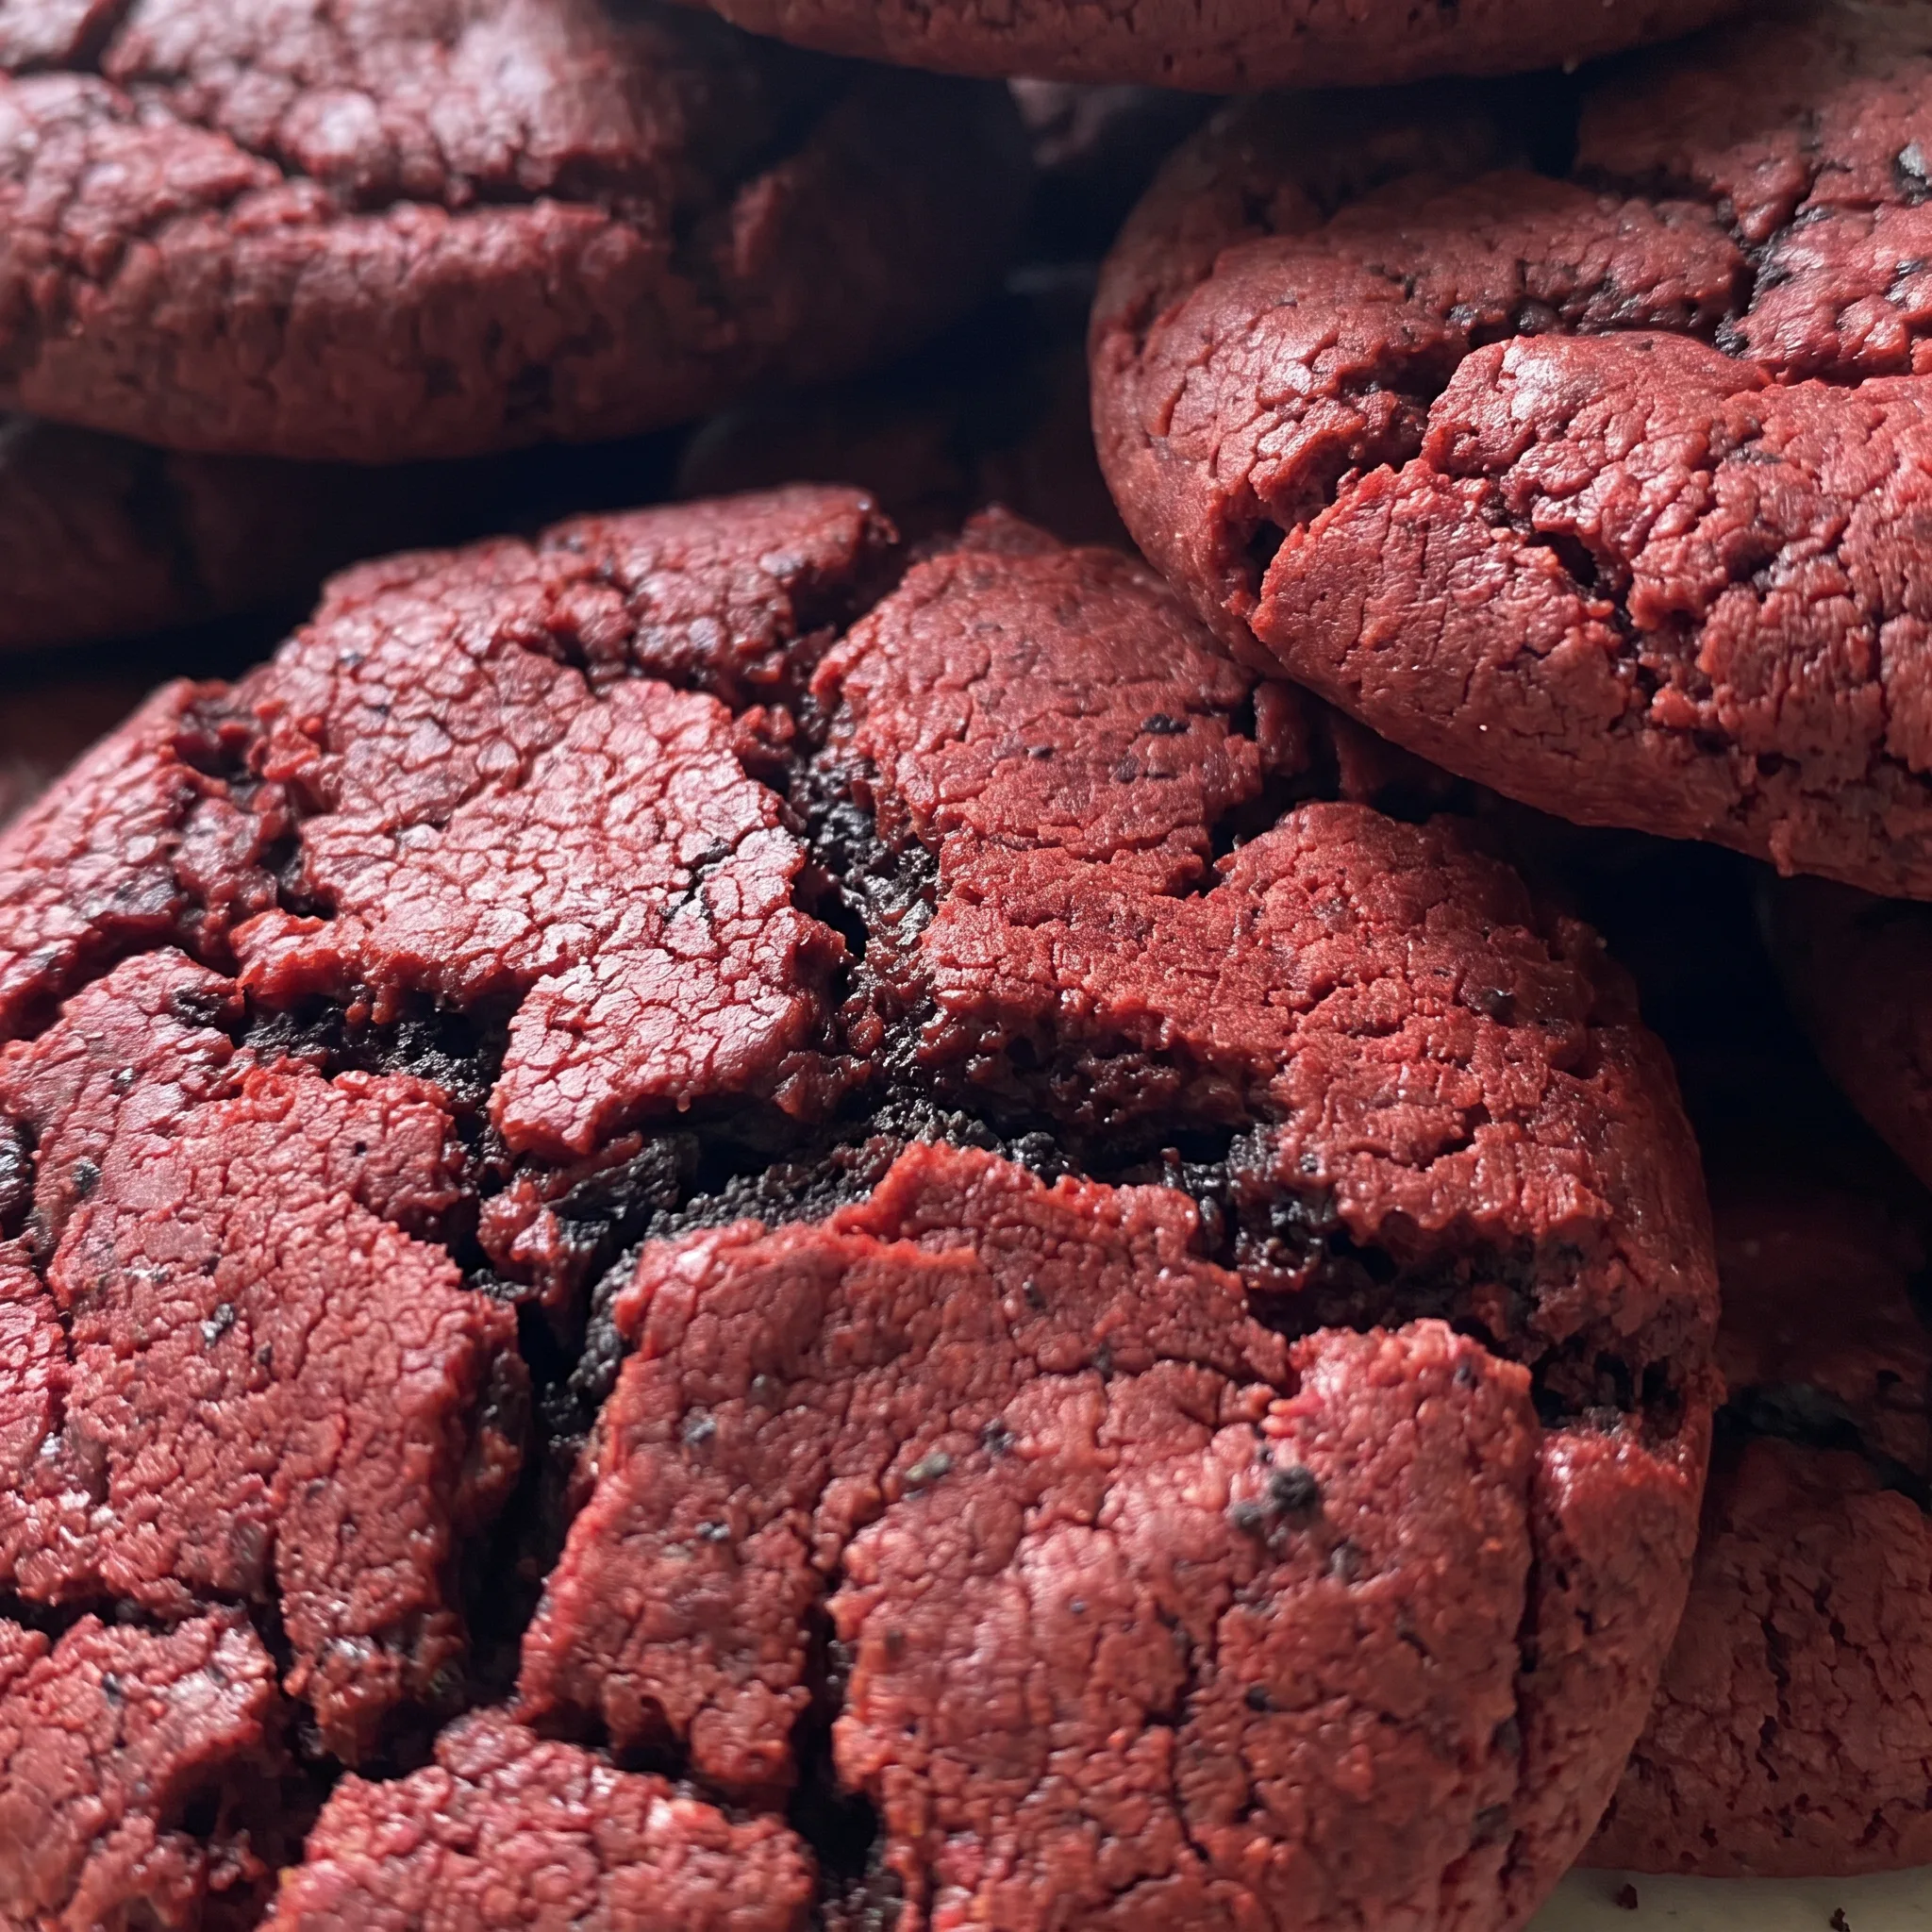
You end up with bare patches and a gummy mess on the baking sheet. Scraping the cream away leaves you with dry, crunchy crumbs that stick to the dough and stay put. Those crumbs toast slightly in the oven, adding a crisp shell that cracks when you bite in.
The cookie inside stays soft, so you get that contrast in every mouthful. It’s a small extra step, but the payoff is a coating that looks and tastes like it belongs.
Without it, the Oreos would just be a sad, soggy topping. So take the minute to separate the cookies and scrape the filling into the trash. Your cookies will thank you.
The Color Comes From More Than Red Dye
Red velvet gets its signature hue from a careful balance of cocoa and food coloring. Cocoa powder brings a subtle chocolate flavor, but it also has brown tones that can muddy the red.
That’s why you need a generous amount of red food coloring. The two ingredients work together: the dye brightens the batter, while the cocoa adds depth.
As the cookies bake, the heat sets the color, and the red deepens slightly. If you skimp on the dye, you’ll end up with a brownish cookie that tastes fine but doesn’t look the part.
The batter should be a deep, bright red before it goes into the oven. When you pull the cookies out, they’ll have that classic red velvet look with a hint of chocolate in the background. It’s a visual cue that tells you the dough is balanced.
What to Check Before You Start Mixing
Unsalted butter: It needs to be cold and cubed, so keep it in the fridge until the mixer is ready.
Red liquid food coloring: Buy a fresh bottle, since older dye loses strength and won’t give that deep red.
Unsweetened cocoa powder: Use natural cocoa, not Dutch-process, because the acidity helps the red stay bright.
Cake flour: It has less protein than all-purpose, which keeps the cookies tender and soft.
Oreo cookies: Scrape out the cream completely, or the coating will slide off in the oven.
Reading the Dough at Three Points That Decide the Cookie
When the butter and sugar are creamed enough
Cold butter never gets truly fluffy, so stop when the mixture looks like wet sand that just starts to clump. If you keep beating for air, the butter warms and the dough turns greasy, which means more spread in the oven.
The fix is simple: if it looks soupy, put the bowl in the fridge for five minutes, then continue. You want the texture of damp sand, not whipped frosting.
Judging the red color before the flour goes in
The dough should be a deep, almost alarming red at this point, because the flours and cocoa will dull it by a shade or two. Stop adding dye when the color is one notch brighter than the baked cookie you picture. If it already looks brownish, you’ll never get that classic red velvet look.
A few extra drops now save the batch from looking muddy.
How the dough feels after the chill
Twenty minutes in the fridge should make the dough firm but still scoopable, like cold cookie dough from a tub. If it’s hard as a rock, let it sit on the counter for a few minutes, or it will crack when you roll it.
If it’s still soft and sticky, give it another ten minutes. The right texture holds a ball shape without sagging, and that’s what keeps the cookies thick.
When the cookies are done in the oven
At 10 to 11 minutes, the edges should look set and slightly darker, but the centers will still look underdone and puffy. That’s exactly right.
Pull them out then. If you wait until the centers look firm, the cookies will cool into hard pucks. They finish setting on the hot sheet, so trust the soft center and the timer.
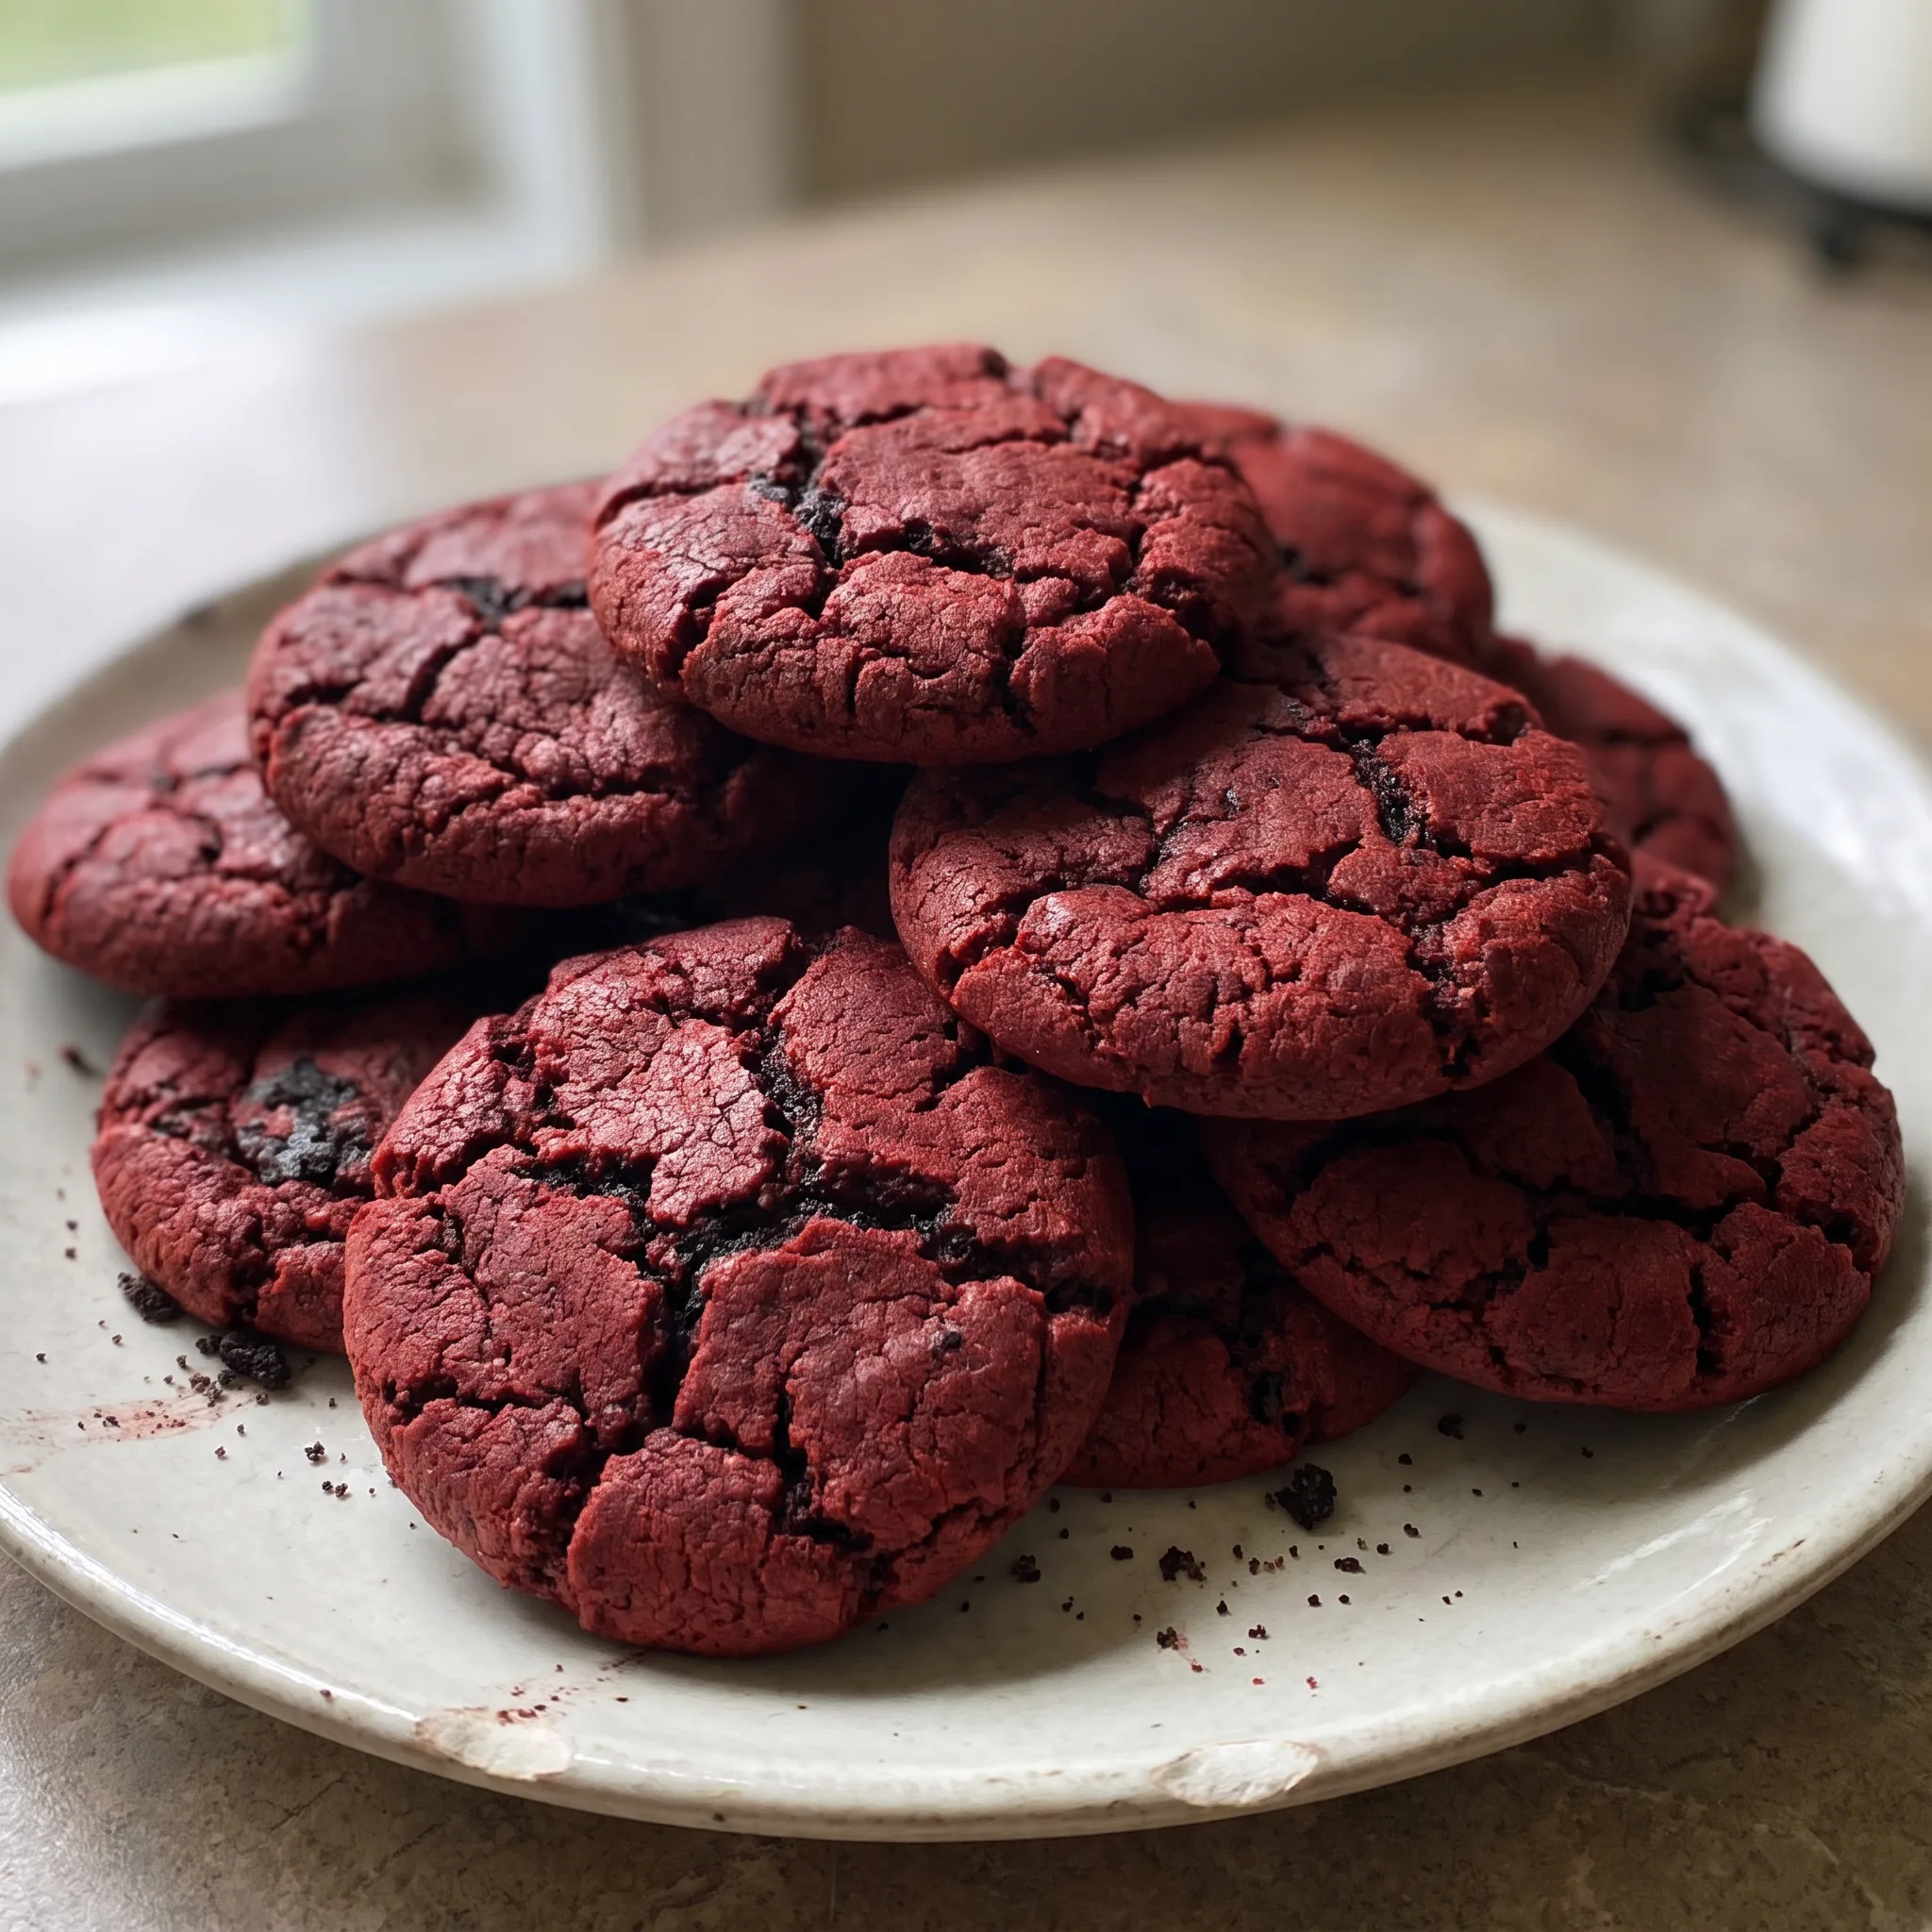
Red Velvet Oreo Cookies with Cream Cheese
Ingredients
Method
- Set oven to preheat; line baking sheets with parchment paper and set them aside.
- Using a stand mixer, beat the cold cubed butter and granulated sugar until the mixture is light and fluffy.
- Incorporate the eggs one at a time, mixing thoroughly after each addition, then blend in the vanilla extract until the batter is smooth.
- Stir in the red food coloring and unsweetened cocoa powder until the dough achieves a deep red color.
- In a separate bowl, whisk together the cake flour, all-purpose flour, baking soda, cornstarch, and salt.
- Add the dry ingredients to the wet mixture in stages, stirring until just combined.
- Refrigerate the dough for 20 minutes to minimize spreading and promote thicker cookies.
- Put the crushed, cream-removed Oreos in a separate bowl for coating.
- Shape the dough into 3.5 oz balls and roll each ball in the crushed Oreos.
- Bake the cookies for 10-11 minutes, until the edges are set but the centers remain soft.
- Let the cookies cool on the baking sheet for a few minutes, then move them to a wire rack.
What You Can Swap, and What Breaks the Red Velvet Look
Cold unsalted butter: Salted butter works if that’s what’s in the fridge, but cut the added salt to a scant 1/2 teaspoon so the dough doesn’t turn salty against the sweet Oreo coating. For a dairy-free batch, use a firm stick-style plant butter, not the soft tub kind, and keep it cold and cubed the same way.
Coconut oil is the one swap to skip: it liquefies fast and the cookies will spread thin and greasy. Butter carries the flavor and sets the structure. Salted butter changes the balance, so pull back the salt.
Stick plant butter behaves close to dairy butter when it’s cold; tub spread or coconut oil won’t hold the shape, and the cookies flatten into crisps.
Red liquid food coloring: Gel or paste coloring is stronger, so start with about 1 teaspoon and stir it in, adding a few drops at a time until the dough is one shade brighter than the baked cookie you want. Natural beet-based color is an option, though it bakes to a duller brick red and can taste faintly earthy. The dye is there for looks, not structure, so the amount is flexible.
Gel gives the same deep red with less liquid, which keeps the dough from getting loose. Beet color won’t reach the classic red velvet shade, and you may taste it in the background.
Crushed Oreo cookies, cream removed: Any chocolate sandwich cookie works, cream scraped out the same way. For gluten-free, use a gluten-free chocolate sandwich cookie and swap the all-purpose flour for a 1-to-1 gluten-free blend, keeping the cake flour as is. If you can’t find either, crushed chocolate wafer cookies give a similar crunch.
The coating needs dry, crunchy crumbs, so whatever cookie you use, remove the cream or the coating slides off in the oven. A gluten-free blend absorbs liquid differently, so the dough may feel softer; chill it a few extra minutes before rolling.
Cake flour: If cake flour is missing, replace 1 cup of cake flour with 3/4 cup plus 2 tablespoons all-purpose flour plus 2 tablespoons cornstarch. Don’t swap the all-purpose for bread flour or the cookies turn tough. Cake flour’s low protein keeps the crumb tender.
The all-purpose plus cornstarch blend gets you close, though the cookies come out slightly chewier. Bread flour pushes gluten and the texture goes rubbery.
Storage, Serving Window, and the Oreo Coating
These cookies are at their best within the first six to eight hours after baking, when the Oreo coating is still crisp and the centers are soft. After that, the coating begins to absorb moisture from the cookie and softens.
That’s not a defect, just a change in texture. To keep them at their peak, store cooled cookies in an airtight container at room temperature. They’ll hold for two to three days, but the coating will gradually lose its crunch.
If you want to refresh that crispness, spread the cookies on a baking sheet and warm them in a 300°F oven for three to four minutes. The coating re-crisps, and the centers soften again.
For longer storage, freeze baked cookies in a single layer, then transfer to a freezer bag. They keep for up to two months.
Thaw at room temperature for about twenty minutes. Don’t freeze the dough once it’s rolled in Oreos; the coating gets soggy.
If you’re making ahead, bake and freeze, then re-crisp before serving. The finishing touch here is the Oreo coating itself, and it goes on before baking, so there’s no last-minute step.
Serve these cookies the day they’re made for the best contrast, or re-crisp stored ones just before setting them out.
Tips
- Wet your hands with cold water before rolling each 3.5 oz ball, then drop it straight into the Oreo bowl and press the crumbs on with your palm instead of rolling it around. The water keeps the sticky red dough from grabbing your fingers, so you handle it for a few seconds rather than kneading it warm, and a palm press packs the crumbs in without squeezing the ball tight.

Frequently Asked Questions
Can I make the dough ahead of time and bake later?
Make it ahead and chill it, but don’t roll the balls in the crushed Oreos until you’re ready to bake. The crumbs pull moisture from the cold dough and go soft, and a soft coating won’t crisp in the oven the way a dry one does. So mix the dough, wrap it, and keep it in the fridge; the 20-minute chill is the minimum for shaping, not the limit for holding.
When you’re ready, shape and coat, then bake. Baked cookies freeze well, so if you want to work further ahead, bake first rather than holding raw coated dough.
Why did my cookies spread too much in the oven?
The most likely cause is warm dough, and the fix is a longer stay in the fridge before shaping. Cold cubed butter starts firm, but your hands warm the dough as you roll each ball, and a tray of soft balls goes into the oven already slumping.
Work quickly, shape what fits on one sheet, and put the rest of the dough back in the fridge while the first batch bakes. A second check is your flour: if you scooped all-purpose straight from the bag and packed it, you added extra, and a stiff dough actually holds its shape better, so spread usually isn’t the flour. Check the sheet too.
A dark pan or a hot baking sheet from a previous batch sets the bottoms before the tops can catch up.
How are these different from classic red velvet cookies?
The coating is the whole difference. Classic red velvet cookies are cocoa-and-dye dough, sometimes with a cream cheese or white chocolate finish; here each ball gets rolled in crushed Oreo crumbs with the cream scraped out, and that shell toasts in the oven. It cracks when you bite through, then the soft red center gives way, so you get crunch and chew in the same mouthful.
The dough itself stays close to the classic: cocoa for depth, a deep red before baking, and a tender crumb from cake flour. So expect the red velvet flavor and color you know, plus a chocolate-cookie crust that classic versions don’t have.
