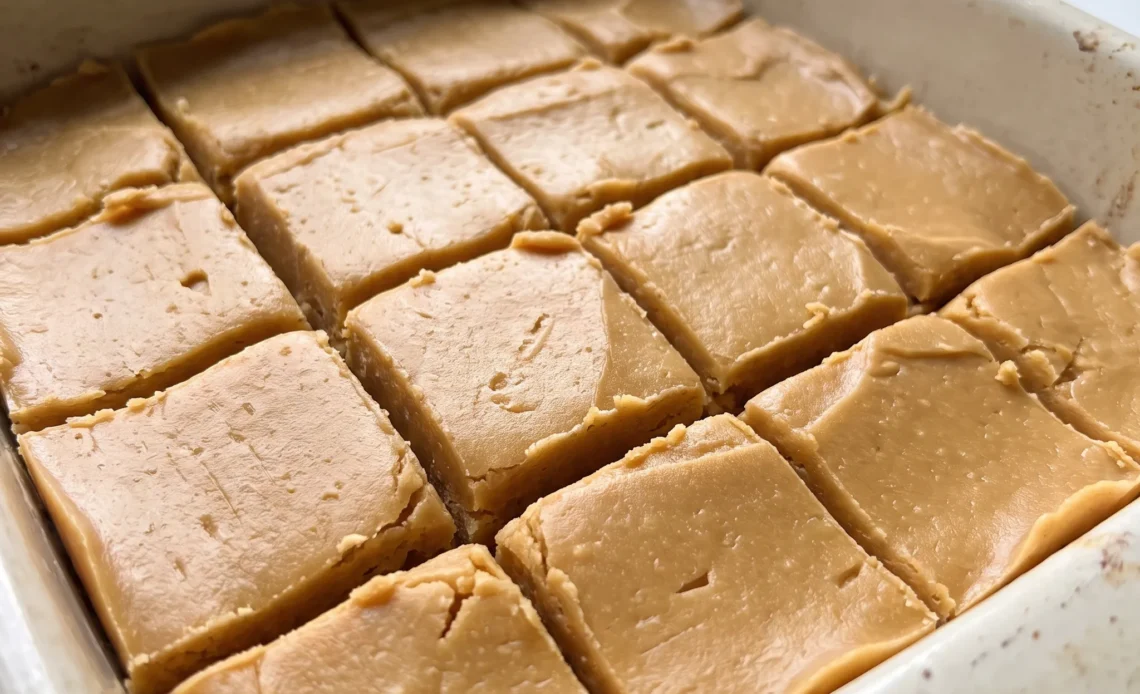
Peanut butter fudge without a single square of chocolate in it, and the whole thing happens in one saucepan. That sounds simple until you’re standing over the stove watching the boil, because two minutes is the line between fudge that cuts clean and fudge that never sets.
Watching the bubbles matters more than watching the clock. Pull it early and the sugar stays gritty no matter how long it chills; push it long and you get a stiff, scorched slab that cracks under the knife. Brown sugar and milk cook down into something closer to caramel, which is what keeps the peanut butter from tasting flat, and confectioners’ sugar stirred in after does the rest.
The chill is part of the recipe, not an afterthought, and it’s where the texture you’re after actually forms. Get the boil right and the rest mostly takes care of itself.
Two Minutes That Make or Break Fudge
That short boil isn’t about thickening. It’s about dissolving every grain of brown sugar into the milk and butter so the mixture turns glassy and uniform. Stop early and you can still feel grit between your teeth after chilling, and the fudge never firms up properly.
Let it roll past two minutes and the sugar starts to caramelize too far, the milk evaporates, and you end up with a stiff, slightly scorched mass that cracks when you cut it. The boil also kicks off the crystallization that continues in the fridge, which is what gives you a clean bite instead of a sticky chew. You want the surface to look glossy and the bubbles to settle quickly once you pull it off the heat.
If it looks dull or smells like it’s browning, you’ve gone too long. The whole batch hinges on those two minutes.
Powdered Sugar Does the Heavy Lifting
Confectioners’ sugar is the reason this fudge slices instead of smears. It dissolves the instant it hits the warm peanut butter mixture, so there’s no chance for graininess to form.
Granulated sugar would need heat and time to break down, and by then you’d have a greasy, separated mess. The cornstarch in powdered sugar quietly absorbs any extra moisture from the milk and butter, which helps the bars hold their shape at room temperature.
That same starch gives the fudge a tender, almost short texture when you bite in, not a rubbery one. 5 cups going into a single 8×8 pan, the ratio is high enough to set firm without turning chalky. You’ll know it’s right when the beaters leave soft peaks that slowly settle, and the bowl feels heavy but not stiff.
It’s the quiet workhorse of the whole recipe.
Chill It Cold, Cut It Clean
An hour in the fridge does more than firm things up. It solidifies the butter and peanut butter so the fats lock the sugar matrix in place, which is what lets you press a knife through without tearing. Skip that rest and the fudge stays soft and tacky, clinging to the blade and smearing the cut edges.
You also need the cold to finish the crystallization that started on the stove. Without it, the center stays loose while the edges dry out, and you get a gooey middle that never quite sets.
Properly chilled, the slab feels cool and resistant under your palm, like firm butter, but still gives when you press. It cuts into clean squares with sharp corners and a creamy, even interior. That’s the texture you’re after, and it only shows up after the wait.
A Cooked Base Beats No-Cook Every Time
Boiling butter, brown sugar, and milk together creates a caramel-like syrup that no stir-together recipe can match. The heat coaxes out the molasses in the brown sugar, adding a deep, slightly tangy note that keeps the peanut butter from tasting flat.
That cooked base also brings a creaminess you don’t get from powdered sugar alone, because the fats and liquids are already emulsified before they hit the bowl. The result is fudge that tastes rich but not cloying, with a soft chew that gives way instead of coating your mouth.
A no-cook version often turns out grainy or overly sweet, and it misses that subtle caramel backdrop. When you taste this one, the peanut butter leads but the brown sugar lingers underneath, warm and rounded.
That’s the difference a few minutes on the stove makes.

What Actually Matters in These Six Ingredients
Brown sugar: Buy a fresh, soft bag; hardened lumps won’t dissolve in the short boil and leave gritty specks in the chilled fudge.
Peanut butter: Use conventional creamy peanut butter, since the natural kind separates and its loose oil throws off the fat balance that sets the bars.
Butter: Real butter, not spread or margarine, because the water and fat ratio in substitutes changes how firmly the fudge sets.
Milk: Whole milk gives the boil enough body; skim turns the mixture thin and the finished fudge softer at room temperature.
Confectioners’ sugar: Sift it first if it’s clumpy, or the cornstarch and sugar won’t blend smoothly into the warm peanut butter mixture.
Three Points Where Peanut Butter Fudge Goes Wrong
Reading the boil, not the clock
Two minutes is the target, but the mixture tells you more than the timer. Watch the surface: it should stay glossy and the bubbles should rise steadily without turning thick or sluggish.
If the bubbles slow and the liquid looks like it’s shrinking, you’re past the mark and the fudge will set hard and crumbly. Pull it off the heat the moment the bubbles still pop quickly and the color hasn’t deepened.
Judging the mixer stage by feel, not time
The beaters will tell you when to stop. The mixture should turn thick and glossy, and when you lift the beaters, a ribbon of fudge should fall and hold its shape on the surface for a second before sinking. If it’s still soupy, keep beating; if it starts to stiffen and lose its sheen, stop immediately.
Overbeating can make the fudge crumbly instead of creamy, and that can’t be fixed once the sugar starts to set.
Testing the set before you cut
After an hour in the fridge, press the center with a fingertip. It should feel firm and cool, like cold butter, and spring back slightly.
If your finger leaves a deep indentation, it needs more time. Cutting too early gives ragged edges and a sticky blade. If it’s been longer than an hour and still soft, the boil was likely too short; you can’t fix it now, but next time boil the full two minutes.
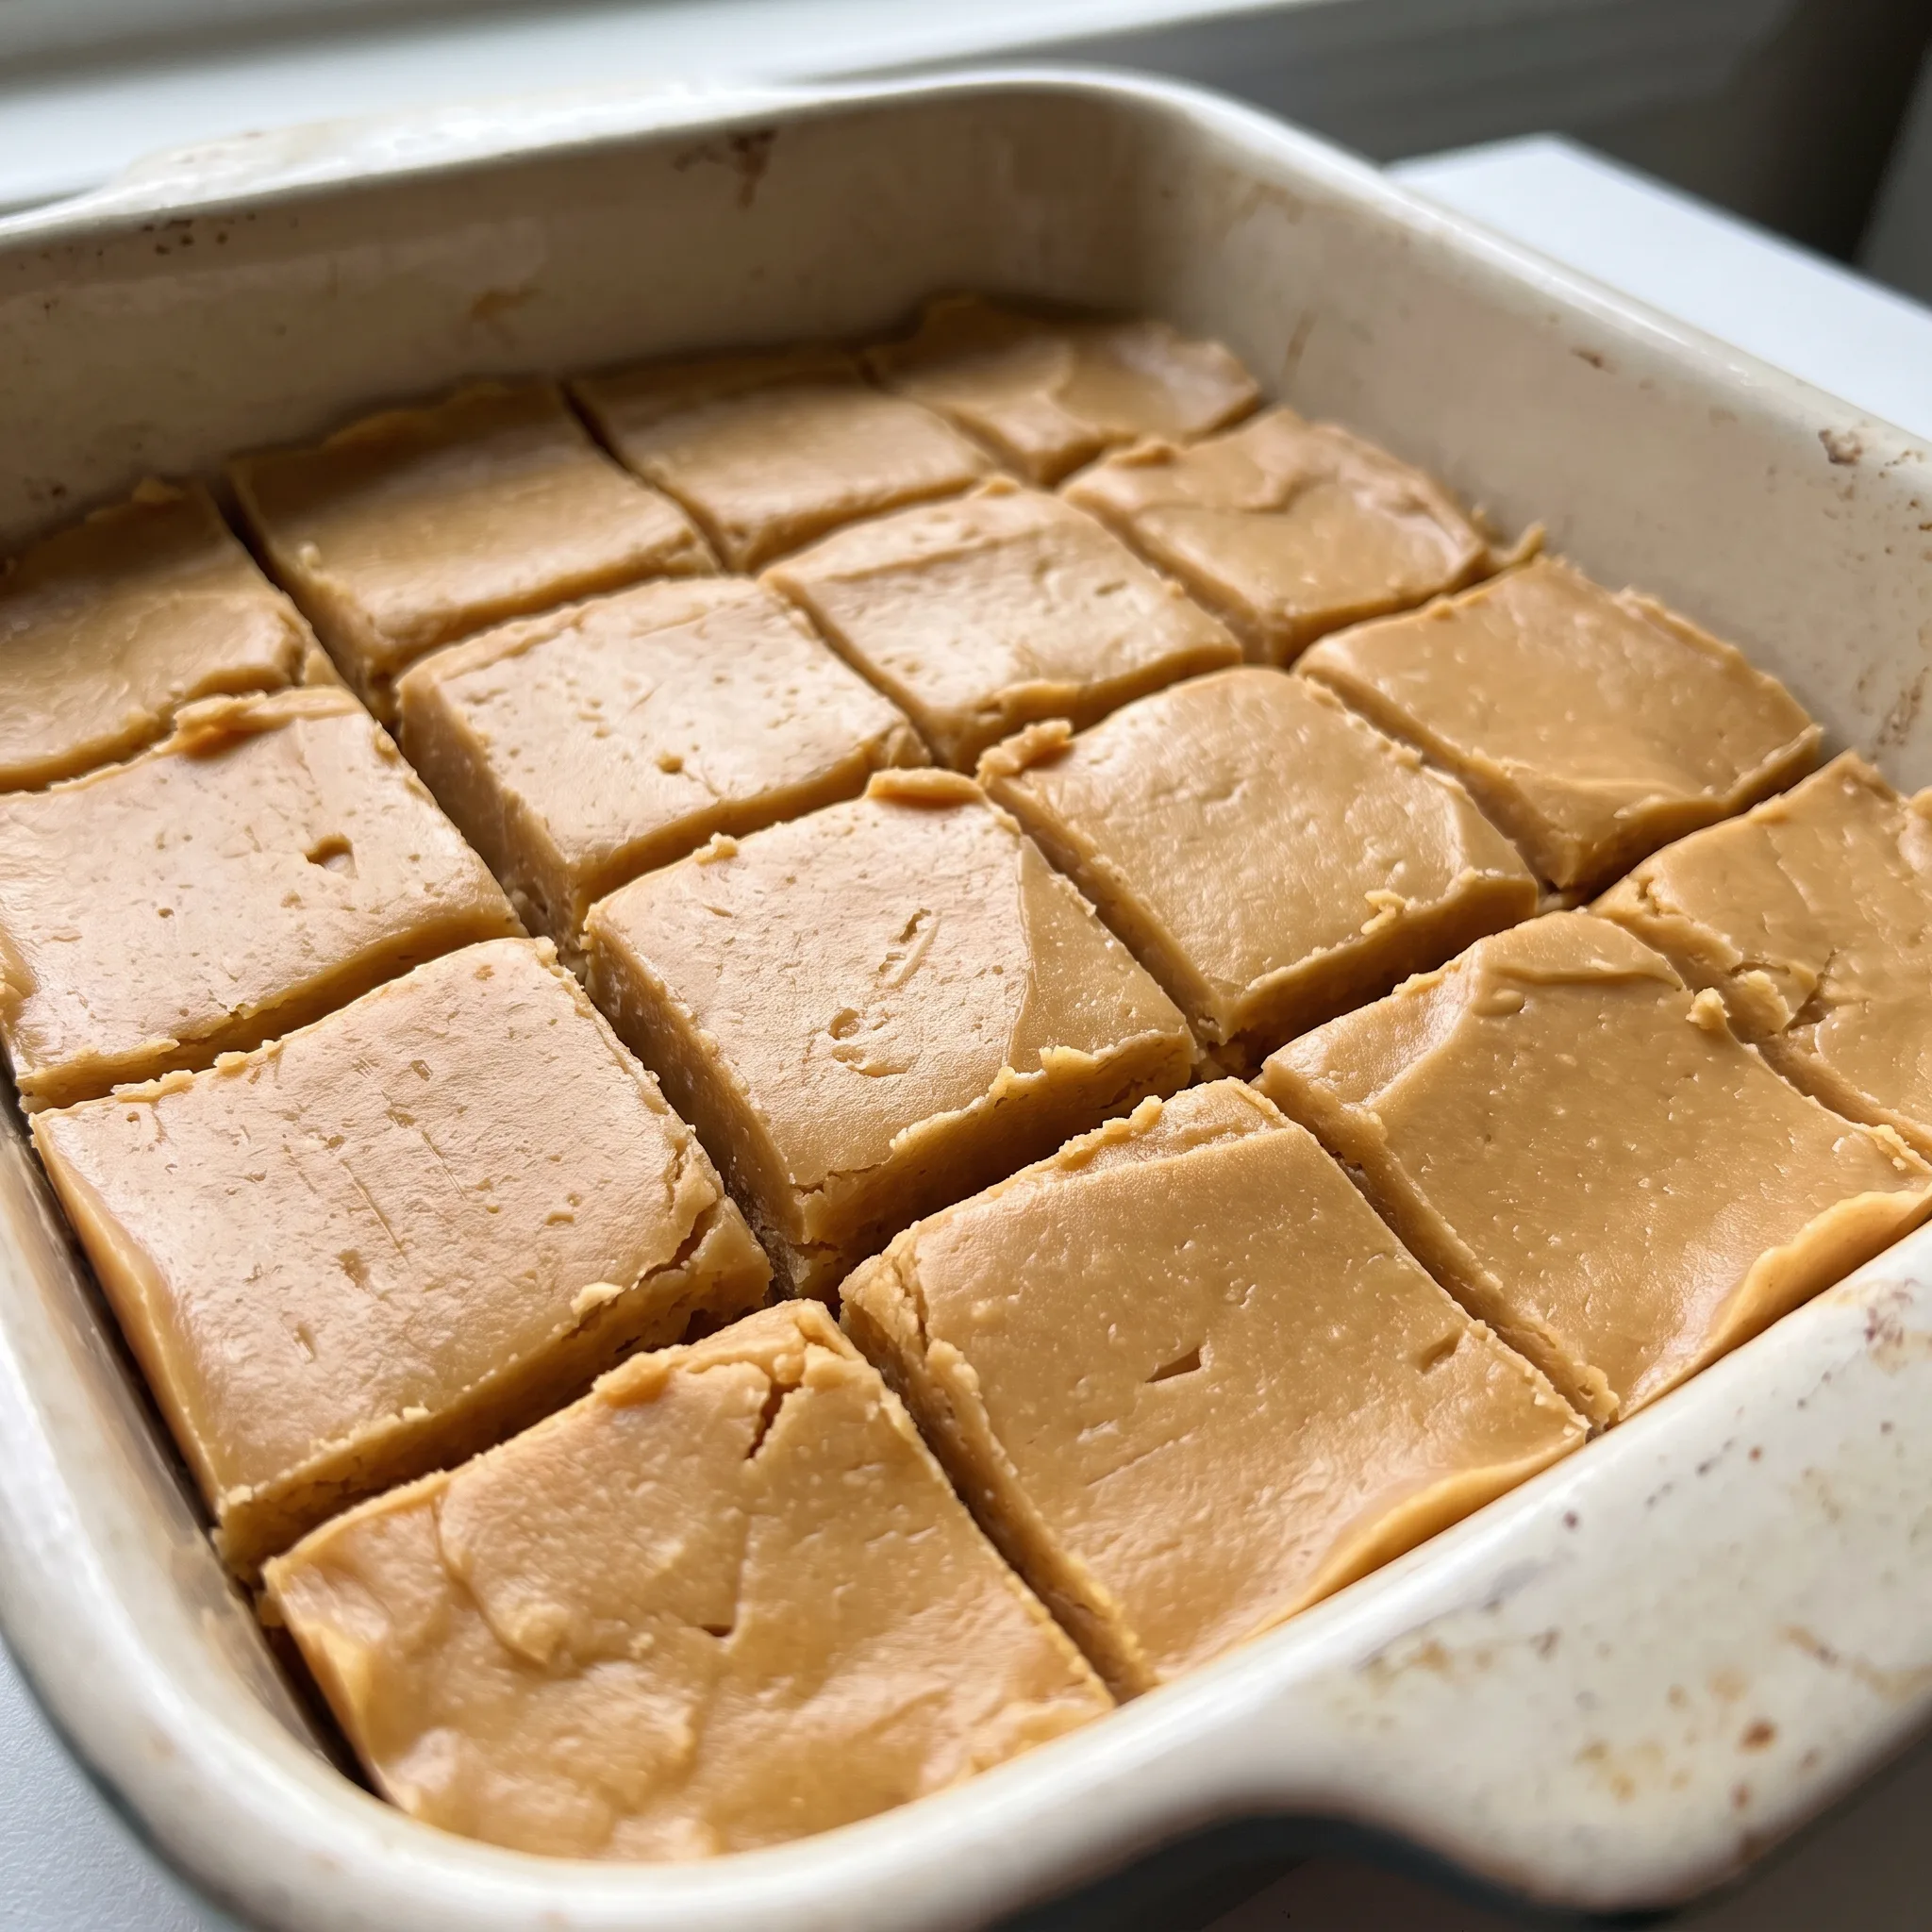
Creamy Peanut Butter Fudge
Ingredients
Method
- Assemble all required ingredients.
- In a medium saucepan over medium heat, melt the butter; add brown sugar and milk, stirring. Bring mixture to a boil and continue boiling for 2 minutes, stirring often.
- Take saucepan off the heat; incorporate peanut butter and vanilla.
- Put confectioners’ sugar into a large mixing bowl. Add the peanut butter mixture and use an electric mixer to beat until smooth.
- Transfer the peanut butter mixture into an 8×8-inch dish.
- Refrigerate until set, roughly 1 hour, then cut into pieces.
- Serve and enjoy!
Swap the Fat, Not the Sugar, and Other Fudge Moves
Peanut butter: For a different nut flavor, use the same amount of creamy almond or cashew butter. Natural peanut butter with the oil on top will not work, even stirred. Almond and cashew butters are looser and carry less salt, so the fudge sets a touch softer and tastes flatter unless you add a pinch of salt.
The jar you stir yourself brings extra liquid oil that never firms up with the powdered sugar. You get a greasy slab that weeps at the edges, so stick with the conventional creamy style.
Butter: Margarine or a butter spread in the same amount. Most spreads carry more water and less fat than butter, so the boil has more liquid to cook off and the finished fudge stays soft even after chilling.
The flavor also turns slightly waxy. If you need dairy-free, use a stick-style vegan butter, not the tub kind, and expect a slightly softer set.
Milk: Whole milk is what the recipe calls for. For dairy-free, use full-fat oat or canned coconut milk in the same 1/2 cup.
Skim milk turns the mixture thin and the finished fudge softer at room temperature, so avoid it. Oat milk behaves closest to whole milk, while coconut milk adds a faint coconut taste and can make the fudge a bit richer and firmer. Both work, but the texture shifts.
Brown sugar: Dark brown sugar for light, or a full swap to granulated sugar. Dark brown brings more molasses, so the fudge tastes deeper and slightly tangier. Granulated sugar has no molasses, so you lose that warm backdrop and the fudge tastes sweeter and flatter.
The set stays similar, but the boil needs the full two minutes to dissolve the grains.
Tips
- Press the warm fudge into the 8×8 dish with a lightly oiled offset spatula or the back of a spoon, working from the center out to the corners, because the mixture is thick enough that it will mound in the middle and leave the outer squares noticeably thinner. An even layer means all 32 pieces come out the same height, so they chill and set at the same rate instead of the thin edges firming up before the center does.
Storing, Slicing, and the Serving Window
Eat this fudge within two days of making it for the best texture: firm enough to snap cleanly under a knife, soft enough to melt on the tongue. In an airtight container at room temperature, it holds that ideal bite through day two, then slowly dries at the cut edges and firms toward crumbly by day four.
The fridge keeps it longer, up to two weeks, but cold dulls the peanut butter and makes the squares taste harder than they are. Pull what you plan to serve 15 to 20 minutes ahead so the fat relaxes and the flavor opens back up.
Do not add any finishing salt or drizzle until just before serving; it beads and weeps on a chilled surface. For longer storage, wrap the cut squares tightly and freeze up to three months.
Thaw at room temperature, still wrapped, about 30 minutes. The texture comes back close to fresh, though the surface stays slightly tacky. Serve in single layers; stacked squares press together and lose their clean corners.
The most common mistake is pulling the saucepan off the heat before the brown sugar and milk mixture has boiled for the full 2 minutes. Boiling for that exact duration dissolves the sugar crystals and forces the milk and butter into a stable emulsion; stopping early leaves microscopic crystals that seed graininess and a loose base that never sets properly. Once the heat is removed, the peanut butter and confectioners’ sugar are added, but they cannot repair an under-boiled syrup.
Frequently Asked Questions
Why did my peanut butter fudge turn out grainy?
Most often the brown sugar didn’t fully dissolve during that two-minute boil, and undissolved grains stay gritty no matter how long it chills. Check your bag first: hardened lumps won’t break down in a short boil, so press them out or buy a soft, fresh bag.
If the sugar was fine, look at the confectioners’ sugar, which clumps in the bag and needs sifting before it hits the warm mixture. Grainy fudge usually traces back to one of those two, not the peanut butter.
Can I make peanut butter fudge ahead of time?
Yes, and it’s actually easier that way, since the fudge needs a full hour in the fridge before you can cut clean squares anyway. Make it the day before you plan to serve, leave it in the 8×8 pan covered, and slice when you’re ready. For longer than a couple of days, the fridge is the better home, though cold mutes the peanut butter until the squares sit out a bit.
How long does peanut butter fudge last?
Two days at room temperature is the sweet spot, when the texture is firm enough to snap and still soft on the tongue. Past that, the cut edges dry and the squares firm toward crumbly by day four. In the fridge it keeps up to two weeks, and frozen, wrapped tight, up to three months.
Thaw frozen squares still wrapped at room temperature, about half an hour, and expect the surface to stay a little tacky.
Why is my fudge too soft to cut?
The boil was probably short of the full two minutes, so not enough liquid cooked off and the sugar never reached the stage that sets firm. You can’t undo that batch, but a longer chill sometimes helps the edges while the center stays loose.
Check your ingredients too: skim milk or a butter spread adds extra water that keeps the fudge soft even after an hour. Next time use whole milk and real butter, and watch the bubbles on the surface rather than the clock alone.
What’s the difference between this peanut butter fudge and traditional chocolate fudge?
Chocolate fudge leans on cocoa or melted chocolate for its body and gets much of its set from that, while this one builds structure from brown sugar, milk, and a heavy dose of confectioners’ sugar. The cooked brown sugar base brings a caramel note underneath the peanut butter, so it tastes warmer and slightly tangier than a straight chocolate batch.
Texture runs creamier here too, since there’s no cocoa solids to firm things up. Both slice clean after chilling, but this one stays softer in the middle and melts faster on the tongue.
