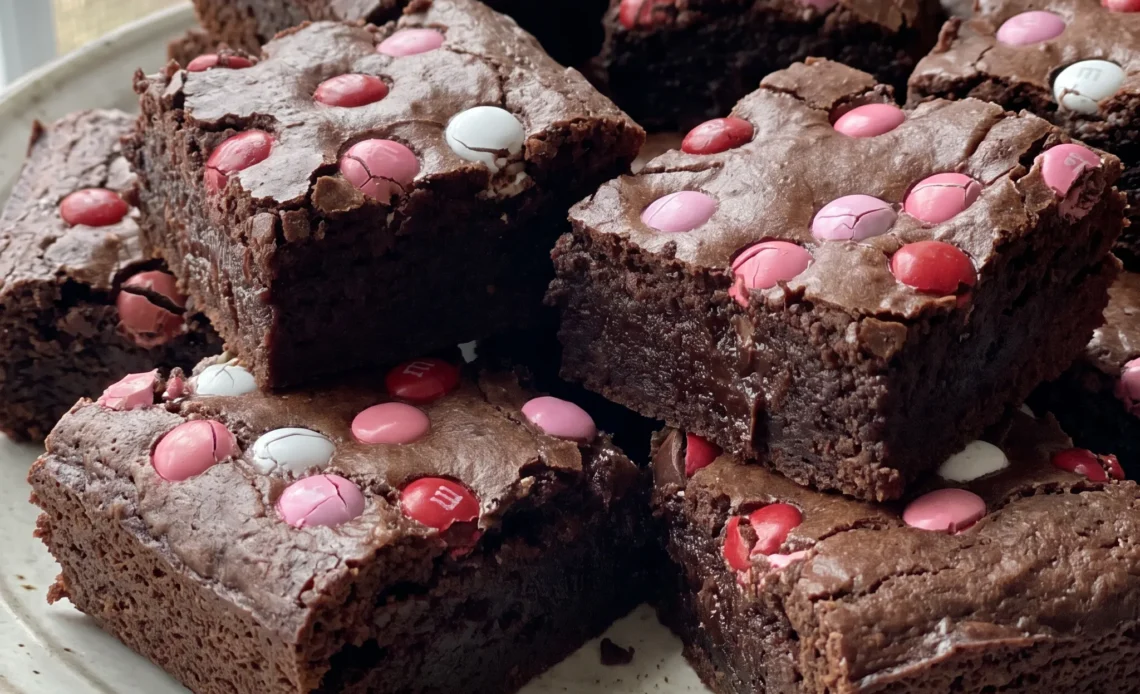
That first square off a small pan tells you plenty before you taste it: a papery top that crackles under the knife, a crumb so dense it barely sheds, and candy shells sitting proud enough to snap against your teeth. Melted chocolate and butter carry most of the weight here, and the small pan is why the middle stays soft instead of drying out at the edges.
What trips people up is the finish line, since the gap between glossy and gone is shorter than the clock suggests. A toothpick can read fine while the center still slumps once it cools. The m&m’s brownies reward patience more than skill, whether that’s waiting on the batter or waiting on the pan.
What does melting everything together do for the batter?
When butter, chocolate, and both sugars go over indirect heat, they melt into one another instead of just sitting side by side. The sugars dissolve, the butter and chocolate turn liquid, and gentle heat keeps the chocolate from tightening up or turning rough. You’re looking for a mixture that’s grainy yet glossy: you can still feel sugar crystals if you rub a drop to the touch, but the whole thing shines.
That shine is the sign that fat and liquid have come together. Pull the bowl off while it’s still warm, because eggs going into a scorching base would set before they blend. Once it cools a bit, the base is ready to take them.
If you skip this and just cream cold butter with sugar, you get a batter that bakes up dull and uneven, with a texture that never quite smooths out.
Why add the eggs one at a time?
Each egg gets its own turn to disappear into the warm butter and sugar. Add one, whisk it in fully, and the mixture loosens and turns silkier before the next goes in.
Do them all at once and you’re fighting a slosh of liquid that never quite absorbs, leaving streaks that bake into a rubbery patch. The whisking after each addition also pulls air into the batter, which is why it lightens in color as you go, from deep tan to a pale coffee shade. That air doesn’t make the brownies fluffy; it helps form the thin, shiny crust on top.
By the last egg, the batter should look smooth and reflective, thick enough to ribbon off the whisk. Any dullness or curdling here means the base was too warm or the eggs went in too fast, and the finished crust won’t have that snap.
How gentle folding keeps brownies fudgy
Flour is the one ingredient that can undo everything the eggs just built. Stir it hard and you wake up the gluten, which turns the batter tough and the baked brownies cakey and dry. Fold instead, using a wide spatula to lift and turn the mixture over itself until only a few dry streaks remain.
Those last streaks disappear as you pour, no extra stirring needed. A light hand also protects the air you whisked in, so the top still sets shiny rather than flat. You can feel the difference in the batter: it should stay thick and glossy, not turn into a stiff, elastic paste.
Overmixed batter looks smooth in a bad way, almost like frosting, and bakes up with a tight, uniform crumb that misses the point. Stop while it still looks a little uneven.
That’s where the chew lives.
Scattering M&Ms on top, not in the batter
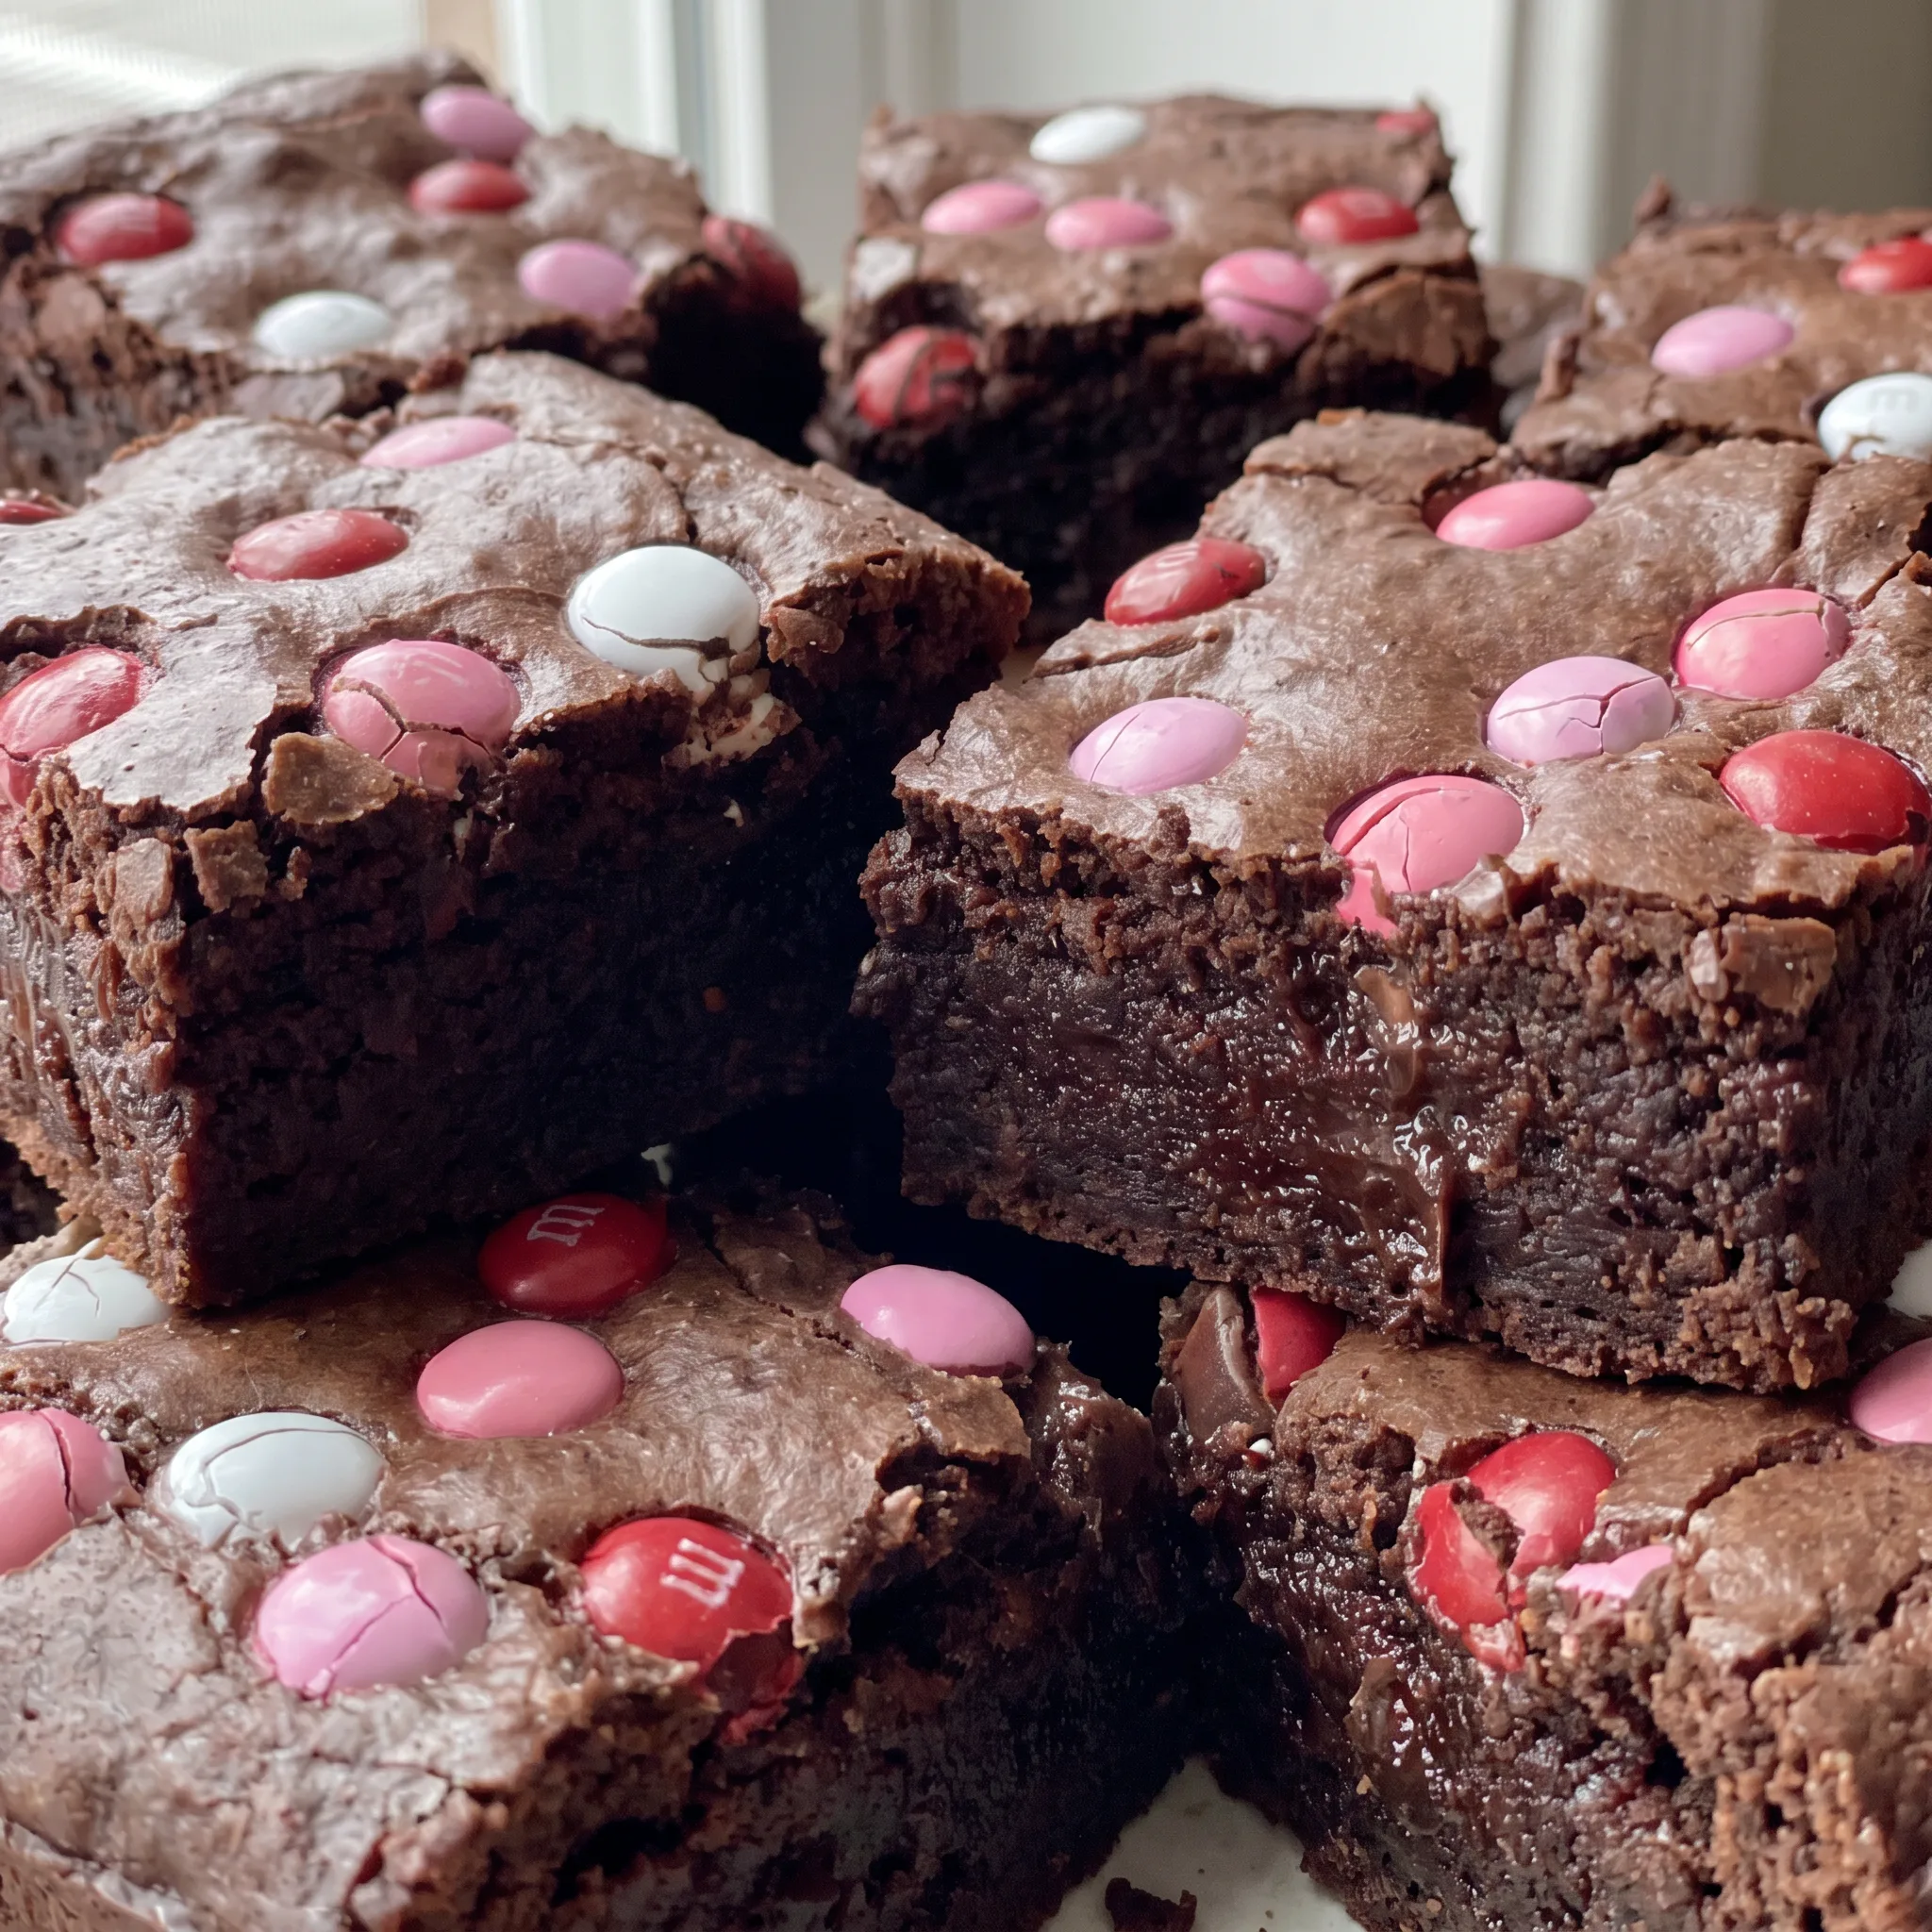
Press the candies onto the surface after the batter is smoothed in the pan. They stay put, their shells keep their color, and every square gets a few without any sinking to the bottom. Mixed through the batter, the shells would soften and bleed, turning the crumb pink and grey in patches, and the candies would drag downward as the batter rises.
On top, they hold their shape and give a crunch against the soft, dense brownie underneath. The heat of the oven warms them just enough that the chocolate inside goes soft while the shell stays intact.
You get a clean bite: crisp shell, molten center, fudgy base. Scatter them right before the pan goes in, because once they sit on wet batter they start to slide.
After baking, the tops should look glossy and slightly puffed, with the candies sitting proud. Let the pan cool completely before cutting, or the candies will smear and tear the crust.
What to grab and what to watch before the batter comes together
Unsalted butter: European-style or any block butter with a high fat content melts cleaner into the chocolate than tub spreads.
Semi-sweet chocolate: A bar you chop yourself beats chips, which are formulated to hold their shape and resist melting.
Light brown sugar: Pack it firmly into the cup so no air pockets shortchange the molasses that keeps the crumb soft.
Dutch process cocoa powder: It’s darker and less acidic than natural cocoa, giving a deeper color and a rounder chocolate taste.
All-purpose flour: Spoon it into the cup and level off; scooping straight from the bag compacts it and dries out the bake.
M&M chocolate candies: The regular size works best; minis scatter too finely and the shells bleed color into the batter.
Reading the batter and the bake before it’s too late to change course
Knowing when the butter and sugar base is cool enough for eggs
The melted butter, chocolate, and sugars come off the heat hot enough to scramble eggs. Feel the outside of the bowl with your palm.
If it’s too warm to hold there for a second, wait. The mixture should still be fluid and glossy, but no longer steaming. Drop in the first egg too early and you’ll see pale, cooked flecks instead of a smooth blend.
If that happens, you can sometimes rescue it by whisking hard and fast, but the crust won’t be as shiny.
Judging when the whisked eggs have lightened the batter enough
After the last egg, the batter should look like pale coffee with a sheen that reflects light. It thickens slightly and falls from the whisk in a ribbon that holds its shape for a second before sinking.
If it still looks dark and thin, keep whisking. Underwhisked batter won’t build the thin, shiny top crust. Overwhisking is hard to do by hand, but if the batter feels greasy or separated, the eggs went in too fast or the base was too warm, and the texture will suffer.
Folding flour until just a few streaks remain
Stop mixing when you still see a few dry patches of flour. They’ll disappear as you pour and spread the batter. The batter should stay thick and glossy, not turn into a stiff, elastic paste.
Overmix and the brownies bake up cakey and dry instead of fudgy. A wide spatula and a gentle lift-and-turn motion gets you there. If you’ve gone too far and the batter looks smooth like frosting, you can’t undo it, but you can still bake it and expect a tighter crumb.
Testing for doneness without overbaking
At 45 minutes, insert a toothpick 2 inches from the pan’s side. It should come out with a few moist crumbs, not wet batter and not clean.
A clean toothpick means overbaked, and the brownies will be cakey and dry. The center may still look slightly jiggly, but the edges should be set.
If the toothpick has wet batter, give it 3 to 5 more minutes and test again. Start checking at 45 minutes because the window between fudgy and dry is narrow.
Letting the brownies cool completely before cutting
Cut into warm brownies and they’ll tear, smear, and the M&Ms will drag through the crumb. The texture also sets as they cool; warm brownies taste softer and less fudgy. Wait until the pan is completely cool to the touch, which can take an hour or more.
If you’re impatient, you can speed it up in the fridge, but don’t cut them cold or they’ll crack. Patience here gives clean squares and the dense chew you’re after.
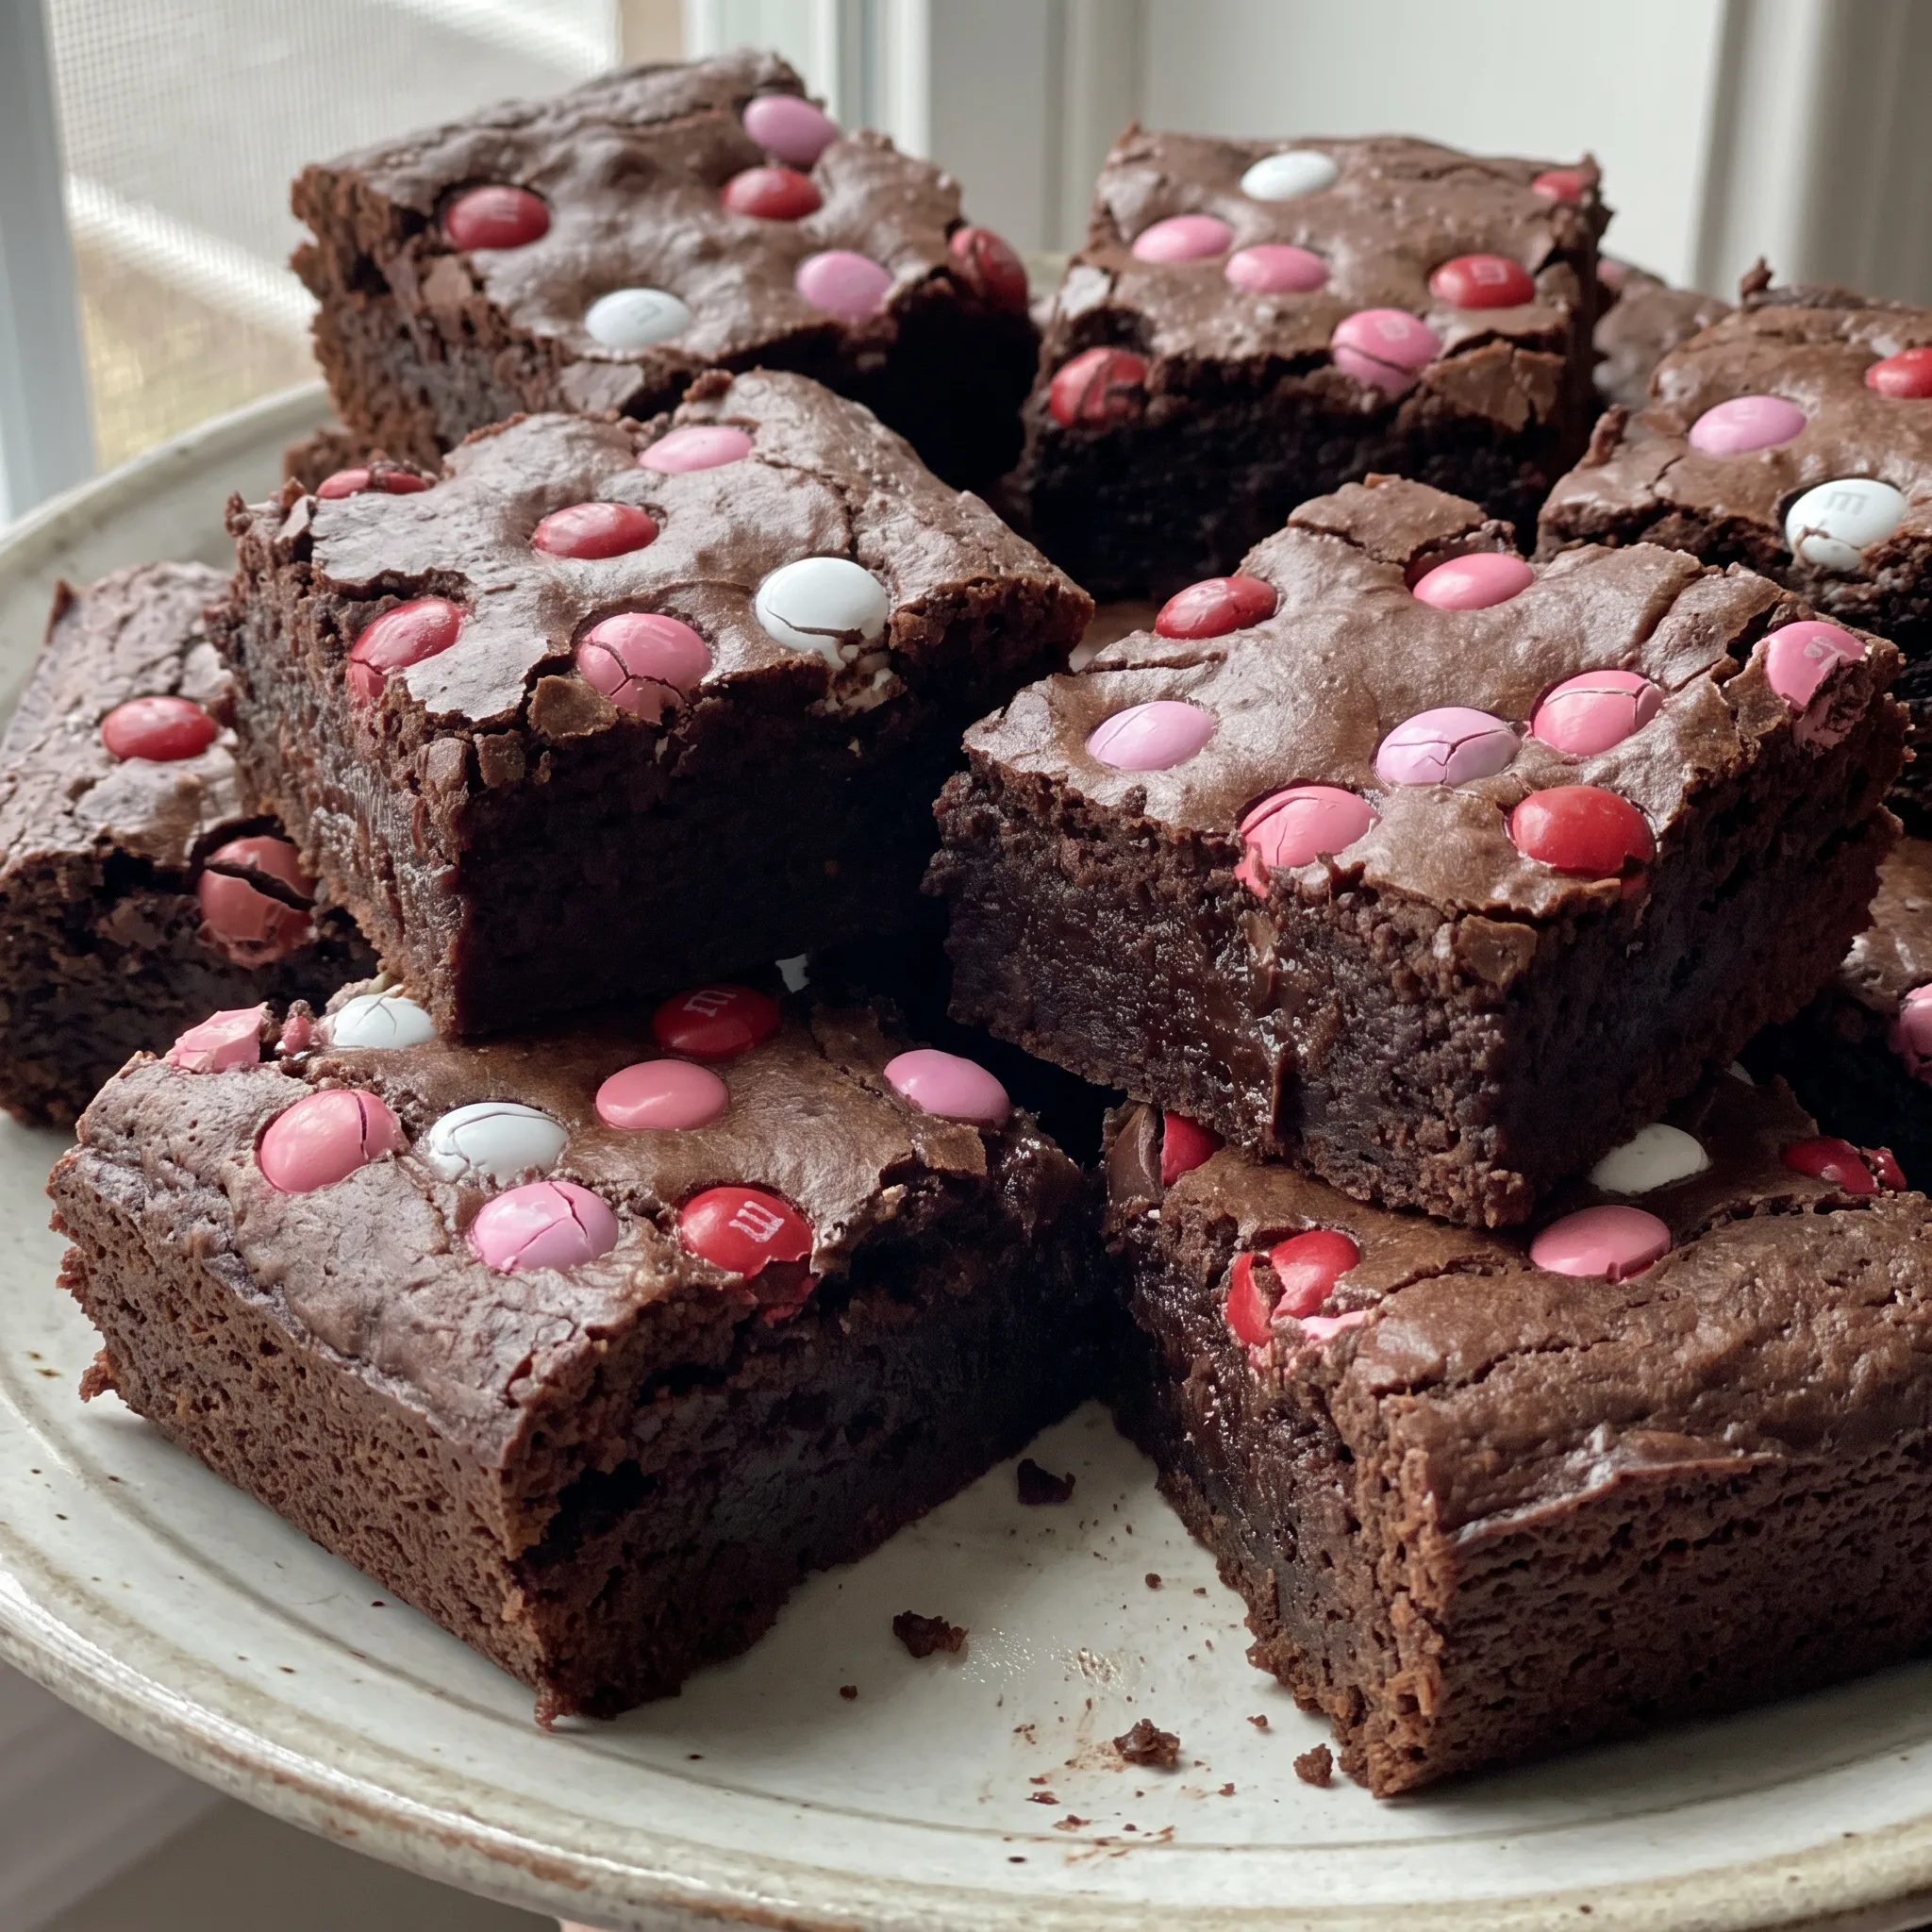
M&M’s Brownies with Chocolate and Cocoa
Ingredients
Method
- Set oven to 350°F (175°C). Apply non-stick baking spray to the bottom of an 8×8-inch baking pan, then line it with parchment paper, leaving an overhang of 1 to 2 inches on the sides for simple lifting.
- In a heat-safe bowl set over a double boiler, combine the butter, chocolate, and sugars, and melt them. To make the double boiler, put 2 inches of water in a medium saucepan and place over medium-low heat. Set the heat-safe bowl on the saucepan, making sure its base doesn’t touch the water. Heat, stirring often, until everything is melted. The mixture will look grainy yet glossy. Take the bowl off the heat and let it cool a bit.
- Incorporate the eggs one by one, whisking thoroughly after each. Keep whisking until the mixture becomes lighter in color and is smooth and shiny.
- Mix in the cocoa powder, salt, and vanilla. Stir until well combined.
- Add the flour, using a large spatula to fold it in until only a few streaks of flour are left. Avoid overmixing.
- Pour the batter into the prepared pan and smooth the top with an offset spatula.
- Scatter the M&M’s over the brownie batter.
- Bake for 45 to 50 minutes, or until the edges are set and a toothpick inserted 2 inches from the pan’s side comes out with just a few crumbs. Do not overbake, or the brownies will be cake-like and dry instead of fudgy.
- Take the pan out of the oven and place it on a wire rack to cool. Let cool completely before cutting into squares.
How to Store and Serve M&M’s Brownies
Cool the brownies completely in the pan, then lift them out by the parchment and cut sixteen squares. Eat them the day they’re baked or the next day for the best texture: the crumb stays dense and fudgy, and the M&M shells keep their snap.
After that, the crust softens and the interior firms toward a chewier bite, which many cooks prefer. Store in an airtight container at room temperature for up to four days; the fridge dries them out and dulls the candy shells, so only chill if your kitchen runs warm. For longer keeping, freeze individual squares wrapped tight for up to two months, then thaw at room temperature for about an hour.
Don’t add anything at the end; the scattered M&Ms go on before baking and need no finishing touch. Serve at room temperature, cut edges clean, for the truest texture.
Three swaps that hold up in this brownie, and one that won’t
Dutch process cocoa powder: Natural cocoa powder, same 1 cup (100 g). Natural cocoa is lighter in color and more acidic, so the brownies come out reddish-brown instead of deep dark. The taste is sharper, less round.
The batter will be slightly thinner because natural cocoa doesn’t absorb as much liquid, but the bake time stays the same. Expect a less intense chocolate flavor.
M&M chocolate candies: Chopped chocolate chunks, peanut butter chips, or any small candy-coated chocolate. Regular M&Ms keep their shell and color on top. Chocolate chunks melt into puddles that can smear when cut.
Peanut butter chips hold shape but add a different flavor. Candy-coated chocolates in other colors work the same, though some shells bleed dye into the batter. Use the same 2/3 cup.
Semi-sweet chocolate: Bittersweet or dark chocolate (60 to 70 percent), same 2 oz (57 g). The brownies get less sweet and more intense.
Bittersweet chocolate has less sugar, so the overall batter is slightly less sweet. If you use unsweetened chocolate, the brownies will be very bitter; add 2 tablespoons of sugar to compensate.
All-purpose flour: Gluten-free all-purpose blend (with xanthan gum), same 3/4 cup (95 g). Gluten-free blends absorb more liquid, so the batter will be thicker. The baked brownies are often more crumbly and less chewy.
Let them cool completely before cutting or they’ll fall apart. The flavor is nearly the same.
Tips
- At the 45-minute mark, slide an instant-read thermometer into the center of the pan through the top crust. Pull the brownies at 200 to 205°F. Below that, the center is still raw batter and will fall; above 210°F, the crumb has set past fudgy and heads toward dry and cakey. The toothpick test tells you about one spot, but the thermometer reads the whole center mass, which is where an 8×8 pan of this depth bakes last.
- If the toothpick at 45 minutes comes out with wet batter, do not add time in five-minute jumps. Add two minutes, close the door, and test again. This batter carries 1 1/4 cups of butter and 2 1/4 cups of sugar, so it holds heat and keeps cooking after the pan leaves the oven. Two-minute checks keep you from overshooting the narrow window between fudgy and dry.
Once flour meets the wet batter, stirring past the point where a few streaks remain hydrates the proteins and aligns them into gluten, which sets into a tough, cake-like crumb during baking. At the same time, baking beyond the moment the edges are set and the center tests with a few moist crumbs evaporates internal moisture and firms the structure, so the final texture loses its fudgy density.
Frequently Asked Questions
Can I make these brownies ahead of time?
Bake them a day before you plan to serve and they hold up well, since the crumb actually gets denser and chewier overnight. Cool them completely in the pan first, then lift the whole slab by the parchment, cut sixteen squares, and keep them in an airtight container at room temperature.
Don’t refrigerate to get ahead; cold dries the crumb and dulls the candy shells. If you need more than four days of lead time, freeze individual squares wrapped tight instead.
Why are my brownies cakey instead of fudgy?
Overbaking is the usual culprit. At 45 minutes the toothpick 2 inches from the edge should pull up a few moist crumbs, and a clean pick means you’ve crossed into dry, cakey territory.
The center can still look a little jiggly when you pull the pan; it sets as it cools. If your timing was right, check your flour measuring, since scooping straight from the bag packs the cup and adds more flour than the 95 grams this recipe wants.
And if the batter looked smooth like frosting before it went in the pan, the flour got stirred too hard, which builds a tight crumb.
How do I get clean cuts when slicing these brownies?
Wait until the pan is completely cool to the touch. Warm brownies tear and the M&Ms drag streaks of color through the crumb, and the texture itself is still setting. Once cool, lift the slab out by the parchment overhang onto a cutting board.
A long, thin knife run under hot water and wiped dry between cuts gives you the sharpest edges, especially through the candy shells on top.
What makes M&M brownies different from classic brownies?
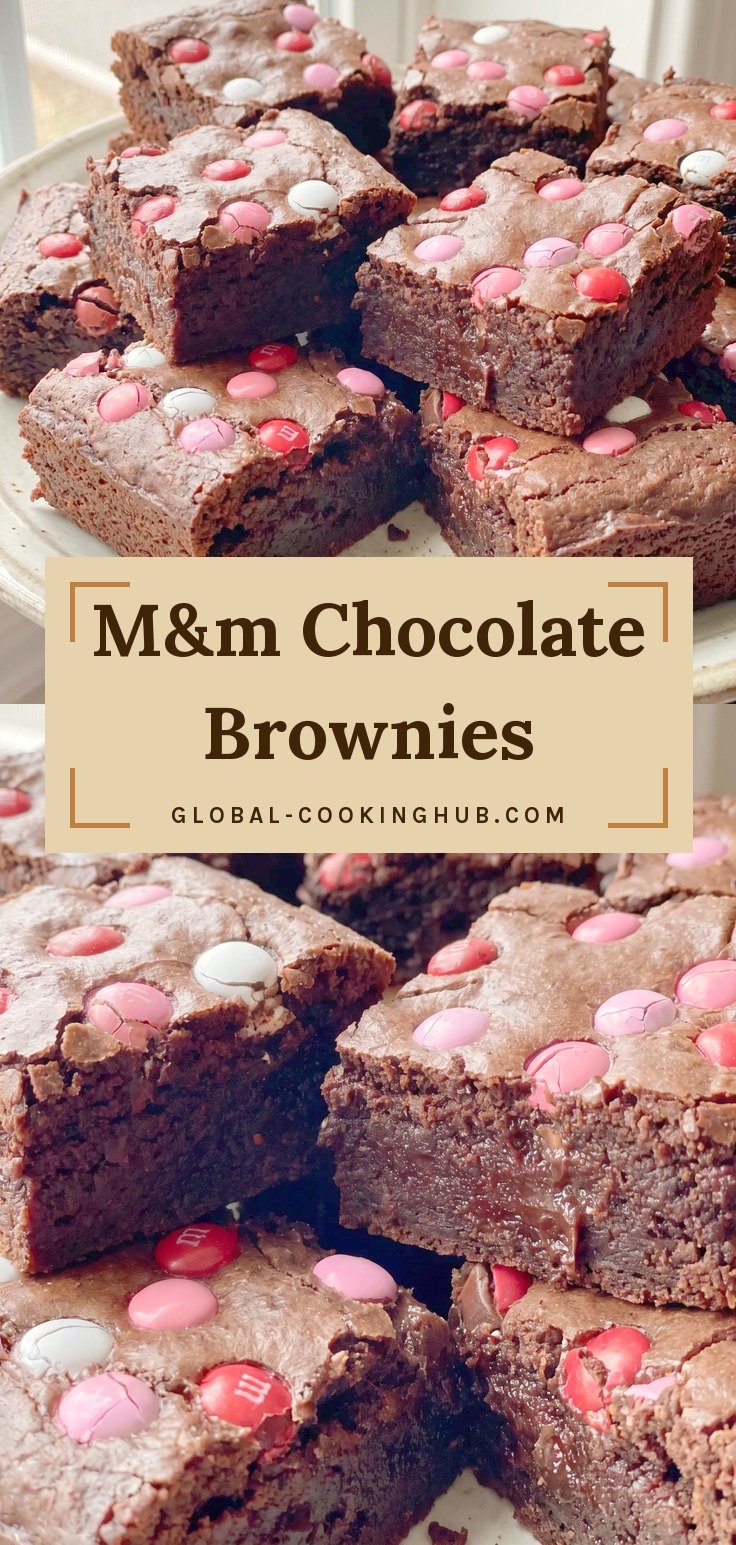
The candies sit on the surface rather than getting folded through the batter, so they stay whole and keep their color instead of bleeding pink and grey into the crumb. You get a crisp shell and soft chocolate center against the fudgy base, a textural contrast a plain brownie doesn’t have.
The trade-off is that the tops are bumpy, so they don’t slice as cleanly as a flat brownie until they’re fully cool. Regular-size M&Ms work best here; minis scatter too finely and their shells release dye.
