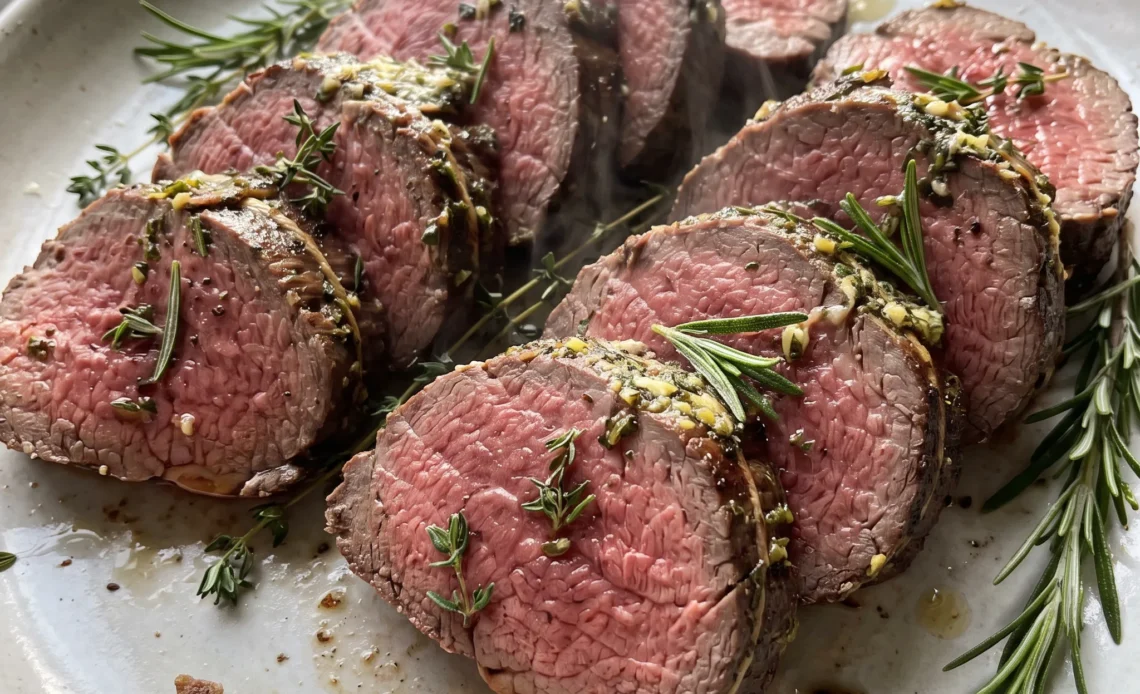
Tenderloin is the most expensive roast you can put on a weeknight table, and the thing that most often ruins it is uneven cooking, not the meat itself. A whole center-cut piece runs thick at one end and thin at the other, so the two ends of the same roast finish at different doneness and you end up with dry slices at the table.
This garlic herb beef tenderloin sidesteps that by starting in a cast-iron pan and finishing in the oven, with a garlic-herb butter spread over the top that melts down into the crust as it roasts. No separate sauce, no extra pan. What you’re really managing here is heat and carryover, and the roast gives you very little room on either.
Why Halve the Tenderloin
A center-cut tenderloin runs thick at one end and tapers to a point at the other. Roasted whole, the thin end will hit well-done while the thick middle is still rare, so the slices at the end of the roast never match the ones from the center.
Cut crosswise into two shorter pieces, and you get two roasts of nearly even thickness. They cook at the same rate, so every slice from either piece lands at the same doneness. The cut faces also give the garlic-herb butter two more surfaces to cling to, and when you sear, those flat ends take on color the same way the rounded sides do, so the crust comes out consistent all around.
Moving two smaller roasts from the pan to the oven is easier than wrestling a long, floppy one. If you have ever carved a whole tenderloin and found the ends overdone, this is the reason.
Two even pieces mean better slices from end to end.
Butter Timing and the Garlic-Herb Layer
Spread the garlic-herb butter on after the sear, not before. In a hot pan, raw minced garlic and delicate herbs like rosemary and thyme will scorch in seconds, turning bitter and leaving black flecks on the crust.
Once the roast is seared and the pan goes into the oven, the butter melts slowly over the top, basting the meat as it roasts. That melted butter carries the garlic and herb flavor down into the crust and keeps the surface glossy. Softened butter spreads easily and clings to the hot roast without sliding off.
If the garlic and herbs are minced finely, they distribute evenly across the surface and no single bite gets a concentrated hit of raw garlic. What you end up with is a roast that tastes seasoned all the way through the crust, not just on the outside. The butter should be fully melted and mingled with the pan juices by the time the roast comes out.
The Sear That Builds the Crust
Tenderloin is lean and tender with almost no external fat, so it will not develop a deep crust on its own in the oven. A hard sear in cast iron gives you that browned, savory surface.
Cast iron holds heat well and can go straight from stovetop to oven, so the roast stays in the same pan and you do not lose any of the browned bits or butter. Searing on all sides creates a golden-brown crust that the butter-herb mixture then adheres to, rather than sliding off into the pan.
The pan’s residual heat also means the roast starts cooking the moment it enters the oven, not after the pan reheats. What you are after is a crust that crackles slightly when you slice through it, with the interior still rosy.
Without that sear, the roast would look pale and taste flat. The crust is where a lot of the flavor lives.
Resting so the Juices Stay In
During roasting, the heat drives juices toward the center of the meat. If you cut into the roast right away, those juices run out onto the board and the slices end up dry. Resting lets the juices redistribute back through the meat, so each slice stays moist.
The roast also continues to cook from residual heat while it rests, so pull it from the oven a few degrees before your target doneness. That carryover will bring it to where you want it. Resting also firms up the meat slightly, so the slices hold together better and look more uniform on the platter.
I once sliced a tenderloin straight from the oven and watched a quarter cup of juice pool on the board; the meat was still good, but the slices were drier than they should have been. Give it the time. The roast will be better for it.
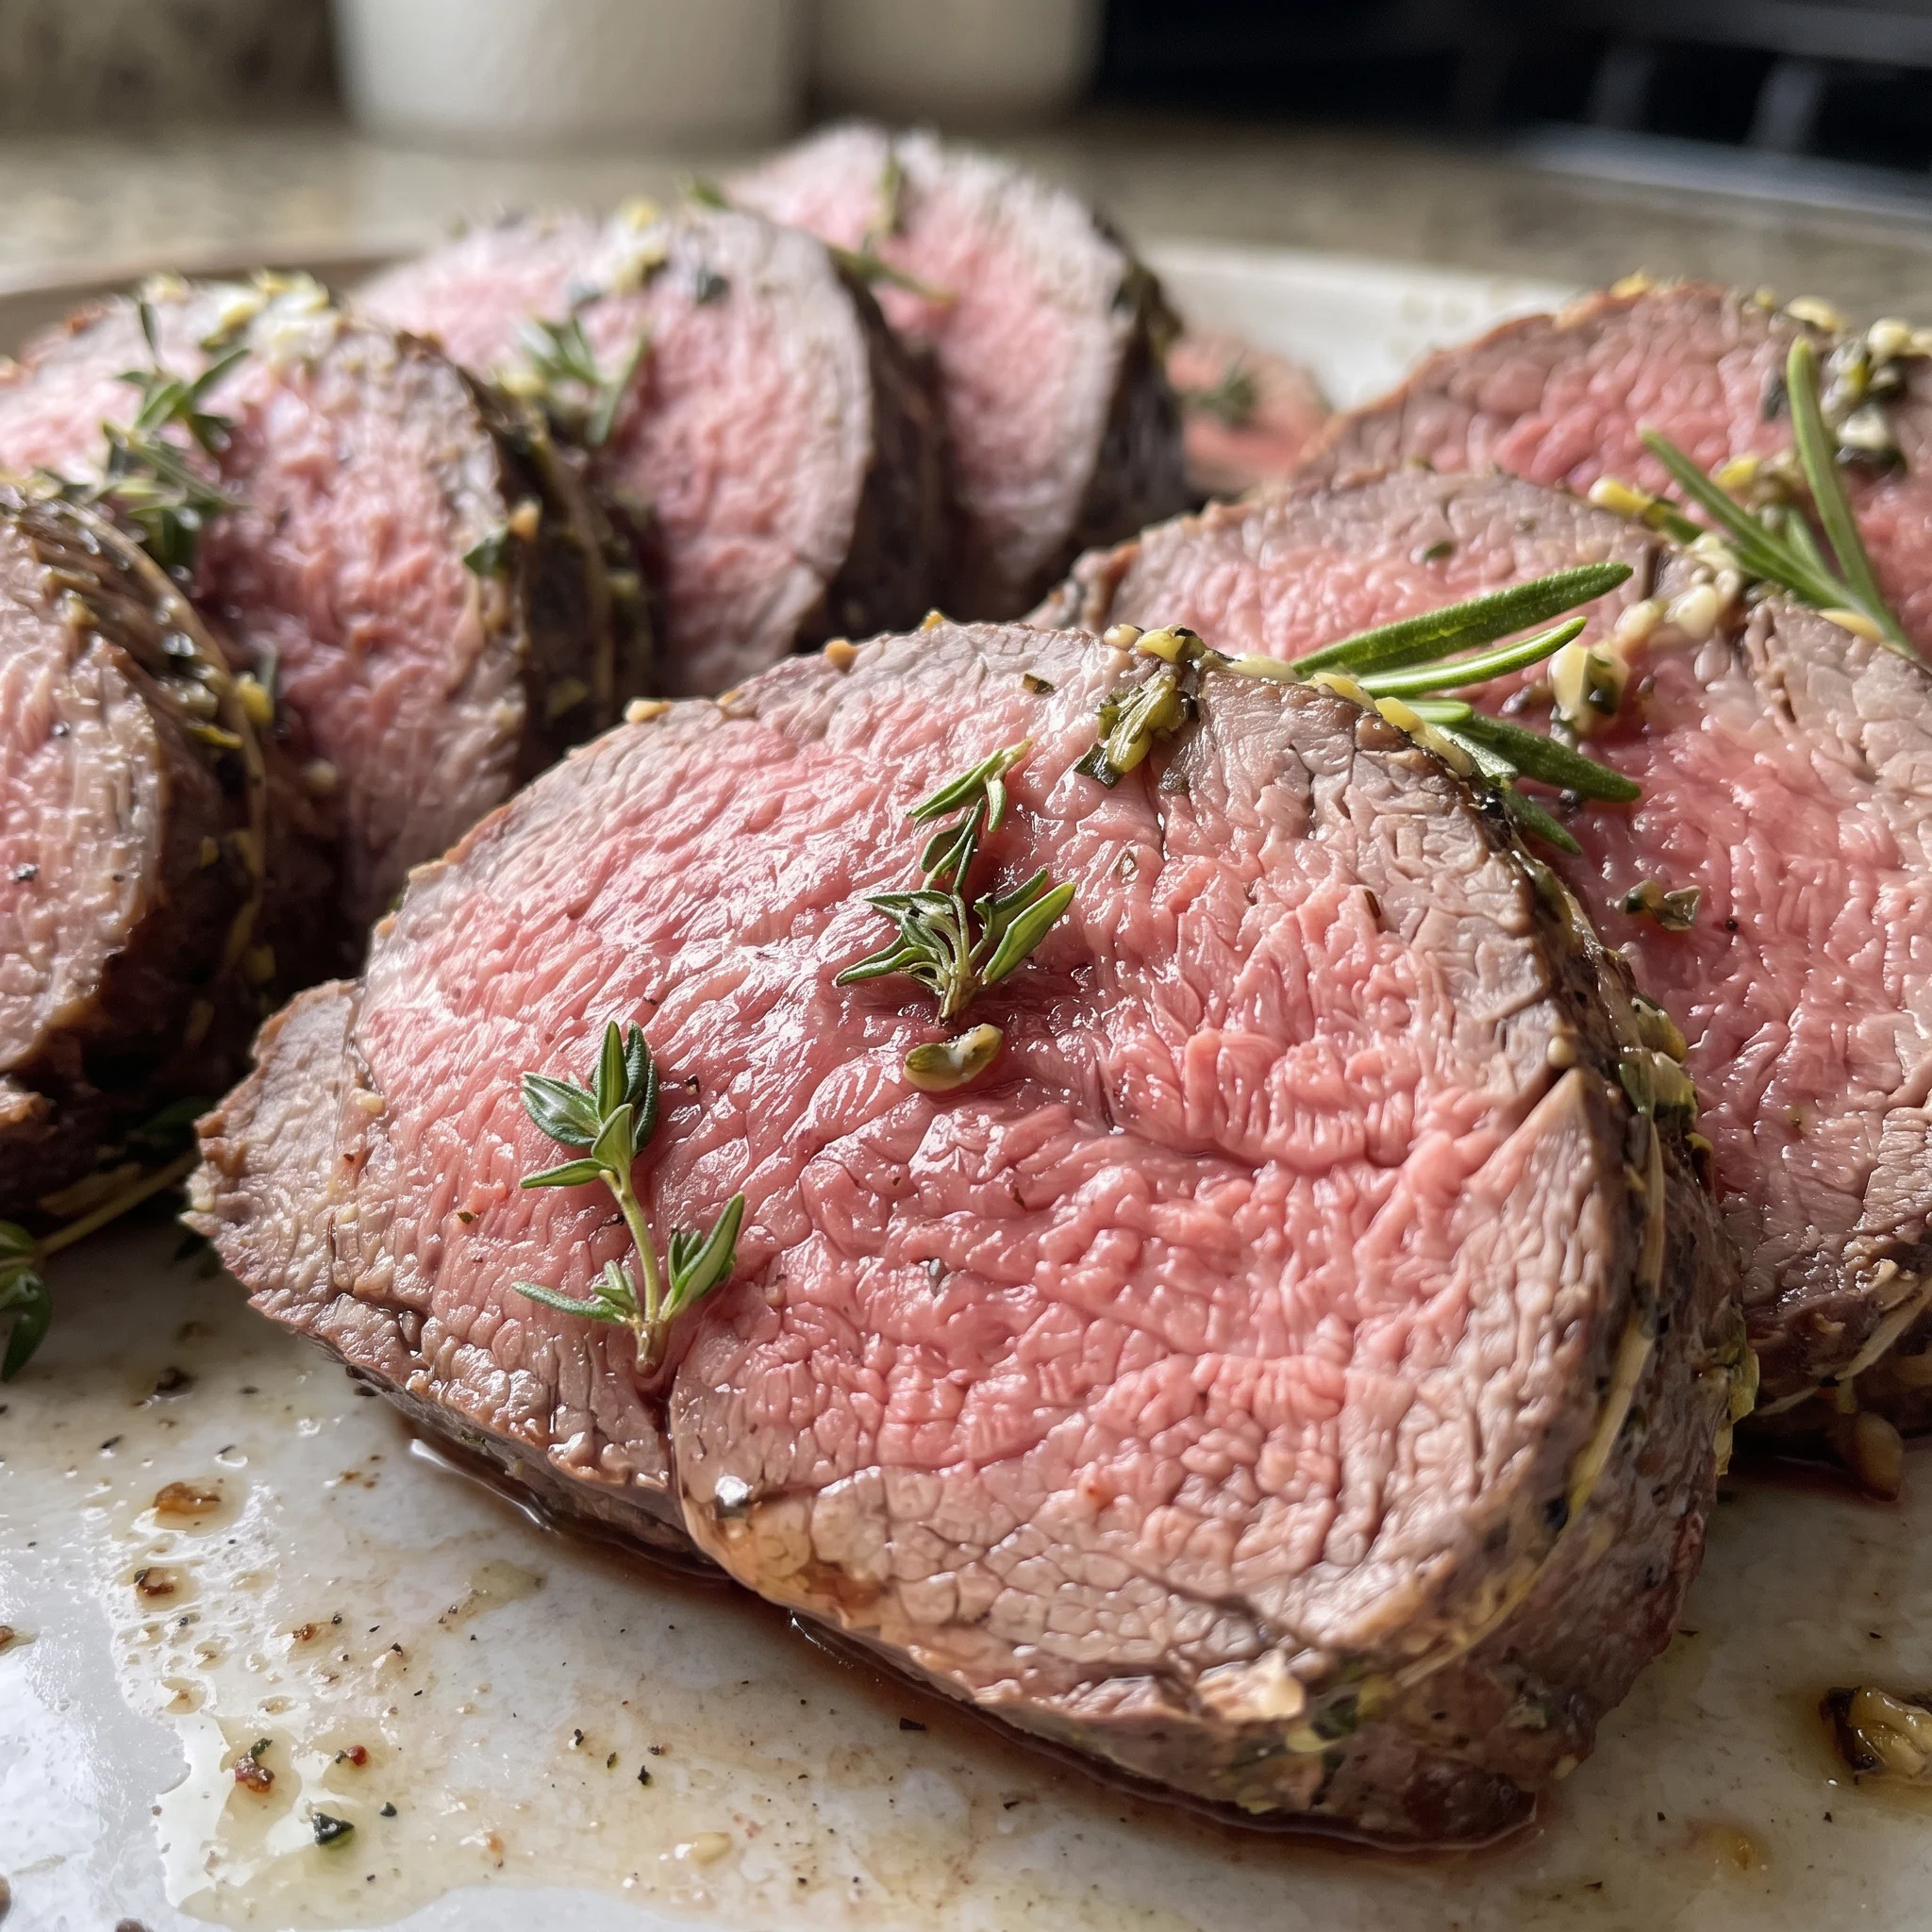
What to Buy and How to Prep It
Center-cut beef tenderloin roast: Ask for it trimmed and tied, since a 4 to 4 ½ lb center-cut piece gives you two even roasts once halved.
Avocado oil: Its high smoke point keeps the sear clean at the heat cast iron needs, unlike butter or olive oil.
Fresh rosemary and thyme: Mince the leaves finely so no single bite gets a harsh hit of raw herb under the butter.
Kosher salt: Coarse kosher crystals cling to the rounded surface better than fine table salt and season evenly.
How to Read the Roast at Every Turn
Judging the sear by sound and stick
When the oil shimmers and you lay the beef in, it should hiss loudly. If it’s quiet, the pan is too cold and the meat will steam instead of brown. After a minute, try to nudge it; if it releases easily, the crust is forming.
If it sticks hard, give it another 30 seconds. You’re after a deep golden brown on all sides, about 10 minutes total. Pull it early and the crust will be pale and soft, and the butter-herb layer won’t have anything to grip.
Catching the temperature before carryover
Tenderloin goes from to overdone in a few degrees. If you’re using a probe, set the alarm for 5 to 10 degrees below your target because it will keep cooking as it rests. For medium-rare, that means pulling it around 120°F to 125°F.
Without a probe, press the meat: it should feel springy but yield slightly. If it’s firm, it’s already past medium. The 15 to 20 minute roast time is a range, not a deadline.
Start checking at 15 minutes.
Knowing when the butter has done its job
As the roast finishes, the butter-herb mixture should be fully melted, glossy, and mingled with the pan juices. If you see patches of solid butter on top, the oven is too cool or the roast came out too soon.
The garlic and herbs should smell toasted and sweet, not raw or acrid. If they’re black, your oven is running hot.
That flavor is gone; scrape off the burnt bits before serving, but the crust underneath will still be good.
Reading the rest by the board
During the 10 to 15 minute rest, juices will bead up on the surface and then settle. If you cut in and see a flood of red juice, it needed more time. The meat should feel firm but still give when pressed.
The internal temperature will climb another 5 to 10 degrees. If you’re serving at 130°F for medium-rare, pull it at 120°F to 125°F. Cutting too early dries out the slices; the board tells you when it’s ready.
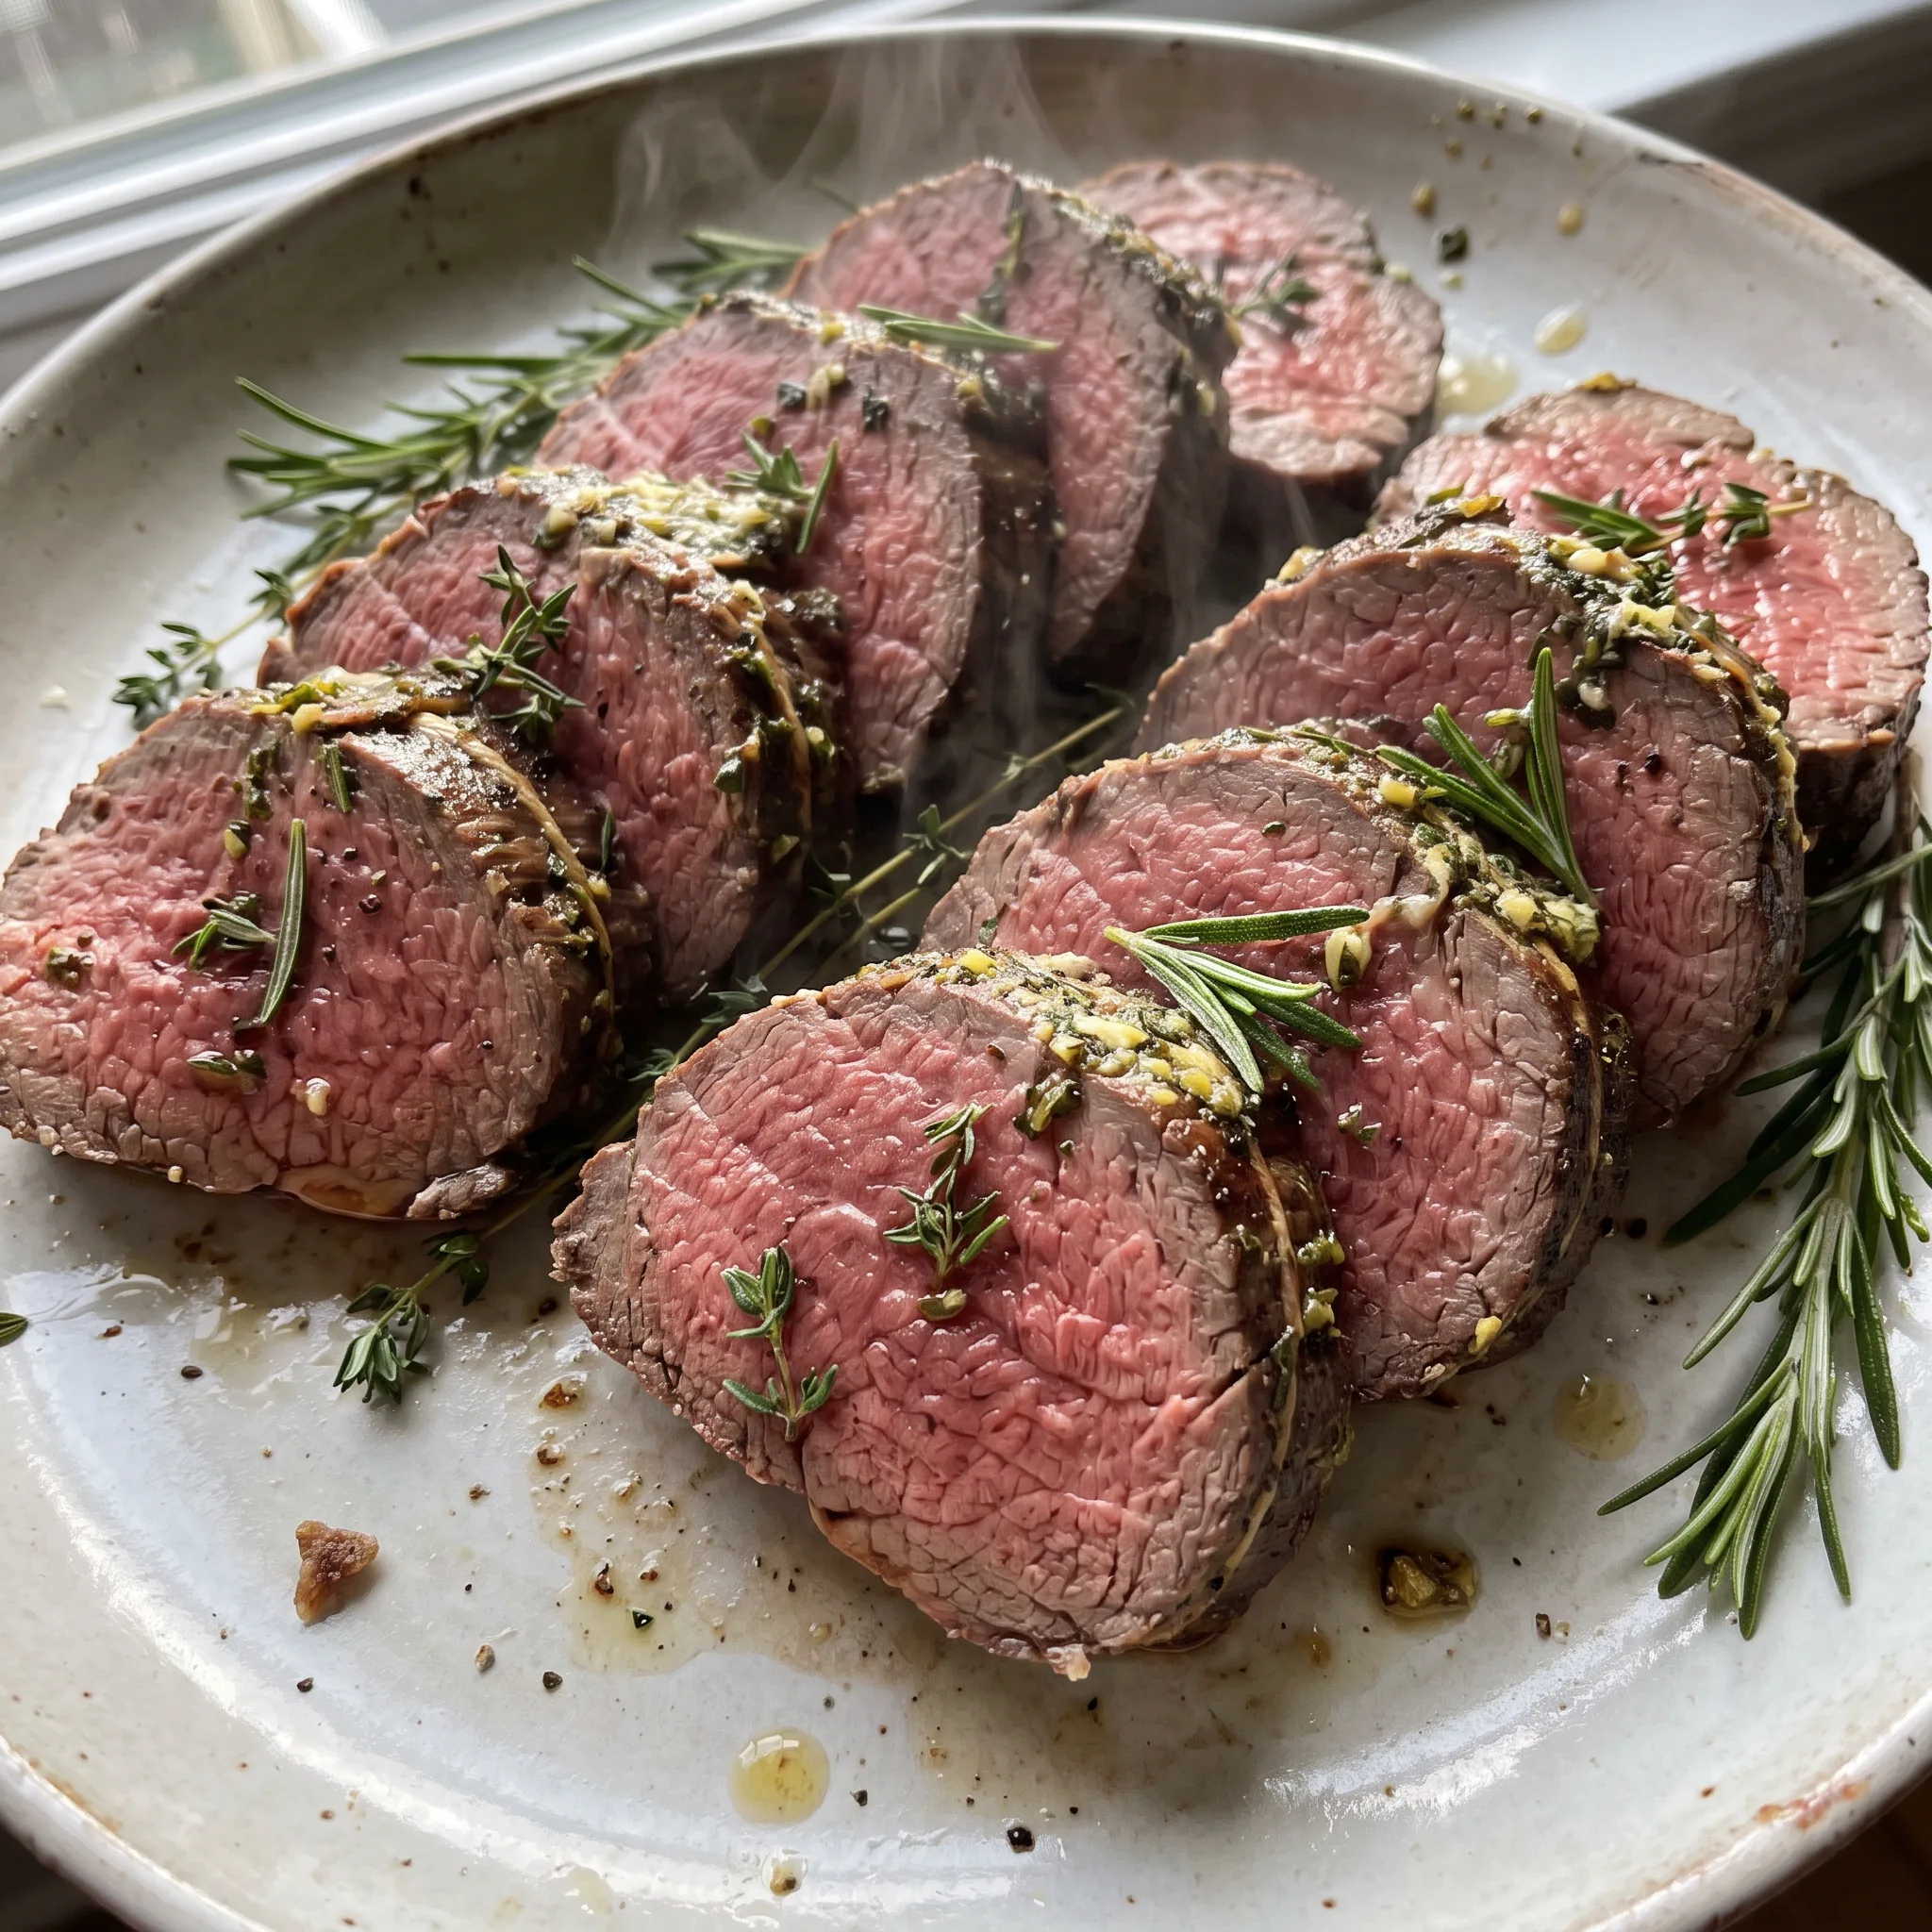
Garlic Herb Beef Tenderloin Roast
Ingredients
Method
- Take the beef tenderloin out of the refrigerator and allow it to reach room temperature before cooking, roughly 1 to 2 hours.
- Combine the softened butter, minced garlic, chopped rosemary, and chopped thyme in a small bowl. Set aside.
- Heat the oven to 425°F (220°C). Cut the beef tenderloin in half crosswise, then trim and tie it if the butcher hasn’t already done so.
- Dry the beef tenderloin with paper towels to remove excess moisture, then sprinkle salt and pepper on both sides.
- Warm the avocado oil in a large cast-iron pan over medium-high heat. When the oil begins to shimmer, place the beef tenderloin in the pan and sear it on all sides for a few minutes, about 10 minutes in total, until a golden brown crust forms.
- Spread the butter-herb mixture over the top of the beef tenderloin, then put the entire pan into the oven. If using a probe thermometer, insert the probe before putting the tenderloin in the oven. Roast the beef tenderloin for 15 to 20 minutes, depending on your preferred doneness (see temperature tips above).
- Take the beef tenderloin out of the oven and move it to a cutting board. Allow it to rest for 10 to 15 minutes so the juices can redistribute. Then remove the twine and cut into 1-inch thick slices. If desired, serve with horseradish sauce.
What You Can Swap Without Ruining the Sear
Avocado oil: Any other high-smoke-point neutral oil, like grapeseed, canola, or refined peanut oil. Start with the same 2 tablespoons. The oil is only there to keep the beef from sticking and to carry heat into the crust.
If the oil smokes before the meat goes in, it will taste acrid and the sear will be bitter. Butter or olive oil will burn at the temperature cast iron needs, so save those for the garlic-herb butter.
Fresh rosemary and thyme: Dried rosemary and thyme, or another soft herb like fresh marjoram or oregano. If using dried, use about a third of the fresh amount, so 1/3 teaspoon each.
For fresh soft herbs, start with the same 1 teaspoon each and adjust after tasting. Dried herbs are more concentrated and can taste dusty if overused, so a little goes a long way.
Soft herbs like marjoram or oregano will give a milder, slightly different flavor, but they won’t overpower the garlic. Avoid woody herbs like sage or winter savory, which can turn harsh under the broiler-like heat of the oven.
Kosher salt: Fine sea salt or table salt. Use half the amount, so 1 teaspoon, then taste and add more if needed. Kosher salt crystals are larger and less dense, so 2 teaspoons of kosher salt season less aggressively than 2 teaspoons of fine salt.
If you swap in fine salt without reducing, the roast will be too salty. The salt is your only chance to season the meat before it’s seared, so it matters.
Butter: For a dairy-free version, use a vegan butter substitute that melts well, or coconut oil. Start with the same 6 tablespoons. Butter brings flavor and helps the garlic and herbs cling.
Vegan butter will melt similarly but may taste slightly different, and coconut oil will add a faint sweetness. None will brown the same way butter does, but since the butter goes on after searing, the difference is mostly in the final taste, not the crust.
Keep the garlic and herb amounts as written; the ratio is what makes the topping work.
Storing and Serving Leftover Tenderloin
Serve this roast within 20 to 30 minutes of slicing. The crust is at its crispest right after the rest, and the butter-herb topping is still warm and glossy. Past that window the crust softens under its own steam and the butter congeals, so if you’re holding it longer, leave the roast whole and slice at the table.
Sliced leftovers keep in the fridge for 3 to 4 days in a shallow container with the juices spooned over. Cold tenderloin firms up and the crust goes soft, which is expected.
Reheat gently: a covered skillet over low heat with a splash of water, or 10 to 15 seconds per slice in the microwave. High heat dries the lean meat out fast. Serve leftover slices just warm, not hot, or at room temperature over a salad.
Freeze only whole unsliced portions, wrapped tight, for up to 2 months. Sliced tenderloin freezes poorly and comes back dry and grainy, so keep slices in the fridge instead.
Tips
- Tenderloin this size is often thicker at one end than the other, so check the temperature in the middle of each of the two pieces, not just one. The thicker piece will read several degrees lower and needs those extra minutes, and if you probe only the thinner one, you will pull the whole pan early and the thick piece will be underdone at the center.
- A probe left in the roast during the oven time reads the meat’s temperature, not the oven’s, so set the alarm for 5 to 10 degrees below your target and leave it alone. Opening the oven to check with an instant-read drops the temperature and stretches the 15 to 20 minutes. If you only have an instant-read, start checking at 15 minutes, and slide it in through the side of each piece to the center rather than from the top, which can push a pocket of hot crust into the reading.
Roasting at 425°F (220°C) creates a strong temperature gradient: the exterior is much hotter than the center, so after the roast is removed from the oven, heat continues to flow inward and the internal temperature can rise by 5, 10°F (3, 6°C) during the rest. Pulling the roast at the target doneness means it will overshoot and become dry. Pulling it 5, 10°F below the target doneness accounts for this carryover, so the final rested temperature lands where you want it.
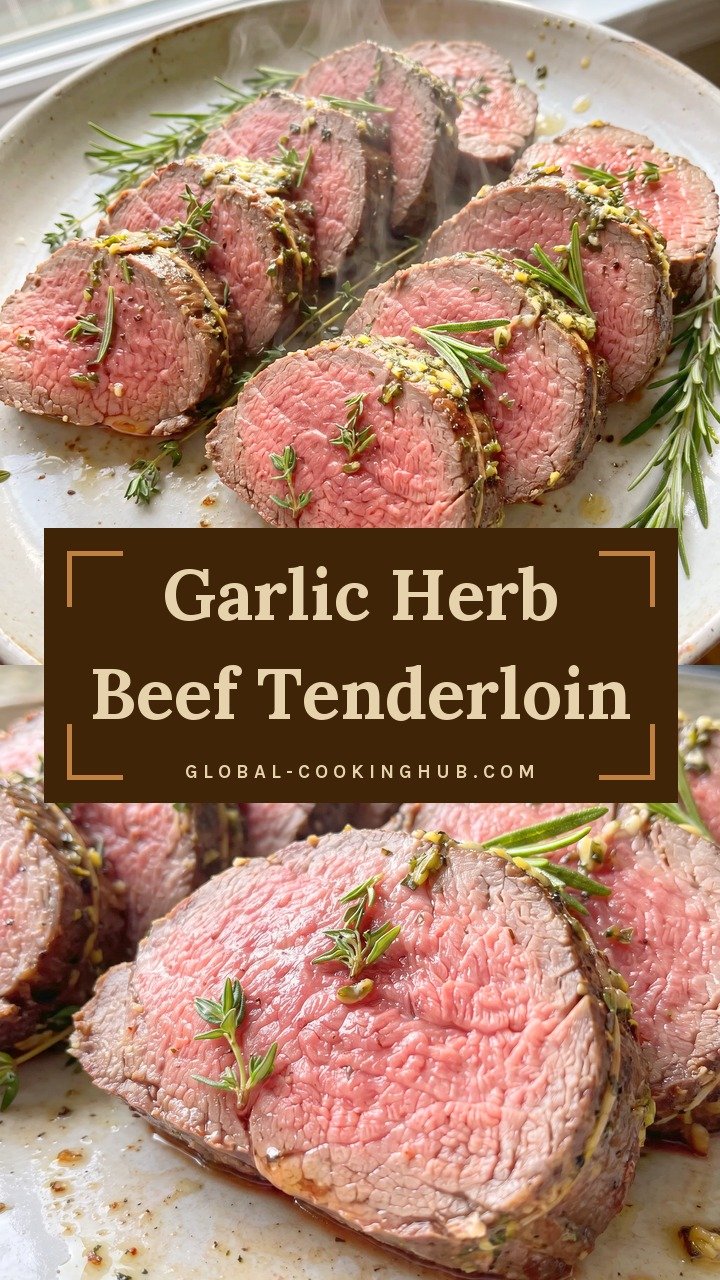
Frequently Asked Questions
Can I sear the tenderloin ahead of time and roast it later?
Yes, but you trade crust for convenience. Sear the tenderloin as written, then let it cool completely uncovered and refrigerate it; when you are ready to roast, add a few extra minutes because the meat goes into the oven cold.
The crust will have softened and the butter-herb topping will not cling as well to a chilled surface, so expect a less crisp exterior. If you want the best crust, sear just before roasting.
Why did my garlic herb butter burn in the oven?
Most likely your oven runs hot. The butter should melt slowly and mingle with the pan juices; if the garlic and herbs turn black and smell acrid, the heat is too high. Check your oven with an thermometer and adjust the dial down.
Also, make sure the butter is spread after the sear, not before, so the garlic does not scorch in the pan.
How do I keep the tenderloin from overcooking while it rests?
Pull it from the oven when the internal temperature reads 5 to 10 degrees below your target, because it will climb as it sits. For medium-rare, that means around 120°F to 125°F.
If you do not have a probe, press the meat: it should feel springy but yield slightly. Then rest it for 10 to 15 minutes, and the temperature will finish rising to where you want it.
What makes this garlic herb beef tenderloin different from a classic beef Wellington?
No pastry, no duxelles, no mushroom layer. This recipe keeps the tenderloin exposed, so you get a seared crust and a garlic-herb butter topping instead of a wrapped parcel.
The meat is halved crosswise for even cooking, then roasted in the same cast-iron pan. The result is a simpler roast with a crisp exterior and a rosy interior, no assembly required.
