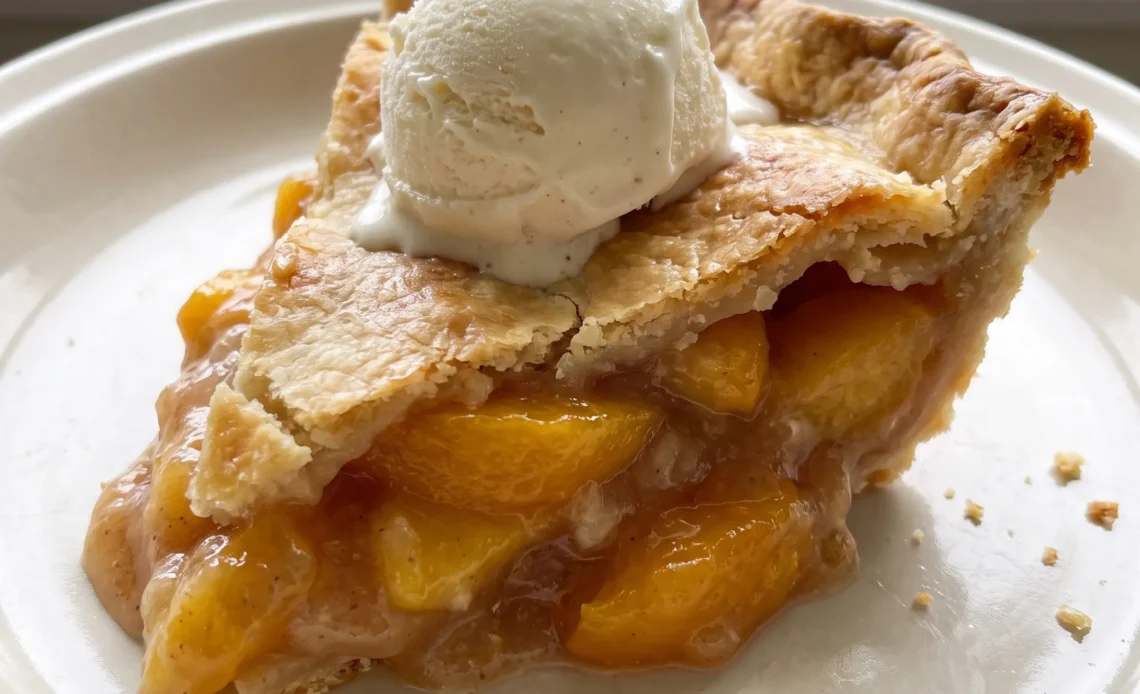
Cut a warm slice and the juices sit where the knife went, glossy and slow, clinging to fruit that still reads as fruit. Wait too long to pull the pie, or crowd the crust under a pale top, and that same slice empties across the plate before it reaches a fork. The gap between those two outcomes is narrower than most bakers expect, and it lives in decisions that have nothing to do with the peaches themselves: how the top crust seals, how much thickener the juice actually needs, how the filling reads at the moment you check it.
A fresh peach pie rewards attention to those margins and punishes guessing at them. What follows is where each one shows up, and what to look for when they don’t go your way.
Peaches release a large volume of juice when heated, and if the tapioca is not fully hydrated and gelatinized, the filling remains liquid. The starch granules must absorb water and swell during baking to form a gel network that traps the juice; without enough tapioca or adequate baking time, this network fails to set. The result is a soupy filling that weeps through the crust.
Why a Top Crust Matters
A double crust isn’t just about having pastry on top. The top crust seals the filling in, trapping steam and heat inside the pie.
As the peaches heat, they release their juices, which turn to steam. That steam can’t escape through the solid crust, so it stays inside, cooking the peaches evenly and keeping them from drying out.
Without that seal, the filling would evaporate and leave you with a dry, concentrated mess. The trapped steam also helps the filling set properly once the pie cools, so each slice holds together. The slits you cut in the top crust are there to let some of that steam escape, otherwise the pressure would build up and the crust could crack or the filling could bubble over.
That controlled release keeps the crust crisp and the filling intact. So the next time you roll out that top crust, remember it’s doing more than looking pretty.
It’s actively cooking your pie from the inside. And when you pull it from the oven, that golden, domed top tells you the steam did its job.
The Quiet Thickener
Tapioca does something that flour and cornstarch can’t: it thickens without dulling the fruit. When the peaches release their juice in the oven, that liquid needs to set into a gel, or you’ll cut into a puddle.
Tapioca thickens at a lower temperature than other starches, so it starts working early and creates a clear, glossy gel that lets the peach color and flavor shine through. You won’t get that cloudy, pasty texture that flour can leave behind. But the amount matters.
Too little, and the filling stays soupy, spilling out as soon as you slice. Too much, and you get a gummy, stiff filling that feels like rubber. The six cups of peaches and one and a half cups of sugar need just two tablespoons of minute tapioca to strike that balance.
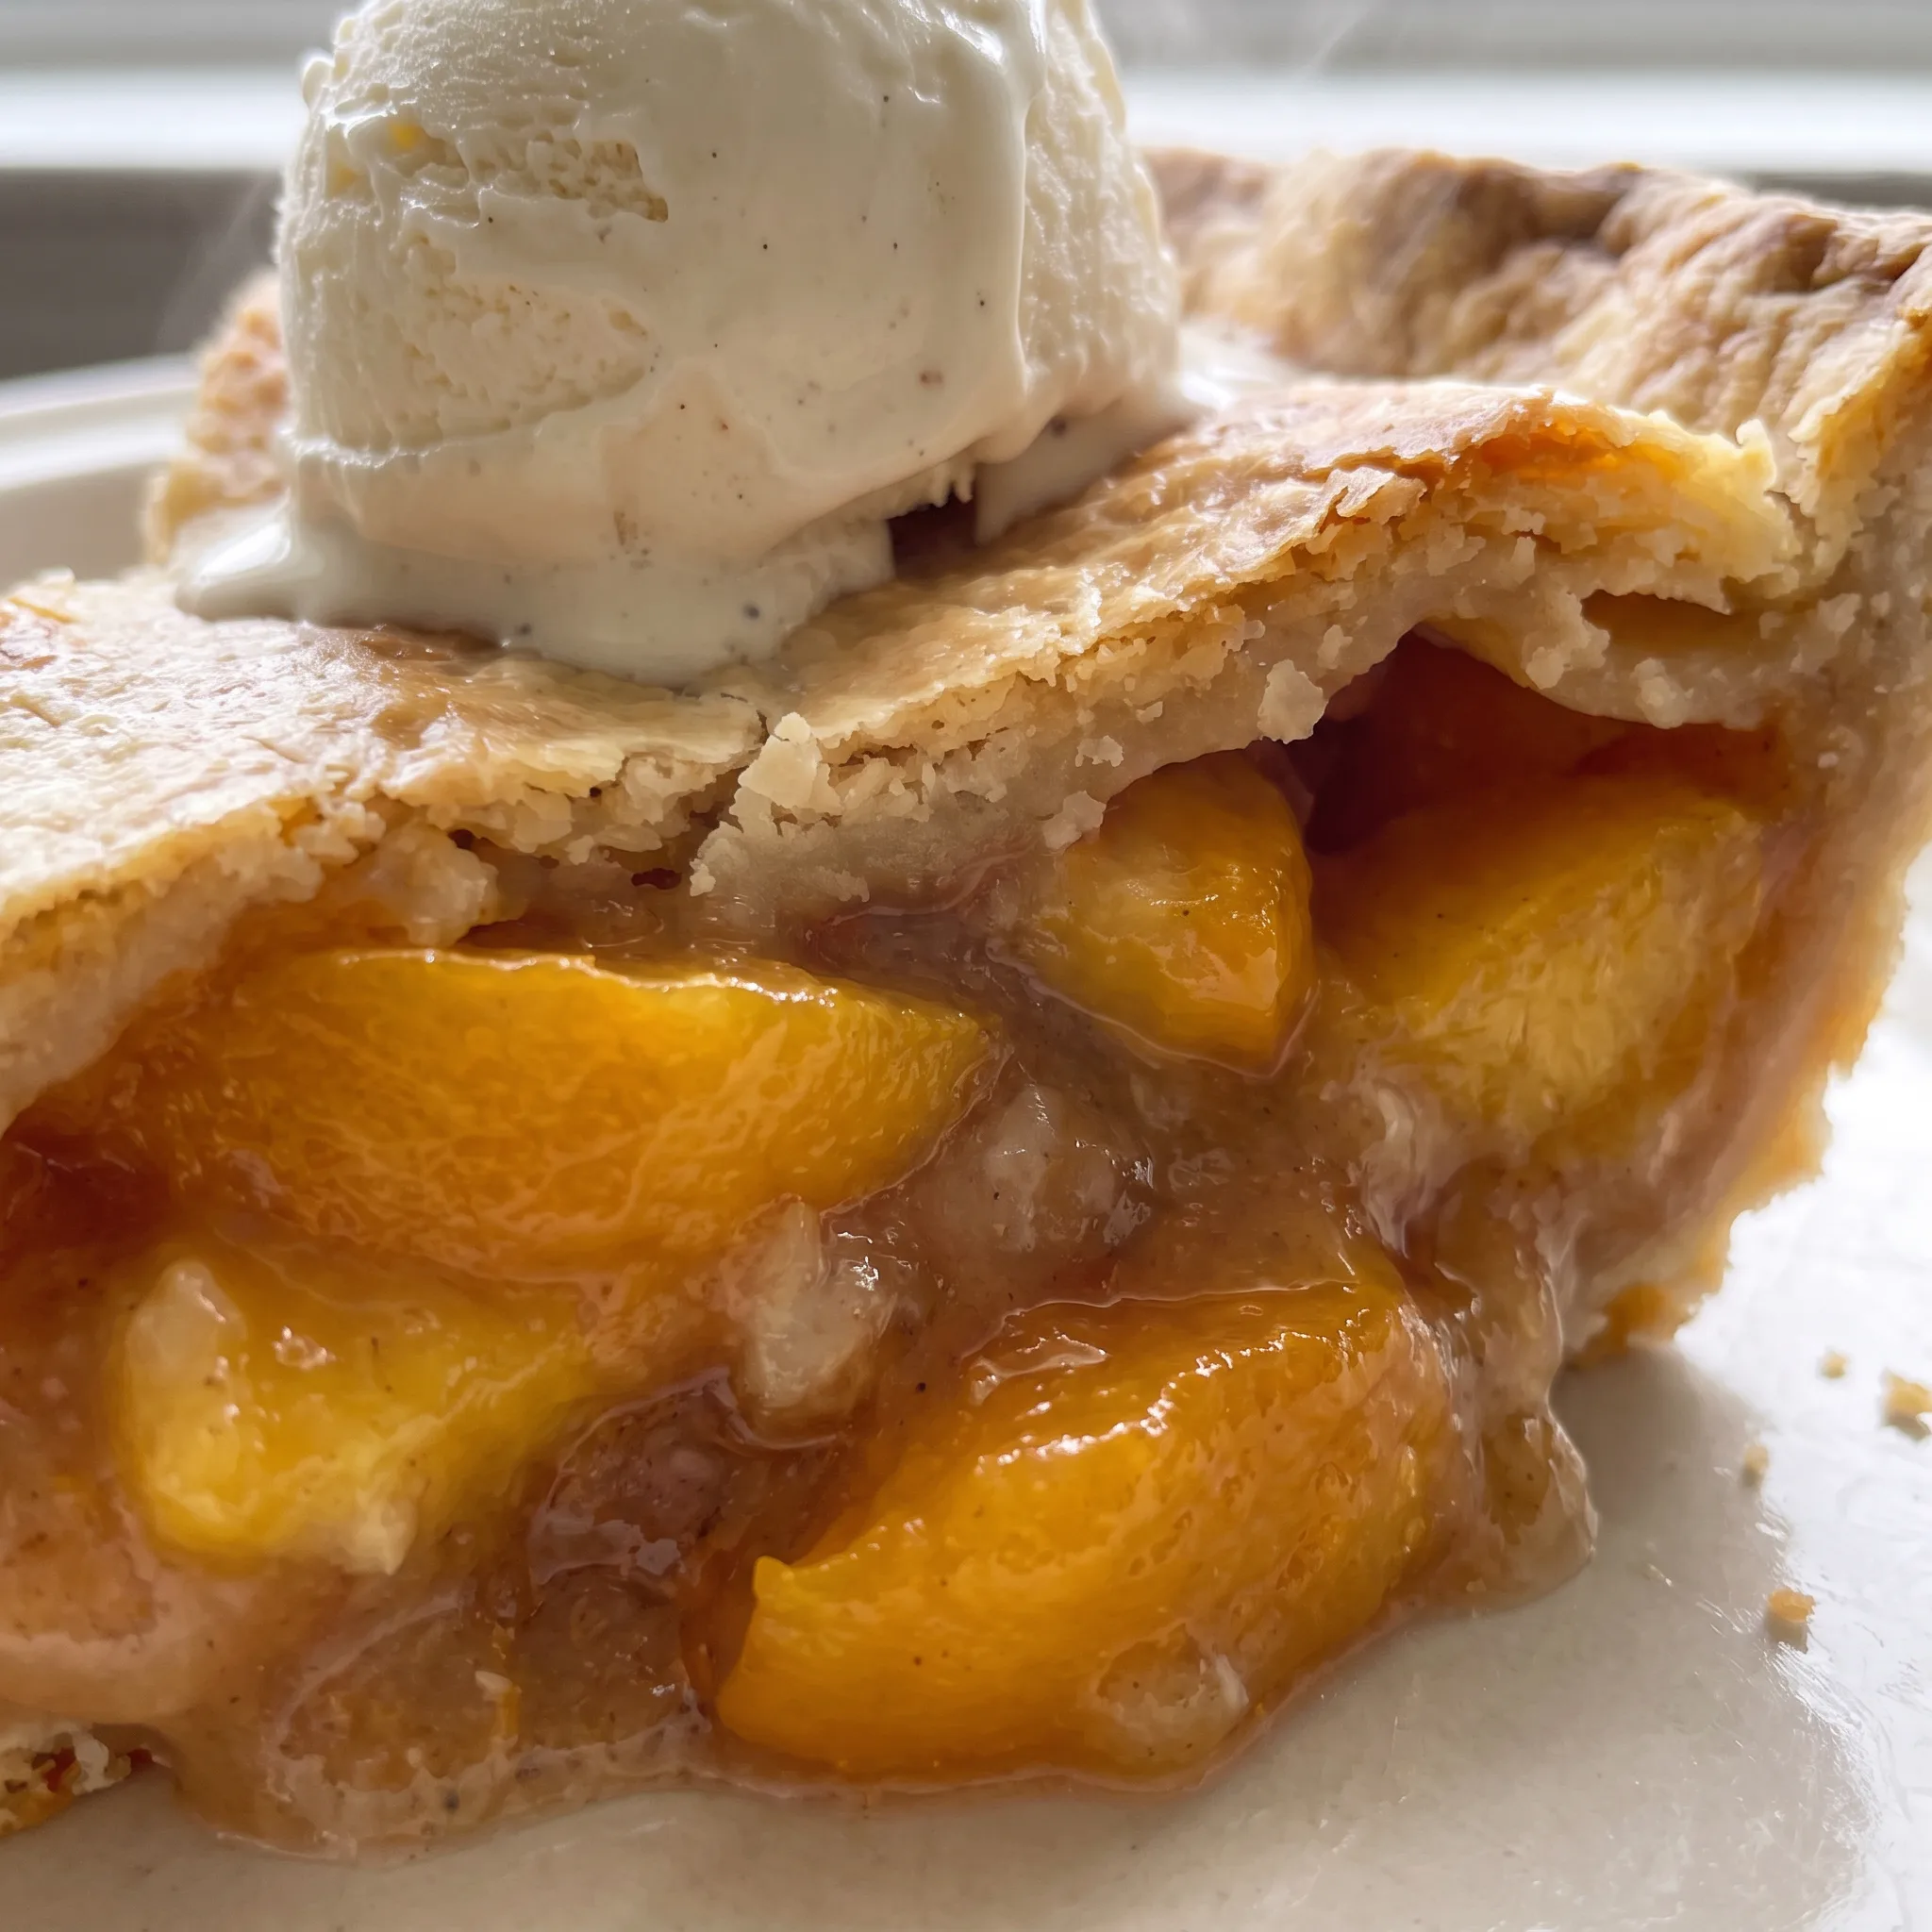
It’s a small amount, but it’s the difference between a pie that slices cleanly and one that runs all over the plate. When you taste it, the peaches should still taste like peaches, with a texture that’s soft but not mushy, and the juices should cling to the fruit, not flood the crust.
A Wash That Earns Its Keep
Brushing the top crust with heavy cream isn’t just for looks. The fat in the cream helps the crust brown evenly and gives it a shine that signals a properly baked pie. Unlike an egg wash, which can set into a hard, shiny shell, cream adds richness without that tough finish.
It also encourages a crisp texture as the water in the cream evaporates and the fat helps conduct heat. Then there’s the sugar.
A light sprinkle on top adds a subtle crunch and a hint of sweetness that contrasts with the tart peaches. It also gives you a visual cue: when the sugar has melted and caramelized slightly, and the crust is a deep golden brown, you know the pie is done.
That little bit of sugar on top makes each bite a little more interesting, a play of textures and flavors. So don’t skip this step. It’s a small effort that pays off in both taste and appearance.
Peaches That Pull Their Weight
Fresh peaches are what make this pie worth making. Their high water content and delicate flavor define the final texture and taste.
Frozen or canned peaches would change everything: frozen fruit releases more water when thawed, leading to a runny filling that no amount of tapioca can fully fix. Canned peaches are already soft and sweetened, so they’d going soggy and throw off the sugar balance.
Fresh peaches, on the other hand, hold their shape during baking and bring a natural tartness that balances the sugar. Their acidity also helps the filling set, working with the tapioca to create a gel that’s firm but not stiff. And peeling matters.
The skin can become tough and chewy in the oven, detracting from the smooth, tender filling. So take the time to peel them.
When you slice into the baked pie, you want to see distinct pieces of peach, not a homogenous jam. That’s what fresh peaches give you: a filling that tastes like summer, with a texture that’s just right.
What to Look For at the Market
Fresh peaches: Choose firm, just-ripe fruit with a slight give at the stem; soft ones break down into jam during baking.
Minute tapioca: Use the instant or minute form, not large pearl tapioca, which won’t hydrate fully during the 45 to 60 minute bake.
Heavy cream: For brushing the top crust, use cream with enough fat to brown evenly and give a shine, not milk or half-and-half.
Judging the Pie as It Bakes
When the filling looks set, not soupy
At 45 minutes, peek through a slit. The juices should bubble thickly and slowly, like lava, not run like water.
If they’re thin, the tapioca hasn’t fully hydrated. Give it another 5 to 10 minutes, but shield the crust with foil if it’s already dark. Underdone filling will spill when sliced; overdone turns gummy.
The bubble rate is your best clue.
Reading the crust color for doneness
A deep golden brown across the top and edges means the crust is baked through. Pale spots? The bottom crust may be soggy.
If the center domes and the slits are dry, it’s ready. At 375°F, 60 minutes is the max; beyond that, the sugars in the filling can scorch.
If the top browns early, tent it with foil and keep baking until the filling bubbles.
The jiggle test for a clean slice
Pull the pie out and gently shake the pan. The center should wobble just slightly, like set gelatin, not slosh. That residual jiggle means it will firm up as it cools.
If it’s completely stiff, you’ve overcooked the peaches. If it waves, it needs more time.
This check works only while hot; once cooled, the set is permanent.
How the peaches hold their shape
After baking, the peach slices should still be distinct, not dissolved into a jam. If they’ve broken down completely, the filling will be pasty.
That happens when the peaches were too ripe or baked too long. Next time, use firmer fruit and check at 45 minutes.
The taste should be bright and peachy, not dulled by overcooking.

Fresh Peach Pie with a Flaky Crust
Ingredients
Method
- Preheat oven to 375°F (190°C).
- In a large bowl, combine peaches, sugar, and tapioca.
- Line a 9-inch pie plate with one pie crust. Place pie filling in pastry.
- Place the second crust on top of the peach filling. Press the edges together with the bottom crust. Trim the crust, leaving about ½ inch of crust around the edges. Flute the crust.
- Make several slits in the top of the crust to allow steam to escape while baking. Lightly brush cream on the top and sprinkle white sugar, if desired.
- Bake in preheated oven at 375°F (190°C) for 45-60 minutes.
- Serve with ice cream if desired.
Storage and Serving
This pie is at its best within 4 hours of cooling, while the bottom crust still has snap and the filling is just set. After that, the crust drinks moisture from the peaches and softens. It keeps at room temperature for up to 24 hours, loosely covered with foil.
Beyond a day, move it to the fridge, where it holds for 3 days. Cold firms the filling and dulls the peach aroma, so let slices sit out 20 minutes before serving. Reheat individual slices in a 350°F oven for 8 to 10 minutes to bring back crispness.
The microwave will steam the crust and leave it leathery, so avoid it. For longer storage, freeze baked slices wrapped tightly in foil for up to 2 months, then thaw overnight in the fridge and reheat in the oven.
Do not freeze the unbaked assembled pie; the crust will crack and the filling will separate. If you want the cream and sugar finish, add it just before the final bake, not after storage.
Tips
- Taste a slice of the raw peach filling before it goes into the crust and adjust sugar by a quarter cup at a time. Peaches at peak ripeness can carry 1 ¼ cups sugar without turning flat, while firm early-season fruit may need the full 1 ½ cups to taste balanced, and the 2 tablespoons of tapioca will set either version the same way.
What You Can Swap, and What You Shouldn’t, in a Peach Pie
Minute tapioca: If you can’t find minute tapioca, use an equal amount of instant tapioca that you’ve ground to a powder in a spice grinder. Quick-cooking tapioca, not pearl, is the only other form that works; pearl tapioca won’t hydrate in the 45 to 60 minutes this pie bakes, and you’ll end up with hard, chewy beads in the filling.
Ground instant tapioca thickens the same way, but you might notice a slightly finer gel. The filling will still set clear and glossy, and the peach flavor won’t be masked.
Granulated sugar: For a less sweet pie, cut the sugar to 1 cup. If you’re using a sugar substitute that measures like sugar, start with 1 cup and taste the raw filling; add more if needed. Don’t reduce below 1 cup, because sugar pulls juice from the peaches and helps the filling set.
Without enough, you’ll get a soupy pie even with the tapioca. Less sugar means a tarter, more peach-forward taste, and the filling will be a bit softer.
The crust won’t brown as deeply because there’s less sugar to caramelize on top.
Unbaked pie crusts: For a gluten-free pie, use your favorite gluten-free pie crust recipe or a store-bought gluten-free crust. Handle it gently; gluten-free dough tears easily. If you’re avoiding dairy, make sure your crust is made with a dairy-free fat like shortening or oil, and skip the heavy cream wash or brush with a dairy-free milk alternative.
Gluten-free crusts often have a crumblier texture and may brown faster, so keep an eye on it. A dairy-free wash won’t give the same shine or even browning, but the crust will still bake through.
Fresh peaches: If you must use frozen peaches, thaw and drain them well, then pat dry. Use the same 6 cups, but reduce the sugar to 1 cup and increase the tapioca to 3 tablespoons. Canned peaches are already sweetened and soft; if you use them, drain and rinse them, cut the sugar to ½ cup, and add 3 tablespoons tapioca.
Both will give a softer filling, so don’t expect distinct slices. Frozen or canned peaches release more water, so the filling will be looser and the peach flavor less bright.
The increased tapioca helps, but the texture won’t match fresh.

Frequently Asked Questions
Can I make fresh peach pie ahead of time?
Bake it the same day you plan to serve it if you can. The pie is at its best within 4 hours of cooling, while the bottom crust still has snap and the filling is just set, and after that the crust drinks moisture from the peaches and softens. You can assemble the filling and keep it covered in the fridge for a few hours, but the assembled unbaked pie doesn’t freeze well and the crust will crack and the filling separate.
If you need it further ahead, bake it, cool it completely, then refrigerate for up to 3 days and reheat slices in a 350°F oven for 8 to 10 minutes to bring back crispness. Add the cream and sugar finish just before the final bake, not after storage.
Why is my peach pie runny?
The usual cause is underbaked filling, not too little thickener. At 45 minutes, peek through a slit: the juices should bubble thickly and slowly, like lava, not run like water, and if they’re thin the tapioca hasn’t fully hydrated.
Give it more time and shield the crust with foil if it’s already dark. A second check is your fruit: peaches that were soft and dead ripe break down and release more water than firm ones, so the filling goes loose even with the right tapioca.
If you cut sugar below 1 cup, that also pulls less juice from the fruit and weakens the set.
How do I know when the pie is done baking?
Look for a deep golden brown across the top and edges, with the center domed and the slits dry. Pull the pie out and gently shake the pan: the center should wobble just slightly, like set gelatin, not slosh, and that residual jiggle means it will firm up as it cools. If it waves, it needs more time; if it’s completely stiff, you’ve overcooked the peaches.
The peach slices should still be distinct after baking, not dissolved into a jam, and the taste should be bright and peachy rather than dulled. At 375°F, 60 minutes is the max, and if the top browns early, tent it with foil and keep baking until the filling bubbles.
What’s the difference between this fresh peach pie and a classic peach pie?
This one leans on the peaches themselves and a small amount of minute tapioca, so the filling sets clear and glossy and the fruit color and flavor come through. A classic peach pie often uses flour or cornstarch, which thickens into a cloudier, pastier gel, and it may be built with more spice or a heavier hand of sugar.
The double crust and the cream wash are the same idea, but here the tapioca is doing the work at a lower temperature so it starts setting early. Six cups of peaches and one and a half cups of sugar need just two tablespoons of minute tapioca to strike that balance.
The result is a filling that slices cleanly with distinct pieces of peach, not a homogenous jam.
