
Ten minutes of assembly is the whole ask, and you can do it hours before anyone rings the doorbell. Bacon wrapped green bean bundles are a make-ahead side in the truest sense: the wrapping and toothpicking happen early, the pan waits, and the oven finishes things while you’re pouring drinks. What you can’t do is walk away from the wrapping itself.
The beans have to be dry when they go in, and the bacon has to be flexible enough to bend without splitting, which means pulling it from its par-bake at a stage that looks underdone. Get those two things right and the bundles come out lacquered; rush them and you’ll find out why wet beans and brittle bacon don’t cooperate.
Start the Bacon Early So It Can Keep Up
Bacon and green beans don’t cook at the same speed. By the time a strip of raw bacon renders its fat and turns crisp, a blanched green bean has gone soft and lost its snap. That’s the whole reason for giving the bacon a head start.
A few minutes in the oven alone lets it release some fat and firm up, so when you wrap it around the beans, it’s already partway to crisp. The beans finish in the same window instead of waiting around.
If you skip this, the bundle comes out of the oven with flabby bacon and beans that taste watery and overcooked. You want the bacon to look slightly shrunken and glossy, not fully browned, when it comes out. It should still be pliable enough to wrap without cracking.
That’s your cue to take it out and move on.
The Glaze Brings Sweetness to Salty, Savory Beans
Green beans are mild and a little grassy. Bacon is salty and rich. Brown sugar, butter, and garlic salt tie those two together.
The sugar caramelizes in the oven, turning sticky and slightly darker, and that sweetness cuts through the salt. Butter adds richness and helps the garlic salt and pepper cling to the beans instead of sliding off. When you toss the beans in the mixture, they pick up a thin, even coating.
It doesn’t make them wet, just glossy. That coating also gives the bacon something to stick to, so the bundles hold their shape.
As they bake, the sugar in the glaze bubbles around the edges and the kitchen smells like roasting pork and toasted sugar. The beans come out tasting seasoned all the way through, not just on the outside.
A squeeze of the bundle should feel tender but not limp.
Thin Beans and Regular Bacon Make the Right Bundle
The texture of these bundles depends on what you buy. Thin green beans, often sold as haricot vert, cook fast and stay crisp. They also bundle neatly, so a single strip of bacon can wrap around a small handful without a lot of bulk.
Regular-cut bacon, not thick-cut, is the other half. It’s thin enough to wrap tightly and crisps up in the time the beans need.
Thick-cut bacon would take longer to cook and would still be chewy when the beans are done, and its strong smoky flavor would drown out the beans. You want each bite to have both. The beans should be tender but not soft, and the bacon should shatter when you bite into it.
If you can only find thicker beans, blanch them a little longer, but know the texture will be meatier and less delicate.
Keep the Bundles Together from Oven to Plate
A bundle that falls apart on the pan is frustrating, but it’s easy to avoid. Toothpicks do the heavy lifting. Push one through the bacon where it overlaps, going all the way through the beans, and the wrap stays put.
Drying the beans well after blanching matters too. Any water left on them turns to steam in the oven, which makes the bacon slide around and keeps it from getting crisp. A quick pat with paper towels solves that.
Coating the sheet pan with cooking spray stops the bundles from sticking, so you can lift them off in one piece. When they’re done, the bacon should look lacquered and the toothpick should slide out without resistance.
Let them rest a minute or two before serving, then slide them onto a platter. They’ll hold together on the fork.
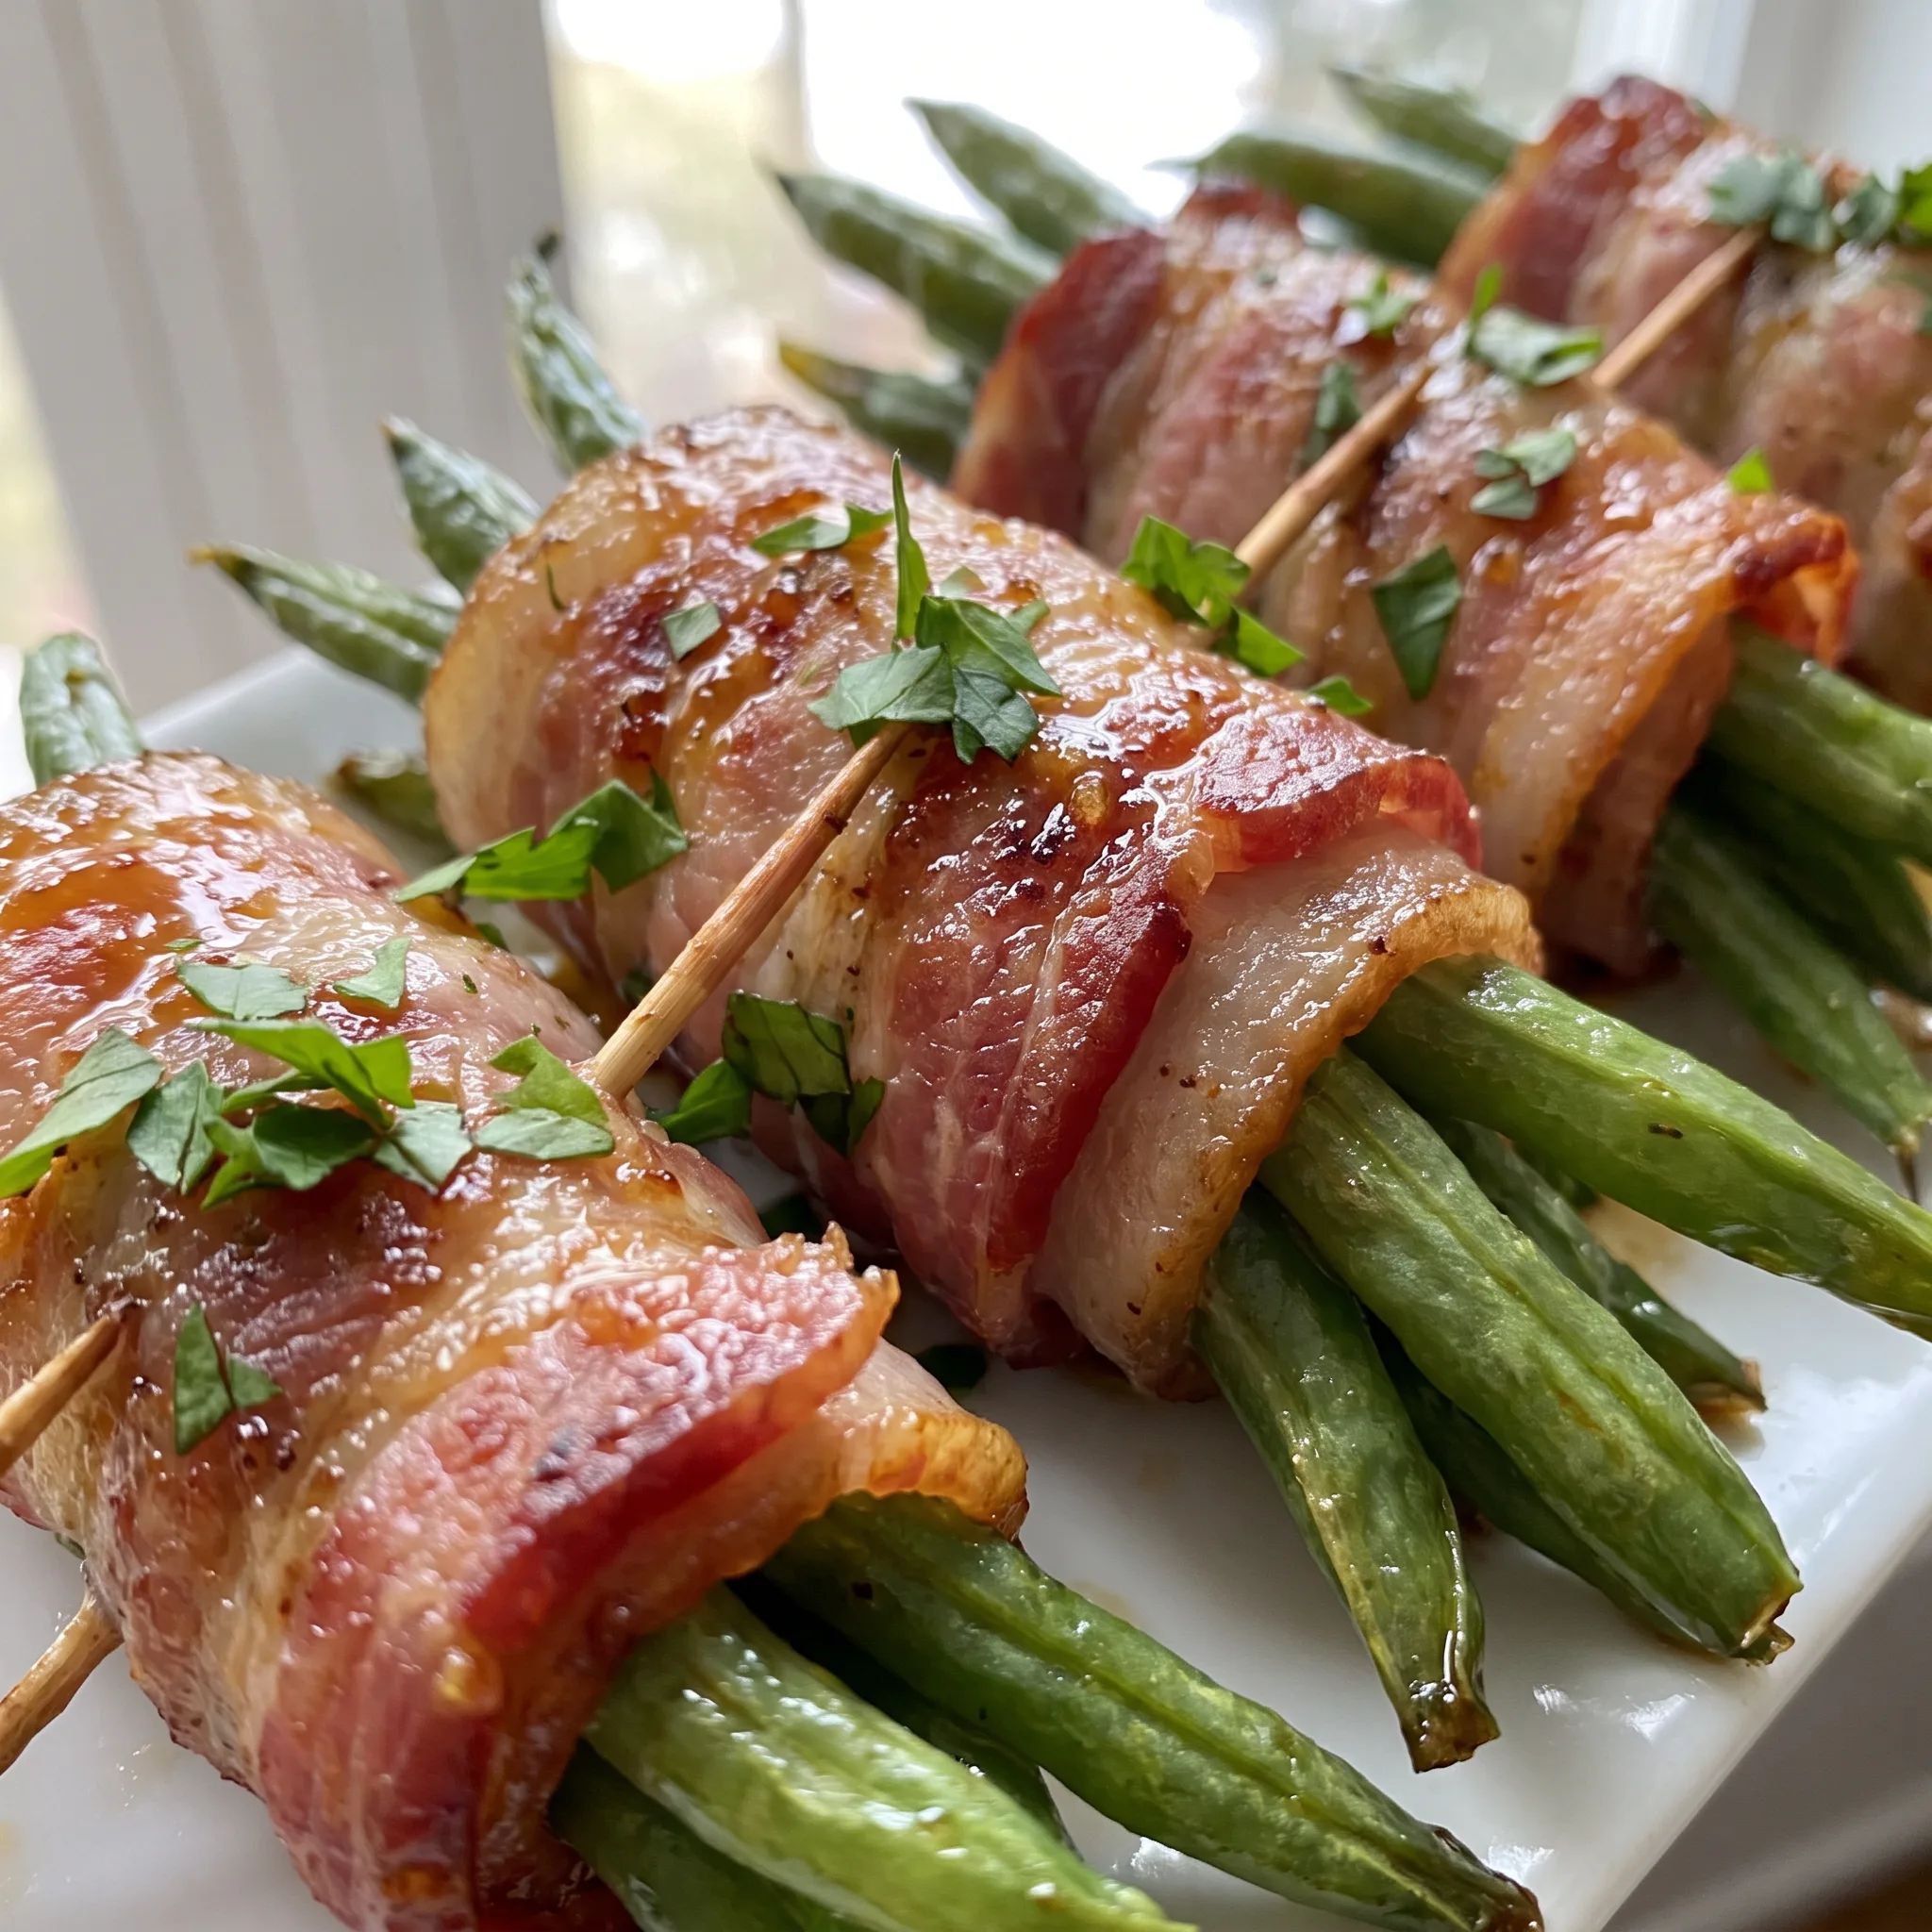
What to Buy and Prep Before These Bundles Come Together
Green beans: Thin ones, sold as haricot vert, cook fast, stay crisp, and wrap neatly; thicker beans turn meaty and take longer to blanch.
Bacon: Regular-cut slices, not thick-cut, so the bacon crisps in the same window the beans need and doesn’t overpower them.
Garlic salt: One teaspoon covers both seasoning jobs; if you swap in garlic powder, the salt has to come from somewhere else.
Brown sugar: The sugar caramelizes and darkens in the oven, cutting the bacon’s salt and helping the glaze cling to the beans.
Butter: Melted, so it mixes evenly with the sugar and garlic salt instead of sitting in lumps on the beans.
Parsley: Optional chopped parsley scattered at the end adds a fresh green note against the rich, salty bacon.
How to Read the Bundles as They Cook
Reading the Bacon After Its Head Start
Seven minutes in, the bacon should look shrunken and glossy, its fat starting to pool. It must stay pliable enough to wrap without cracking.
If it’s fully browned or crisp at the edges, it’s gone too far and will turn brittle and break when you bend it. If it still looks raw and floppy, give it another minute or two.
This is the moment that decides whether the bundles hold together later.
The Exact Second the Beans Lose Their Raw Snap
Two to three minutes in boiling water is a narrow window. Bite one: it should be tender but still squeak against your teeth.
The color shifts to a brighter green right before they’re done. Past that, they go dull and soft, and no amount of ice water brings back the snap.
Pull them the moment the raw edge disappears, then shock them cold to stop the cooking dead.
When Dry Means Dry, Not Damp
After the ice bath, blot the beans until the paper towels come away dry. Any water left on them steams in the oven, making the bacon slide and refuse to crisp.
Feel a bean: it should be tacky, not wet. If you’re unsure, pat again. This is the step that separates lacquered bacon from a soggy wrap, and it’s easy to rush.
Judging the Wrap So It Cooks Evenly
Eight to ten beans per bundle is the target, but thickness matters more than count. Aim for a bundle about as thick as your thumb. Too fat and the middle beans steam while the bacon burns; too thin and the bacon overcooks before the beans heat through.
The bacon should overlap just enough to hold, and the toothpick should pierce all the way through the overlap and the beans.
The Look and Feel of a Done Bundle
Fifteen to twenty minutes at 400°F, but trust your eyes and a toothpick. The bacon should look lacquered and darkened, and a toothpick should slide out without resistance.
If the bacon is still pale and limp, give it a few more minutes. If the edges are blackening, pull them now. The beans inside should feel tender when you press the bundle with the back of a spoon.
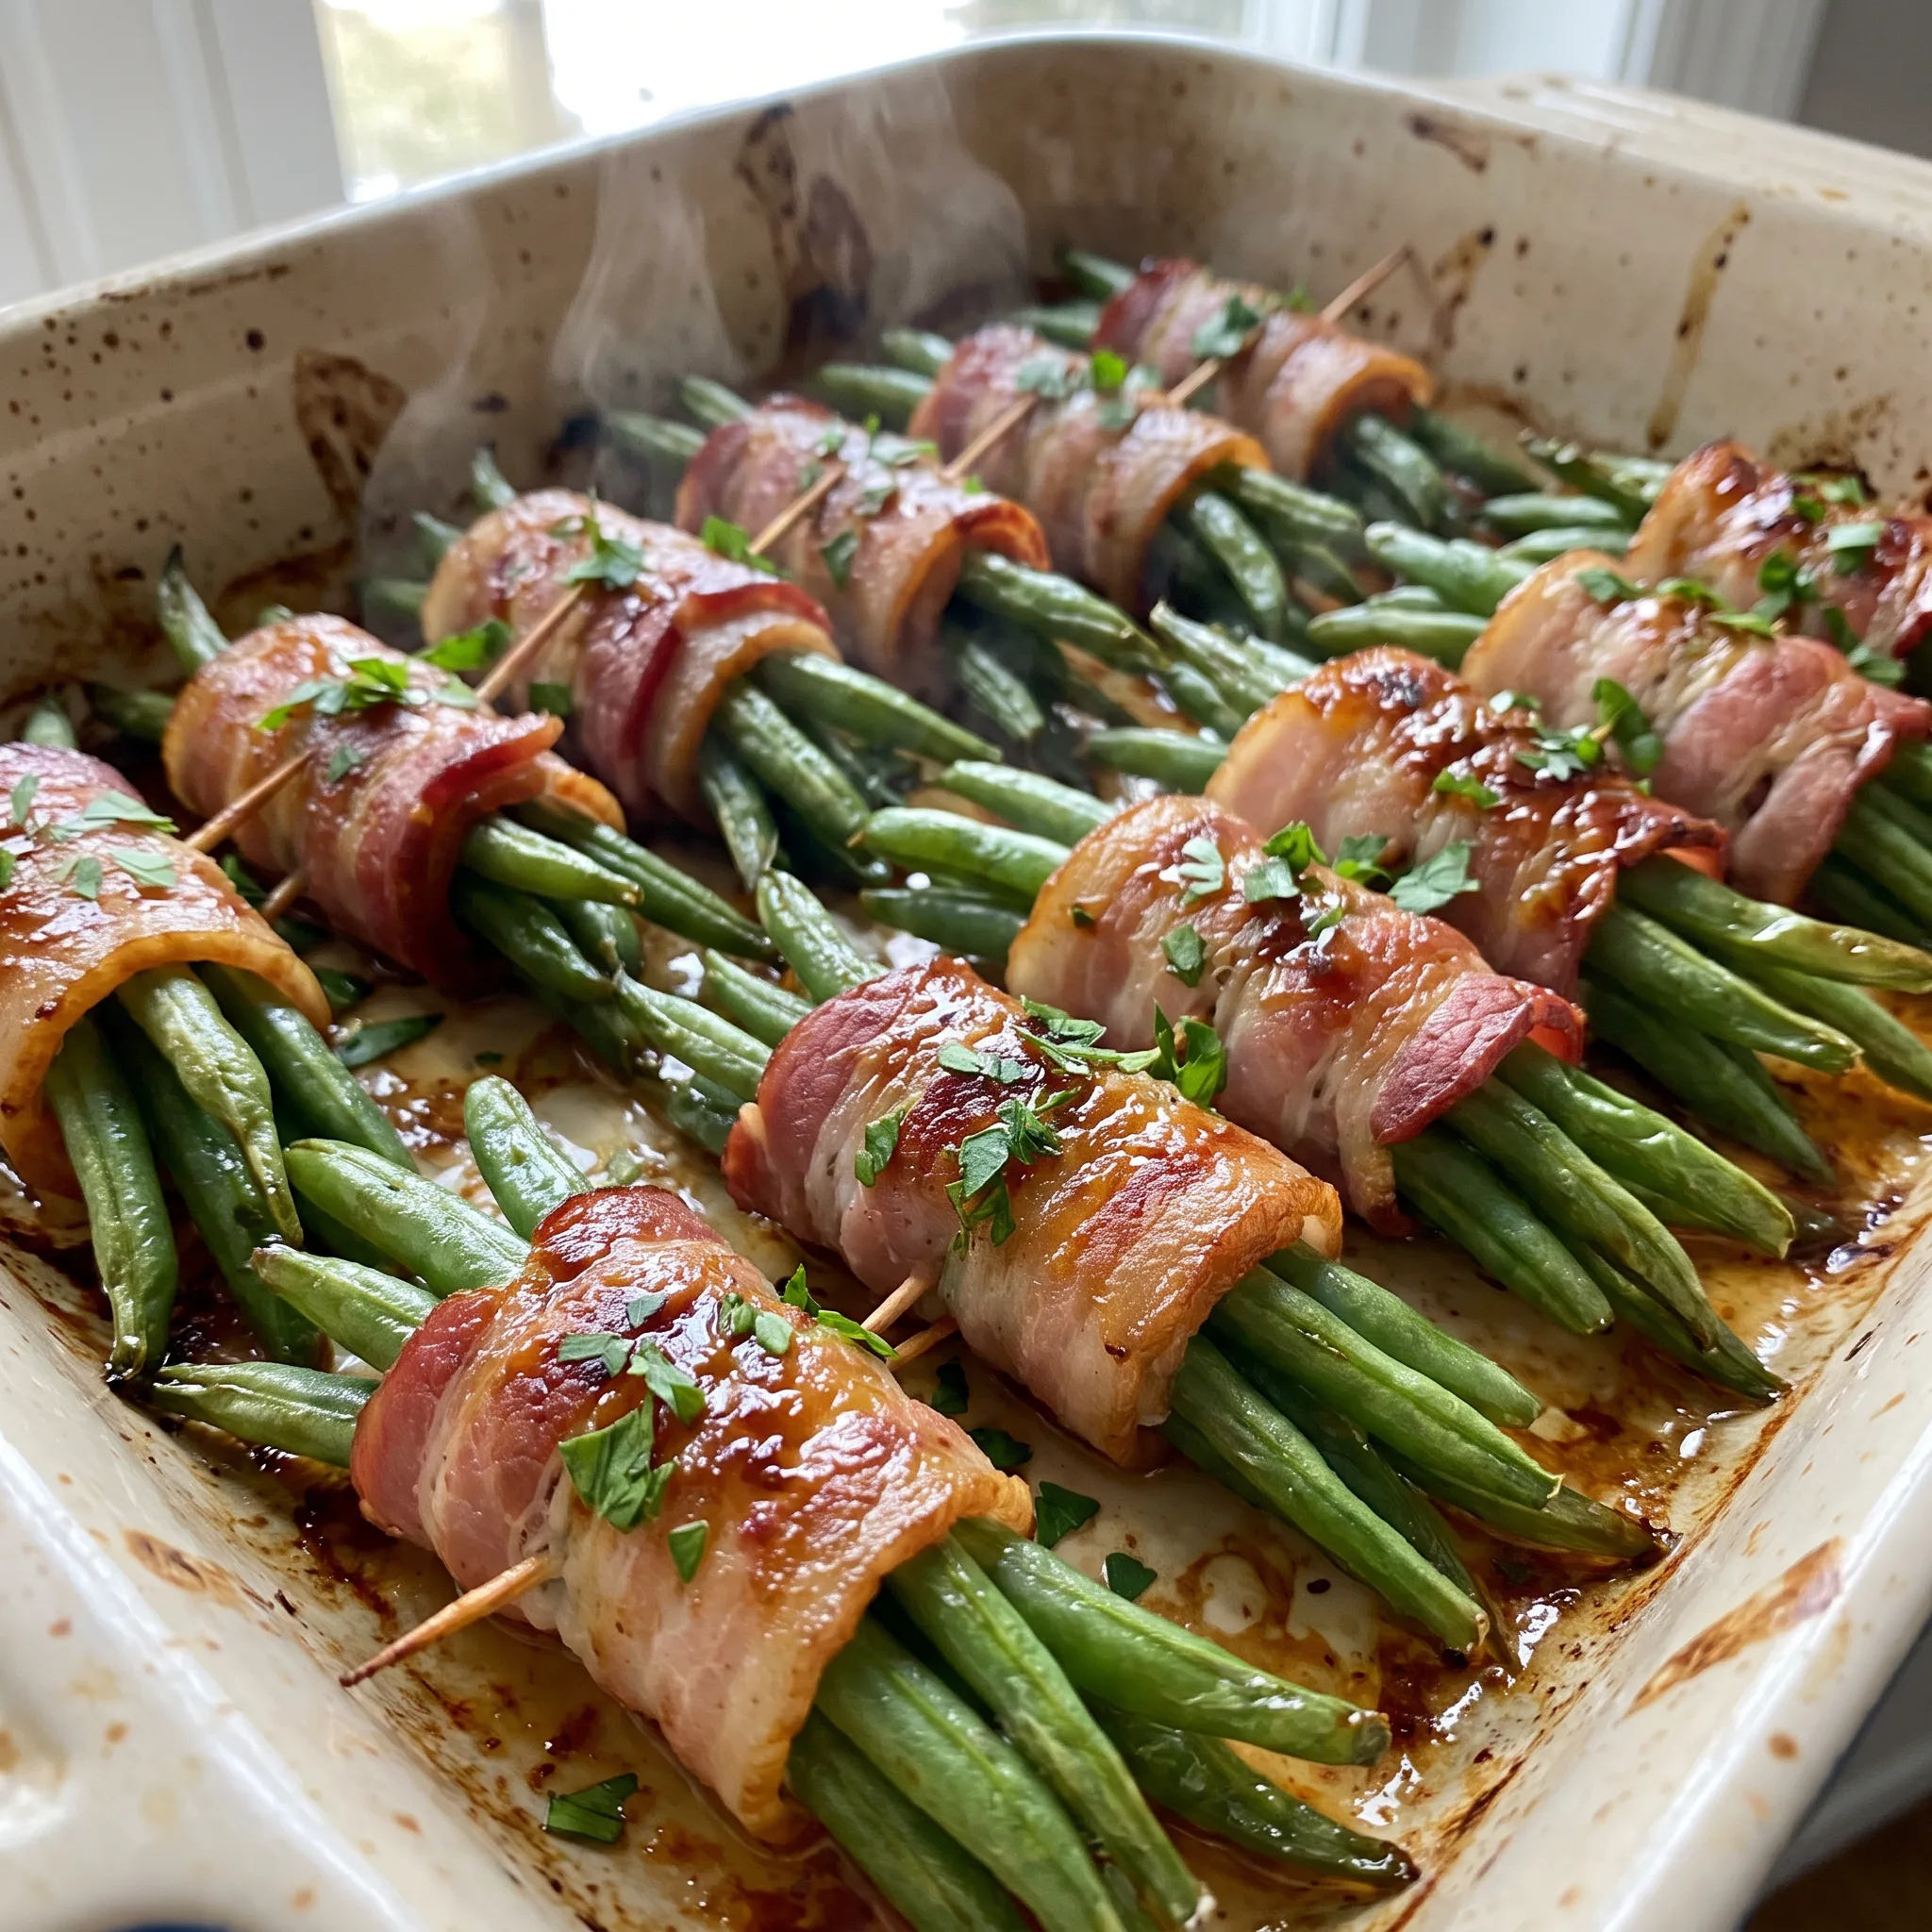
Bacon Wrapped Green Bean Bundles
Ingredients
Method
- Set oven to 400°F (205°C). Lay bacon on a sheet pan and bake 7 minutes; take out of oven.
- Cut off green bean ends. Heat salted water in a pot until boiling.
- Put in green beans and cook 2–3 minutes until just tender. Drain and move to an ice water bath to halt cooking.
- Dry green beans with paper towels. In a small bowl, combine garlic salt, melted butter, brown sugar, and pepper. Pour over green beans and toss to coat.
- Wrap 8–10 green beans with a piece of bacon and fasten with a toothpick. Put bundles on a sheet pan coated with cooking spray.
- Bake 15–20 minutes until bacon is crispy. Scatter parsley on top and serve.
Which Swaps Hold and Which Ones Wreck the Bundle
Brown sugar: Dark brown sugar can replace light in the same 2 tablespoons, but the extra molasses darkens the glaze and pushes a stronger caramel note that competes with the bacon. The sweetness gets deeper and less clean.
Some cooks like that against smoked pork, others find it muddy. Start with the 2 tablespoons the recipe calls for and taste the glaze before it goes on the beans.
If it reads heavy, cut it back by a teaspoon next time.
Butter: For a dairy-free version, use a plant butter that melts and solidifies like the real thing. Coconut oil works too, but it sets hard when the bundles cool and leaves a faint coconut flavor on the beans.
The glaze still clings and the beans still gloss up, but the richness is thinner. The bacon carries most of the fat anyway, so the loss is small.
Skip margarine in a tub; it’s too watery and the glaze slides off.
Garlic salt: If you only have garlic powder, use 1/2 teaspoon of powder plus 1/2 teaspoon of fine salt. Do not just swap in straight garlic powder at the full teaspoon. Without the salt from the garlic salt, the glaze tastes flat and sweet, and the beans come out under-seasoned even though the bacon is salty.
The 1/2 and 1/2 mix gets you back to the same place the recipe intended.
Bacon: Thick-cut bacon is the one swap to avoid. It needs longer in the oven than the beans can take, so the beans go limp before the bacon renders.
Turkey bacon is a different animal: it’s leaner and cooks faster, so check it at 12 minutes and expect a drier, less glossy bundle. With thick-cut, you end up with chewy pork and overcooked beans.
With turkey bacon, the bundles hold together and taste fine, but the fat that normally bastes the beans is missing, so brush on a little extra melted butter before baking if you go that route.
Tips
- Chill the wrapped bundles in the fridge for 10 to 15 minutes before they go into the oven. Cold bacon fat starts firm, so it renders more slowly and evenly, which gives the beans time to heat through before the bacon darkens. Skip this and the bacon can go from shrunken to blackened while the center of the bundle is still cool.
- Pat the beans dry a second time right after you toss them in the butter glaze, not just after the ice bath. The glaze adds its own moisture, and any pooled liquid in the bowl will drip into the pan and steam the underside of each bundle. Lift the beans out of the bowl with your hands and let the excess glaze fall back, rather than pouring the whole bowl over them.
Storing and Serving the Bundles
Bacon wrapped green bean bundles peak within 30 minutes of coming out of the oven. That’s your serving window.
The bacon shatters at that point; an hour later it’s leathery, and the beans have gone from tender to limp. Serve them hot, straight from the pan, with the parsley scattered on just before they hit the table. If you’re holding them for a party, bake them, then keep them warm in a 200°F (95°C) oven for no more than 20 minutes.
Leftovers keep in the fridge for up to 3 days in an airtight container. Don’t freeze them: the beans thaw watery and the bacon turns spongy. To bring them back, spread the bundles on a sheet pan and reheat at 375°F (190°C) for 8 to 10 minutes.
The oven re-crisps the bacon and firms the beans. The microwave steams them and leaves the bacon rubbery, so skip it.
Eat stored portions within that 3-day window; past it, the beans lose all texture.
When raw bacon is wrapped around already-blanched green beans and baked, the bacon’s fat renders slowly, releasing moisture that steams the beans instead of crisping. The beans, having no protective barrier, continue to cook and break down, while the bacon remains flabby because its collagen and fat haven’t had enough time to change. This results in a soggy, texturally disjointed bundle.

Frequently Asked Questions
Can I make these bacon wrapped green bean bundles ahead of time?
You can blanch and dry the beans a day ahead and keep them covered in the fridge, and you can par-cook the bacon the same day you plan to serve. The bundles themselves are best assembled right before they go in the oven, since wrapped bundles sitting in the fridge let the bacon’s salt pull water out of the beans, and that water is what keeps the bacon from crisping.
If you do assemble early, bring them to room temperature first and blot the pan before baking. The serving window is narrow either way: these peak within 30 minutes of coming out of the oven.
Why did my bacon wrapped green bean bundles turn out soggy?
Wet beans are the usual culprit. Any water left on them after blanching turns to steam in the oven, and that steam both keeps the bacon from rendering crisp and lets it slide around the bundle. Blot until the paper towels come away dry and the beans feel tacky, not damp.
The second check is the bacon itself: if it went into the wrap still raw and floppy rather than shrunken and glossy, it won’t catch up in the time the beans need. A crowded pan does the same thing, since the bundles steam each other instead of roasting.
How do I keep the green beans crisp when baking them with bacon?
Buy thin beans, the ones sold as haricot vert. They cook through fast enough that the short blast at 400°F warms them without turning them soft, and they bundle into a neat thumb-thick handful instead of a bulky one.
The ice bath after blanching is what locks in the snap, so don’t skip it or leave the beans sitting in the hot water. Past that, the bundle’s thickness is what decides the outcome: too fat and the middle beans steam while the outer bacon burns.
You want the beans tender when you press the bundle with the back of a spoon, not limp.
What is the difference between these and traditional green bean bundles?
Traditional versions usually wrap raw bacon straight around raw or canned beans and bake the whole thing in one go, often with a butter and brown sugar glaze poured over the top. Here the bacon gets a head start on its own, and the beans are blanched and shocked first, so both elements finish in the same window instead of one waiting on the other. The glaze is tossed onto the beans before wrapping rather than drizzled over the assembled bundles, which seasons them all the way through and gives the bacon something to grip.
Brown sugar, butter, and garlic salt do the work, and the result is a lacquered bundle rather than a saucy one.
