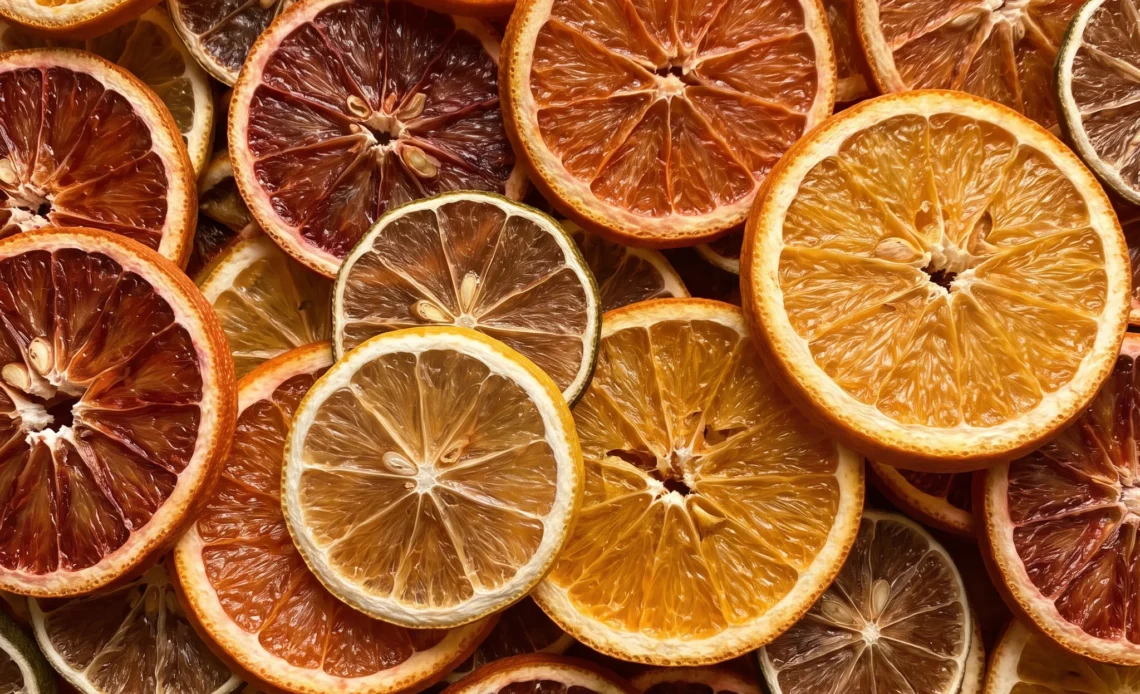
Slices that look bone dry on the tray often turn leathery the moment they cool, and that gap between crisp and chewy is where most trays go wrong. Oven dried citrus slices live or die on moisture still hiding in the pith.
The rind browns, the edges firm up, and the center keeps a soft spot you don’t feel until the slice sits on the counter and slackens. A blood orange with heavy pith is the worst offender; a thin-skinned lime rarely betrays you this way. What makes these rounds worth the trouble is what that dryness unlocks: a translucent wheel that perfumes a drink, sharpens a batch of citrus sugar, or shatters over a cake.
The trick isn’t heat. It’s patience with the fruit in front of you.
Turn On the Fan for Even Drying
Convection mode does one job here: it keeps air moving across every slice. Still air sits against the fruit and traps the moisture it just released, and that damp pocket is what softens a slice you thought was done. With the fan running, that moisture gets pushed away and replaced with drier air, so the whole tray dries at roughly the same rate.
Without it, the slices nearest the oven glass often finish while the back corner stays tacky, and you end up pulling the tray in and out to chase the stragglers. At 200°F the heat alone is gentle enough that nothing scorches, and the constant air movement turns a standard oven into something close to a dehydrator. That combination, low heat plus moving air, is what gets citrus to a crisp snap instead of a leathery chew.
Skip the fan and expect a longer, more uneven slog.
Keep Every Slice at a Quarter Inch
Thickness is the single variable that decides whether your tray finishes together or in waves. A 1/4-inch slice is thin enough that the middle dries before the edges toughen, and it’s the ceiling, not a suggestion. Go thicker and the outside sets while the center stays pliable, which means you’re back in the oven long after the thin ones are done.
This is where a mandoline earns its space. It holds the same gap for every lemon, lime, and orange, so the whole batch hits the tray at one consistent thickness.
A knife can get close, but hand-cut rounds drift between an eighth and three-eighths even when you’re paying attention, and those differences show up as some slices ready and others not. Uniform slices mean you can judge the whole tray by looking at a few. The fruit itself is soft and the cut is quick, so consistency costs you almost nothing here.
Small Fruit Finishes First
A lemon round and a grapefruit round are not the same job. Lemons and limes carry thin rinds and little flesh, so there’s simply less water to drive off, and they firm up and snap well before the bigger fruit. Navel and Cara Cara oranges sit in the middle: more juice, a thicker pith, and a larger surface that holds moisture longer.
Grapefruit is the slow one, with heavy segments and a thick rind that give up their water grudgingly.
What this means in practice is that a single timer won’t serve you. The lemons will be done while the grapefruit is still floppy, and pulling the whole tray to wait on the slowest slice will overdry the rest.
Treat the tray as a group of fruits, not one batch. If you’re drying several kinds at once, plan on checking and removing the smaller slices earlier, then letting the heavier ones keep going.
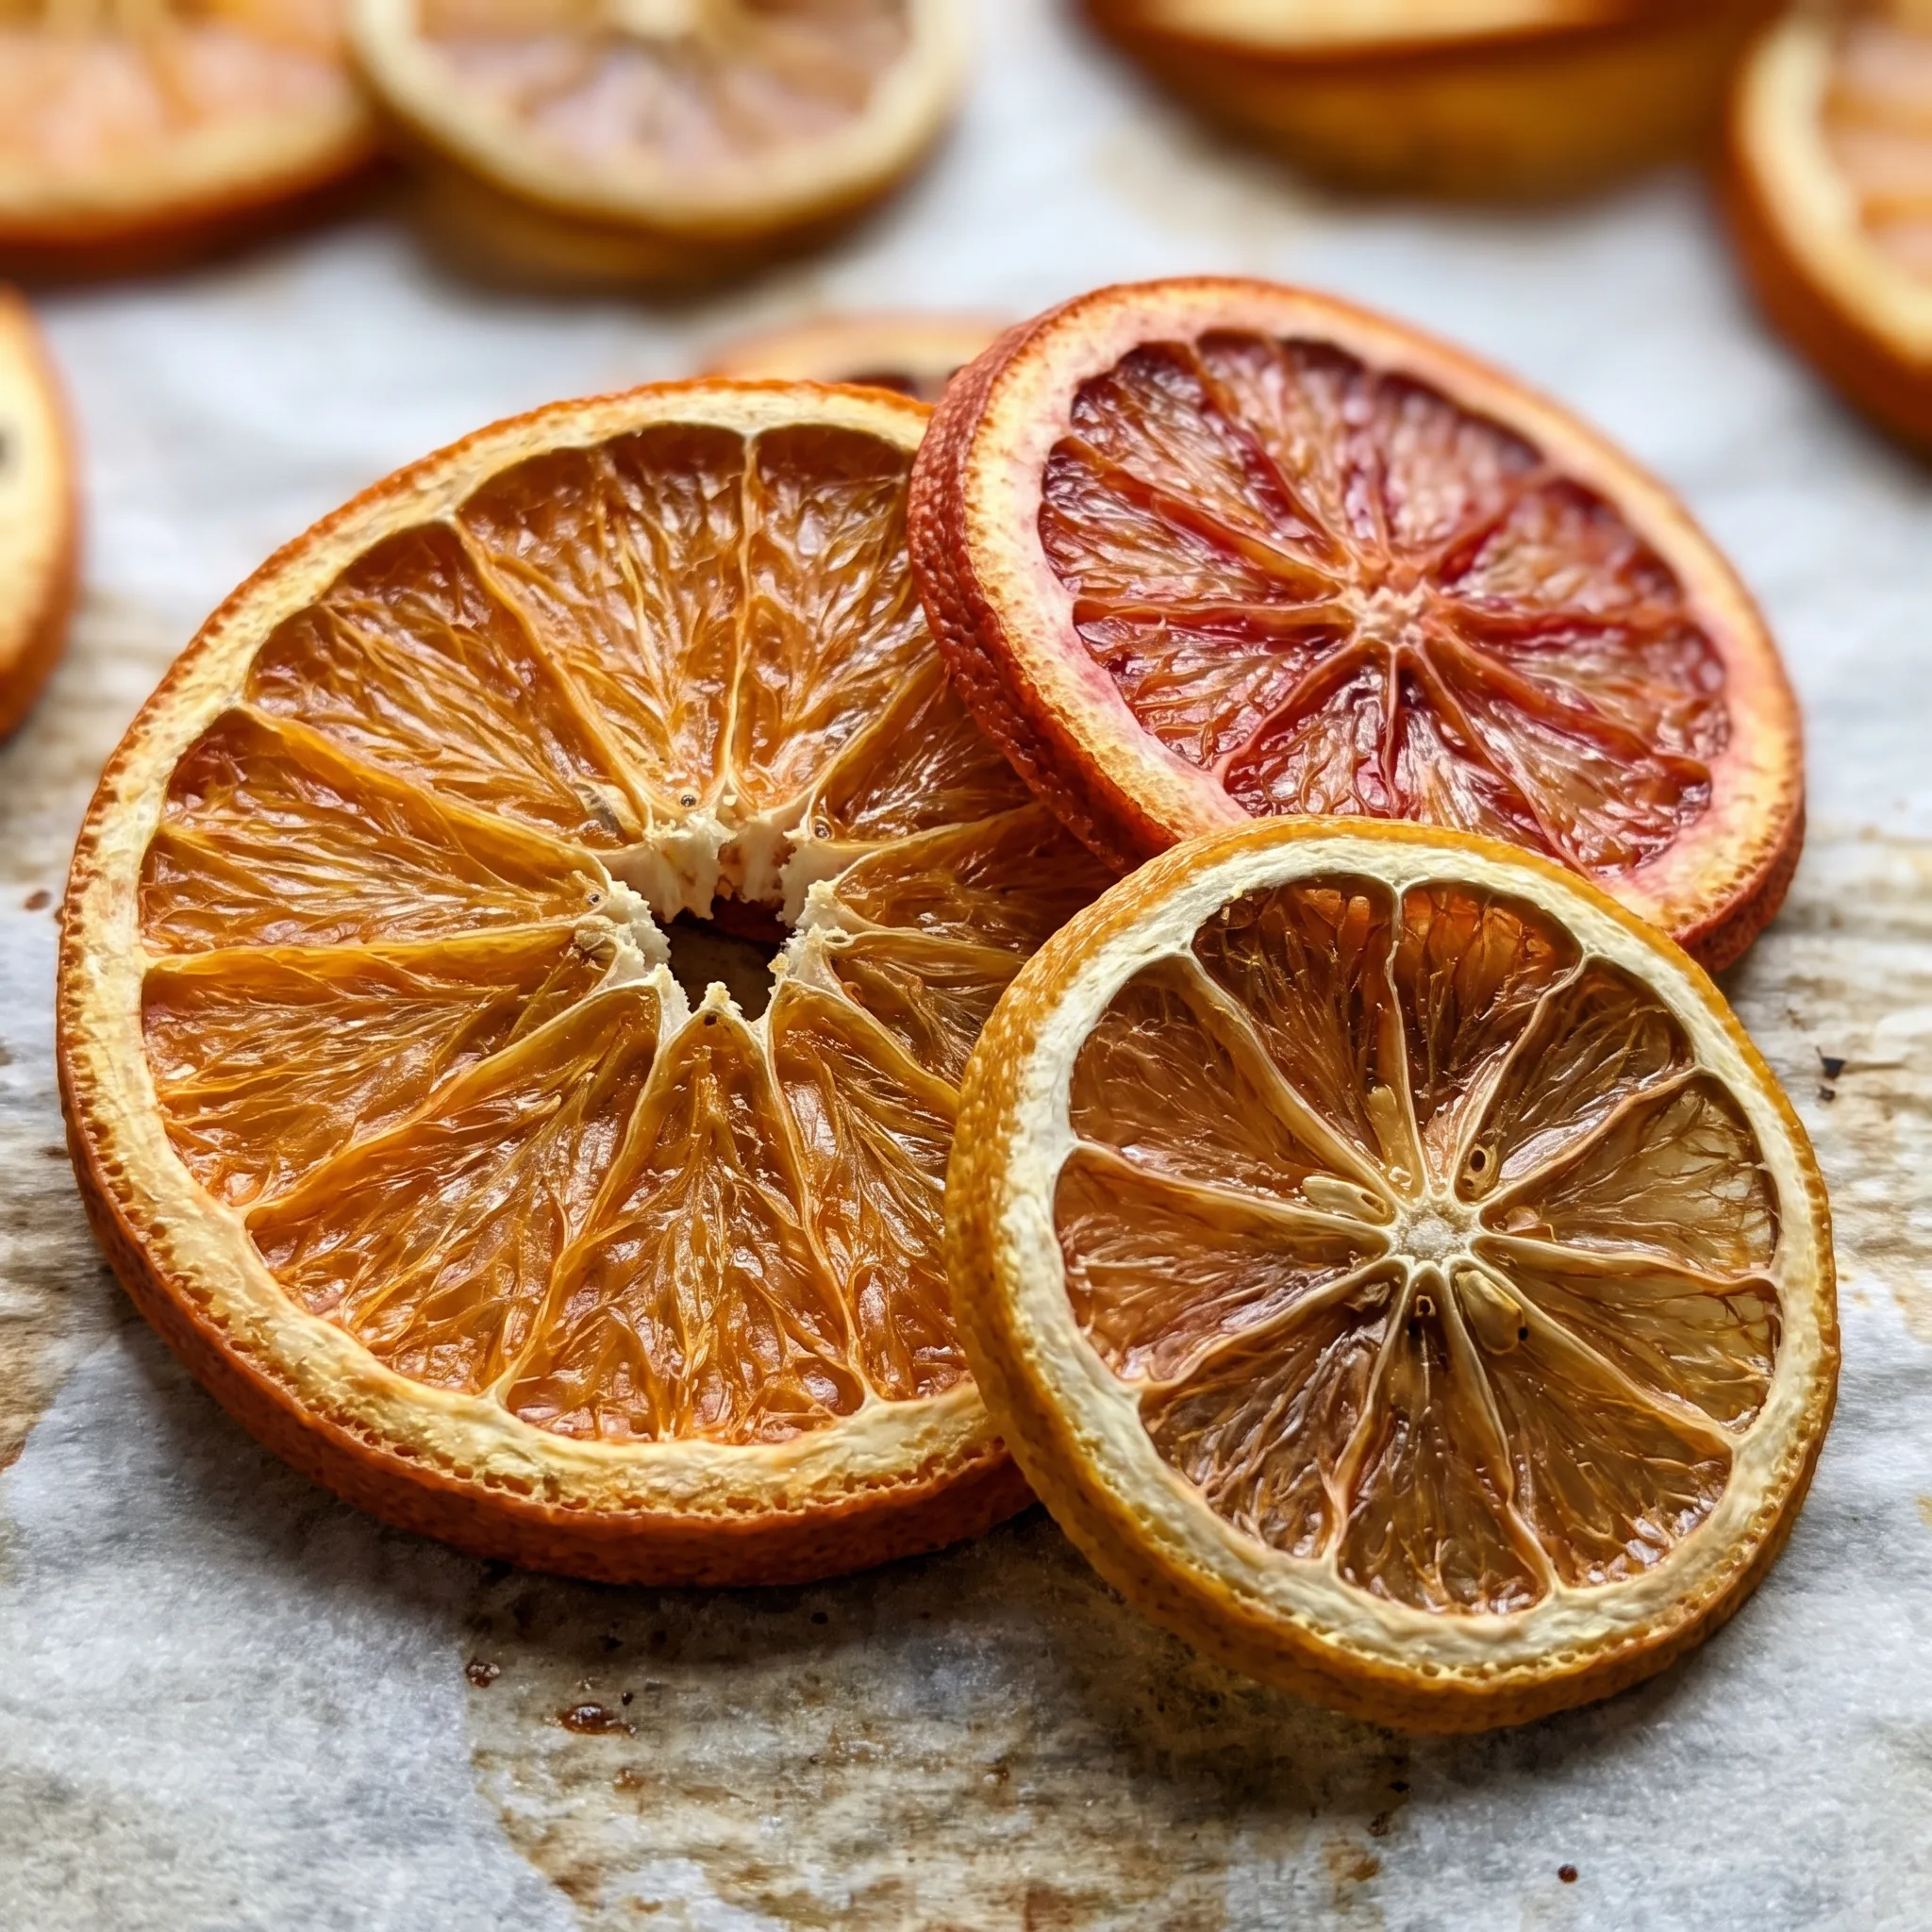
The rind and flesh of a finished lemon go translucent and stiff, while a grapefruit slice at the same moment still bends.
Flip and Spin the Tray as It Dries
Two things happen during a long dry in the oven: the underside sits against parchment where released moisture lingers, and the heat is never even from front to back. Flipping a slice puts the parchment side up into the moving air, which lets that trapped dampness escape instead of stewing the surface. It also keeps the fruit from gluing itself to the paper, which is a real risk once the sugars start to set.
Spinning the tray solves the other half of the problem. Ovens run hotter near the glass or the door and cooler in the back corners, so the slices nearest the front will brown and dry faster if left alone. Trading positions every few hours evens that out.
Do both moves on the same schedule and the tray stays consistent, with no slices racing ahead or lagging behind. You’ll notice the difference as the fruit thins and stiffens: pieces that get flipped and rotated dry flat and even rather than curling on one side.
Cool Completely, Then Put It to Work
Pulling the slices from the oven isn’t the finish line. They come out slightly pliable from residual heat, and the crisp snap you’re after sets as they cool on the tray.
Give them that time. Rushing to bag or use them while warm traps softness back in, and a slice that felt firm leaving the oven can turn limp once it’s closed up.
Once fully cooled, dried citrus is a garnish with range. Drop a wheel into a cocktail and it perfumes the drink as it sits. Crumble or leave whole over baked goods for a bright, chewy-bitter edge.
Ground fine in a processor with sugar, it becomes citrus sugar with real oils and color, not just sweetness. The slices are brittle, so lift them with a flat spatula and stack them loosely. A finished slice should feel like thin glass, light, rigid, and dry all the way through the pith.
Pick Fruit That Slices Clean and Dries Even
Lemons: Choose thin-skinned lemons with no soft spots, since heavy pith dries slowly and can taste bitter once it sets.
Limes: Small, firm limes slice cleaner on a mandoline and dry faster than large ones with thick, spongy rinds.
Blood orange: Pick one that feels heavy for its size, a sign of juice and thin pith that will dry to a translucent round.
Cara Cara orange: Look for unblemished skin and no green patches, since color and oils fade in the oven along with the moisture.
Judging Oven-Dried Citrus by Feel, Not by Clock
Reading the snap before you pull the tray
At hour three, take one lemon slice and let it cool for a minute on the counter. It should snap cleanly when bent, not bend like leather.
If it flexes, the middle still holds moisture. Slide it back in. The difference between done and almost done is a few minutes of cooling, so test a slice, wait, then decide.
A slice that snaps on the tray but goes limp as it cools was pulled too soon.
When the edges darken before the center dries
If the rind starts browning at the edges while the pith stays pale and soft, the oven is running hot for that spot. Move those slices to a cooler corner or drop the temp by 25°F. At 200°F this is rare, but an oven that runs hot or a tray too close to the element will do it.
Browned edges taste bitter, and no amount of drying fixes that.
Spotting the slices that will finish first
Lemons and limes dry faster than oranges; their rinds are thinner and they hold less juice. Around hour three, check a lemon and a navel orange side by side.
If the lemon is stiff and the orange still floppy, pull the lemon slices and let the orange keep going. Leaving them together overdries the small ones while you wait.
The flip that keeps slices from gluing down
At the two-hour mark, slide a thin spatula under a slice. If it lifts cleanly, the surface is set enough to flip. If it sticks and tears, the sugars are still tacky and the underside is trapping moisture.
Wait another 30 minutes before trying again. Flipping too early roughs up the surface and leaves bits behind on the parchment.
Cooling as the final test of dryness
A slice straight from the oven feels pliable because heat keeps it soft. Let it sit on the tray for five minutes.
If it stiffens to a crisp snap, it’s dry all the way through. If it stays bendy, the center still has moisture and needs more time. Bagging them warm traps that softness back in, and they’ll never crisp up later.
Oven Dried Citrus Slices for Garnish
Ingredients
Method
- Set oven to 200°F (95°C) with convection mode on. Prepare a baking tray by lining it with parchment paper; leave it aside.
- Slice the citrus using a mandoline or a very sharp knife into pieces no thicker than 1/4 inch. Slices that are thicker require more cooking time.
- Place the citrus slices on the tray lined with parchment and bake for 3–6 hours, depending on the size of the citrus. Lemons and limes need the least time, then oranges; grapefruit requires the most.
- About 2 hours into baking, turn the citrus over so the side that touched the parchment is now facing up. Also rotate the tray so that the pieces nearest the oven glass are moved to the back. Continue this every 2 hours as needed.
- When the citrus is completely dry and snaps when touched, take it out of the oven and allow it to cool fully.
- Serve as a garnish for cocktails, sprinkle on baked goods, or process into citrus sugar. Enjoy!
Keeping the Snap: Storage, Shelf Life, and Serving Window
These slices are dry, so they keep on the counter, not in the fridge. A jar or tin with a tight lid holds them crisp for two to three weeks; the fridge is the enemy here, because cold plus humidity pulls moisture back into the pith and the snap goes.
Keep them out of sunlight and away from the kettle. If a slice softens, ten minutes back in a 200°F oven resets it.
For serving, use them within a day of pulling them from the tray if you want the glassy crack, though they stay usable longer. The finishing touch is nothing added at the end: no sugar, no glaze.
A lemon wheel dropped into a cocktail goes in right before it’s poured, and it perfumes the drink as it sits. Crumble over baked goods just before they hit the table, since the pieces soften once they touch anything wet. Ground into citrus sugar, it keeps its oils for months in a sealed jar.
Freezing doesn’t help these; ice crystals and thaw moisture undo the dry.
Tips
- Weigh the tray down with a second sheet pan on top for the first 90 minutes. Citrus rounds curl as their edges dry faster than the centers, and the flat weight keeps them pressed against the parchment so they finish as flat wheels instead of cupped chips. Lift the top pan at the first flip.
Swap Citrus Freely, but Give Grapefruit Extra Oven Time
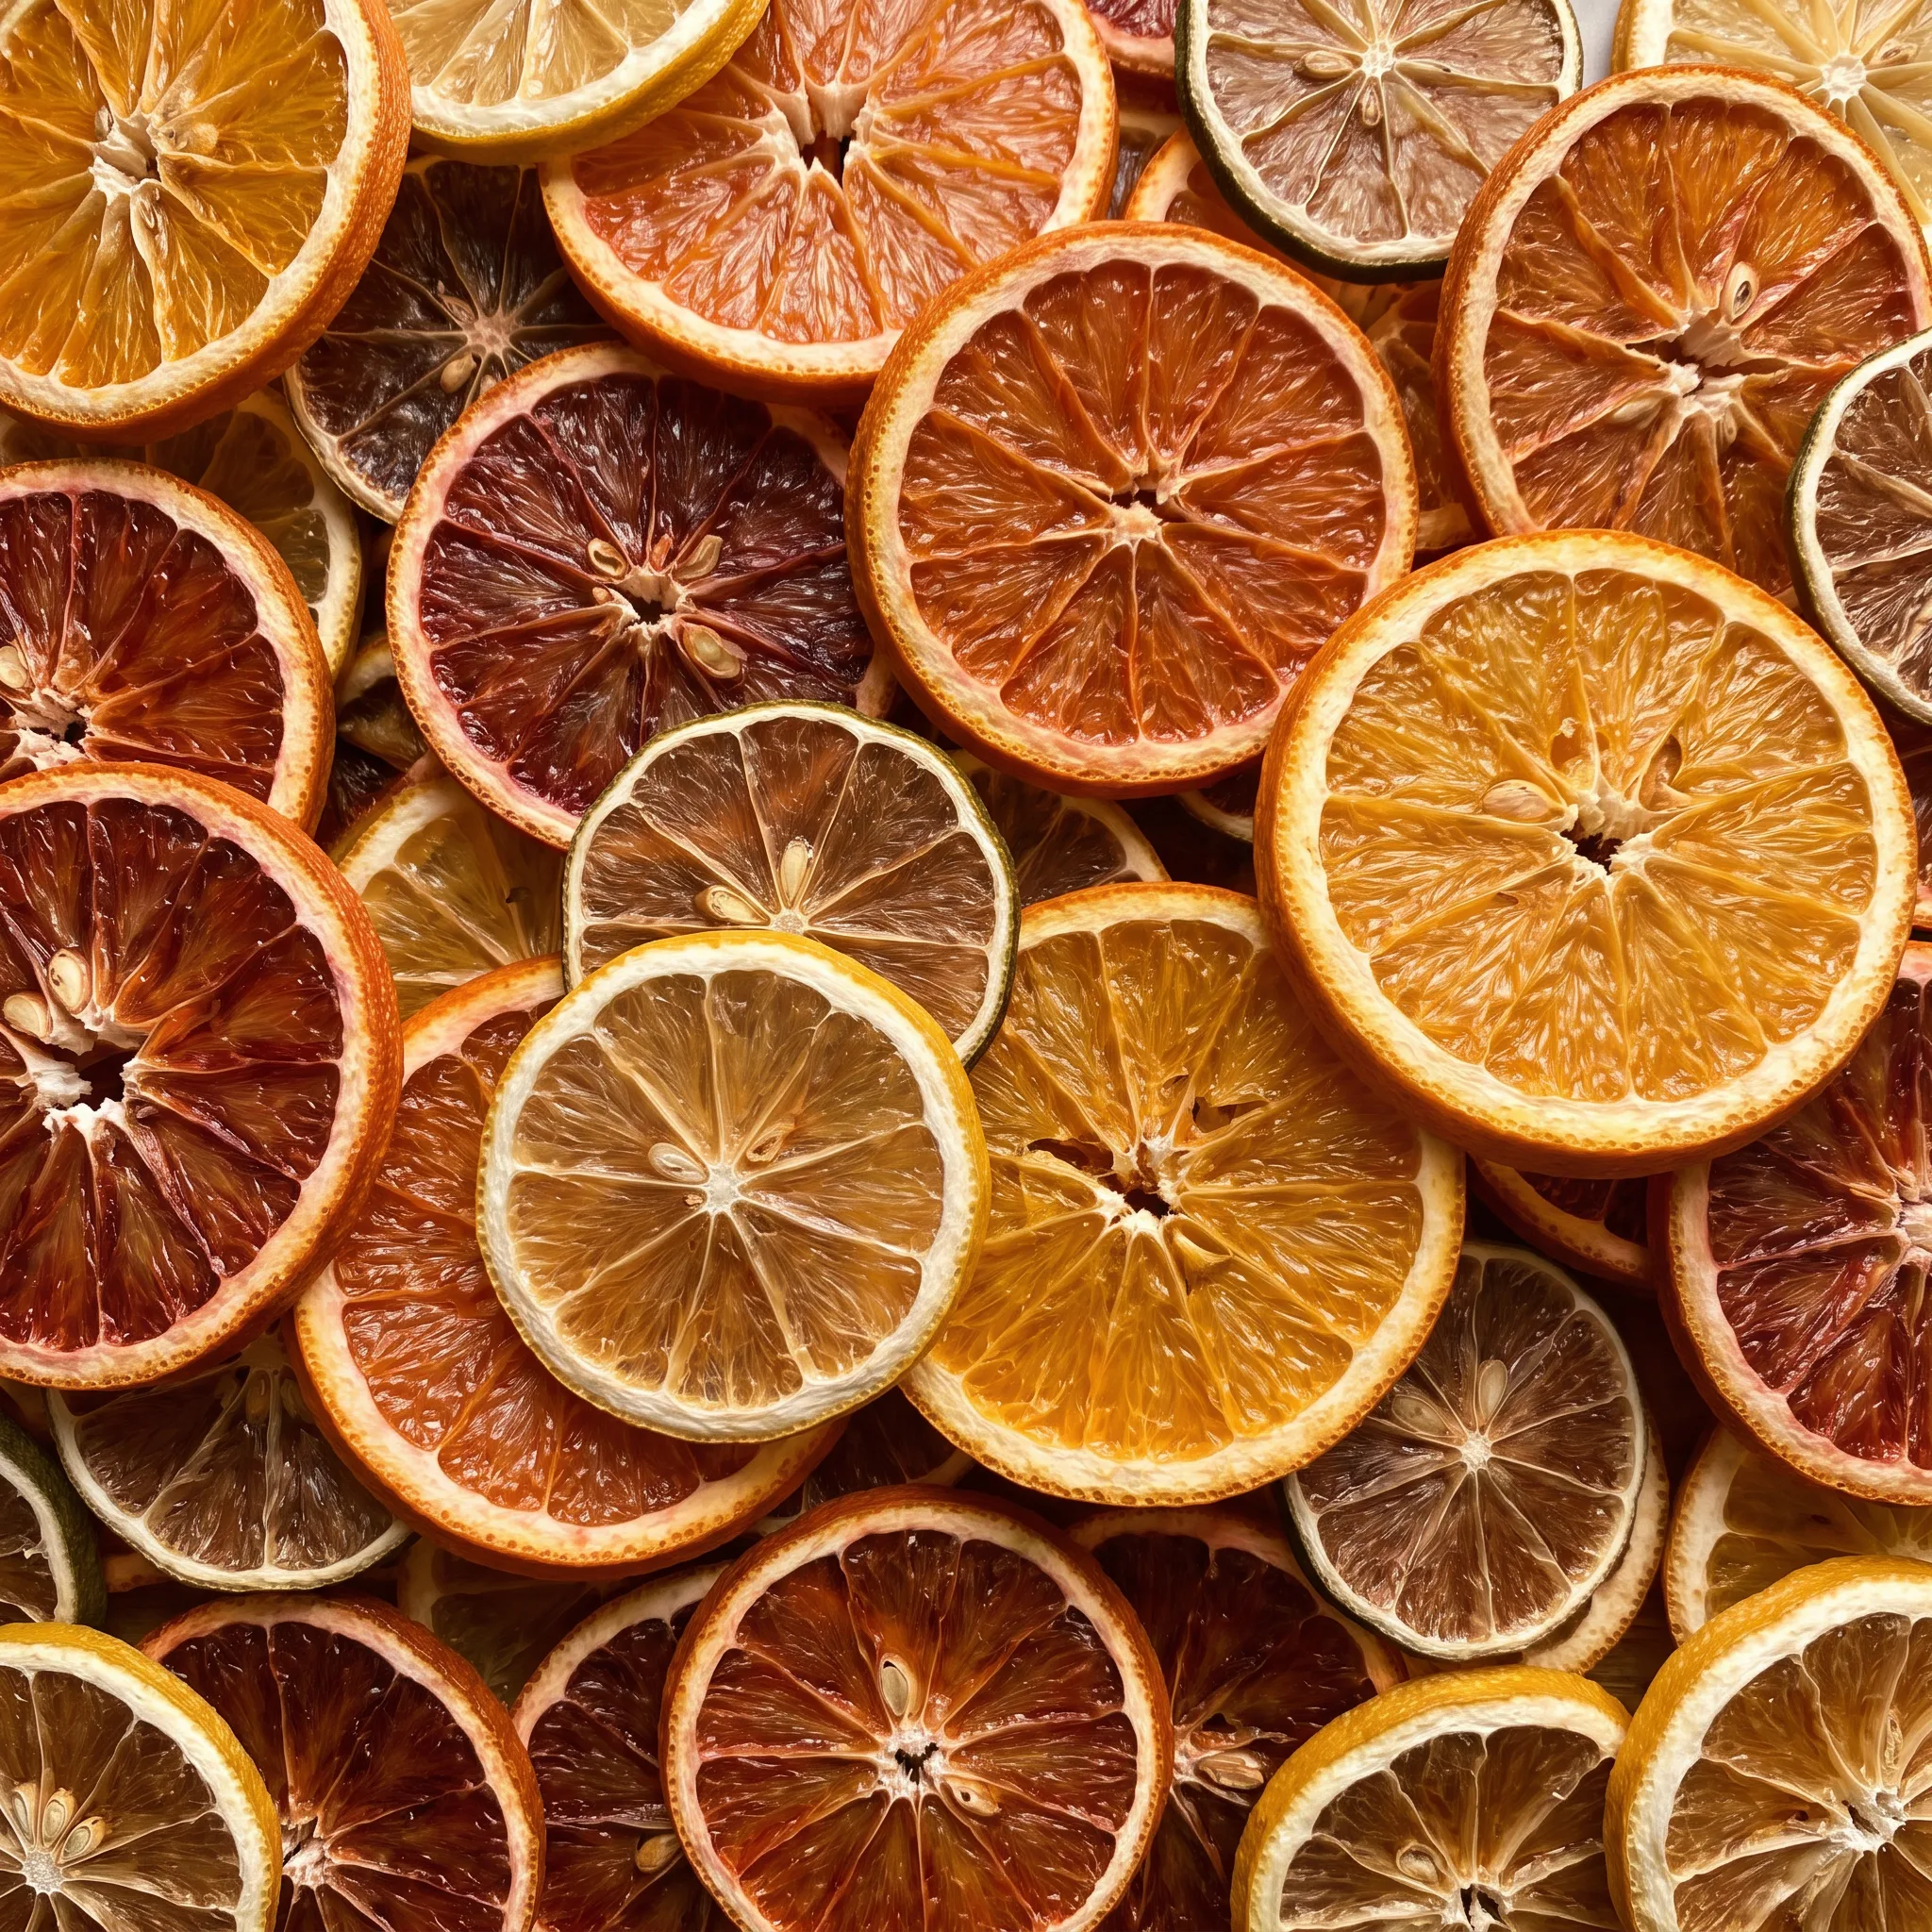
Citrus mix (lemons, limes, blood orange, Cara Cara orange, navel orange): Use any combination of thin-skinned citrus: all lemons, all limes, or a mix of oranges. Skip thick-skinned grapefruit unless you plan for a longer dry. Lemons and limes finish first, around 3 hours; oranges take closer to 5; grapefruit can push past 6.
If you swap in grapefruit, check it separately and expect it to lag behind. The overall yield stays about the same because each slice dries down to a similar size, but the flavor shifts with what you pick: all lemon gives a sharp, tart edge; all orange is sweeter and milder.
Grapefruit (if you add it): Ruby red or pink grapefruit, sliced 1/4 inch thick and dried alongside the others. Its thick rind and heavy segments hold water, so it stays pliable while lemons and limes are already snapping. Plan on an extra 1 to 2 hours and test a slice by cooling it for a minute; if it bends, it’s not done.
The bitterness concentrates as it dries, which can be pleasant in a cocktail but overpowering in citrus sugar. Keep grapefruit separate if you’re mixing.
Mandoline (equipment): A very sharp chef’s knife and a steady hand. You’ll get slices that vary in thickness, so some will dry faster than others. That’s fine, but you’ll need to check and pull the thinner ones earlier.
Aim for a consistent 1/4 inch; if you can’t, err on the thin side for lemons and limes, slightly thicker for oranges. No amount change, just more attention at the oven.
At 200°F, water migrates slowly from the center of each slice to the surface, where convection air carries it away. If the slice is thicker than 1/4 inch, the interior stays moist while the outer rind dries and hardens, trapping steam inside. The slice then bends rather than snaps, and extended baking to compensate drives off remaining water while concentrating bitter limonin in the pith, leaving a leathery, acrid disc.

Frequently Asked Questions
Can I dry citrus slices without a convection oven?
Yes, but you’ll need to stay near the oven. Without a fan, moisture hangs around the slices and the tray dries unevenly, so you’ll be rotating and flipping more often to compensate.
Expect the whole job to take longer, and check the back corners first since they tend to lag. The slices will still snap when they’re done, but the window between chewy and crisp is narrower.
How do I know when the citrus slices are fully dried?
Take a slice out and let it cool for a minute before you judge it. A fully dried slice snaps cleanly when you bend it, and the pith looks pale and opaque rather than translucent. If it flexes like leather, the center still holds moisture.
The snap is the only reliable test; color alone can fool you, since a slice can look dry on the surface while the middle stays soft.
Can I make these dried citrus slices ahead of time?
Yes, and they’re better made ahead. Once fully cooled, store them in a jar or tin with a tight lid at room temperature; they stay crisp for two to three weeks. Keep them out of the fridge, where humidity softens the pith and kills the snap.
If you want them for a specific event, dry them a day or two before and leave them sealed until you’re ready to use them.
Why are my dried citrus slices still sticky after baking?
Most likely they weren’t in long enough. The sugars in the citrus need time to set, and a slice that feels tacky after cooling still has moisture in the middle.
Put them back on the tray and return them to the oven until a test slice snaps when cool. A second cause is slicing too thick, which traps water in the center; check your slices against a ruler and aim for a quarter inch. Also make sure they cool completely before you store them, since bagging them warm traps that stickiness back in.
What’s the difference between oven-dried and candied citrus slices?
Candied slices are simmered in sugar syrup first, so they end up soft, sweet, and coated, while these are simply dried in a low oven until they snap. The drying concentrates the fruit’s own flavor and leaves the texture brittle and glassy, with no added sugar. That makes them better for garnishing a cocktail or grinding into citrus sugar, where you want the pure citrus oils rather than a candy coating.
Candied slices are a different project with a different result, not a variation on this one.
