
You’ll spend more time deciding which pan to use than actually doing anything to the ham. That’s the appeal of a honey mustard spiral ham: the slicing is already done, the meat is already cooked, and the oven does nearly all the work while you get on with everything else.
What separates a good one from a dry, patchy one comes down to a few minutes at the very end, when the glaze goes on and the heat has to be watched rather than left alone. The ham holds up fine on its own; the finish is where it’s easy to lose your footing.
Get that stretch right and you’ve got a centerpiece that looks like you fussed over it.
Why Spiral Cuts Need Foil
Spiral slicing opens up the ham, exposing far more surface area than a whole piece would have. That extra exposure means moisture escapes faster, so the outside can toughen before the center warms through. Foil during the long bake traps steam and keeps the exterior from drying out.
The final uncovered stretch isn’t for cooking the ham through; it’s only to caramelize the glaze. When you pull the foil back, the ham should look moist and feel warm, not leathery.
The Glaze Holds Because of Its Ratios
Honey and brown sugar bring stickiness and browning, while Dijon cuts the sweetness and adds a tangy edge. Butter helps the glaze coat evenly and encourages caramelization without scorching. As the mixture cools, it thickens, so you want it fluid enough to brush but not watery.
That balance is what makes it cling to the ham rather than slide off. Taste a cooled dab: it should be sweet, sharp, and rich, not cloying.
Basting Only at the End
Sugar-heavy glazes scorch in minutes under high heat, so they go on only after the foil comes off. The ham is already fully cooked, so the final baste-and-bake is about flavor and texture, not safety.
A single thorough coating is enough; repeated basting risks uneven caramelization. I’ve seen glazes turn bitter when brushed on too early. When you apply it, the ham should be hot and the glaze should sizzle slightly on contact.
That’s your cue to return it to the oven.
Resting Sets the Glaze and Firms the Slices
During the rest, juices redistribute so they don’t run out when carved. The glaze also firms as it cools, making slices easier to separate without tearing. A rested ham holds heat well and is easier to transfer to a platter.
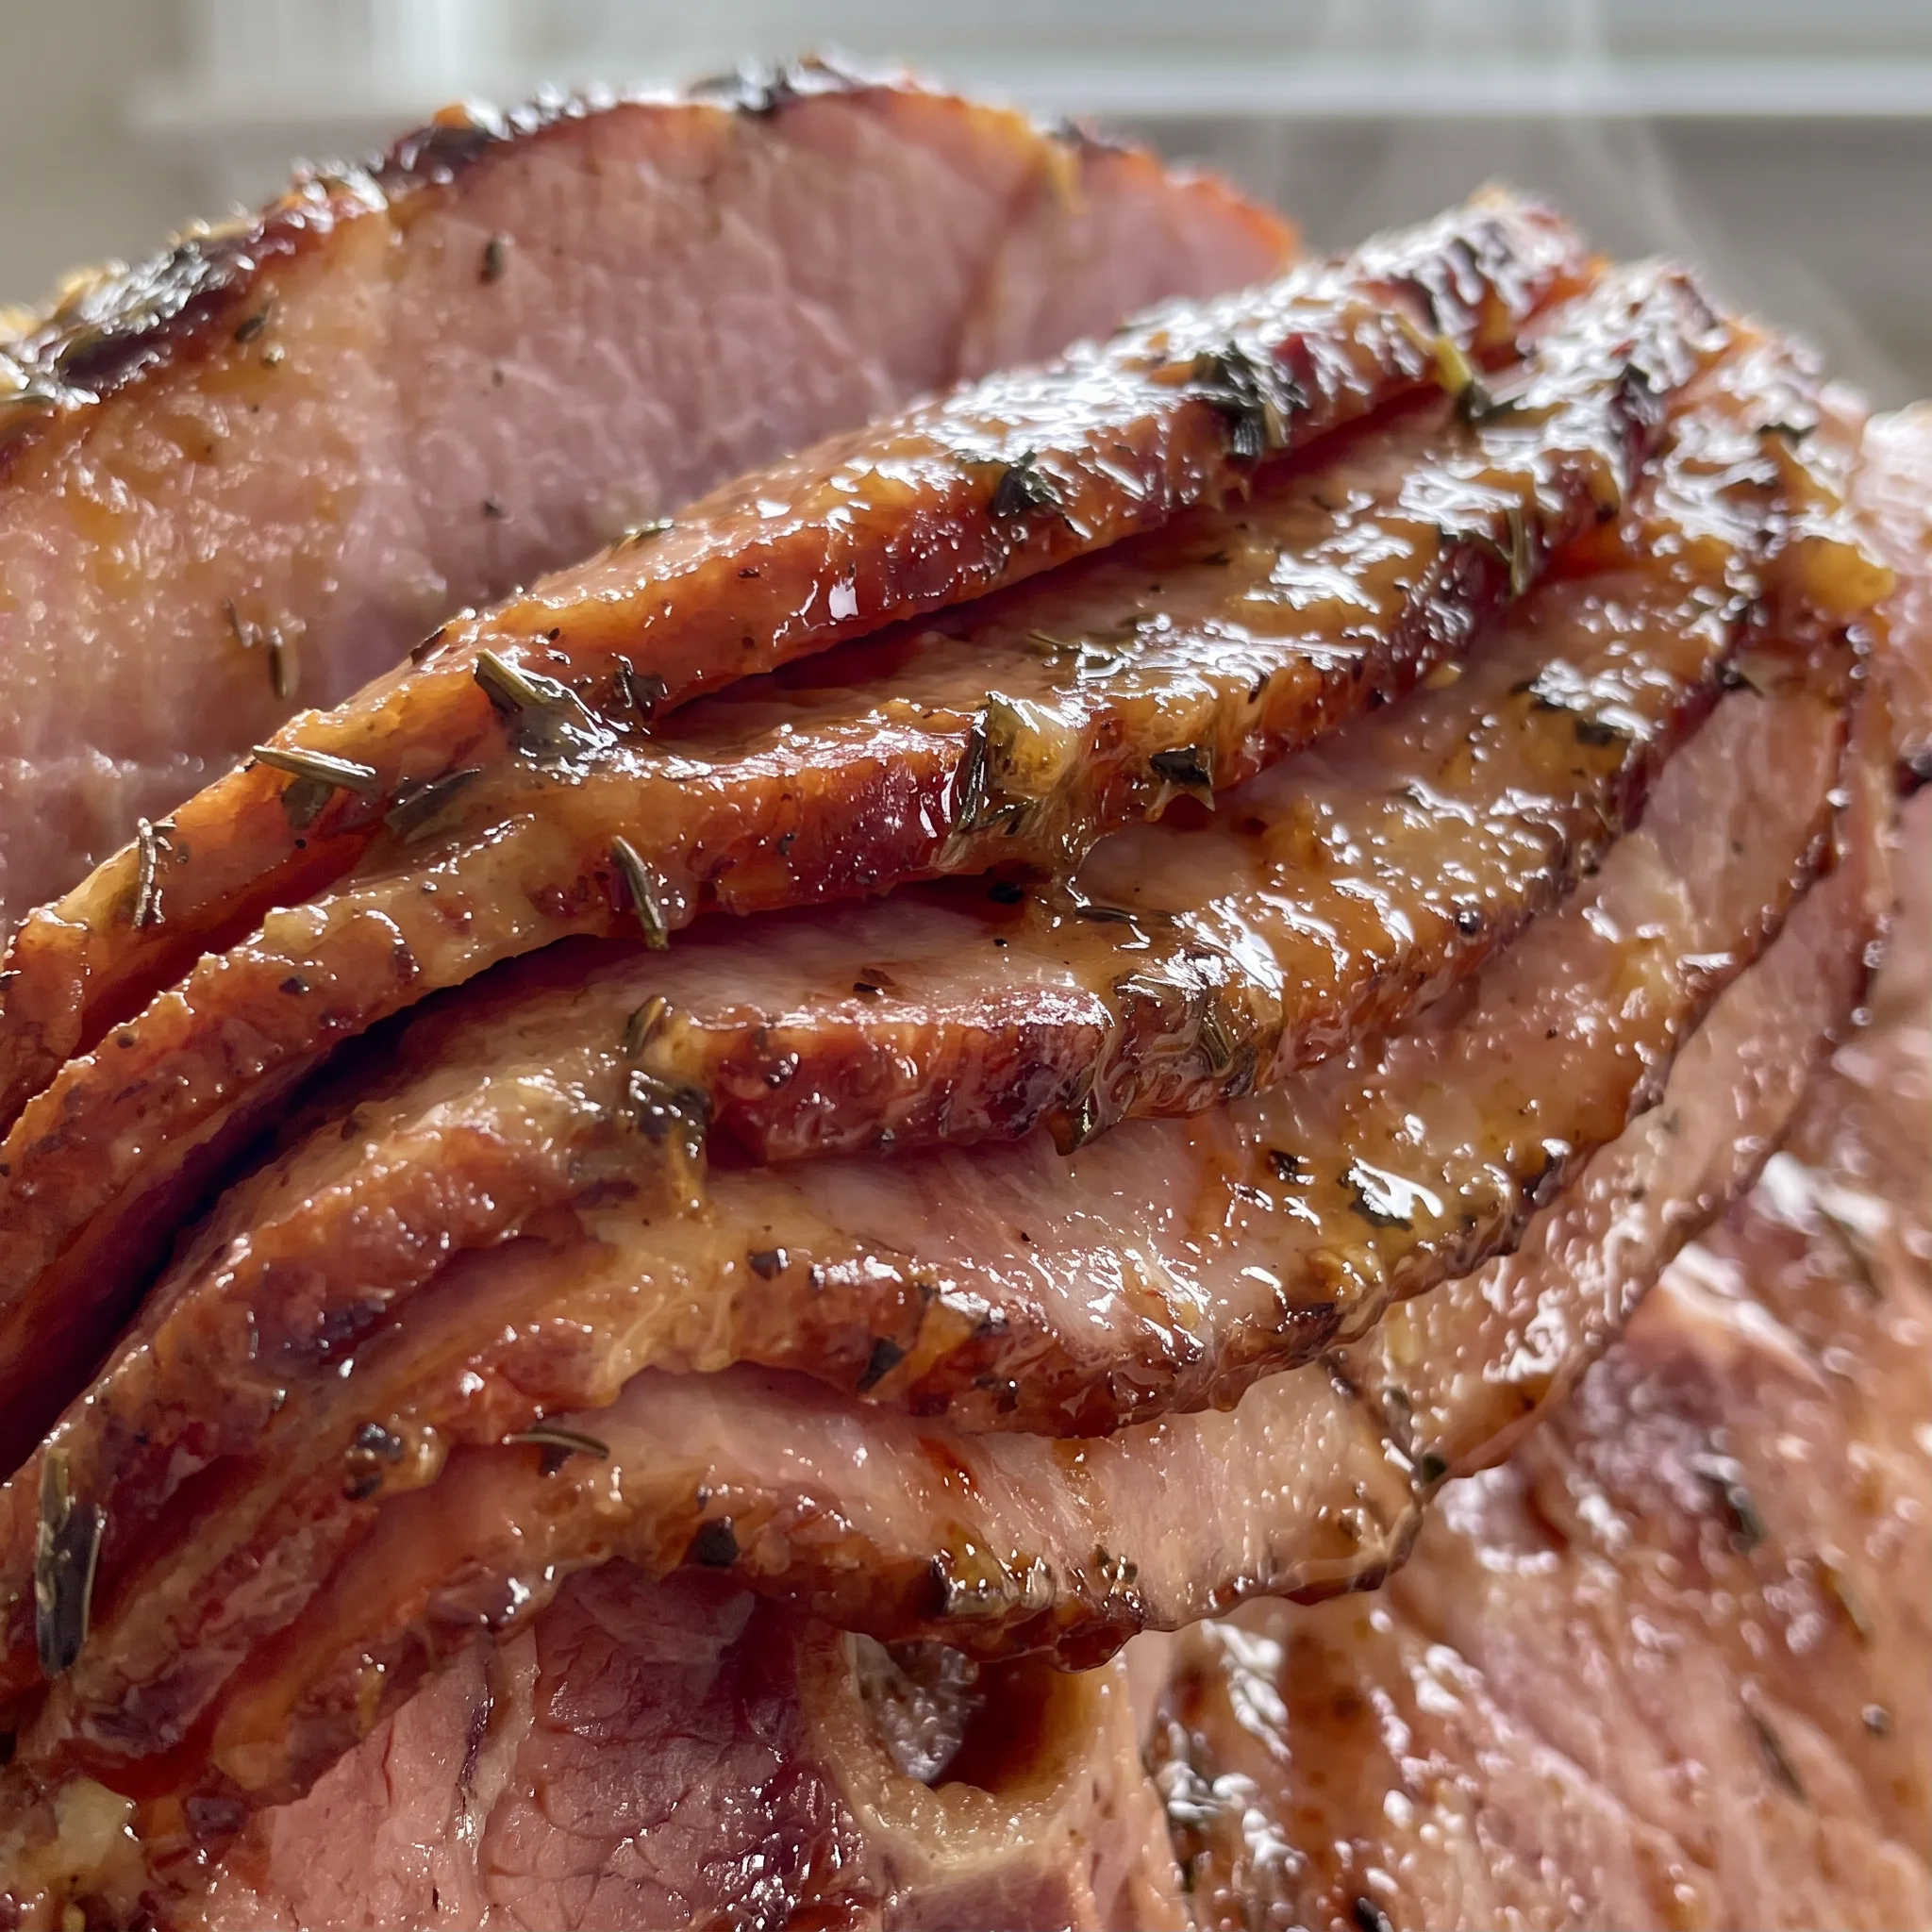
You’ll notice the surface looks glossy and set, not sticky. That’s when you know it’s ready to carve. The slices should come away clean, with the glaze clinging to each piece.
What to Look For in the Ham and the Glaze
spiral-cut ham: Buy one in the 7, 10 lb range so the 8 lb timing and 140°F target actually apply to your roast.
honey: Real honey, not honey-flavored syrup, because the glaze’s cling and browning depend on the sugars that crystallize as it cools.
Dijon mustard: Smooth Dijon, not grainy or yellow, so the ⅓ cup blends into a fluid glaze instead of separating.
dried thyme: Dried, not fresh, since fresh leaves stay raw-tasting in a glaze that only simmers a minute or two.
Reading the Ham at Three Points That Decide the Outcome
Knowing when the interior is actually at 140°F
A spiral ham is already cooked, so you’re only warming it through. The target is 140°F (60°C) at the center.
If you pull it early, the middle stays cool while the outside dries. If you overshoot, the meat firms and sheds moisture. Check with an instant-read thermometer in the thickest part, away from the bone.
The difference between 135°F and 145°F is noticeable in texture, so trust the number, not the clock.
Judging the glaze’s thickness off the heat
The glaze thickens as it cools to room temperature. If it’s runny enough to drip off a spoon like water, it’ll slide off the ham.
If it’s too stiff to brush, it’ll clump. Aim for the consistency of warm honey: a slow ribbon that settles back on itself.
The ham’s heat will loosen it further, so lean slightly thick. If it sets up hard, a few seconds over low heat brings it back.
Seeing the caramelization window
Once the glaze is on, the final 10 to 15 minutes is all about color. You want a deep amber sheen, not a dark brown crust. At 350°F, sugar goes from shiny to burnt fast.
Stand at the oven after 8 minutes. If the edges darken before the center, rotate the pan.
If you smell acrid sugar, pull it immediately; scraping off the burnt spots is the only fix.
Recognizing when the rest is done
The 15-minute rest isn’t just for juice redistribution; it also lets the glaze firm up. If you carve too soon, the glaze runs and the slices tear.
After 15 minutes, the surface should look glossy and set, and the ham should still feel warm. If it’s cooled too much, a quick reheat in the oven softens the glaze without overcooking. The slices should come away clean with glaze clinging to each.
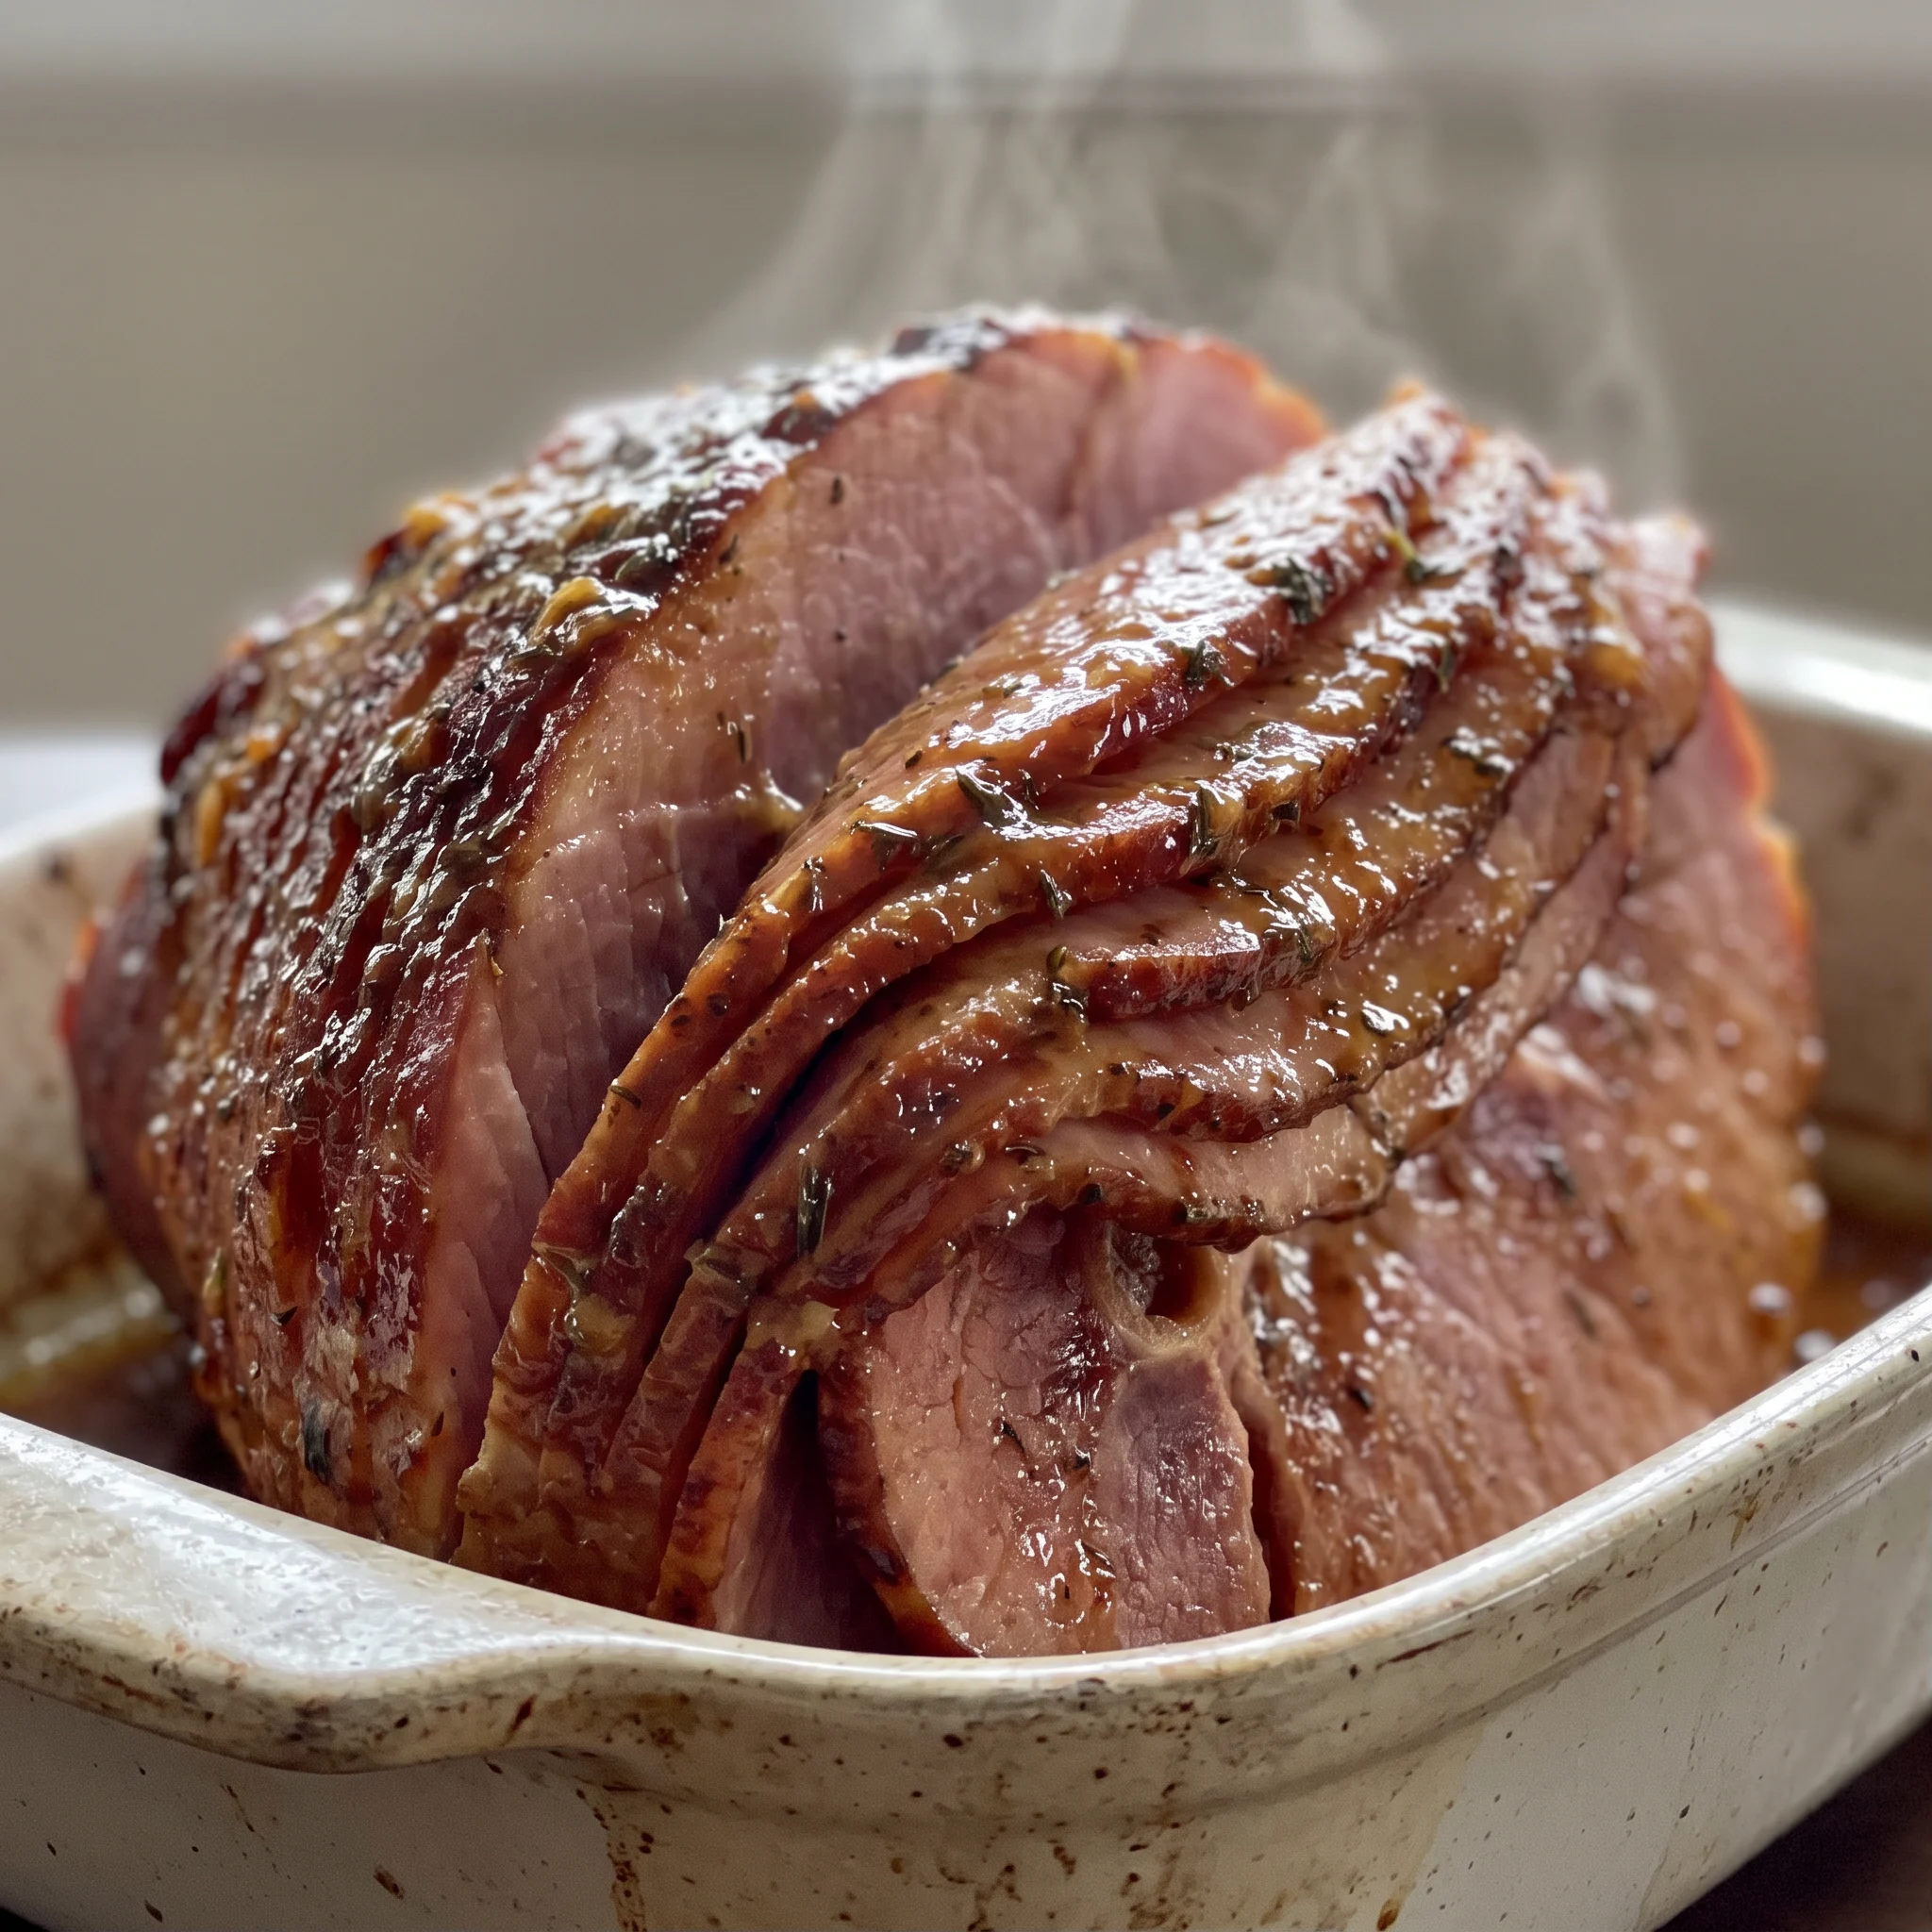
Honey Mustard Glazed Spiral Ham
Ingredients
Method
- Preheat oven to 350°F (175°C) or per package directions.
- If present, remove the plastic cap covering the bone at the bottom of the ham. Place the ham flat side down in a roasting pan.
- Cover the ham with foil and bake for 14–15 minutes per pound (for an 8 lb ham, about 2 hours).
- While the ham bakes, make the glaze: heat a small pot over medium-low heat.
- Add honey, brown sugar, mustard, butter, thyme, and salt; stir occasionally until simmering.
- Simmer 1–2 minutes, then remove from heat and set aside. The glaze thickens as it cools; if it looks too thick, it will thin on the warm ham.
- When the ham has 10–15 minutes left and the internal temperature reaches 140°F (60°C), remove from oven and remove foil.
- Baste the ham with glaze until fully coated.
- Return ham to oven, uncovered, and cook the final 10–15 minutes until glaze is caramelized.
- Remove ham from oven and rest 15 minutes before carving.
Swapping the Glaze Without Losing the Cling
Honey: Maple syrup or agave nectar, measured 1:1 for the ½ cup, or light corn syrup if you want less browning. Maple and agave are thinner and brown faster than honey, so watch the final uncovered bake closely; the glaze may need to be reduced a touch longer on the stove to reach the same cling. Corn syrup stays pale and won’t caramelize into that deep amber sheen, but it will still glaze the ham.
Dijon mustard: For a gluten-free version, use a Dijon that is certified gluten-free. For a different tang, try yellow mustard or a smooth brown mustard, starting with the same ⅓ cup and adjusting after tasting. Yellow mustard is sharper and less complex; brown mustard is hotter.
Both will thin the glaze slightly compared to Dijon, so you may need to simmer an extra minute. Grainy mustards won’t blend smooth and can leave flecks that look like seeds on the ham.
Unsalted butter: For dairy-free, use a plant-based butter stick or coconut oil, same ¼ cup. If using salted butter, cut the added salt to a pinch.
Plant butter melts similarly but may separate if the glaze gets too hot; keep the heat low. Coconut oil adds a faint coconut flavor that can read as sweet, so taste before brushing.
Salted butter will make the glaze saltier; the ham is already salty, so err on the side of less.
Dried thyme: Use half as much dried rosemary, crushed, or a pinch of dried sage. If you only have fresh thyme, use 1 teaspoon and add it after the glaze comes off the heat.
Rosemary is piney and can overpower; start with ¼ teaspoon. Sage is earthier and pairs well with ham but can taste dusty if old. Fresh thyme won’t soften in a one-minute simmer; stirring it in at the end keeps its flavor bright without raw leaves.
Storage and Serving: Bringing Leftovers Back
Eat this ham within 30 minutes of carving for the best texture. After that, the glaze turns tacky and the exposed spiral slices dry at their edges.
Refrigerate leftovers in a shallow container within two hours of serving; stacked slices steam and go limp, so keep them in a single layer or separated with parchment. They hold three to four days. The glaze softens in the fridge, so slices look dull and feel sticky, not glossy.
Reheat gently: 300°F, covered, with a splash of water, stock, or a knob of butter, 15 to 20 minutes for a portion, until warm but not hot. That moisture loosens the glaze and restores a sliceable texture without re-cooking the ham. Eat reheated portions the same day.
Cold ham works in sandwiches, but it’ll stay dry; let it sit out 15 minutes first. Freeze only the meat, not the glaze, up to two months, wrapped tight; thaw overnight in the fridge and reheat as above.
Tips
- Set the ham flat side down in a roasting pan just big enough to hold it, with about an inch of clearance around the sides. A tight pan keeps the 8 lb ham from sliding when you baste it and gives you a stable base for carving, and it limits the surface area where the half cup of honey glaze and the ham’s juices can spread out and scorch.
- Line the roasting pan with a sheet of heavy foil before the ham goes in, and tent that same foil over the top for the covered bake. The glaze that drips off during the final uncovered 10 to 15 minutes lands on foil instead of baking onto the pan, so cleanup is one sheet, and you avoid scrubbing caramelized sugar off the corners.
The glaze is mostly honey and brown sugar, which begin to caramelize around 320°F (160°C) and can scorch within minutes at 350°F (175°C). Applying it at the start exposes those sugars to the full bake time, so they blacken before the ham is even warm. The recipe’s foil-covered phase is for heating the ham; the glaze goes on only after the foil comes off, when the ham is already at 140°F (60°C) and needs just 10 to 15 minutes to caramelize.
Frequently Asked Questions
Can I glaze the ham at the beginning instead of the end?
No, and the reason is what you see in the pan. Sugar-heavy glazes scorch in minutes at 350°F, so by the time the ham’s interior hits 140°F, the glaze would be black and bitter. The ham is already cooked, so the final 10 to 15 minutes is about color and cling, not safety.
If you glaze early, you’re left scraping burnt sugar off the slices.
How do I keep the spiral slices from drying out?
Keep the foil on until the ham reaches 140°F, then work fast for the final baste. The spiral cuts expose a lot of surface, so the exterior can toughen while the center warms. When you pull the foil back, the ham should look moist and feel warm; if it’s leathery, it stayed uncovered too long.
A single thorough coating of glaze at the end also helps seal the edges.
Can I make the glaze ahead of time?
Yes, and it’s actually easier to handle that way. The glaze thickens as it cools, so you may need a few seconds over low heat to loosen it back to a brushable consistency.
It keeps in the fridge for at least a week. Just don’t put it on the ham cold; warm it first so it spreads evenly.
What’s the difference between this and a classic baked ham with cloves and pineapple?
This one leans on honey, brown sugar, and Dijon for a tangy, sticky glaze, with dried thyme for an earthy note. A classic clove-and-pineapple ham is sweeter and fruitier, often with whole cloves studded into the surface. Here, the glaze goes on only at the end, so the ham itself stays moist and the glaze caramelizes into a deep amber sheen.
The result is more savory than a pineapple-glazed version.
